LinkedIn, a business-focused social networking platform, functions across websites and mobile apps. Through this platform, professionals and businesses can create profiles showcasing their credentials and abilities.
Additionally, they can connect with groups and firms aligning with their backgrounds. Moreover, the app facilitates the establishment of a professional network.
Furthermore, to enhance user convenience, LinkedIn has introduced a QR code feature. With this addition, consumers can seamlessly connect. This innovative feature is accessible through the LinkedIn mobile app, offering both online and offline utility.
If you want to know more about the LinkedIn QR code and how to use it or generate it, you will find this blog to be of help. Keep reading this article till the end to learn more…
What Is A LinkedIn QR Code?
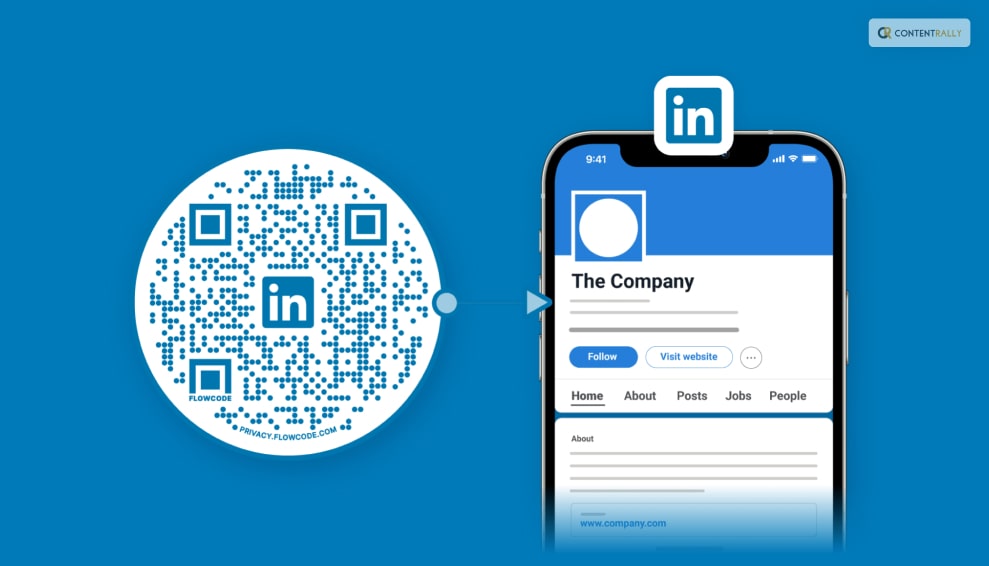
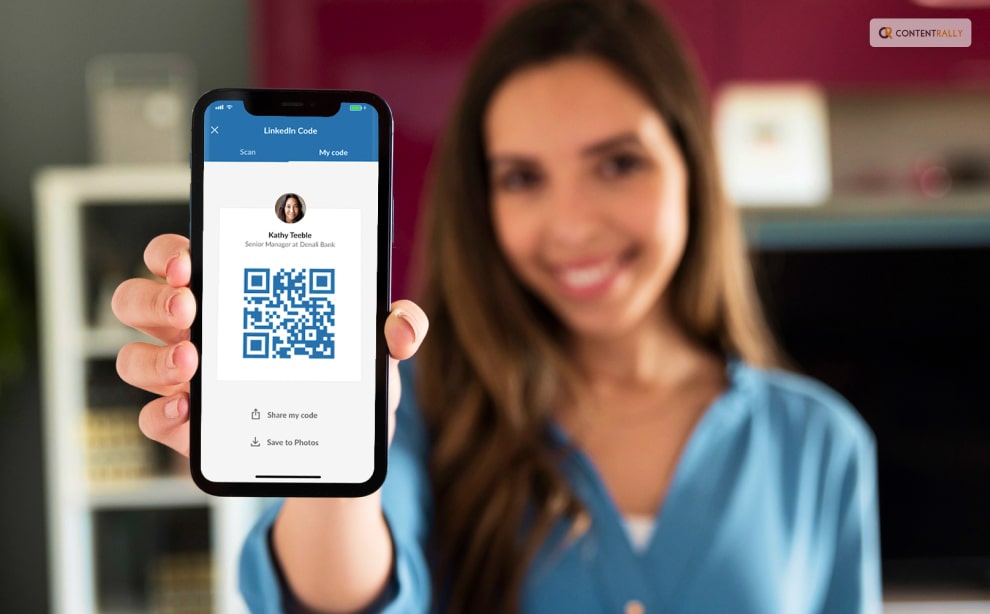
The QR code is a scannable code that contains a user's LinkedIn profile information. It's a convenient way to connect with others quickly by allowing them to scan your QR code using the LinkedIn app, which then takes them directly to your profile.
According to the LinkedIn platform, “LinkedIn QR code makes it easy to meet someone offline, and stay in touch with them on LinkedIn. This feature provides a simple and efficient way to find LinkedIn members, and then connect with them by quickly scanning a QR code.”
It simplifies the process of connecting with new professional contacts at events, conferences, or meetings.
Why Should You Use A LinkedIn QR Code?
You might be thinking about why you should be using a QR code on the job-hunting platform. Well, I have the answer for you!
Using a LinkedIn QR code can provide several benefits. Some of them are as follows:
- Efficient Networking: It makes connecting with new professional contacts quicker and easier, especially at networking events or conferences.
- Accuracy: It reduces the chances of errors in manually entering someone's name or profile details when sending connection requests.
- Time-saving: It saves time by eliminating the need to search for someone's profile or type in their name to connect.
- Professionalism: Using a QR code shows that you're tech-savvy and up-to-date with modern networking practices.
- Convenience: It's a hassle-free way for others to access your LinkedIn profile without needing to remember your name or search for you.
- Events and Marketing: If you're hosting an event or conducting a presentation, you can share your QR code to help attendees connect with you.
- Customization: LinkedIn allows you to personalize your QR code with a profile photo, making it more recognizable.
In essence, a LinkedIn QR code streamlines the process of connecting on the platform and enhances your networking opportunities.
How To Find Your LinkedIn QR Code?
If you want to look for your QR code on LinkedIn, here are some of the steps that you need to do based on your device. Take a look at them:
Finding Your QR Code On iOS
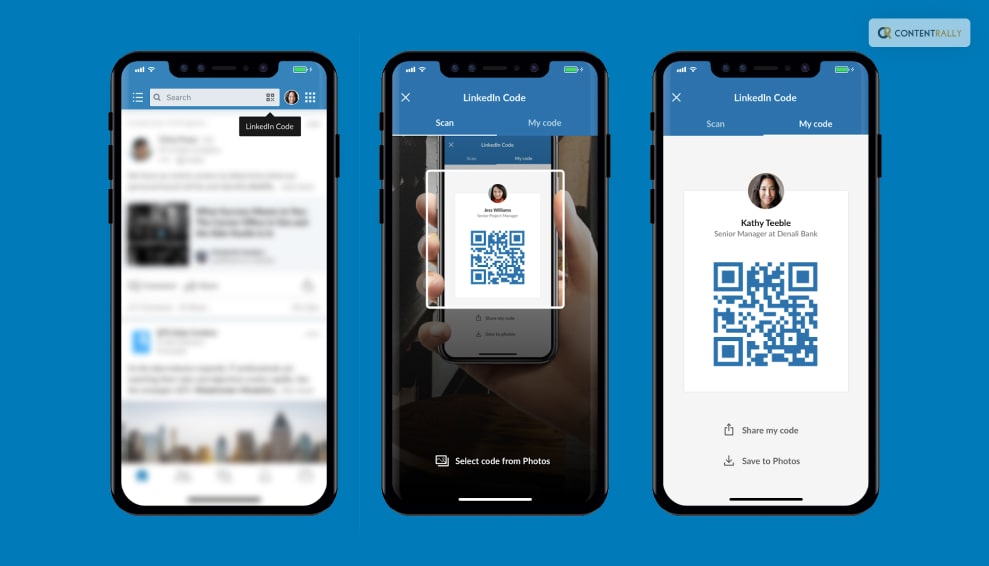
- Launch the LinkedIn app on your smartphone.
- On your LinkedIn homepage, click the Search bar and then tap the QR code.
- To locate your QR code, tap the My Code tab.
- To send your QR code by messaging, email, or other third-party applications, tap Share my code.
- Save photographs to store a copy of your QR code in the photo gallery on your smartphone.
- Pick an item from the dropdown menu that displays, then adhere to the instructions.
Finding Your QR Code On Android
- Launch the LinkedIn app on your smartphone.
- On your LinkedIn homepage, click the Search bar and then tap the QR code.
- To find your QR code, tap the MY CODE tab.
- To save a copy of your QR code to the picture gallery on your mobile device, tap SAVE TO GALLERY.
How To Use A LinkedIn QR Code?

In case you want to know how to use a LinkedIn QR code, this is the place that you need to be! Using a LinkedIn QR code is straightforward and pretty easy. Here are the steps that you need to follow:
- Open the LinkedIn app on your mobile device and go to your profile.
- Look for the QR code icon, which is usually located near the top of your profile page. It might look like a small square with dots and lines.
- You can either share your QR code with others or scan someone else's code.
- To share your code, tap on the code icon and select "My code." You can then display your code for others to scan or share it digitally.
- To scan someone else's code, tap on the code icon and select "Scan." Use your device's camera to scan the QR code of the person you want to connect with.
- After scanning a QR code, you'll be directed to the person's LinkedIn profile. You can then choose to send a connection request or simply view their profile.
- LinkedIn will usually prompt you to personalize the connection request message. You can add a note explaining how you know the person or why you'd like to connect.
Remember that your QR code can be customized with a profile photo and background, which can make it more visually appealing and recognizable. Utilizing this feature can help streamline your networking efforts on LinkedIn.
Keep scrolling to learn how to do the same on different devices:
Using A QR Code On iOS
Here are the steps that you need to take to use your LinkedIn QR code on iOS devices:
- Launch the LinkedIn app on your smartphone.
- On your LinkedIn homepage, click the Search bar and then tap the QR code.
- Scan tab: tap it.
- Hold your phone directly over the QR code of the LinkedIn user you want to connect with.
- To choose a QR code that you've previously saved to your photo gallery, you can alternatively tap Scan from images.
Using A QR Code On Android
Here are the steps that you need to take to use your LinkedIn QR code on Android devices:
- Launch the LinkedIn app on your smartphone.
- On your LinkedIn homepage, click the Search bar and then tap the QR code.
- Select the SCAN tab.
- Toggle CAMERA ACCESS ON.
- Hold your phone directly over the QR code of the LinkedIn user you want to connect with.
- A QR code that you've previously stored in your photo gallery can also be chosen by tapping ADD CODE FROM GALLERY.
How To Generate A LinkedIn QR Code?

Now that you are aware of almost all the things that you need to know when it comes to LinkedIn QR Codes, this is the last step that you need to take. And that is to generate the code.
To generate a LinkedIn QR code, these are the steps that you need to follow:
- Launch the LinkedIn mobile app on your device.
- Tap on your profile picture or your name to access your profile page.
- Look for the QR code icon on your profile page. It's usually located near the top of the page, and it looks like a small square with dots and lines.
- Tap on the QR code icon. You'll have the option to generate your QR code or scan someone else's code. Select the option to generate your QR code.
LinkedIn allows you to personalize your QR code by adding a profile photo and choosing a background color. This step is optional but can make your QR code more recognizable.
Once your QR code is generated, you can choose how to share it. You can display it on your device's screen for someone else to scan, save it to your device, and share it digitally, or print it out for physical events.
Remember that your LinkedIn code contains your profile information, making it easy for others to connect with you on the platform. It's a convenient tool for networking and connecting with new professional contacts.
Wrapping It Up!
In case you want to know about what is LinkedIn QR Code and how to use it, I hope that this blog has been of help to you. If there are any other doubts related to the same, feel free to let me know. All that you need to do is scroll down till you reach the bottom of the page. Then leave your comments and queries in the box below. And I will be there to answer them all for you!
More Resources: