Overnight Spot Patches: What They Can And Can’t Do For Acne

Published on: 27 July 2022 Last Updated on: 19 February 2025
Spot Patches

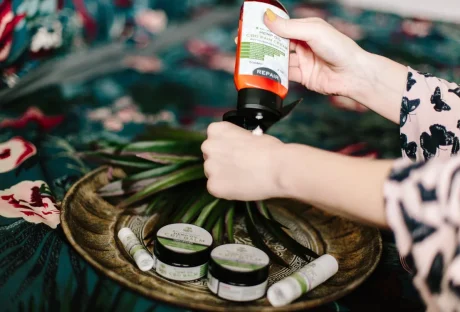
Literally, thousands of people get relief from the healing and supportive qualities offered by overnight spot patches. Containing a gentle compound known as hydrocolloid, these little circles of protection not only stop you from picking your pimples but also draw out the toxins inside.

However, before you buy any cosmetics-related products, it’s first important to know what they do and what they don’t. This is something that absolutely applies to spot patches, as many people expressing disappointment in the achieved results are not using them properly, as they tend not to know what they do precisely.

What CAN Overnight Spot Patches Do?

Overnight Pimple Patches

A little like their larger cousin – the blister bandage – acne patches comprise of small stickers with a gummy back that sits right over the zit in question. By providing a protective barrier, the spot is kept clean, while also drawing out pus, dirt, bacteria, and anything else nasty lurking in your pores.

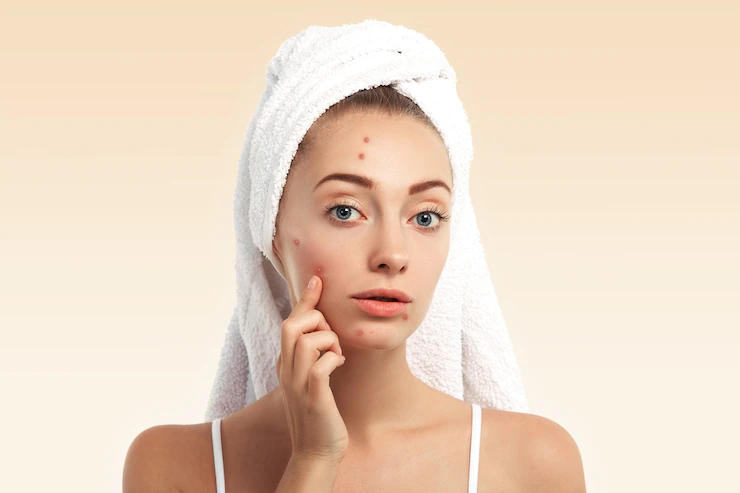
Picking is one of the worst things you can do to a zit and patches like these stop it in its tracks – which is very beneficial, as it’s easily done without knowing and it’s something that can undo all your hard work.

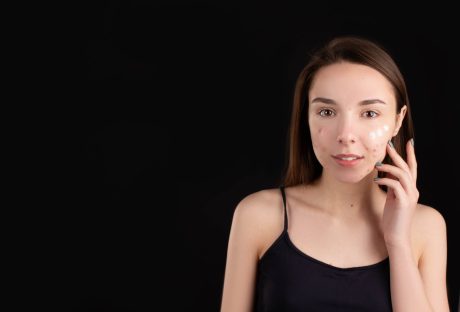
Used on pimples and other spots that have essentially risen and broken the skin’s surface, they’re usually applied at bedtime (hence the name), meaning you wake up to the somewhat pleasing task of taking them off and seeing what they’ve drawn out.

Prior to application, it’s essential that your skin’s surface is totally dry, as you might otherwise find it hard to affix your overnight spot patches to your skin. Should you be trying to treat a freshly-picked spot that’s oozing liquid, you should cleanse it before any patch is applied.

Used in this way, acne patches CAN provide vital protection for your spots and help you overcome them.

What CAN’T Overnight Acne Patches Do?

Overnight Pimple Patches

Well, firstly they can’t make your acne worse, as they’re designed to bring down inflammation. The only negative experience you might have is one of disappointment that you didn’t the intended results, but this is invariable because, again, they’ve been used incorrectly i.e. before the spot has properly erupted.

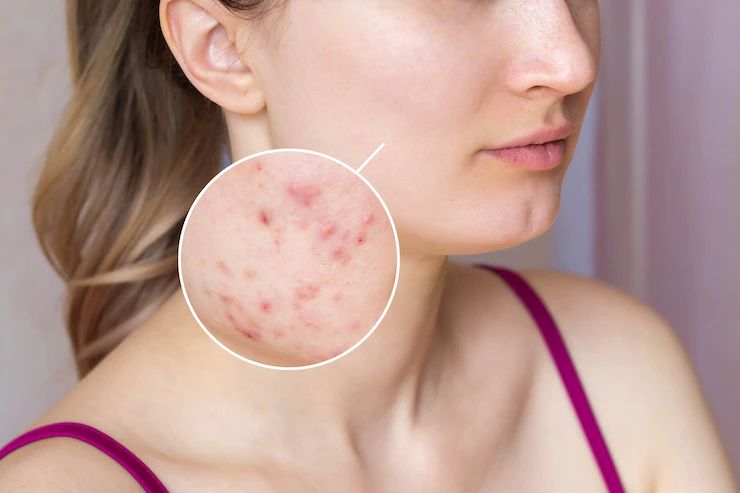
This is the crux of what spot patches can’t do, as they’re created to deal with open or nearly open zits, rather than papules and cysts that are well below the skin’s surface. Truthfully, if they’re applied over deep lesions or active bumps, they’re not going to do a great deal.

They’re not going to completely clear your pores either, as benzoyl peroxide and salicylic acid products are the tools of choice when it comes to that particular task.

Related Resource: What You Need to Know About Caring for Your Skin as You Get Older: Your Guide

Use Overnight Spot Patches For Their Correct Purpose

Use Overnight Spot Patches

Why wouldn’t you wear wellington boots to play soccer? That’s right because that’s not what they’re designed for! So, when using zit patches, the same thing applies – they’re for a very specific purpose for a very specific kind of spot.

You can’t expect they’re going to do anything else or you will be left disappointed in what they do. Use the product for its intended purpose in the way described and you can’t help but calm down your zit, but if you’re expecting anything else other than a calmer spot with less gunk inside afterward, you’re not going to be happy.

Read Also:

Arnab is a professional blogger, having an enormous interest in writing blogs and other jones of calligraphies. In terms of his professional commitments, He carries out sharing sentient blogs.

View all posts

Leave a Reply

Your email address will not be published. Required fields are marked *

Related

Cannabis Topicals

How To Make Your Own Cannabis Topicals?

The past couple of years has seen a lot of research put into the uses and benefits of cannabis. As legalization continues to advance to new jurisdictions around the world, scientific evidence is being used to remove the stigma around cannabis use and discover the truth about the substance after decades of myths have guided policy. There remains a lot of apprehension about trying cannabis products. While many people are familiar enough with cannabis itself and smoking as a means of ingestion, other products remain a mystery, including edibles and topicals. Cannabis topicals are non-psychoactive and are a versatile way to take advantage of the benefits of cannabinoids. Coming in lotions, patches, creams, sprays, lubricants, and balms, topicals are absorbed through the skin for localized relief. Topicals can be used to: enhance sexual pleasure, treat skin irritations, alleviate psoriasis, heal burns and bacterial infections, keep skin youthful, and reduce inflammation and arthritis. Topicals can also be made from the comfort of your home. Here is an easy how-to guide to making simple homemade cannabis topical. This recipe is a safe topical salve but can also be further mixed to make full-body lotions, face masks or lip scrubs. Ingredients: 10 grams of ground, dried cannabis 1 ½ cups of coconut oil ⅓ cup olive oil (optional) ⅓ cup beeswax 1 baking sheet 1 saucepan 1 heat resistant glass jar 1 cheesecloth A few drops of essential oils of your choice Step 1: Decarboxylate the Cannabis The first step to making your own topical is to decarboxylate the cannabis. This process is essentially heating the cannabis in order to ignite the THC. Put a single layer of cannabis on a baking sheet and bake for 30 minutes at 240 degrees Fahrenheit, turning often to ensure equal heat exposure. Step 2: Cannabis and Coconut Oil Mixture While the cannabis is in the oven, begin heating the coconut and olive oil in a pot on low heat. Stir often enough that the coconut oil does not begin to stick to the pan. Once the decarboxylated cannabis is out of the oven and cooled, begin to stir it into the oil on the stove for 20–25 minutes. Stir occasionally. This way, you can infuse coconut oil with cannabis to create an effective topical. PRO TIP: It is important to keep the mixer on the stove on very low. Unfortunately, if the heat gets too high, there is a chance of burning cannabis and affecting the potency of the THC. Step 3: Beeswax and Jarring After the cannabis and coconut oil mixture has simmered for 25 minutes, strain over the cheesecloth into a heat resistant glass jar and set aside to cool. In the same pot, melt the beeswax and essential oil of your choice. Select a mild essential oil that you enjoy, such as lavender, peppermint, or tea tree oil. As the beeswax slowly melts, add the cannabis-coconut mixture, stirring often. Once the beeswax, cannabis, and coconut oil are thoroughly mixed, you have your cannabis-infused salve. Once cooled, this salve can now be used on its own as a topical rub or can be further mixed into Aloe Vera or cocoa butter to make more of a lotion type product. Cannabis topicals are not yet regulated in many jurisdictions where cannabis itself is legal, but regulation is on the way and it’s believed topicals will become popular products for cannabis users who want pain relief. Read also: The New Tech Running Canada’s Cannabis Industry

READ MOREDetails
Epilators

Epilators: The Best Solution To Smooth Skin

Epilators are an electronic device that can be used to effectively remove hair at the follicle level. They work in a manner similar to tweezers but cover a larger area at the same time. This works with the help of springs and rotating discs that pull the hairs out from the root level allowing you to have smoother skin for longer durations of time. Compared to other waxing methods the epilator is also effective in terms of short regrowth time. Usually, you need to space two hair removal sessions apart with adequate time to let the hair grow long enough to pull them out. In the case of the epilator, it can pull hairs up to 0.02 inches tall as well. This allows you to use this device without much gap to enjoy consistent smooth skin. How to choose an epilator: While choosing an epilator it is essential to look at the specifications in order to assure it is the best option for you. Looking at the number of tweezers is a good way to assess an epilator. On an average, epilators have 40-60 tweezers. The more the number of tweezers is, the easier and faster the process will be. It will also result in lesser pain as more number of hairs can be covered with a single roll of the epilator. Another factor to consider while choosing an epilator is its battery power. The noise, speed settings, and area of usage are also integral points that can help you shortlist. Cost of an epilator: An epilator is a device that can be used for a few years and hence it is worth the money invested. It is economical and viable. You can choose an affordable epilator that is effective as well based on a good research. Some of these devices offer additional features such as multiple fittings that can be made of to use the epilator in different parts of the body including the sensitive areas. How to use an epilator: Epilators have to be used with caution regarding areas of usage. There are a lot of precautions to take before you use your epilator that will let you undergo the process with less pain. These include moisturizing your skin beforehand and many other shortcuts that will let you be more comfortable with the whole process. It is also necessary to know if you are using a dry epilator or a wet one and condition your body to have the required state. It is integral to apply a numbing cream before you use the epilator on sensitive areas to reduce the pain. For a Brazilian, there are specific fittings for an epilator and specific epilators available. Similarly while epilating the face it is essential to use a face epilator and not the same one that you may use on your arms and legs. An epilator is a convenient tool that is easily portable and highly effective for smooth hairless skin. This device is functionally effective as well as cost effective. You can choose from options available to find one that suits you best. Read Also: 7 Tips For People With Hypersensitive Skin 7 Anti-Aging Tricks And Tips To Get Youthful Skin Like A Teen

READ MOREDetails
What Causes Black Triangle Teeth

What Are Black Triangles Between Your Teeth?

Celebrities with bright smiles are now more popular than ever, which may lead people to start noticing their teeth's cosmetic problems. Black triangle teeth are one of the most common dental problems people don't address or pay attention to. You can check for yourself if you have black triangles between your teeth. Smile with your teeth exposed in front of a mirror. If you can see any black areas between your gums and teeth, you have black triangle teeth or gingival embrasures. They are initially harmless, but they can be dangerous if not treated immediately. It's important to understand how they develop and what you can do to treat them. What Are Black Triangle Teeth? These black, triangle-shaped gaps between your gums and teeth are known as open gingival embrasures. They are usually associated with dental habits, age, and bone injury. They are also called black triangle teeth, which occur when your teeth and gums don't fill the gaps between them. Black triangles between teeth are a common problem; nearly 76% of adults over 20 have black spaces between their teeth, according to a study.  Food debris and plaque can accumulate in these gaps, making teeth susceptible to cavities and gum infections. The risk increases the more a person doesn't practice good oral hygiene. Most want to fix them for cosmetic reasons and to keep their teeth and gums healthy. What Causes Black Triangle Teeth? It is important to see your dentist immediately to discuss how to treat this condition. They will use your dental history and the cause of your black triangle teeth as their guide in recommending treatments that best address it. According to sunrise-dentistry.com, some of the reasons black triangle teeth occur are: 1. Receding Gums Gum disease, infections, age, and smoking can lead to gum recession and thinness. Bacteria exposure and tooth decay can lead to cavities and other infections. Getting help immediately from a dentist is important if you find gaps between your teeth, regardless of their size. 2. Aggressive Dental Hygiene Techniques Brushing or flossing too hard can damage the tissues between your teeth. Using a toothbrush with the right head size is also important; a toothbrush with a large head can make the gaps between your teeth larger. 3. Fragile Gum Tissue Every person's gum tissue thickness and stability are different. Experts believe that thinner gum tissues are less resistant to dental procedures. If you have fragile gum tissue, getting fullness back after dental implants will not be easy. 4. Teeth Shape Apart from the gum thickness, each person's tooth shape also differs. A person with triangular-shaped teeth is more likely to develop black gaps. Their teeth have wider biting surfaces than their bottom part near the gum line. 5. Mistakes During an Orthodontic Procedure Black triangle teeth and other dental conditions can develop when an orthodontic procedure goes wrong. Small gaps can also form when teeth shift into new positions. You may need to repeat your dental treatment or visit a more reliable dentist. How To Get Rid Of Black Spaces Between Your Teeth? Now that it's clear that the black gaps between your teeth are not just cosmetic issues, it's best to learn how to eliminate them. Consult your dentist before making any changes in your lifestyle or treatment for your dental health. They can help you understand the nature of your dental condition and determine the best approach to manage them. According to the British Dental Journal's study, patients have several treatment options for the black triangles between their teeth. Safe surgical techniques like pinhole surgery repair and tissue transplantation to preserve gumsTissue engineering, where dentists use regenerative cells to restore gum tissueHyaluronic acid treatment to reduce black gaps between teeth and volumize gum tissuesUsing prosthetics made of composite or porcelain with a pink shade to bond teeth and conceal the appearance of black triangles between teethInstalling a removable gingival cover to close the triangle spaces between the teethRepositioning or reshaping teeth to reduce or eliminate the black spaces between them Proper Dental Hygiene and Black Triangle Teeth Brushing and flossing your teeth every day will help prevent gum disease, blackening of your teeth, and other serious conditions. Routine dental checks help you know how your lifestyle choices impact your dental health and help your dentist check for early signs of dental problems. The American Dental Association has developed guidelines for how to brush your teeth and perform interdental cleaning. They also recommend using a toothbrush with soft bristles. Key Takeaway The black triangles between your teeth are more than just a cosmetic problem. They are caused by oral health problems like receding gums, aggressive oral hygiene techniques, and fragile gum tissue. Mistakes during an orthodontic procedure and the shape of your teeth may also cause black triangles between your teeth. You should consult your dentist about them; they are the best people suited to help you determine the best course of action to take. They can also address the dental problems causing the black triangles between your teeth. Additionals: What Canadians Should Know About Teeth WhiteningImportant Routine Dental Care Procedures to Improve Your SmileWays to Avoid Dental Problems by Keeping Dental Plaque and Tartar AwayDental Implants, Teeth Whitening in Reasonable Price in a Professional Dental Centre

READ MOREDetails