How To Prepare Your Home For Protecting Keepsakes During Storm Surges

Published on: 30 December 2024 Last Updated on: 31 December 2024
Protecting Keepsakes During Storm Surges

When you live in a storm surge-prone area like New Orleans, the safety of your home and cherished belongings is always a concern.

The city’s proximity to water makes it particularly vulnerable to extreme weather, including hurricanes and the accompanying storm surges. However, protecting keepsakes during storm surges is a major issue.

In this article, you will learn why how to protect your keepsakes during storm surges. Here, you will get five useful tips that are easy to follow.

However, before that, you will learn a few details about storm surges and what to do in such situations. Hence, to learn more, read on to the end of the article.

Staying Prepared Before Storm Surges

Generally, storm surges affect your building’s foundations. This happens due to high water piling because of tropical cyclones, which results in constant agitation in the building.

With time, it can result in complete demolition of homes and commercial buildings. Moreover, if the storm is bad enough, you need to evacuate and move inland for safety.

In such cases, you have to plan ahead for such possibilities. However, to save your valuables, you can keep large rubber storage containers. In those containers, you have to place your photos and mementos. This will help you take them while you evacuate the place.

Apart from that, you must have extra plastic storage containers to gather jewelry, mementos, and other photos. Also, try to place those containers in the attic if you get the news of an upcoming flood.

Additionally, you can also keep your necessary documents in a fire-proof safe. Moreover, check them to ensure that they are water-proof as well. This will prevent water from entering the safe it the building submerges in a flood.

On the other hand, you must also shut off your electricity at the circuit brakes. This will help your appliances from short circuits. 

5 Tips For Protecting Keepsakes During Storm Surges

5 Tips For Protecting Keepsakes During Storm Surges

While securing your property is essential, safeguarding your irreplaceable keepsakes—like family photos, heirlooms, and old home movies—requires proactive steps. 

The following are some essential tips for protecting keepsakes during storm surges:

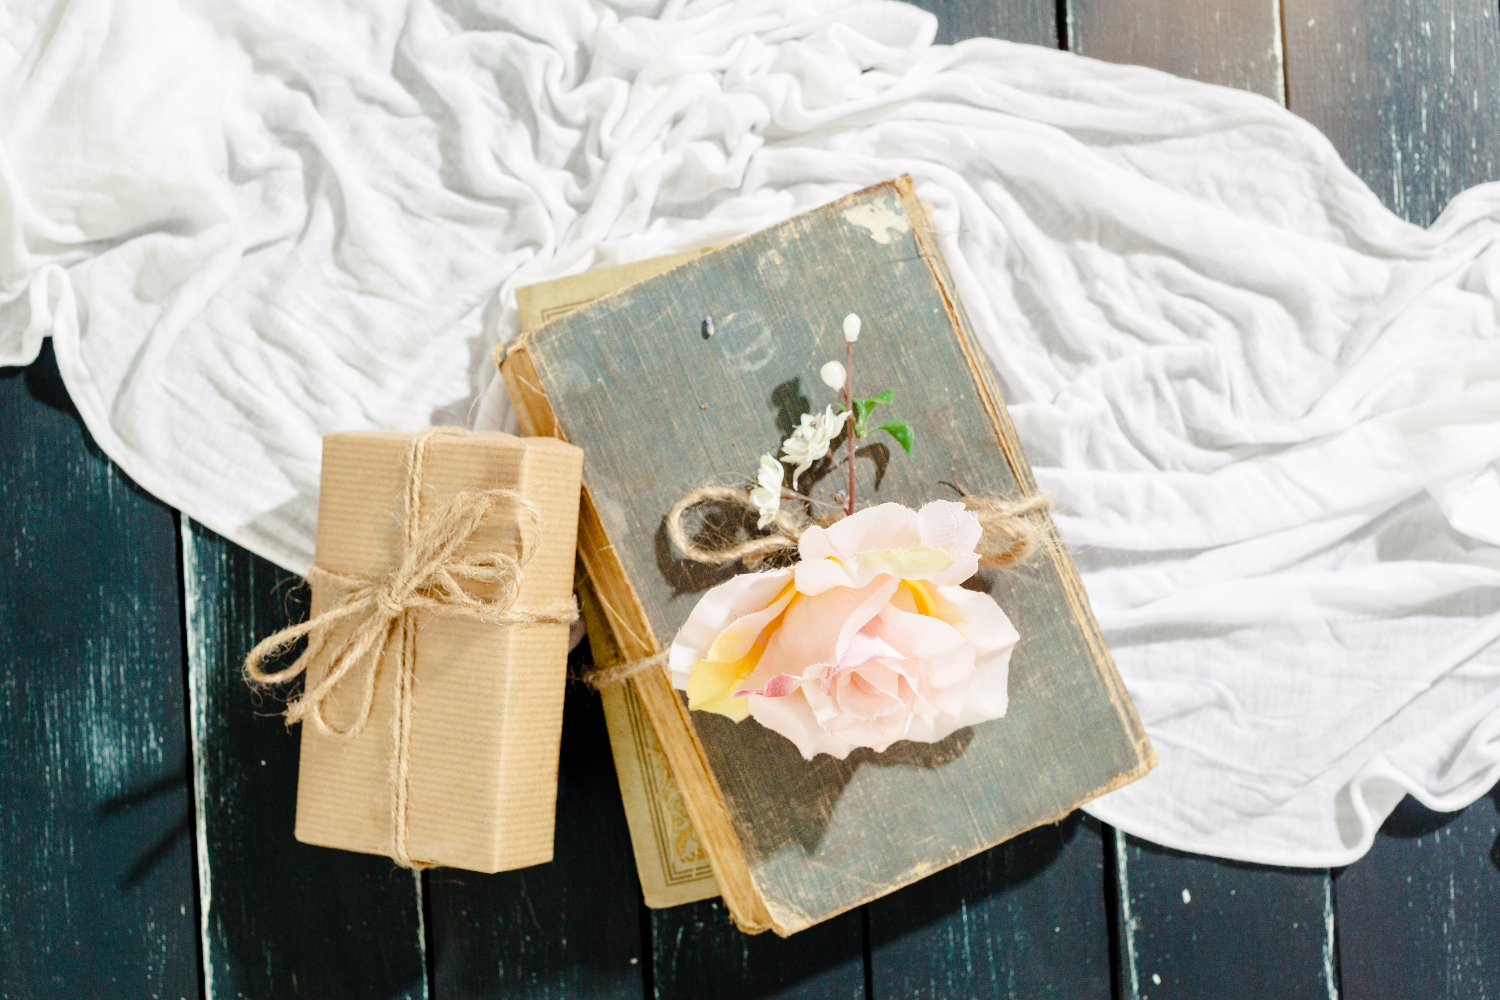
1. Identify Valuable Keepsakes

The first step in protecting keepsakes during storm surges is to identify which items hold the most sentimental or practical value. For instance, family photos, handwritten letters, heirlooms, home videos, and important documents often top the list. 

Generally, in New Orleans, homes may face repeated flooding risks. Hence, creating an inventory of these items ensures you know what to prioritize.

Therefore, you must take time to review albums, VHS tapes, film reels, and other family treasures. Moreover, once you identify your most valuable keepsakes, it becomes easier to plan their protection.

2. Store Keepsakes In Waterproof Containers

Generally, storm surges bring a high risk of water damage. Hence, you must always store your keepsakes in waterproof containers. Use sealed plastic bins, waterproof bags, or specialized storage boxes for delicate items like photographs and letters. 

However, if you need extra protection, consider fireproof and waterproof safes to shield irreplaceable items from both water and heat.

For instance, in a flood-prone city like New Orleans, it’s important to seal containers properly. Also, store them away from low-lying areas.

3. Elevate Keepsakes Above Flood-Prone Areas

Elevation is one of the simplest and most effective ways to protect your keepsakes. In a city with a history of flooding, storing items in basements or on ground floors is risky. Instead, place keepsakes on higher shelves, upper floors, or in attics well above expected flood levels.

In fact, for long-term storage, elevated cabinets or specially designed storage units can provide peace of mind. Basically, they will prevent water damage during high-water events.

4. Digitize Important Items

One of the most effective ways to protect family memories is by digitizing them. For instance, you can scan photos and documents. Then, you must covert old VHS tapes or film reels. Thereby, you can create digital backups that can’t be harmed by water or storms.

I live in New Orleans, and using local digitization companies was a smart choice for me. Actually, these professionals understand the importance of preserving family memories in a city with a high risk of natural disasters. 

Whether you need high-quality scanning for photos or video conversion services, these companies can help digitize your most treasured items while handling them with care.

In fact, once you digitize your files, you can store them securely in cloud storage. As a result, you can ensure they are accessible. Apart from that, you can protect them even if you lose the originals.

5. Create An Emergency Evacuation Plan

In the event of a major storm, you must have a clear evacuation plan. Moreover, you must include your most important keepsakes in your plan, both physical and digital. 

Also, prepare a “go bag” with waterproof containers for physical items. Make sure to have a USB drive or external hard drive containing your new digital files.

Actually, if you prepare in advance, you can quickly grab what’s most important. Thereby, you can ensure your irreplaceable memories are safe. Additionally, cloud-stored backups of digitized items allow you to access them from anywhere. This helps even if you are displaced for an extended period.

Conclusion

If you follow these tips, protecting keepsakes during storm surges in New Orleans will not be a big problem. Basically, New Orleans has a unique geography and vulnerability to storm surges. Hence, protecting keepsakes is a critical part of disaster preparation. 

Hence, start by identifying your valuable items. Then, store them securely in waterproof and elevated locations. After that, digitize them for long-term preservation. This way, by planning for emergencies, you can safeguard your cherished memories.

Don’t wait until a storm is approaching to take action. Start digitizing your family photos, videos, and documents today to ensure your memories are preserved and protected for generations to come. Preparing now means peace of mind later, no matter what the weather brings.

Do you have more suggestions for protecting keepsakes during storm surges? Please share your ideas and opinions in the comments section below.

Read Also:

Ankita Tripathy loves to write about food and the Hallyu Wave in particular. During her free time, she enjoys looking at the sky or reading books while sipping a cup of hot coffee. Her favourite niches are food, music, lifestyle, travel, and Korean Pop music and drama.

View all posts

Leave a Reply

Your email address will not be published. Required fields are marked *

Related

Painting Interior Doors

Tips for Painting Interior Doors

Freshly painted doors can enhance the makeover of any house. You can paint your doors on your own or hire a professional painter to do it for you. Many people prefer painting their doors themselves as they want to enjoy painting them on their own. However, if you don’t have any experience or want high-quality paintwork, you should always hire professionals for complete painting service. If you choose to paint or spray paint your interior doors, you need to know some tips and skills to do the job right. Let us explore some tips by professional painters that you can use to paint your doors. Remove or cover the door handles: Paint can stain the door handles and locks. So, it is better to remove them or cover them with painter’s tape to prevent them from getting stained. You will need a screwdriver with multiple heads to remove the handles and locks. Call a locksmith to remove the inbuilt lock systems as they are difficult to remove. Removing these things will make it easy to clean, sand and then paint the doors. Fill the cracks and holes: If there are any holes or cracks in your doors, you can fill them with a wood filler, gypsum plaster, or a filling compound. Put a small amount of wood filler or filling compound on a putty knife and put it into the hole or crack uniformly. Place it as uniformly as possible and leave it to dry for at least two hours. Check the filling the next day, and it requires more filling, add the required amount of filling compound to fill the space completely. Sand the surfaces: The old paint gets worn and imperfections develop with time on the door surfaces. That is the reason why homeowners want to repaint their doors. Sanding removes the worn paint and imperfections easily and prepares the surfaces for a clean and uniform finish. Start painting with a Roller: If you have already chosen the paint color, mix several cans in a bucket so that you can have the same shade on every door. Sometimes, the shade in different cars can vary a little, although not noticeable in the interiors in low light. Use a 4-inch roller to apply a thin layer of paint on the door starting from an edge. If you want to paint the trim first, you can use a 2-inch brush. To remove any lines, move the lightly loaded brush or roller from bottom to top. Using this technique will help you paint quickly and uniformly while leaving a wet edge. Painting a paneled door: Many homes have paneled doors and the technique to paint them is different from painting a flat door. Paint every panel beginning from the upper left side downwards in a sequence. Always use a brush of appropriate width to paint a paneled door. Don’t worry if you paint a bit outside the edges of a panel. Once the edges are painted, use a small roller to paint the space between the panels. If the rollers of appropriate size are not available, use a 2-to-4-inch brush to paint the center of the panels. Minimize the drying time: Paint in light and uniform coats to minimize the drying time. Thick coats of paint take a bit longer to dry and may look nonuniform after drying. If you are using a brush, you should dip its bristles halfway in the paint and tap the brush against the container edge slightly to remove the excess paint. If you plan to use a roller, place it in a pan and use the back-and-forth strokes to paint uniformly without soaking it. Let the paint dry before installing knobs and locks: Let the paint dry completely before installing the doorknobs and locks. Also, tell your kids and family members not to touch the doors until they dry completely. Once they dry up completely, you can install the accessories and start using the doors as you use them normally. Final Words: Painting the doors is not difficult, even if you are painting them for the first time. All you need to do is to follow the correct sequence of steps, use the right size of tools and prepare the surfaces before grabbing a brush or roller. Following these tips can help you to paint your interior doors easily and conveniently. Read Also: 10 Pro Tips To Minimize Commercial Door Repair & Maintenance Cost All About Commercial Fire Doors Why Should you Consider Security Doors for Your House?  

READ MOREDetails
Sound Dampening

What Does Sound Dampening Mean?

Noise traveling to and from rooms can be distracting when trying to work, read, or enjoy some peace and quiet. It can be hard to focus on what you are trying to do when you can hear music blaring, a loud television, or children screaming through the walls, not to mention a million other potential distractions. Fortunately, there are ways to reduce sound transmitted through the walls, which can be invaluable when preventing sound transfer inside or outside a room. Felt Right has a unique way to achieve this. Depending on the materials you use for this procedure, you can obstruct more or less sound, even blocking the transmission of sound waves entirely, if you choose. What is Sound Dampening? Sound dampening is installing materials within a home, vehicle, or other location to absorb, reflect, or diffuse sound. This reduces the amount of noise that passes through and can also improve a room’s acoustics, which is why sound dampening is also known as “acoustic treatment.” It is a significant reason that recording studios make use of this technique. Sound dampening can eliminate approximately 80% of the sound transfer, meaning that you can prepare a room for studying, work, hobbies, or mental health. However, there is just enough sound to hear if there is an emergency in another room or someone yells for you. This is especially ideal if you have children in the house or others who may need your attention so that you can focus on what you are doing while still being accessible to others if required. If you need even greater solitude, one option is to soundproof a room similar to sound dampening but endeavors to block any sound infiltration whatsoever completely. However, this process is far more intensive and to prove entirely successful generally requires planning in architectural design before room construction to ensure complete soundproofing. What Materials Work Best for Sound Dampening? When you sound dampen locations, you must decide which materials you wish to use. Different materials can prove effective to different degrees; some are external solutions, while others require installation within the walls or other surfaces. Keep in mind if air can pass into an area, so can sound. For best results, address windows, spaces between and under doors, and other airflow conduits. No matter how effective your sound-dampening materials are, if air passes freely through such openings, you will have more noise. Felt Tiles One of the easiest methods for sound dampening is through the use of felt tiles. These panels have an adhesive back designed not to damage walls or paint, creating a plug-and-play solution. Felt tiles are versatile, coming in various shapes, sizes, and colors, so they are excellent choices if you wish to snazzy up the interior design of your room and enjoy the benefits of the felt’s sound-dampening qualities. Choosing felt tile designs to match your taste or set a professional tone can be invaluable when creating a relaxing atmosphere or environment conducive to work. A soothing, welcome decor has proven effective in improving mental health by reducing stress and anxiety. Having an attractive backdrop during work video calls provides an air of credibility to a home office space. In either situation, the reduced noise permeation is invaluable. Polyurethane Foams These polymer foams come in rolls or sheets and can serve as a suitable sound-dampening barrier, particularly when reducing high-frequency noises. However, low-frequency sounds are more likely to penetrate if the foam is not sufficiently thick, so keep this in mind if you want more effective noise reduction. Also, be aware that polyurethane foams are flammable, so only place them in areas where they will not be susceptible to open flames or other fire risks. As a result of this quality, this type of sound dampening should be for home use in fire-safe locations rather than used in an industry setting, where there is a greater risk of inflammation. Polyester Fibers These dense materials are excellent for sound dampening in industrial settings or other noisy areas. They work best on high-frequency sounds and are often lauded for their strength and durability, making them incredibly resistant to general wear and tear and fire. Plus, it is a lightweight material, which makes it easier to transport and install. Cork This porous material is surprisingly effective as it can trap a significant quantity of air, which means it can catch sounds and convert them to vibrations, effectively deadening noise. Cork is effective even in thin sheets, and the material is incredibly lightweight. Furthermore, it is an accessible material to install and can be purchased in tile forms for easy customization. Mass-loaded Vinyl A popular choice because it is one of the least expensive sound-dampening options, mass-loaded vinyl is explicitly intended for sound dampening. It is easy to find and acquire this material, but remember that the denser the material, the more effective it will be. Mass-loaded vinyl does not have much elasticity, so it forms a solid barrier that sounds waves have trouble passing through. Green Glue, Gaps, and Spaces Remember that sound can pass through any space air can, so for better sound dampening, you need to find spaces where air can pass through, such as cracks or gaps within the walls. Green glue is an excellent choice for filling holes, blocking airflow, and reducing the noise that can enter (or exit) the room. For areas you will not want to seal, such as windows, you can find sound-reducing curtains that can serve as sound dampening, combatting unwanted outdoor sounds such as those from traffic, industries, and neighbors. For doors, sound dampening can be as simple as placing a blanket against the gap beneath. Alternatively, you can install a door stop, soundproofing rubber, or acoustic panels to block sound from entering. The Bottom Line When you want to keep from traveling in or out of a room, one of the most effective ways to reduce sound is to find appropriate materials that function as sound-dampening agents, placed along walls and wherever there are gaps or cracks in which sound can pass. Proper sound dampening can create an atmosphere conducive to work or relaxation or prevent televisions, music, musical instruments, and other loud forms of recreation from disturbing others. Read Also: How To Get 60 Day Trial For Luxury Beddings Five Bedroom Rug Ideas – Area Rugs and Decorating Ideas Living Ideas In Small Bedroom House Plans With Efficient House Designs

READ MOREDetails
Stunning Bathroom Vanities-min

Stunning Bathroom Vanities For An Instant Makeover

If you're planning a bathroom makeover, one of the most important decisions you'll make is selecting the perfect vanity. A vanity serves as the focal point of the bathroom and can bring the entire space together. With numerous options on the market, finding the ideal vanity can seem overwhelming. By considering a few key factors, though, you can choose a vanity that completely transforms the look, feel, and functionality of your bathroom. Why Is A Bathroom Makeover Needed? Just like any other part of the house, our bathrooms also deserve the best look. And it’s not like you have to invest in a lot of expensive fixtures that will end up with all your savings. With just a few simple tips and tricks, you can give your bathroom a nice makeover. Given below are a few reasons why your bathroom needs a makeover right away.  It Combines Value To The Abode No matter what the size of your washroom is, it still remains to be an indispensable segment of your abode. A house that has a renovated bathroom looks extremely organized, and people would want to visit it time and again. In case somebody is selling their home, an alluring bathroom will simply add up to the selling cost.  Boosts Positivity And Energy Efficiency Installing several features at the time of remodeling reduces your energy bill to almost half. Among these are underfloor heating, low-flow toilers, and excellent fixtures which save both water and electricity. Boost your home’s overall positivity by installing windows with ample light and air circulation.  A Personal Escape For Many Your bathroom is not a dump yard, it is also the place where you get some personal time to spend. After a day full of strenuous job, it should be the place that provides you relaxation and peace of mind. But in order to make a bathroom relaxing, you need to make some changes to the fixtures and lighting.  Change The Functionality  Suppose you have a small baby at home who can’t reach upto the shower. You might need to install a bathtub with warm water running on it. A bathroom makeover ensures that you change its function as and when required. The key to a great home is having an even better and multi-functional bathroom.  Steps To Build A Bathroom Of Your Dreams Getting a bathroom that you can call your own is not an overnight process. There are various steps included that lead you to your destination, and today we are talking about a few important ones: Size Is Essential Before diving into vanity options, carefully evaluate the available space in your bathroom. Take accurate measurements of the area where the vanity will be placed. Consider the width, height, and depth, as well as any obstructions such as doors or windows. Think about clearance for the doors and drawers in the vanity as well. These factors will help you figure out the appropriate size and configuration for your vanity. With so many choices available from companies like Unique Vanities, finding one that's the right size without sacrificing other features shouldn't be difficult. Explore Vanity Styles Every bathroom is unique, whether it's modern, traditional, rustic, or eclectic. Choose a vanity that fits in with your design theme. Consider the materials, finishes, and design elements that will meld with the overall aesthetic of the space. For example, a sleek and minimalist vanity with clean lines is perfect for a modern bathroom, whereas a vintage-inspired vanity with intricate detailing may foster a traditional or farmhouse style. Consider Your Storage Needs Storage is a crucial aspect of any bathroom vanity. Evaluate your storage needs based on your daily essentials, such as toiletries, towels, and cleaning supplies. Determine whether you prefer open shelves, cabinets, or drawers for storing these items. If space is limited, opt for a vanity with clever storage solutions like built-in organizers or hidden compartments to maximize functionality. Having enough storage space and organization solutions will help you make the most of a bathroom makeover. Choose The Right Materials Materials play a significant role in a vanity's durability, maintenance requirements, and appearance. Popular options include wood, engineered wood, laminate, glass, metal, and natural stone. Wood offers a warm and timeless appeal, while glass gives off a sleek, elegant air. Consider factors such as moisture resistance and ease of cleaning when selecting the material. Engineered wood and laminate may be less costly, but they may sustain damage when exposed to moisture as they would be in a bathroom. Additionally, ensure that the materials you choose complement the other fixtures and finishes in your bathroom. Think About Sink Types Sinks are essential components of vanities and should be chosen carefully. Determine whether you prefer a single sink or double sink, depending on your usage and the available space. Choose a sink style that complements the design of the vanity. Options range from under-mount and vessel sinks to integrated versions. Consider factors like ease of cleaning, functionality, and visual appeal when making your selection.  Stick To A Statement Mirror A mirror in the bathroom says a lot. In this case, you get enough liberty to choose a mirror size of your choice. There’s oval, there’s flat, there’s a pentagon, and so many more options available. You just need to find the one. It acts as more than just equipment added for your primping skin routine. Such an enormous reflective surface also leads to the illusion of an ever larger space.  Making Your New Bathroom Pop Choosing the perfect vanity for a bathroom makeover requires careful consideration of space, style, storage needs, materials, sink types, and many other factors. Explore various options to help you find a vanity that meets your needs while enhancing the appearance of your bathroom. Remember, the right vanity can be a transformative element in your bathroom makeover, creating a beautiful and functional space that you'll enjoy for years to come. Give your children and your significant other what they can call their own. Read Also : Mirror Decorating Ideas To Style Your Bathroom Using Feng Shui In Your Bathroom Design The Different Kinds Of Toilets

READ MOREDetails