7 Tips for Preparing for your Home Study

by

19 December 2018

Home Improvement

Home Study

The adoption process is filled with wonder, excitement, and anxiety. Oh yeah, and there are some stressful moments sprinkled in too. Perhaps none more sweat inducing than the home study.

The adoption home study is a process that anyone who adopts has to go through, and it’s definitely an intimidating time in the process, but try not to let that get you down. Sure, home studies are a big deal, and they do play a large role in whether or not you qualify to adopt a child.

Here are some tips for handling your home study.

Get Started on the Paperwork:

Paperwork sucks! You know it, I know it, everybody knows it – and the adoption process is loaded with it; from emergency plans to parenting plans, and a host of other stuff. It’s tedious, it’s frustrating, and it can be downright dull. But it’s necessary.

Calm Down:

It’s easy to get worked up during this process, especially knowing that this could be the deciding factor in your approval. But don’t get yourself worked up over this. Home studies are nothing more than a routine part of the process. They aren’t meant to find a reason NOT to have you approved, and there really isn’t much to worry about here. Besides, your adoption agency is going to let you know everything you need to have for a successful home study.

Follow the Checklist:

Before your home study begins, your adoption agency will give you a checklist to follow. This will probably consist of things like; background checks, birth certificates (of all occupants), and parenting plan statement to name a few.

You will also be given a list of things that should have completed before the agent comes out to your house to conduct the study. Be sure to address everything on that checklist; if it weren’t important, then it wouldn’t be on the list. Nothing is okay to overlook.

Be Yourself:

I’m always reminded of the episode of Friends “The One with the Home Study” where Chandler and Monica wanted their social worker to like them so badly they were even willing to throw Joey under the bus. Like any good 90’s sitcom, it blew up in there faces and hilarity ensued. But again, like any good 90’s sitcom, it all worked out in the end. Still, there is a lesson to be learned here. Just be you.

It’s easy to want to embellish in these situations, whether it finances, or even just your overall lives. Don’t! Your social worker wants to get to know who you are individually, and as a family and it’s imperative that you’re honest. The fastest way to fail your home study is to lie on your paperwork or during your home study.
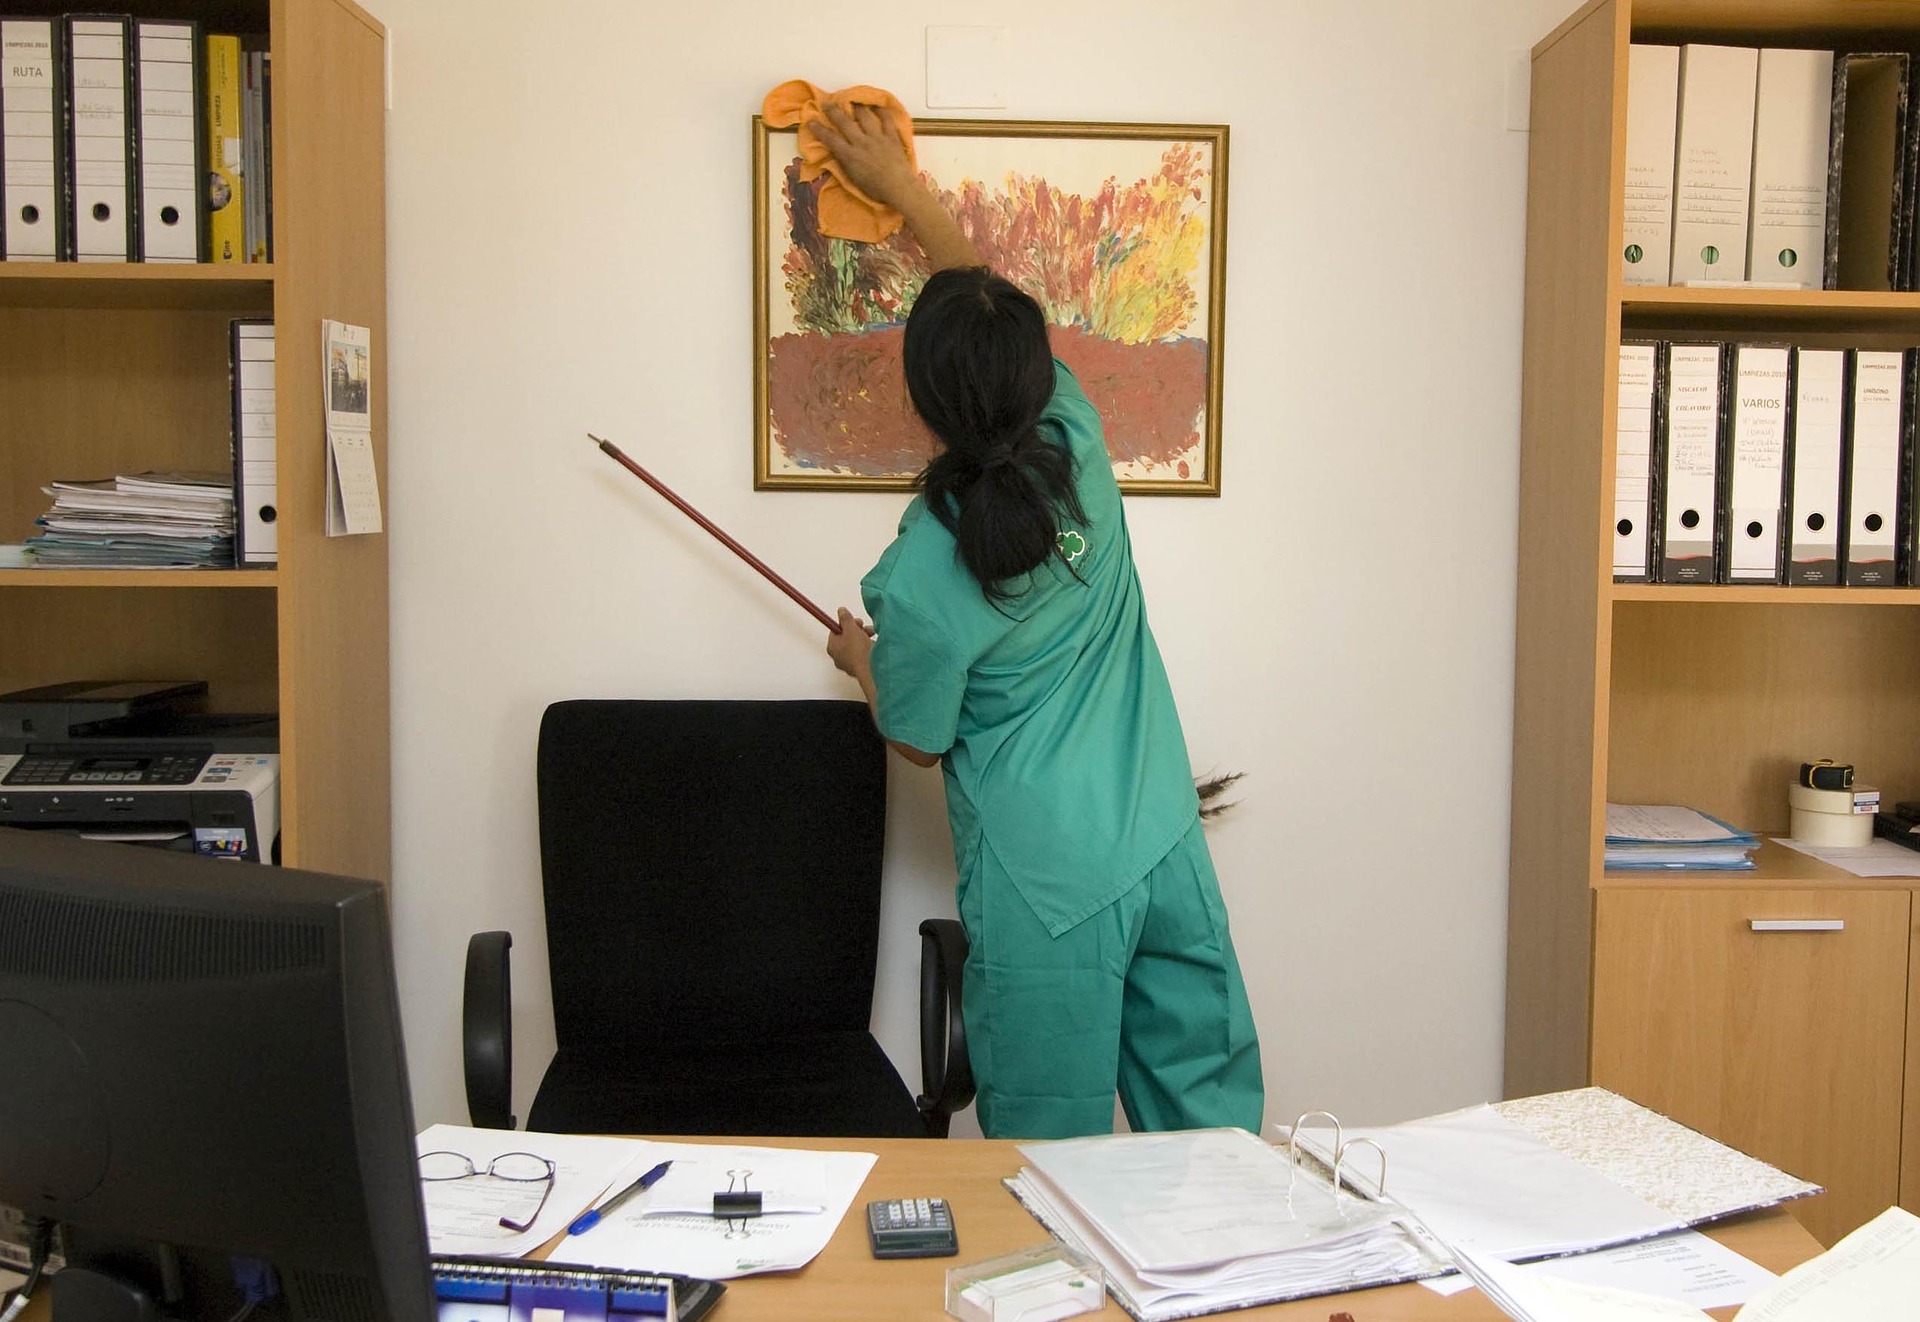
Safety:

Before you’re social worker gets to your home, make sure everything is tidy – cleanliness is always important. You should also be sure to have all of your cabinets locked and keep anything that is a potential hazard out of a child’s reach. If you have firearms, ensure that they are secured in an out of reach safe.

You’ll also want to make sure that all of your smoke detectors, carbon monoxide detectors, and fire extinguishers are in working condition and appropriately placed throughout the home. Oh, and you’ll want to make sure you have a first-aid kit in your house.

Have the Room Ready:

This isn’t a necessity, but if you know that you want a baby then go ahead and set-up the room that the baby is going to be sleeping in. Not only will it show that you have enough space for your new addition, but it will also show that you are dedicated to giving your new child everything they need.

You’ll do Great:

The home study can be a scary thing, and it’s okay to be nervous, it shows you care. Just stay calm, be yourselves, and follow the checklist exactly, and you’ll be well on your way to having a baby placed with you.

Don’t worry; you’ll do great!

Read Also:

I enjoy writing and I write quality guest posts on topics of my interest and passion. I have been doing this since my college days. My special interests are in health, fitness, food and following the latest trends in these areas. I am an editor at Content Rally.

View all posts

Leave a Reply

Your email address will not be published. Required fields are marked *

Related

Old House

Tired Of Seeing Your Old House? Here’s What You Need To Know

Whether we express it or not, we have a desire inside us to modernize the design of our house. There are lots of challenges one has to contend with whenever remodeling or reconstruction of an old house is to be done. However, if you read the tips given below, you can easily prepare yourself to face any kind of challenge and overcome it. 5 Renovation Ideas For Your Old House Are you tired of seeing the old house? Then you must apply some renovation techniques to make the changes in your house. Renovation does not mean that your house only needs to look good. Apart from the good look, the architectural value of the house is getting improved.  The most significant advantage of the renovation is getting a good amount of money when reselling the home. Check out the five renovation ideas for your old house. 1. Know Where To Start: For some people, one of the biggest problems is they don’t know where to start the remodeling project. Those who don’t have any prior renovation experience face real problems. Then they consult builders for this purpose.   However, finding out the right type of builder is another issue. Some builders provide land and house packages in Canberra, which assist in building and reconstruction for your old house to know more about it.  2. Assess Whether The Renovation Has Potential? Sometimes, the land of your house or the house itself does not have the potential to get renovated because of many reasons. In this situation, investing in such property will not be a wise step.  Modernizing an old house often; requires extensive work, which is very cumbersome for many people. Therefore, assessing the needs of the renovation is very important. Whenever you consider the potential, try to determine if the remodeling of any part of the house is going to add value to the house. Find answers to your renovation requirement like how to add a new door, extend a window, or how to remove a wall. 3. Determine If You Need An Architect: Oftentimes, we come to know that things did not turn out the way we wanted them to because we did not hire an architect. The architect proposes a new design to modernize your house. The best strategy is just to make a blueprint of your house renovation ideas.  Many people try to find the design of their own choice, which ruins the overall look of your old house. Therefore, make sure that you have determined whether an architect is needed or not.  4. Talk About Maintaining An Older Look If You Want  If you don’t want to change the original features of your old house and restoration is your top priority, you must know how to get it done. Restoring old features means not affecting them and maintaining the older look of the house.  Those who want to live with the memories from the past should talk to the consultant and discuss their preference in detail. Also, ask him how you can cut costs and maintain older characteristics more simply and easily.  5. Go For A Newer Plumbing System: Getting a new wiring system or plumbing rework is very expensive. Due to this, you might not want to consider it while you are trying to update the house’s look. However, you must know that if you go for an updated system, you manage to add value to the house and make it worth living.  You don’t need to get the expensive rework always. Sometimes, a little tuning also works. In some situations, changing the system might be the only option. However, it is still the best thing to go with if you want to increase the worth of your old house.   Conclusion: Your old house is not only a place. This is a place that needs a regular maintenance process. Apart from the maintenance, when you are adopting the latest renovation ideas and concepts, your houses will look much more modern and well maintained. By renovation, your house’s reselling values will also be improved. This is the reason after each renovation your house’s price is getting much higher, and you can live in a modern house. Read Also: Best House Renovations For 2021 Should You Get A Dining Bench Things You Can Do to Your Apartment to Raise Its Value Ideas to Design an Eco-friendly Home: Save This Planet

READ MOREDetails
Fabric Expansion Joint

How to Install a Fabric Expansion Joint

A fabric expansion joint is a metal device that attaches to your ceiling above the door frame and expands into the attic. It's then used as part of a roof venting system that reduces condensation. The installation process requires you to drill holes in the rafters and use a special shrink tube to seal the seams from inside and outside. What is a Fabric Expansion Joint? A fabric expansion joint is a metal device that attaches to your ceiling above the door frame and expands into the attic. It's then used as part of a roof venting system that reduces condensation. The installation process of a fabric expansion joint requires you to drill holes in the rafters and use a special shrink tube to seal the seams from inside and outside. The main benefit of installing a fabric expansion joint is that it allows for higher ventilation rates, which can result in lower humidity levels in your attic. This is especially helpful during times when people are prone to developing asthma symptoms due to high humidity levels. Additionally, with this option, you will also be able to install ductwork without having any openings visible from the outside of your home. And of course, there's no need for any work on your roof or chimney as well! Installation Process The installation process is pretty straightforward and doesn't require a lot of skill. If you're handy with tools, it should be relatively easy to do. First, you'll need to remove the old venting system and install the new fabric expansion joint. Then, you'll need to cut holes in the ceiling rafters and use a special shrink tube to seal the seams from inside and outside. Once your fabric expansion joint is installed, you can finally attach your fabric expansion joint. The entire process should only take about an hour or two. How to Install a Metal Roof Vent If you're a homeowner who wants to install a metal roof vent, you'll need to gain access to the attic space and remove some of your existing roofs covering. This includes removing the rafters, which could be difficult and costly if they're not accessible from the inside. To make it easier on yourself when installing a metal roof vent, here are some tips for how to go about it: Get help with this task. It can be very difficult to get up on top of your roof without any assistance, so be sure that someone with experience is available to help you out. If possible, use a ladder instead of climbing up on top of your house's roof. This will make it much more comfortable and less dangerous. Use wood shims or spacers to support the rafter while you drill holes in the ceiling above them. You can also use these shims underneath the vent where it meets the frame to create an airtight seal between the two components. Conclusion That's a wrap! If you're installing a metal roof vent, or a fabric expansion joint, you'll need to find a way to secure the vent to the roof. You'll need to find a way to secure the vent to the wall as well. There are a few options available: screws, nails, glue, wire, or screws and nails. If you have access to the roof from the exterior, use screws and nails. If you have access to the roof from the interior of your home, use screws and glue. If you have limited access to the roof, use wire or screws and nails. Read Also: Roofing Painting Contractor Leads: Ask Before Hiring One What Are The Services Offered By Roofing Companies? Ready Rooftops – How to Install Solar Panels Roof Repair: Should You Hire Roofers or DIY?

READ MOREDetails
Bathroom Remodel

How To Plan A DIY Bathroom Remodel

A bathroom remodel can be a big project, but it can also be a fun and rewarding DIY project. If you're looking to update your bathroom, there are a few things you need to consider before getting started. In this article, we'll go over the steps you need to take to plan a successful DIY bathroom remodel, including what bathroom supplies you'll need and how to budget for your project. Determine Your Needs and Wants Before you start buying bathroom supplies and tearing apart your bathroom, take some time to determine what you actually need and want in your new bathroom. Do you need more storage space? Do you want a spa-like shower? Do you need to add a bathroom for guests? Write down a list of what you want and need in your new bathroom to help guide your decision-making process. Measure Your Space Before you can start buying bathroom supplies and figuring out what you need, you need to know the dimensions of your bathroom. Measure the length and width of your bathroom, as well as the height of your ceiling. You'll need this information to determine how much tile, paint, or other bathroom supplies you'll need. Create a Budget Budgeting is one of the most important parts of any DIY project, and a bathroom remodels is no exception. Make a list of everything you want to include in your new bathroom and estimate the cost of each item. Keep in mind that you'll also need to factor in the cost of labor, as well as any unexpected expenses that may come up during the project. Decide on a Design Once you have a list of what you want and need in your new bathroom, as well as a budget, you can start deciding on a design. Look at bathroom remodel ideas online and in magazines to get an idea of what you like and what you don't like. You can also consider hiring a designer to help you create a bathroom design that meets your needs and fits your budget. Choose Your Bathroom Supplies Once you have a design in place, you can start choosing your bathroom supplies. You'll need to choose a vanity, a sink, a toilet, a shower or bathtub, and any other items you want to include in your bathroom. Make sure you choose bathroom supplies that fit your budget and the design you've chosen for your bathroom. Plan Your Timeline Once you've chosen your bathroom supplies, it's time to plan your timeline. Decide how long you want to take to complete your bathroom remodel and create a schedule that fits your timeline. Make sure you factor in time for unexpected events, such as rain or illness, that may delay your project. Start Your Remodel Now that you have a plan in place, it's time to start your DIY bathroom remodel. Start by removing any old bathroom fixtures and preparing the space for your new bathroom supplies. Make sure you have all the tools you need and take your time to ensure a successful outcome. A DIY bathroom remodel can be a big project, but with a little planning, you can create a beautiful new bathroom that fits your needs and budget. By following these steps, you'll be on your way to a successful DIY bathroom remodel in no time. In conclusion, planning a DIY bathroom remodel requires careful consideration and preparation. From determining your budget and creating a design plan to obtaining necessary permits and selecting materials, each step of the process is crucial to ensuring a successful outcome. By following these tips, you can create a beautiful and functional bathroom space that meets your needs and exceeds your expectations. With careful planning and attention to detail, you can complete a DIY bathroom remodel with confidence and ease. Additional: Bathroom Remodeling Tips and Ideas Bathroom Upgrades You Should Consider Using Feng Shui in Your Bathroom Design Mirror Decorating Ideas To Style Your Bathroom

READ MOREDetails