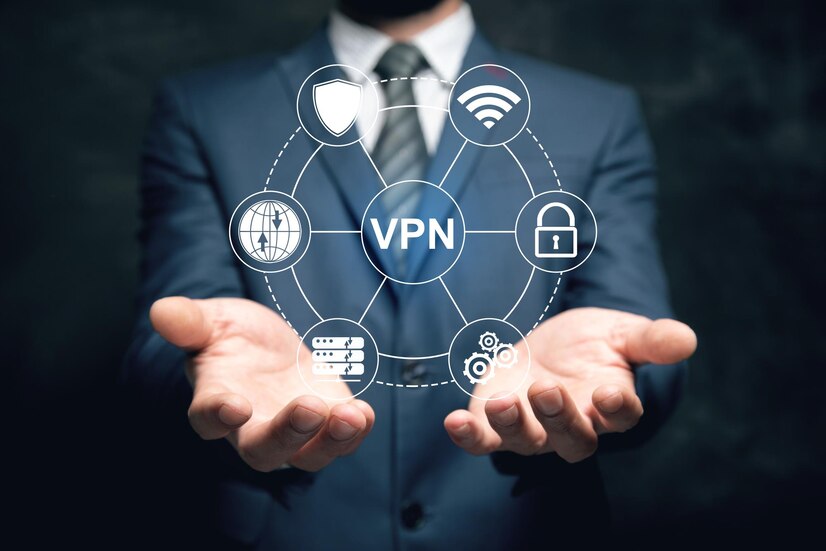
Urban VPN – Your VPN With The Fastest Servers

Published on: 05 June 2023 Last Updated on: 14 June 2023
Urban VPN - Your VPN With The Fastest Servers

People are flocking to safe connections when they browse the web as long as technology is an irreplaceable part. Virtual private networks, or VPNs, give internet users worldwide an additional layer of security. Given the number of elements to consider when choosing a VPN provider, it can be very challenging.

This article will discuss the importance of VPNs with fast servers and introduce the benefits of one Urban VPN.

What Is Vpn?

A Virtual Private Network (VPN) can give you some privacy by hiding your computer’s IP address from everyone. It creates a tunnel from your computer or phone to the Internet via the VPN, preventing prying eyes from peering in. The VPN is the only thing other people can see surfing these sites, not you.

A VPN is responsible for hiding your IP address by simply allowing the network to redirect it with a specific configured remote server. This indicates that on surfing online with the use of a VPN, the server is your only data source. Moreover, the VPN acts as a filter that converts your confidential information into gibberish. 

Why Is It Important To Use VPN With Fast Servers?

VPN With Fast Servers

Regular servers running a VPN program and protocol are known as VPN servers, giving VPN service providers access to them.

The number of available servers has a direct bearing on the performance of the VPN connections and the features that the VPN software offers.

Alternatively, you should search for the fastest VPN server locations if you simply want to hide your internet activities without having a particular nation in mind. The speed increases with the server’s proximity to your physical location. You should therefore search for suppliers with servers in your nation. Any adjacent nation’s servers offer respectable speeds as well, but connection performance may decline as you travel farther away.

An insufficient number of servers dispersed across numerous sites may result in connectivity issues. The most popular servers are from Europe and North America. When numerous users connect to the same servers at once, you can encounter slowdowns if just a few servers are available in these highly demanded areas. On the other side, connection issues are much less frequent if there are thousands of servers. A VPN service with numerous servers spread over numerous places is best.

What Are The Benefits Of UrbanVPN?

For devices running Android, Windows, and even ioS, Urban VPN is a full-featured application. With the help of this program, online browsing becomes more secure.

Simply download and install this app or extension on your device to start using it. Urban VPN is interesting because it is so inexpensive.

Here are some other benefits:

Fast Servers

To guarantee the finest connections and speeds, the corporation strategically distributes its servers worldwide. Depending on your location and the server you’re connecting to, the connections are remarkably steady, and the speeds are decent, if not fantastic. The most excellent part about Urban VPN is that, in contrast to other VPNs, it doesn’t demonstrate a significant difference in speed between your regular speed and the speed you obtain when using a VPN.

Advanced SSL Encryption

Advanced SSL Encryption

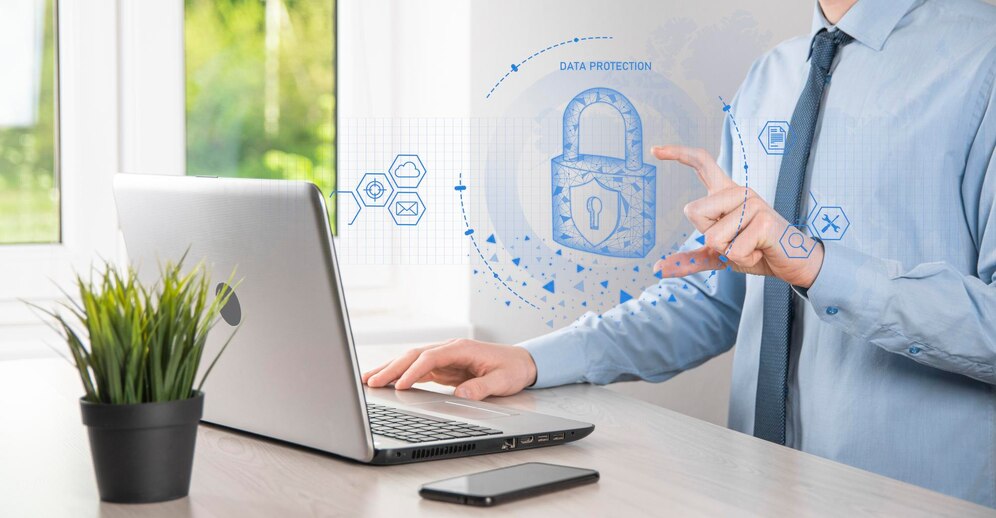
If you frequently use public WiFi, you should use Urban VPN for your privacy or security. The data broadcast from your device can be intercepted by neighboring hackers using these open networks, giving them an advantage. You need a free VPN service that supports SSL encryption to protect your online activity.

Privacy

When utilizing a virtual private network, privacy is a major worry for many people (VPN). With the help of Urban VPN, you may hide your IP address and give the impression that you are in another country by encrypting your internet traffic and routing it through a distant server. This can help keep your private information secret and shield your online activity from inquisitive eyes.

There is also no necessity for you to fill out or provide any kind of personal information when you subscribe to the program. Naturally, every aspect of your Internet and network usage is protected safely.

Speed

With Urban VPN, you will also experience a significant increase in connection speed. It’s uncontrolled, which is why this is. There won’t ever be any circumstances in which the network throttles or limits your connection rate. The ability to download or stream videos, use VoIP, and use other devices is fantastic news for users.

To put it another way, you will have no trouble carrying out your desired online activities while remaining anonymous and secure.

Value For Money

Urban VPN is completely free, so it offers the ultimate value for money. It is powered by the VPNR community, which helps users to unblock the internet for each other. Thus, sharing the network resources in a just manner. The network usually loves to market itself as the desired free VPN service made for personal use. 

However, the brand provides a premium costing structure for Android users. It is good to test the security as well as the speed of this software. For a single month, the cost is somewhere around $7.25. If you subscribe to the one-year plan, it might need a charge of $3.64 per month. 

Regional Content Access

It is difficult to access the regional web content from everywhere. Websites, as well as services, often consist of content that is only accessible from specific parts of the world. With the use of a VPN, you can easily access regional content by sitting in the comfort of your local area. 

Conclusion

Users enjoy Urban VPN because, in their opinion, it has a wide range of services available in several nations. Urban VPN is a comprehensive tool and program since it provides a broad range of services and, from users’ perspective, also lives up to their expectations.

On the other hand, the software performs admirably and is simple to use and download. Urban VPN will not disappoint you if you’re searching for an easy and affordable provider. Like its top rivals in the industry, it offers premium services at reasonable prices.

Additionals:

Abdul Aziz Mondol is a professional blogger who is having a colossal interest in writing blogs and other jones of calligraphies. In terms of his professional commitments, he loves to share content related to business, finance, technology, and the gaming niche.

View all posts

Leave a Reply

Your email address will not be published. Required fields are marked *

Related

Prepaid SIM Cards

3 Best Prepaid SIM Cards For Tourists Visiting The USA

If you're planning on traveling to the USA, you might be wondering how you're going to stay connected to your friends and family back home while exploring this incredible country. A lot of people assume that they'll have no choice but to use their phone carrier's international roaming plan while they're in America - and if you're someone who only occasionally makes calls or sends text messages, then this will probably work out fine for you. The US prepaid SIM card industry has grown over the last few years, meaning there are more options than ever before when it comes to choosing the best prepaid sim card USA for tourists to use during their trip to the USA. Whether you’re looking for an affordable choice with unlimited data, or you need something that’s easy to set up and includes international calling features, these three prepaid USA SIM cards have been chosen as the best options based on their benefits and features. Read on below to find out more about each one! 3 Prepaid SIM Cards for Tourists Visiting the USA 1. ATT The AT&T GoPhone sim is a good choice for visitors to the United States, particularly those who plan on spending most of their time in large cities or near top tourist destinations. With unlimited data and texts, you'll be able to stay in touch with friends and family back home. You can also add additional data if you find yourself needing more, which is a feature that isn't offered by many other prepaid options. And while there's no free roaming outside of North America, AT&T offers discounted rates that are reasonably priced. The biggest drawback to AT&T is its coverage -- especially if you're visiting small cities or rural areas. Data may not work as well as it does in more populated areas. 2. Verizon The Verizon Wireless prepaid plan, $60 a month, is worth considering if you like larger data buckets and unlimited talk and text. The plan comes with 4GB of data and unlimited calling to Mexico and Canada. Then it’s throttle-down on mobile speeds once you cross over into your data allotment—but at least it won’t cost you any more money after that. You can share your pool of high-speed data across up to 10 devices (smartphones, tablets, etc.), so long as they have been on your account for 30 days. Alternatively, they can access slow 2G service while connected through Wi-Fi instead. 3. T-Mobile If you’re looking to make international calls while in the US, T-Mobile is a great choice. Not only does it have some of America’s fastest LTE networks, but it also offers unlimited text and data roaming to over 100 countries. Plus, you get up to 10GB of 4G LTE mobile hotspot use with an eligible smartphone plan. Your data speeds might slow down after that (due to congestion on their network), but your service will still work. If you need more than 10GB, though, I recommend going with Verizon instead. They offer 15GB of LTE mobile hotspot usage per month, along with faster overall speeds when using your phone as a hotspot. Their TravelPass feature also allows you to use their service as if you were at home. You just pay extra for every gigabyte used (or purchase additional data passes). Also, note that Verizon is better if you want an unlocked phone – they are one of two major carriers (along with AT&T) that don't sell phones locked into a specific carrier or contract. Finally, be aware that there are no T-Mobile stores in Las Vegas airport – they do have them throughout most major cities, however. Additionals: Best Bulk Sd Cards Of 2020 – Review And Buying GuideGuide For Choosing a Smartphone: Top TipsBest Performing Routers In 2021

READ MOREDetails

Googling How to Fix a Blown Head Gasket? Find Out Here

Nothing can be more frustrating than a blown head gasket in your vehicle. The worst nightmare is if you cannot access a mechanic to fix it for you. You have only one option left in that situation; do it yourself. You may consider several options to fix the problem, but the ideal solution will be a steel solution to solve the problem permanently. The steel seal solution is a combination of various chemicals that react under given conditions to form a permanent seal to the crack that is causing leakage in the engine. Therefore, if you were wondering how to fix a blown gasket, find out here how to use a steel seal solution for that purpose. Remove the Radiator Cap When learning how to fix a blown head gasket, please remember not to start the engine if the coolant is not in place. You need to ensure that the engine radiator is cold before removing the cap. Carefully pour the clear steel seal solution into the radiator. If you unload the coolant, put the sealant into the system, then follow with the coolant. Start the Engine Switch on the fan and heater and turn them to the maximum. Start the engine and run up to maximum operating temperature. On reaching operating temperature, run the engine for thirty more minutes. It may take approximately half an hour, though the time depends on the automotive’s condition. If your vehicle is roadworthy, you can drive on a freeway for up to five miles at 3000 to 4000 RPM. After that, cut the engine and let it cool down. Refill with antifreeze or water, then secure the radiator cap. Drive the Vehicle as Usual After finishing the second step, your vehicle is suitable for the road. Let the steel seal fix in the system and start your ride usually. However, if you use an expansion tank to put the steel seal, please be careful that the sealant does not remain in the tank reservoir. Ensure there is enough space for the solution to go inside the cooling system. If you complete the treatment with only water, please replace the coolant once you finish the repair before driving. Further Instructions on Steel Seal It is possible to try various substandard products to fix a blown head gasket. If this happens, please use clean water to flush the cooling system once you remove the radiator hose at the bottom. Nb, avoid using a flushing agent. Directions for Backpressure Some vehicles have a lot of back pressure building up in the cooling system. Read more here on fixing a blown head gasket if you are facing the backpressure problem. Find the cylinder producing the bubbling in the spillage tank or backpressure. You can achieve this by removing one plug after another until the bubbling subsides. Remove the injector from the cylinder with the bubbling in the backpressure before you start to drive. That is to limit the volume of unburnt fuel flowing to the combustion chamber. To Sum It Up Trying to fix a blown head gasket can be a nightmare if you lack the necessary knowledge. It can drain your money and time to look for an expert. However, steel seal fix is your number one DIY solution. This step-by-step guide will help you do your head gasket repair yourself. Read Also: LPG Safety Tips and Precautions for your Home Which Type Of Forklift Your Industry Need: Have A Look At Them! Portable Generators: 5 Ways To Keep Them Clean and Running

READ MOREDetails
steam disk write error

How To Troubleshoot Steam Disk Write Error? [Fixed]

Steam is a well-known name in the video gaming industry. It is a social gaming website, which allows you to play, buy, and discuss games. If you are using steam for some time, then there is a lot to know about it. Have you ever faced the Steam disk write error? Are you looking for the solution to Steam disk write error windows 10? Are you unable to solve the issue? This article will help you with multiple solutions in order to remove the error. Go through the steps and enjoy an interruption-free gaming experience.        What Is The Steam Disk Write Error? While you are updating or downloading any game you bought from the Steam Platform, you may face the Steam disk write error. At the time you are attempting to download or install a new game, this message can appear on the screen. You also can face the same issue when you are trying to update a game that you have installed earlier. In case your game needs an update, at the time of launching the game, the screen will show this error. Reason For Steam Disk Write Error? Whenever Steam is not able to download and save the data of the game to the storage drive of your computer during a new installation or an update. One of the messages mentioned below will appear on the screen, Any error occurred at the time of updating the  game_title Any error occurred at the time of installing game_title The steam disk write error can happen, when There are no defects on the hard drive. The Steam folder or drive is write-protected. There are outdated or steam corrupt disk files in the Steam directory. Your firewall or antivirus is blocking Steam from saving and downloading data.  Fixing Steam Disk Write Error If you have encountered the steam error while downloading, error while installing, updating, or launching the Steam game and want to know the ways of fixing disk write error steam, here are the answers #1. Restart The Steam Open the Steam window Click the word “Steam” on the top-left corner The Dropdown menu will open For Windows, click on “Exit,” and for Mac, click on “Quit Steam.” Again open Steam. In case you have been logged out, log in another time Check for the Steam disk write error is gone or not #2. Restart Your PC Click on the start icon Power Icon Restart #3. Clear All Download Cache Open steam Go to “settings.” Click on “downloads.” Select the option “clear download cache.” Reopen and check if it is working or not #4. Repair All The Steam Disk Bad Sectors EaseUS Partition Master to check bad sector Install it Click on the disk which you want to check Click “surface test.” It will red mark the bad sectors. In case of any error, it is a good idea to replace the drive or clone it to another HDD apart from the steam disk write error SSD. You can take help from EaseUS Partition Master to replace the failing disk. After opening the EaseUS Partition Master, select the disk, which you want to clone. Click on “Clone” Select your destination or SSD/HDD whenever you want to clone it Click on “Next” Click on “Continue” to wipe out all data. If you have any valuable data, take a backup of it. Click on “Autofit the desk” or “Edit disk layout” or “Clone as the source.” Click on “Execute the operation.” Click on “Apply” to solve the steam disk write error #5. Run As Administrator Go to your Steam folder Right-click on “Steam.exe” Click on “Properties” Select the tab named “Compatibility.” Click in “Run this program as an administrator.” Click on “Apply” then “OK.” See whether the Steam disk write error is solved or not #6. Move The Game Folder Sometimes transferring the game to a healthy drive can solve the issue. But here, manual transferring will not work. You can use EaseUS Todo PCTrans for transferring the file.  Connect your computer with the destination drive Select the games that you want to transfer Now transfer them to the destination drive #7. Confirm Integrity For Steam Game Files  Reboot the system Launch Steam Click on the “Library” tab Right-click on the game that is causing the error Select “Properties” Click on the “Local Files” tab Click on the “Verify Integrity Of Game Files…..” button It will take some time to verify the game files Once the verification is done, try to install the updates and see if the Steam disk write error is showing or not.  #8. Remove The Write Protection From The Steam Drive For Steam Disk Write Error Press “Win + R.” Type cmd Command Prompt will open. Type “disk part” there Press “Enter” Type “list disk.” Press “Enter” Type “select disk 0.” Press “Enter” Type “attribute disk clear read-only.” Press “Enter” After the write protection process is done, type “Exit.”  Press “Enter” The disk part window will close.  #9. Some Other Fixes Of Steam Disk Write Error Apart from all the steps mentioned earlier or techniques, there are two more ways to eliminate the Steam disk write error. You can uninstall Steam and reinstall it. In order to uninstall  Go to “Control panel.” Open “Add or Remove programs.” Search for Steam and select it Click on the “Remove” After selecting the automatic option, click on “Next.” Click “Finish” Once the uninstallation is completed, you can install it again. For installing Steam, follow the below steps. Visit https://store.steampowered.com/about/ Click on “Install Steam” After the download is completed, click on “Open” or “Run.” Follow the on-screen instruction to install Steam. Open steam and log in. Final Talk Though you have tried and everything to resolve the issue, it is not working. You can seek help from Steam’s official support. Opt for the Steam support team. You also can visit the community forum of Steam for any further or additional help. Apart from the above-mentioned nine solutions of steam disk write error, if you know any other practical solution, do let us know.   More Resources: The Complete Guide To Choosing VPS Hosting Best Server Management Tips for Startups Best Bulk Sd Cards Of 2020 – Review And Buying Guide

READ MOREDetails