5 Essential Tips to Designing a Beautiful Front Yard Garden

Published on: 06 October 2016 Last Updated on: 12 September 2024
Front yard garden

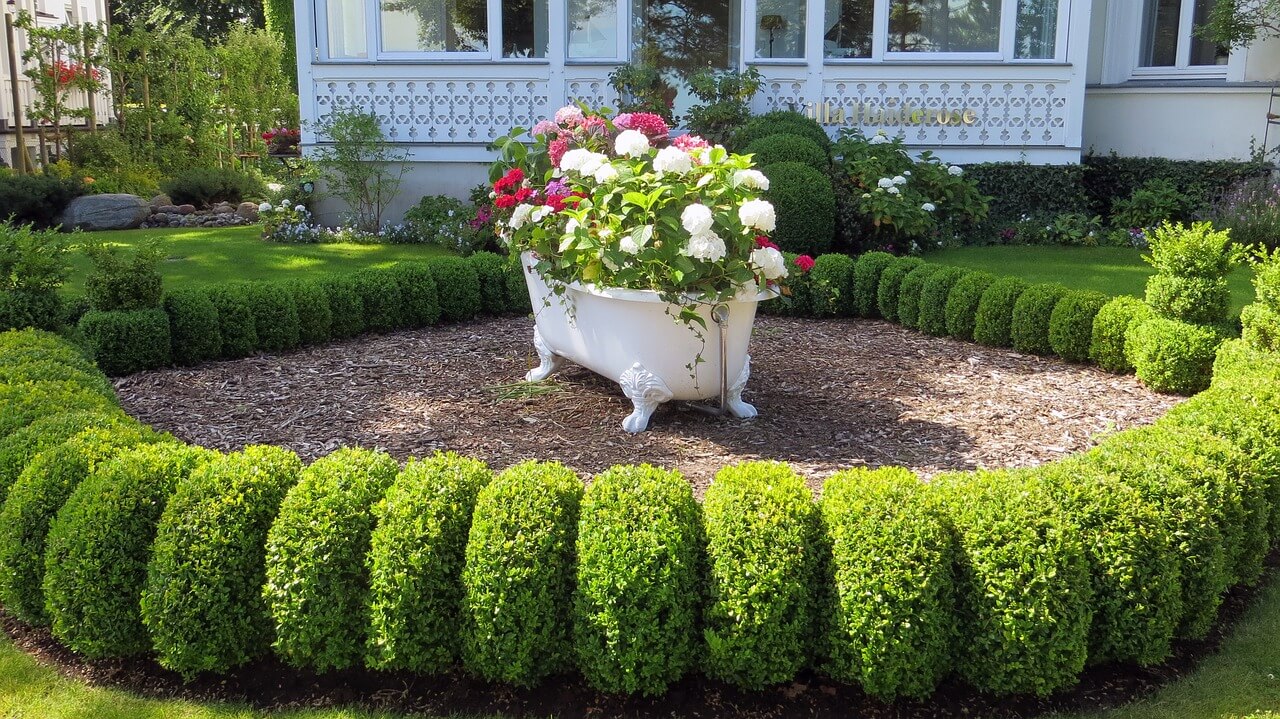
Over the years, the perception of gardening has changed from the traditional method of tilling a patch in the backyard for fruits and vegetables to more sophisticated types of gardening. Front yard gardening is steadily taking root in the suburbs as homeowners strive to decorate their front yards with more than hydrangeas in the flower bed.

Needless to say, front yard gardening adds aesthetic value to the property and not just for you but your neighbors as well. In open-plan neighborhoods, exposed front yards call for constant admiration or scrutiny from neighbors who may get upset if they do not approve of what is in your yard.

If you are confused about which plants will be able to uplift the aesthetics of the garden you can always count on experts in the industry. Home and property owners can get a mix of plants selected by Tree Service Roseville that are not only pleasant to look at, but also require low maintenance. This will help you keep your garden in top shape and be appreciated by everyone that visits the same.

5 Essential Tips to Designing a Beautiful Front Yard Garden

An unsightly front yard is likely to hurt your neighbor’s property as well. For instance, if he is trying to sell his home, open house visits with potential buyers will not go well if there are overgrown bushes right next door. Some neighborhood associations go as far as stipulating guidelines on what is allowed in the front yard. If you are contemplating starting a garden in your front yard, read on for useful tips.

CR1. Determine Size of the Garden

How much land you allocate for your front garden is dependent on the size of your front yard; you cannot extend your garden to the neighbor’s property. Consider other activities that go on your front yard, for instance, parking vehicles, a playpen for young children, and so on.

Read also: 3 Amazing Flower Street Garden – How To Design

Planting beds can be horizontal, along with the width of the house, or vertical from the house to the sidewalk to the fence. Leave enough space for a walkway so that people can access the home with ease without the risk of stepping on plants or getting their shoes muddy from dirt.

2. Select Mix of Plants

Once you know how much land is available, identify a plant. Since front yard gardens are meant to enhance the look of your home, avoid monotony in one crop. Try a mix of different plants that will look great when they grow and plants that do not compete for nutrients.

You also need suitable methods of nourishing your plants to give them the best chance of survival. Applying fertilizer and compost will greatly boost the nutrient content of the soil. Whatever plants you settle for, they should not block the view of the street-facing windows as this will block natural sunlight from gracing your living room or kitchen.

Bushy plants with overgrown foliage look unsightly and are likely to mar the look of your front yard. Drop by your local garden store and find the best pole saw for trimming excess foliage to maintain the desired look and avoid harboring pests.

3. Establish Order

While growing a variety of plants in your front yard is encouraged, do not get carried away. Planting too many species affects the appearance of the landscape making looks like different patches of land with no cohesion. This type of mess is best moved to the backyard away from the prying eye of onlookers.

Read also: How to make a perfect summer retreat from your backyard

Gardening experts recommend five to ten species of perennials, three to five shrubs and if you like, add two varieties of trees. Before making a decision, investigate what types of plants thrive in the climatic conditions of your area.

4. Regular Maintenance

Having a front yard garden demands your full attention. You cannot afford to ignore drooping leaves, weak stems, or an insect infestation. Establish a maintenance routine that works well with your other responsibilities such as work or taking care of the family.

Regardless of your schedule, there are important activities that must be done on a regular basis and sometimes daily. For instance, watering, trimming bushes, weeding, etc. You can choose to do this in the evening after work or if you are too busy, enlist the services of a gardener during the day.

5. Year-Round Gardening

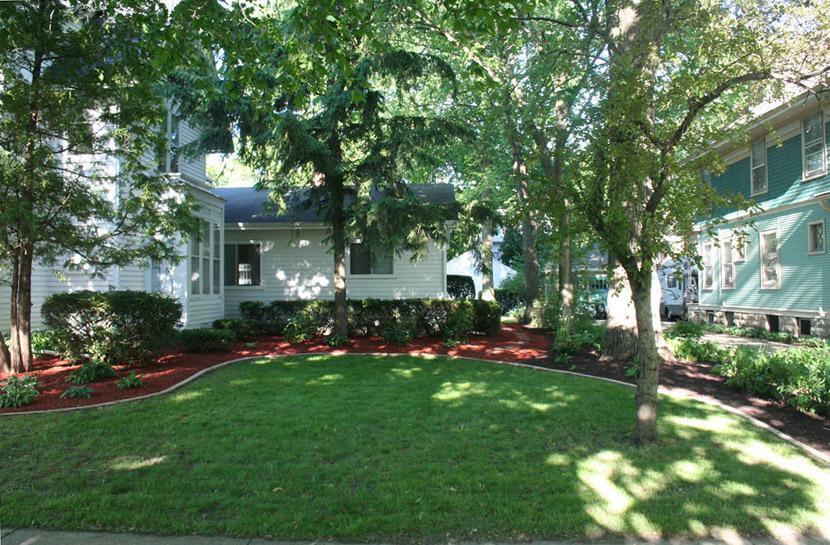
When starting a front garden, you want your plants to grow throughout as opposed to only a few months of the year. While not all plants can do well in the dead of winter or the sweltering heat of summer, you can count on evergreen trees and shrubs.

Planting trees in your garden provide a natural fence around your property and trees provide natural shade for smaller plants. A reasonable amount of shade helps to control evaporation in the hotter months of the year

A front yard garden may be the solution you have been looking for since you purchased your home. Gardening is an ideal alternative to mowing the lawn and running sprinklers all day. You do not have to do it all by yourself; involve the rest of the family for some added fun.

Content Rally wrapped around an online publication where you can publish your own intellectuals. It is a publishing platform designed to make great stories by content creators. This is your era, your place to be online. So come forward share your views, thoughts and ideas via Content Rally.

View all posts

Leave a Reply

Your email address will not be published. Required fields are marked *

Related

Save Garden

How to Prevent Root Damage to Sewer Line and Save Your Garden

Having a beautiful garden with big majestic trees is a dream come true for many. However, that’s until the roots of those trees don’t damage your sewer line. There’s nothing majestic about that except the royally high bills repairs and damage can add up to. The average cost for a main sewer line repair is nearly $2,500, according to HomeAdvisor. And your insurance won’t cover it if the problem is caused by wayward root growth, because this is classed as a ‘preventable cause’. Therefore, it’s essential that you do your best to prevent roots from damaging your sewer line. If all fails, you also need to use the most effective strategies for fixing the damage as fast as possible. How to Prevent Root Damage to Your Sewer Line and What to Do If You Fail : The most important thing to understand is that roots are naturally growing towards sewer lines seeking moisture and nutrients. Not having any trees directly on your property doesn’t guarantee the safety of your pipes either, because they grow for many feet underground and can get to you from the neighbors. The first thing to do in order to prevent costly damage is creating a map of sewer lines running through your property. Next, you need to get them examined for leaks and replace any places with even the smallest crack. Even a tiny leak ‘attracts’ roots, which can grow into the pipe and wreak havoc on it and your lawn. To minimize the costs you can use modern trenchless methods of drain replacement. This approach allows replacing whole sections of sewer lines by digging only a few small holes. Therefore, you save money on landscaping restoration. This method of repair and replacement is also faster than digging a trench, so you can minimize the damage. Now that you’ve ensured your sewer line system is perfectly fine and know exactly where the pipes are, you can move on to the ‘active’ prevention state. This starts with installing barriers that won’t allow roots to get to your pipes. Like with drain replacement, you can choose between methods that will require digging up your lawn and ‘non-invasive’ options. The latter is chemical growth inhibitors, like potassium hydroxide or copper sulfate. Bear in mind that the vegetation in the area where you spread these chemicals can suffer to some extent. The other option is to plant metal or wooden barriers directly into the ground so they run along the pipes. If you are only starting your garden, you have a chance to prevent root damage to sewer lines by designing it so the larger trees and shrubs are as far as possible from the pipes. You also need to choose the species with small root ball systems. Be sure to water them well so the plants don’t have to seek out additional moisture through the ground. Root Damage to Sewer Line: How to Tell If You Aren’t Too Late? One of the worst things about root damage to the pipes is that it’s very difficult to spot right away. And by the time it gets severe enough to be obvious, the repairs will cost a small fortune. Regular inspections by professionals will help avoid this, but you also need to know warning signs to look out for. These include drain clogs, wet patches on your lawn, and slow-flowing drains. In case of any of these, contact a professional plumber to find the reason as fast as possible. Read Also : Grow These Flowering Plants In Your Home Garden To Remove Vastu Related Problems Smart Fun Gardening: How To Take Care Of A Money Tree How To Choose The Right Containers For Your Container Garden

READ MOREDetails
How to Choose LED Lights

How to Choose LED Lights for Every Room in Your Home?

The lighting you choose for every room in your home impacts the overall mood and appearance of the space. In the same way that light from the sun energizes your body, the light coming from bulbs inside your house will also affect your focus and energy. Therefore, in choosing lighting fixtures for your home, you need to consider the purpose of each room and the most suitable lighting to install. How to Choose LED Lights for Every Room in Your Home: 1. Brightness and color of LED lights: There are LED bulbs that emit blue light which helps increase focus and alertness. Those that emit yellow light, on the other hand, induces a feeling of relaxation and calmness. LED bulbs with lower temperatures typically produce a warmer, yellow light and in contrast, lamps with higher temperatures have a cool white glow similar to the appearance of daylight. 2. LED lights for bedrooms: Bedrooms are supposed to be more relaxed and peaceful. In choosing an LED bulb to retrofit a bedroom, look for bulbs with a color temperature from 2,700 to 3,000 K. These tend to be warmer and produce a calming atmosphere. If you are unable to fit an entire room with new LED bulbs, you can retrofit an old lighting fixture using an LED bulb that is compatible with the existing installation such as an E27 LED bulb. 3. LED lights for a home office: In a home office, you will want lighting that helps in maximizing productivity. As mentioned earlier, LED lights with a touch of blue help you feel more alert and awake. That is why in most office and commercial spaces, bright white LED lights mimicking daylight are often used. In selecting a place for installing LED bulbs, make sure that these are not directly above computer screens to avoid unwanted shadows or glare. 4. LED lights for living rooms: The living room is typically a multi-purpose space used in entertaining and relaxing. As such, there needs to be a mixture of light sources to create the proper atmosphere and ambiance depending on the occasion. As much as possible, avoid bright LED lights for living rooms and try to incorporate features such as dimmer switches and spotlights. If you will be adding adjustable spotlights or recessed downlights, install them near walls and corners to avoid shadows. 5. LED lights for dining rooms and kitchens: Dining room lighting should not be too bright as it can be too distracting to the diners. Install LED lights with warmer temperature and dimmable features to adjust the ambiance of the room according to the time of day. On the other hand, kitchen lighting needs to be functional; thus, blue-light LED bulbs are perfect for kitchens. Adjustable spotlights are also perfect if you want them over specific work areas so that you can concentrate bright light only when needed. If you have a breakfast bar or a small dining area in the kitchen, make sure that there is separate lighting overhead to have a layered lighting scheme that complements the purpose of each area. Read Also: A Rundown Of The Basic Led Lighting Las Vegas Electricians Share Fun Lighting Ideas For Your Home Unique Military Hardware Concept Integrated Into Lumitact Flashlights Create A Stunning Outdoor Space With These Residential Landscape Lighting Tips

READ MOREDetails
Repairing Your Roof

Repairing Your Roof – How Should You Get Started?

Your house's roof is its ultimate defense against harsh weather, pesky creatures, and infestations.  If your roof is not in top condition, your entire house is at risk. It's crucial to schedule roof repair as soon as you notice a leak, even if it's small, as it can cause significant damage.  Repairing your roof is more cost-effective than replacing it entirely and is vital to maintain its integrity.  Left unaddressed, roof leaks can cost you tens of thousands of dollars.  This article will discuss the basics of roof repair, what you need, and how to do it. Ensuring your roof is in top condition is essential to protect your home from the elements and ensure its longevity. Steps For Repairing Your Roof Given below are the steps that will guide you in the process of roof repairing at your home— 1. Examine The Damage Following a systematic approach is vital when searching for a leak in your roof. Begin by surveying the visible damage to your roof, including shingles, gutters, and roof edges.  It's essential to start with the most obvious issues and progress to less apparent ones. Once you've assessed the exterior, examine the interior for signs of water damage.  Look for indications of water stains, dripping water, sagging, pooled water, and dampness. Inspect during rainy weather, as some leaks are intermittent and only occur when there is enough rain.  Access the attic using a flashlight to locate the water source through the roof deck. Check around all rafters for indications of water.  Water can travel through the roof decking and rafters due to the force of gravity, which may result in dripping in different areas. If you observe water dripping, trace it back to its origin. 2. Find A Reliable Contractor After a thorough inspection of your roofing system by a professional roofing consultant, you will receive an accurate and detailed bid or estimate.  The estimate will be based on the materials you choose for your roofing projects. Moreover, you must consider the unique measurements of your roof.  The roofing consultant will also consider any special conditions that may affect the cost. This can include the complexity of the roof design or any existing damage that needs repairing. Once you receive the bid or estimate, your roofing contractor should provide a written contract outlining the details.  This contract should include a comprehensive breakdown of the costs, the expected timeline for completion, and any warranties or guarantees included.  Therefore, you must carefully review and understand the contract before agreeing to any work to ensure everything is clear and fair for both parties. 3. Select The Suitable Material  It's crucial to have a complete set of roofing tools when undertaking any repair project. These hand tools have various uses throughout the house. They include the following: Roofing hammer. Pry bar. Nail puller. Utility knife. Shears. Tin snips. Handbrake. Tape measure. Chalk box. Roofing nails (also known as roofers). Speed squares. A pencil for notes or markings. A 10 oz clay gun. Choosing the right roofing sealant depends on the roofer's needs, but any kind will suffice.  While shingles are optional, matching them is optional. For flashing work, it's recommended to use aluminum coil stock, which is available in various colors at most box stores. A tape measure is recommended for all measurements and layout work, and a chalk box is ideal for snapping reference lines and general layout work.  Roofing nails, or "roofers," are recommended for their durability. The materials used for the roofing sealant, shingles, and aluminum coil stock are also essential. 4. Ensure That All Cracks Are Sealed Using an uncomplicated roofing sealant is important to seal any cracks on your roof.  To apply a sealant, you must pierce a thin aluminum membrane with the tube, allowing the sealant to flow.  Next, load the sealant into a caulk gun and aim it at the crack or hole to seal it.  The sealant will dry in a few hours and be set entirely in 24 hours without intervention.  Finally, you can cover the hole with shingles or flashing and move on to other projects. Ensuring that the roof sealant is compatible with your caulk gun is crucial. This is because some construction materials come in 28-ounce tubes that won't fit a standard 10-ounce gun. 5. Ensure The roof Is Insulated When planning to replace your roof, it's also a good opportunity to consider upgrading your insulation.  However, if you opt for new blown-in insulation, your roofing contractor will install it while they remove the decking.  This insulation process requires running a hose through the exposed roof and into your attic. It allows the insulation to be installed quickly and easily without causing any damage to your walls or ceilings.  Therefore, with the new insulation, you can enjoy improved energy efficiency and a more comfortable indoor environment. 6. Leave It Clean After the roofing crew installs your new roof, they should clean up any debris around your home. This includes loose shingles and nails and leaves them in their original condition.  They should also haul away old roofing materials for proper disposal. Additionally, you must ensure not to dispose of in landfills, which can contribute to pollution. The roofing expert must inspect the final product to ensure it meets all industry standards and building codes.  They should also check for potential leaks or damage and address any concerns. It is important to address any concerns and take steps to correct any issues. Therefore, ensure you’re completely satisfied with the new roof and its reliable protection for years. Can You Repair Your Roof Yourself? Understandably, as a homeowner, you may want to save money. Therefore, taking care of some home maintenance tasks can help you save a lot.  However, it is important to know your limits when it comes to your roof.  You may be capable of handling minor tasks such as replacing caulking or cleaning gutters. On the other hand, leaving any roofing projects to the professionals is highly recommended.  Moreover, roofing maintenance requires specific skills, knowledge, and equipment that only experienced and trained professionals possess.  Even a seeming DIY project can quickly spiral into a much bigger roof repair if something goes wrong.  Therefore, it's always wise to prioritize the safety of your home and family. Look for an efficient roofing service provider and explain the damage. You can get your roof cost-effectively repaired under expert supervision! Read Also: How Often Do You Need A Roof Inspection? Elevate Your Roof’s Health With Aerial Roof Inspections Choosing A Siding And Roofing Companies In Delaware

READ MOREDetails