5 Ways To Maintain And Decorate The Study Room For Kids

Published on: 04 December 2018 Last Updated on: 19 July 2019
Study Room

If your kid has lost interest in his studies then get his attention back to studies by making the study room comfortable and attractive. A well-organized study room can prove to be a sort of enthusiasm for your kid. It will encourage the kid to spend more of his time in studies. If the room is painted with his favorite color and themed with personalized artwork using some 3D effects then the study room will become the most desired place of your kid. There are a few ways that are quite economical and very creative in decorating a study room.

1. Choosing the Right Place to Study:

Right Place to Study

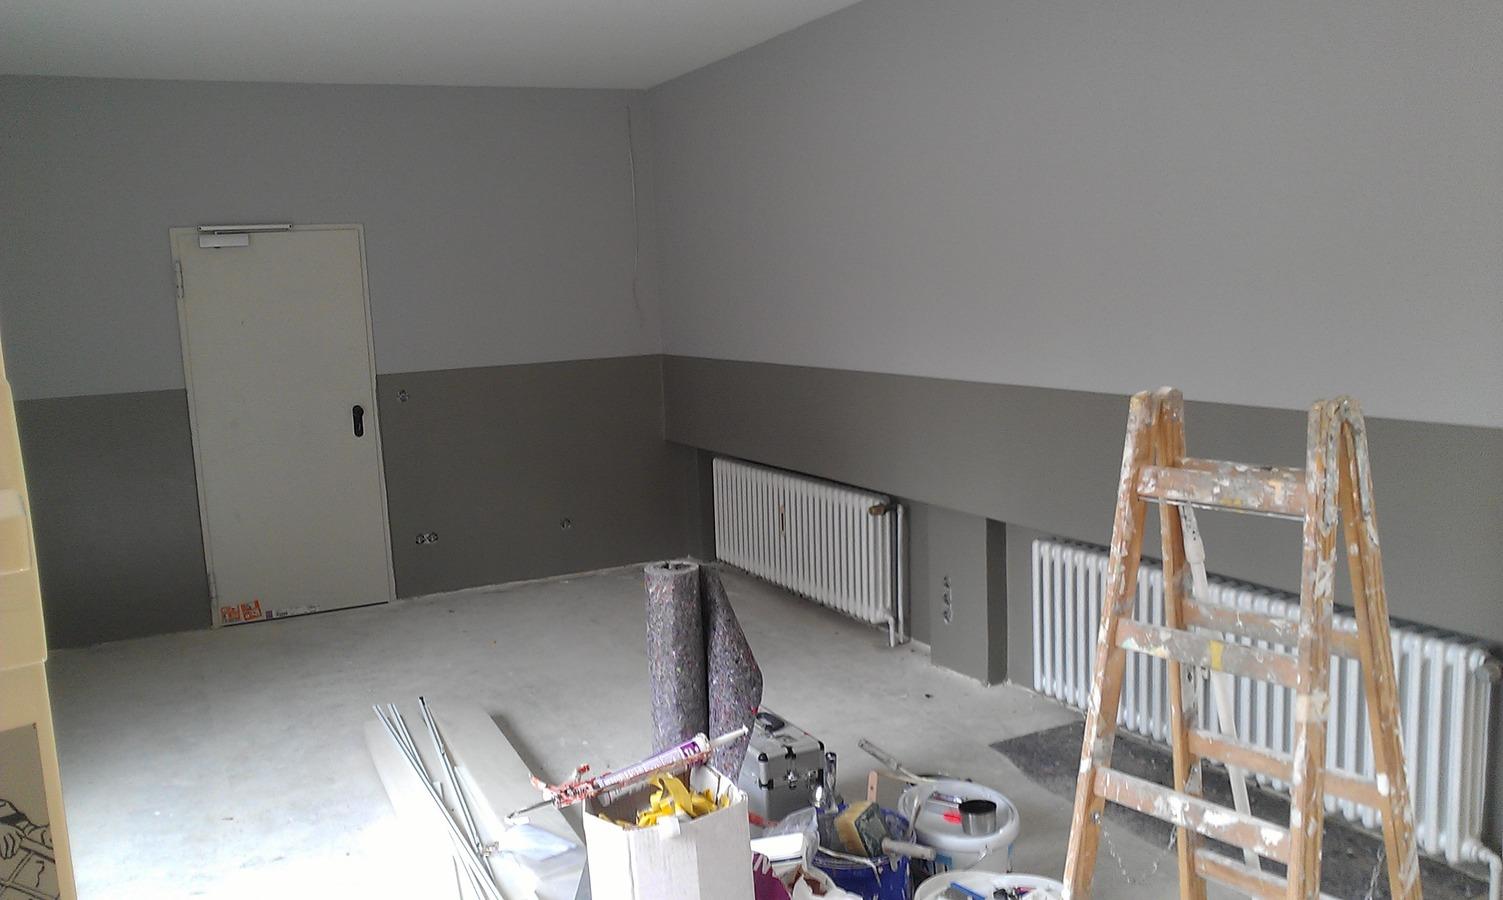
Select the right space in your house that can be used as a study place. A room should have a window for cozy feelings. Fresh air is really important to make the mind active. A room should be in a silent zone of the house, keeping all the distractions aside. It will prove to be very healthy for learning.

Our mind concentrates more in a calm atmosphere. So, be wise in selecting the study place for your kid. No matter how small space is, a good interactive change in managing the things properly will yield your effort. For small places, things are managed on the minimalist theme.

2. Organize the Furniture:

Organize the Furniture

Make the set of shelves in that room where you can organize the books on the shelves nicely. It will help in developing the habit of organizing the things in your kid’s nature. Maintaining the stationary and books is handy for your kid while studying.

Proper furniture like a chair and table gives a professional look to their study room. A comfortable chair and the perfect sized table will give some relaxing feel while you are working for hours on them. There are now study desks designed specifically to grow with the kids – check out these kid’s study tables (made in Singapore). They are comfortable, cheap, and artistically designed.

Manage things according to space. It will be more suitable if you put the things according to the size of that room.

Be wise in selecting the wall for bookshelves, then the number of bookshelves according to the size of the wall. Don’t make it seem flooded with shelves as space should be in view. Make it look spacious.

3. Prepare an Attractive Study Planner:

Make an attractive planner of their study routine, put that on the openers and change that planner accordingly.

Make the notes of motivational quotations on their desk. It will help motivate your kid even more. Put some inspirational words as bookmarks on their desk.

You can also make some attractive charts of inspirational thoughts and about the ambitions and goals of your kids. Like if he wants to become an astronaut, set the theme of galaxy and stars and put the words of achievers on their openers. This will help in getting your kid’s attention in his study room.

4. Plan Activities to Add to the Room:

Place a whiteboard on the wall. This will help your kid in assuming his room as a classroom where he can be a teacher for a while. This will inspire him to study more as a teacher of that imaginary class. Your kid can spend hours with this indoor activity of learning.

You can plan more creative activities to get him to inspire with studies. Learning should be fun; it will ease the process of converting a heavy workload into progressive learning. All you need is to grab their attention by using different sort of interactive things.

5. Add Creative Art Work:

Give the room a touch of personalized art according to your kid’s interest. The theme should be very enchanting. And set the room with proper lighting because experts suggest keeping the room bright if you want to be more energetic and active. Bright lights dodge your mind to stay active for more time.  You can also use some vibrant colors on the background wall. Colors are the activators if they are used wisely according to your kid’s choice.

Study room should depict the taste and interests of your kid as your home decor shows your personality. By adding simple innovative ideas, you can simply change the concept of boring study rooms. You will be surprised to see that your little efforts can works magic for them. Once you get done with the right setting, you will be surprised to see that your kid likes to spend hours in his study room. Study room will become his favorite place. Your little effort will help him a lot. And all of this will pay off when your kid will achieve his goals.

Read Also:

Content Rally wrapped around an online publication where you can publish your own intellectuals. It is a publishing platform designed to make great stories by content creators. This is your era, your place to be online. So come forward share your views, thoughts and ideas via Content Rally.

View all posts

Leave a Reply

Your email address will not be published. Required fields are marked *

Related

flat roof

Does Your Flat Roof Need To Be Replaced? Spot The Warning Signs

Most homeowners with flat roofs know that summer is the perfect time to inspect flat roof membranes to ensure there are no tears, rips, or punctures. But if you don’t have a lot of experience with membranes, it isn’t always easy to know what damage looks like.  Understanding the warning signs that your roof may need to be replaced is essential for all homeowners, but especially for those whose houses include areas of flat roof: while flat roofs have many distinct advantages, they do wear out more quickly, so being able to monitor the state they are in is important.  4 Warning Signs Of The Problematic Repair Need Roof  Needless to say, if you are experiencing ceiling leaks, the spread of mold, or other internal issues related to the roof, you should call an expert in flat roof repairs to address the problem immediately. But if you want to be proactive about your roof, here are some things you can look for: Check out the four signs, which are quite serious clear signs for repairing your flat roof. You should not neglect the repair work if you are finding any of these signs. 1. Ponding Water The first warning sign that repairs will soon be needed is drainage issues. If water stays on your roof for days after it rains, then your roof is probably in trouble.  Flat roofs are designed to channel water through internal and external drains quickly, and if you have noticed little ponds forming on the roof deck, you’ll want to get the problem looked at.  The main reason for the ponding water is the uneven surface of the roof and mismanagement of the drainage system. So to prevent it, always pay attention to smooth out the surface of the roof. And if your roof is showing these types of ponding problems. Start the repairing process as soon as possible. You may also like: Top Roofing Tips 2. Wrinkles In The Membrane One of the most common types of roofing membrane is EPDM rubber. These membranes are meant to adhere tightly to the roof deck, but over time they can grow loose in certain areas, leading to wrinkles or bubbles.  While these problems do not pose an immediate threat, they do indicate that your membrane will soon need to be replaced. These types of cracks are very hard to find, especially with your naked eyes. For finding the cracks and the damaged parts, water is the best medium. If you find small bubbles in certain areas of the flat roof in the rainwater. Pay immediate attention to solve the issues. Because from here the problems are going to start. 3. Flashing Separating From Roof In places where your roof abuts a wall or parapet, it is common to reinforce the seam using metal flashing. While this flashing is designed to last for decades before it needs to be replaced, it can start to separate from the roof over time, opening a gap that can lead to leaks.  If you have noticed problems with your flashing, you should call a flat roof repair company for a professional inspection.  You may also like: Roof Repair: Should You Hire Roofers or DIY? 4. Open Seams Most roofing membranes are applied in strips with overlapping seams that are closed using a sealant. But in cities like Toronto that see major seasonal shifts in temperature, these seams can open over time.  Even a small open or torn seam poses an immediate risk, so if you’ve noticed this problem on your roof, call flat roof repair Toronto experts who can help you reseal the hole or replace the damaged section. Flat roofs have many advantages over pitched roofs — they’re cheaper, more efficient, and easier to replace. But they also require more regular maintenance, especially in spring and fall.  Conclusion: You should inspect your flat roof regularly, and if you notice any of the problems above, get in touch with a professional roofing company for a professional consultation to see whether or not the time has come for it to be replaced. Once you start repairing in time, your entire house repairing cost is going to reduce in seconds. Small cracks are repairable. But the big gaps are challenging. So it is better to start repairs in time. Read Also: Roofing Painting Contractor Leads: Ask Before Hiring One 5 Myths about Roofing Services to Avoid Foundation Moisture Maintenance: 6 Tips for Home Repair

READ MOREDetails
Fabric Expansion Joint

How to Install a Fabric Expansion Joint

A fabric expansion joint is a metal device that attaches to your ceiling above the door frame and expands into the attic. It's then used as part of a roof venting system that reduces condensation. The installation process requires you to drill holes in the rafters and use a special shrink tube to seal the seams from inside and outside. What is a Fabric Expansion Joint? A fabric expansion joint is a metal device that attaches to your ceiling above the door frame and expands into the attic. It's then used as part of a roof venting system that reduces condensation. The installation process of a fabric expansion joint requires you to drill holes in the rafters and use a special shrink tube to seal the seams from inside and outside. The main benefit of installing a fabric expansion joint is that it allows for higher ventilation rates, which can result in lower humidity levels in your attic. This is especially helpful during times when people are prone to developing asthma symptoms due to high humidity levels. Additionally, with this option, you will also be able to install ductwork without having any openings visible from the outside of your home. And of course, there's no need for any work on your roof or chimney as well! Installation Process The installation process is pretty straightforward and doesn't require a lot of skill. If you're handy with tools, it should be relatively easy to do. First, you'll need to remove the old venting system and install the new fabric expansion joint. Then, you'll need to cut holes in the ceiling rafters and use a special shrink tube to seal the seams from inside and outside. Once your fabric expansion joint is installed, you can finally attach your fabric expansion joint. The entire process should only take about an hour or two. How to Install a Metal Roof Vent If you're a homeowner who wants to install a metal roof vent, you'll need to gain access to the attic space and remove some of your existing roofs covering. This includes removing the rafters, which could be difficult and costly if they're not accessible from the inside. To make it easier on yourself when installing a metal roof vent, here are some tips for how to go about it: Get help with this task. It can be very difficult to get up on top of your roof without any assistance, so be sure that someone with experience is available to help you out. If possible, use a ladder instead of climbing up on top of your house's roof. This will make it much more comfortable and less dangerous. Use wood shims or spacers to support the rafter while you drill holes in the ceiling above them. You can also use these shims underneath the vent where it meets the frame to create an airtight seal between the two components. Conclusion That's a wrap! If you're installing a metal roof vent, or a fabric expansion joint, you'll need to find a way to secure the vent to the roof. You'll need to find a way to secure the vent to the wall as well. There are a few options available: screws, nails, glue, wire, or screws and nails. If you have access to the roof from the exterior, use screws and nails. If you have access to the roof from the interior of your home, use screws and glue. If you have limited access to the roof, use wire or screws and nails. Read Also: Roofing Painting Contractor Leads: Ask Before Hiring One What Are The Services Offered By Roofing Companies? Ready Rooftops – How to Install Solar Panels Roof Repair: Should You Hire Roofers or DIY?

READ MOREDetails
Disinfection

Disinfection and Cleaning Strategies for Reopening Commercial Buildings

Cleaning and Disinfection have never been more important than amid the COVID-19 pandemic. And, with quarantine restrictions beginning to loosen, many businesses that were shuttered during lockdown will start resuming operations. As this happens, the biggest challenge for commercial building owners is being able and ready to return buildings to use swiftly and safely. Reducing the risk of exposure by cleaning and disinfecting is an integral part of reopening commercial buildings as the safety of occupants remains a key priority. With this rising demand for clean environments, commercial buildings will have to come up with safe and effective cleaning strategies that will assure occupants of their safety even as the threat of the virus continues to linger in our minds. With so much uncertainty surrounding the spread of the coronavirus and how people can protect against it, it's not worth it to take any risks. You can find professional cleaning, sanitizing, and disinfecting services at www.excelpestservices.com. Cleaning and disinfecting commercial buildings for reopening will involve developing a plan, implementing the plan, as well as maintaining and revising the plan. Develop Your Disinfection Plan: There's no one-size-fits-all cleaning and disinfection plan as commercial buildings are structured differently and for different purposes. You will need to evaluate your building to determine the surfaces and materials that make up that area. This will guide you in choosing the appropriate cleaning and disinfection method suitable for each. Implement Your Plan: Once you have the right cleaning and disinfection plan for your building, it's time to put it into action. We have mapped out a few key strategies that will help you navigate this issue and ensure optimal cleaning and disinfection service. Without further ado, let's get started: Wear appropriate PPE (personal protective equipment): Whether you are contracting a cleaning service or using in-house janitorial staff, the cleaning crew must wear appropriate PPEs like gloves, masks, goggles, and so on. That's because they are at a higher risk of being exposed to COVID-19 (given that it can stay on surfaces for days) and the toxicity of cleaning/disinfecting products. Not wearing PPEs also means asymptomatic carriers could spread pathogens to clean areas. It's also important for the cleaning crew to receive training on the proper use of PPEs, cleaning equipment, and cleaning products to ensure efficiency. Apply normal routine cleaning on visibly dirty surfaces: It's important to clean surfaces and objects with soap and water before disinfecting. And, be sure to clean soft and porous materials according to the manufacturer's instructions. Determine what you need to disinfect: While some surfaces and materials are cleaned with just soap and water, others must be disinfected. Scientists have proven that coronavirus can also live on various surfaces for up to a couple of days. People can contract it by touching contaminated surfaces and then touching their eyes, mouth, or nose. Start by disinfecting high-touch surfaces as they are the main source of spreading pathogens. This includes doorknobs/handles, elevator buttons, restroom facilities, trash can lids, faucet handles, floor surfaces, light switches, tables/countertops/desks, handrails, and so on. Additionally, areas unique to your building may also require disinfecting. For instance, retail occupancy will require disinfecting shopping cart handles and payment touchpads while offices will need to disinfect computer monitors, keyboards, conference tables, etc. Soft and porous materials in high-traffic areas like carpets, upholstery, and curtains can be germ reservoirs and will need to be disinfected as well. Use EPA-Approved cleaning/disinfectant products: Not all cleaning products are suitable for removing pathogens, particularly traces of COVID-19, from building surfaces. It's important to look at EPA's suggested products as they are both effective and non-toxic. If EPA-approved disinfectants are not available, you can use a diluted solution of household bleach or 70% Isopropyl Alcohol (IPA). Use products effectively: It's important to follow the directions on the label with regards to the application method (concentration and dilution), contact time, as well as any other precautions to take when applying like good ventilation and appropriate PPE to wear. This will ensure the effective and safe use of cleaning and disinfecting products. Avoid mixing cleaning and disinfection products as this can result in very dangerous fumes that could cause serious injury or even death. Avoid over-disinfection: It is possible to over-disinfect surfaces while trying to ensure no pathogens are left behind. And although these products are great at removing pathogens, their overuse can have serious side effects in humans. Disinfectants can pose an immediate risk to some people, including those who are asthmatic or suffer from migraines, allergies, suppressed immune systems, or immune disorders. They may experience symptoms like headaches, nausea, and vomiting, irritability, difficulty breathing, mood swings, memory loss, seizures, etc. Outdoor areas require normal routine cleaning: Many outdoor surfaces will not be touched; as such, disinfecting them is a waste of supplies. However, some areas like bars and restaurants will require disinfecting. Pools and other water play areas must also be well-maintained, for example disinfecting with chlorine or bromine. What about an unoccupied building? Properties that have not been occupied for over 7 days will do with normal routine cleaning, meaning there's no need for disinfecting. That's because the coronavirus cannot survive on surfaces for longer than this time. But once you reopen, you will have to develop and implement a disinfection plan to keep everyone safe. Work in zones: It's important to separate areas in the building by how likely they are to contain pathogens. Then start with low-risk zones moving into high-risk areas to help avoid cross-contamination. Maintain and Revise the Plan: Once you reopen, it's important to maintain the above disinfection strategies to minimize the risk of contracting COVID-19 and other pathogens. This should be done in conjunction with other safe practices like social distancing, wearing masks, frequent hand washing, and more. Be sure to revise and update your cleaning and disinfection plan based on the current circumstances (level of COVID-19 exposure in your building) and updated guidance by the local and federal governments. Read also: 10 Tactics To Maintain Clear Windows 5 Hotel Housekeeping Tricks You Need To Clean Your Bathroom How Cleaning Helps Us Feel Better and Why We Don’t Do It

READ MOREDetails