How Long Does Vinyl Flooring Last?

Published on: 03 December 2018 Last Updated on: 19 November 2021
Vinyl Flooring

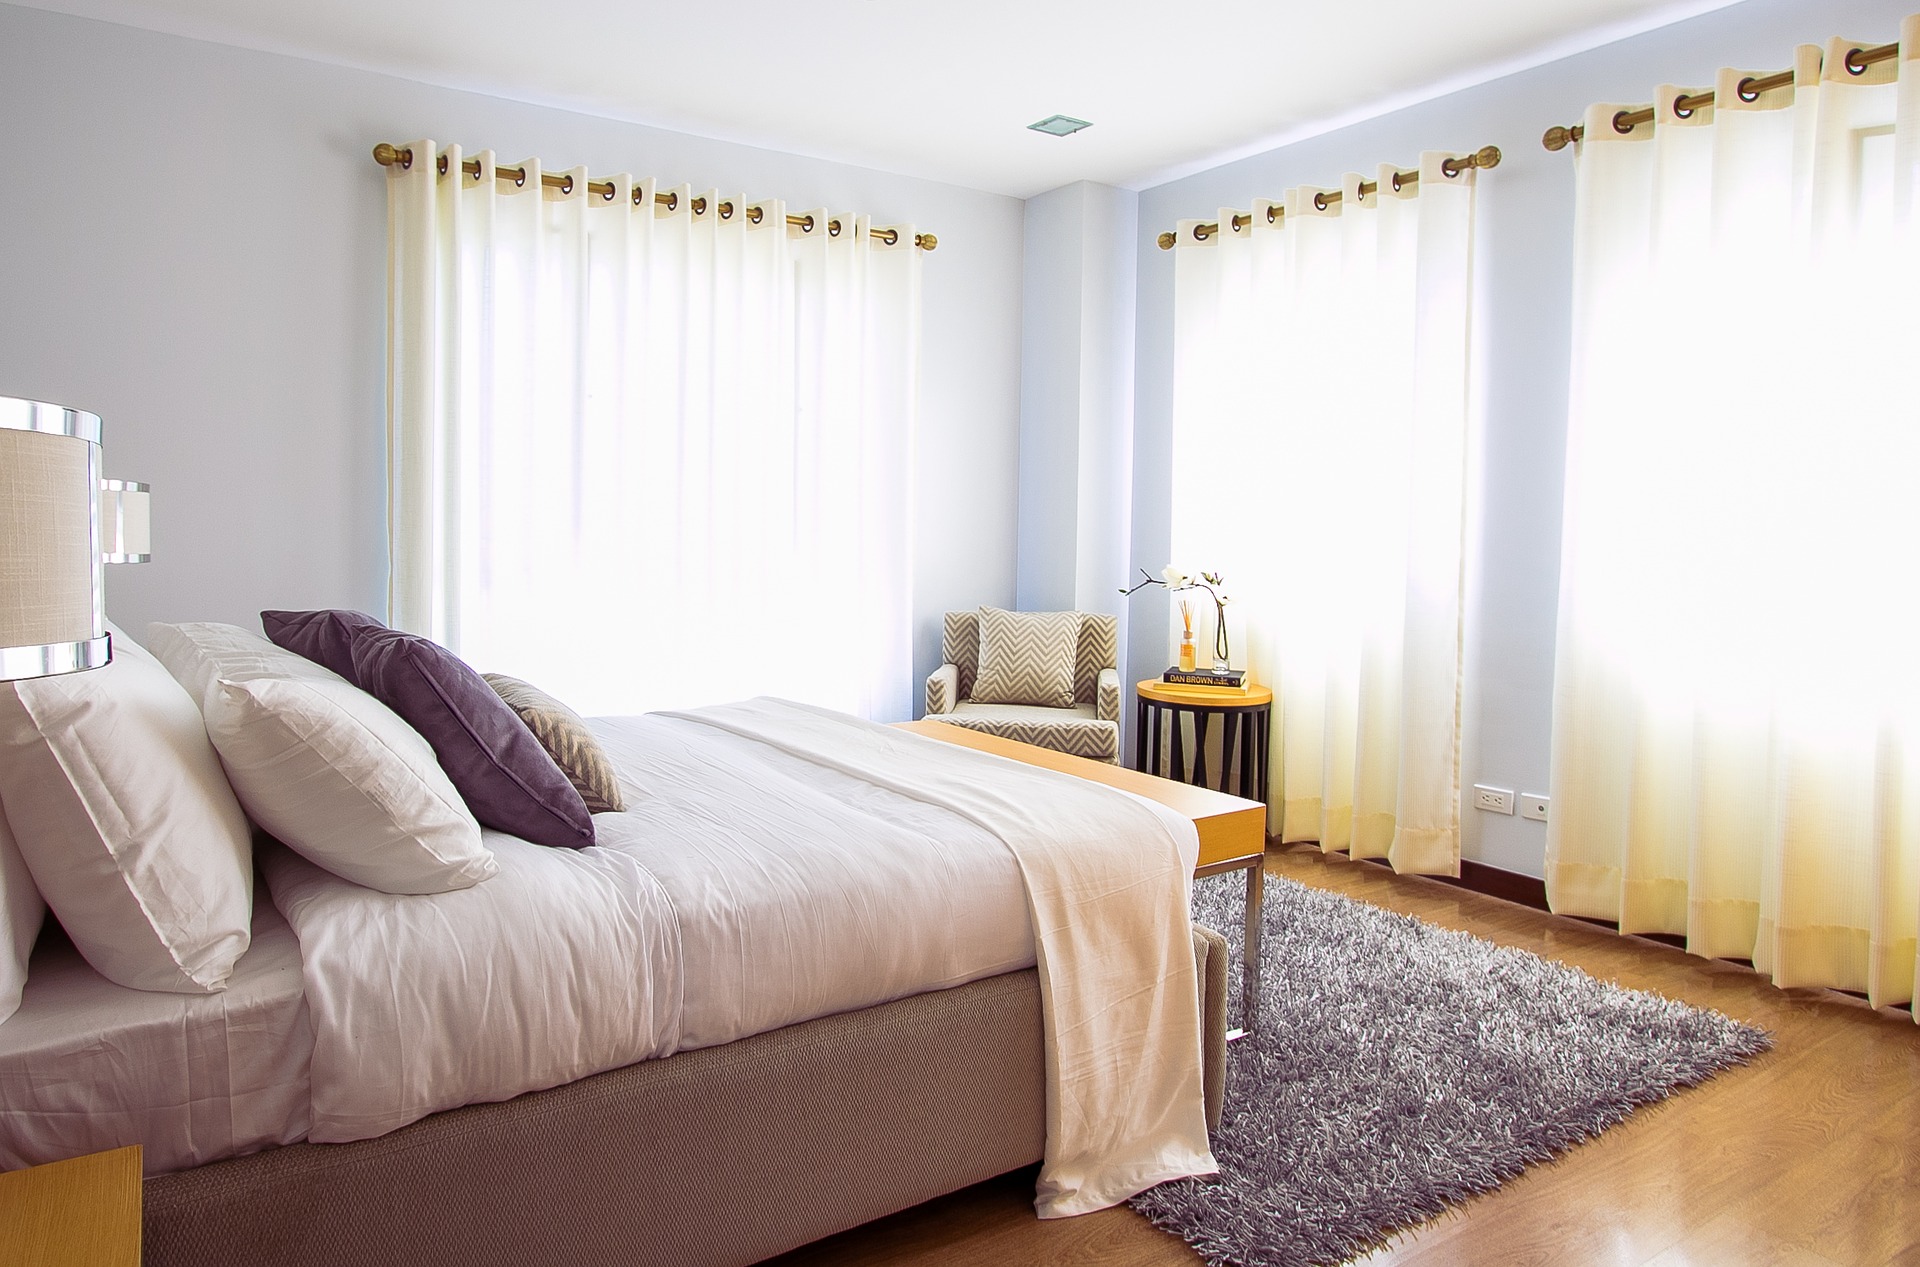
Maintaining a home is costly; you have to replace components now and then, and you also have to remodel some or all parts of the house to keep it sustainable and to prevent any more damage from happening. The floor is one of the things that you have to take care of, as it bears the brunt of heavy foot traffic every single day. In choosing a type of floor, you must consider if it is durable enough to withstand years of wear and tear without showing any signs that it is ready to be replaced. Luxury vinyl flooring is one such option that is slowly gaining ground in home flooring, because of several factors, such as durability, cost-efficiency, and look, among others.

1. Synthetic materials designed to last

Synthetic or human-made materials are what comprise vinyl flooring. You can find chemicals such as ethylene and chlorine in vinyl flooring. Other materials such as fiberglass, felt and dye also make up its composition. Manufacturers create a formulation that ensures that vinyl flooring will last a decade or so under normal circumstances.

2. Making vinyl flooring last past its lifespan

Generally, vinyl flooring has a lifespan of ten to twenty years. But if you take proper care of it and maintain it, you can make it last for more than twenty years. Kids and pets can scratch the surface of the floor, and heavy foot traffic contributes to the deterioration of the boards. But if you clean it frequently and remove stains and scratches, it can withstand years of the same use and abuse.

3. Choose a design that you can stand the look of for years to come

Since you will be looking at your floor for decades, choose a design or look that is timeless and classic. You can never go wrong with a simple and classic look. Over the years it will still be good to look at. You don’t have to go crazy with a design that will lose its charm throughout the years and will make you regret choosing it.

4. The thicker, the better

Vinyl flooring is available in different thicknesses. The general principle is that the thicker the boards, the longer it will last. The thicker variety can last well over twenty-five years, while the thinner one can only last up to a decade. Of course, the thicker one is costlier, but if you think of the hassle of replacing cheaper vinyl flooring after several years, the price that you pay for thicker vinyl will be worth every cent.

Final Take Away 

Just like with any type of floor, proper care and maintenance will make it last longer. Make sure to dedicate time to keep it clean and free of dirt, dust, and debris that can scratch the surface. With a wide variety of flooring available on the market, it is very easy to get lost trying to determine which type best suits your home and your budget. Keep in mind that vinyl has excellent benefits and will not cost you as much.

Read Also:

Content Rally wrapped around an online publication where you can publish your own intellectuals. It is a publishing platform designed to make great stories by content creators. This is your era, your place to be online. So come forward share your views, thoughts and ideas via Content Rally.

View all posts

Leave a Reply

Your email address will not be published. Required fields are marked *

Related

Air Quality

Five Ways to Improve the Air Quality Inside Your Home

When we think of air quality issues what comes to mind is often industrial factories or people blowing smoke in our face. But anything you use to build or decorate your home can have a positive or negative impact the air quality inside your home. Air quality can be directly linked to life expectancy so it’s an issue that should 1. Check your Paint: Choosing the right paint is important. We sleep in rooms covered with paint every night. As the paint dries volatile organic compounds (or VOCs) escape into the air and can negatively impact the air quality in your house. These chemicals can cause headaches and dizziness and the long-term effects of exposure are not yet known. Choosing non-toxic paint for your living quarters will have positive health benefits for years to come. Low or no VOC paints are the best choice for an eco-friendly home. Over the last several years paint companies have introduced many excellent options. 2. Check Your Flooring: Vinyl and synthetic carpets emit loads of VOCs. If you’re looking for non-toxic, allergy-friendly flooring try cork, linoleum, or ceramic tile. Hardwood floors have become quite popular, but if you want the beauty without the toxic chemicals buy hardwoods sealed with a water-based polyurethane or presealed hardwoods. 3. Consider purchasing an air purifier: Buying a quality air filter can be a good tool in your arsenal in the fight against toxic chemicals. Be sure to buy a model with a HEPA (high-efficiency air particle absorbing) filter. Don’t skimp and buy the cheapest filter you can find, view this purchase as an investment. The CADR (clean air delivery rate) of your purifier is also important. The higher the CADR number the more air is moving through the purifier. Air purifiers with high CADR numbers can be used to purify the air in larger spaces. 4. Plug Your Leaks: Mold and mildew can have a significantly negative impact on your home’s air quality. Make sure your home is free of leaks. It’s important to check the places that get the least traffic in your home. Make sure your basement, attic, crawl space, and utility closet are free of water and moisture. It’s a good idea to call a professional who can help you pinpoint problem areas. 5. Test Your Home for Radon: Radon is an odorless, colorless gas that can cause lung cancer in healthy humans. Radon is the gas produced by the decay of uranium in most soil. If there are gaps or holes in your home’s foundation radon gas can seep into your living space undetected. Any home can have a radon gas problem. You can buy an inexpensive test kit at your local hardware or home improvement store. There is no safe level of radon exposure. Read Also: Four Basic Types Of Water Flow Meters 6 Techniques To Improve Your Work-From-Home Career

READ MOREDetails
flat roof

Does Your Flat Roof Need To Be Replaced? Spot The Warning Signs

Most homeowners with flat roofs know that summer is the perfect time to inspect flat roof membranes to ensure there are no tears, rips, or punctures. But if you don’t have a lot of experience with membranes, it isn’t always easy to know what damage looks like.  Understanding the warning signs that your roof may need to be replaced is essential for all homeowners, but especially for those whose houses include areas of flat roof: while flat roofs have many distinct advantages, they do wear out more quickly, so being able to monitor the state they are in is important.  4 Warning Signs Of The Problematic Repair Need Roof  Needless to say, if you are experiencing ceiling leaks, the spread of mold, or other internal issues related to the roof, you should call an expert in flat roof repairs to address the problem immediately. But if you want to be proactive about your roof, here are some things you can look for: Check out the four signs, which are quite serious clear signs for repairing your flat roof. You should not neglect the repair work if you are finding any of these signs. 1. Ponding Water The first warning sign that repairs will soon be needed is drainage issues. If water stays on your roof for days after it rains, then your roof is probably in trouble.  Flat roofs are designed to channel water through internal and external drains quickly, and if you have noticed little ponds forming on the roof deck, you’ll want to get the problem looked at.  The main reason for the ponding water is the uneven surface of the roof and mismanagement of the drainage system. So to prevent it, always pay attention to smooth out the surface of the roof. And if your roof is showing these types of ponding problems. Start the repairing process as soon as possible. You may also like: Top Roofing Tips 2. Wrinkles In The Membrane One of the most common types of roofing membrane is EPDM rubber. These membranes are meant to adhere tightly to the roof deck, but over time they can grow loose in certain areas, leading to wrinkles or bubbles.  While these problems do not pose an immediate threat, they do indicate that your membrane will soon need to be replaced. These types of cracks are very hard to find, especially with your naked eyes. For finding the cracks and the damaged parts, water is the best medium. If you find small bubbles in certain areas of the flat roof in the rainwater. Pay immediate attention to solve the issues. Because from here the problems are going to start. 3. Flashing Separating From Roof In places where your roof abuts a wall or parapet, it is common to reinforce the seam using metal flashing. While this flashing is designed to last for decades before it needs to be replaced, it can start to separate from the roof over time, opening a gap that can lead to leaks.  If you have noticed problems with your flashing, you should call a flat roof repair company for a professional inspection.  You may also like: Roof Repair: Should You Hire Roofers or DIY? 4. Open Seams Most roofing membranes are applied in strips with overlapping seams that are closed using a sealant. But in cities like Toronto that see major seasonal shifts in temperature, these seams can open over time.  Even a small open or torn seam poses an immediate risk, so if you’ve noticed this problem on your roof, call flat roof repair Toronto experts who can help you reseal the hole or replace the damaged section. Flat roofs have many advantages over pitched roofs — they’re cheaper, more efficient, and easier to replace. But they also require more regular maintenance, especially in spring and fall.  Conclusion: You should inspect your flat roof regularly, and if you notice any of the problems above, get in touch with a professional roofing company for a professional consultation to see whether or not the time has come for it to be replaced. Once you start repairing in time, your entire house repairing cost is going to reduce in seconds. Small cracks are repairable. But the big gaps are challenging. So it is better to start repairs in time. Read Also: Roofing Painting Contractor Leads: Ask Before Hiring One 5 Myths about Roofing Services to Avoid Foundation Moisture Maintenance: 6 Tips for Home Repair

READ MOREDetails
Clean Blocked Drains

7 Ways to Clean Blocked Drains in Your Home

The drains in your home really do take a lot of abuse. Not only are things sometimes accidentally flushed down toilets and drains, but they also naturally collect all of the dust, hair, and whatever else is in the air. Over time, your pipes are bound to get clogged at some point.Clean Blocked Drains cxan make things work for you in all the aspects. Of course, a plumber can clear out a clog in a snap. But, here are seven things that you can try on your own first without using harsh chemicals which could harm your pipes. 7 Ways to Clean Blocked Drains in Your Home: 1. Find the clog: It might not be that deep. In a toilet, it's generally somewhere in the base. And, in sinks, it's often in the trap underneath it where hair and other debris will settle. There are a few different tools that you can use to attack the clog from the outside of the drain. Trap cleaner: You can find one at your local hardware store. It's usually made of plastic and is about the length of your arm. It has ridges along the sides and is designed to fit inside of your drain. You can use it to fish out anything that might be clogging the trap. Drain snake: It's the same idea as the trap cleaner, only it's longer and has a hose that rolls up, so it can get to clogs that may be deeper inside of the drains. Wire coat hanger: In a pinch? Just grab a wire coat hanger, unwind it, fashion it into a long hook, and use it to clear the trap. 2. Use a plunger: It's a basic home necessity for toilets. And, it can also be used for sinks. All you need is a solid suction and you may get the same results on a sink drain that you would with a toilet. In a sink, it might help to have a little standing water while you are plunging. 3. Dish Detergent: You can use it in toilets and sink drains. Pour it straight down the drain or into the toilet, about a quarter of a cup. The detergent will settle on the clog, and start to break it down. Let it sit for a few hours, run some hot water, and try plunging. The soap is sometimes strong enough to break up the clog. 4. Boiling Water: This would be more effective for a sink drain. Pouring boiling water directly down the drain could break up the clog. You could add boiling water, wait a few minutes, try plunging, and repeat the process a couple of times, if necessary. Just make sure the water isn't still boiling while you are plunging to protect yourself from any scalding. 5. Use a wet/dry vac: Wet/dry vacs are great for many purposes, including clearing clogs in your drain. If the clog isn't too deep, you can use it to either pull the clog out or push it down the drain. It's a good idea to try to pull it out first to remove the clog from your plumbing system. But, sometimes pushing it will also clear the clog and allow it to drain. 6. Clean the trap: If you are dealing with a clogged sink, you can usually access the trap underneath the drain. Most likely, that's where the clog will be. If you're handy with home repairs, here's a quick how-to. You'll need a plumber's wrench. Have a bucket underneath to catch the water. Unscrew the fittings on the top and bottom of the trap. Remove the trap and clean it out. An old toothbrush is perfect. Clean out the surrounding pipes. Put it back together. A plumbing company such as Red Dog knows all about unblocking drains so if you are not confident taking apart the pipes in the drain, it may be worth hiring a professional. 7. DIY Clog-removing Recipes: You may actually have a few things in your pantry that can be used to clear up clogged drains. Here a few different ideas that you can try before calling a plumber. Mix salt and baking soda: Combine equal parts of salt and baking soda, maybe a half-cup of each. Pour it directly into the clogged drain, and let it sit for a few minutes. The salt and baking soda will settle on the clog and start to eat away at parts of it. Then, pour boiling water down the drain. If there is standing water in the sink, you can also include plunging the drain in the process to get things moving around. Combine baking soda and vinegar: Mix together equal parts of white vinegar and baking soda, maybe a half-cup of each. Stand over the sink when you mix them. The reaction of the two substances will result in an almost immediate fizz. Pour everything down the drain. This one is best to let sit for a few hours or overnight. Afterward, try rinsing the drain with hot water. Sodium Hydroxide: More commonly known as caustic soda, you can find it at your local hardware store if you don't already have it on hand. You will mix 3 cups of soda with about a gallon of water. The mixture will get warmer and begin to fizz. Pour all of it directly into the drain. Wait for a half-hour or so, and pour boiling water down the drain. If it seems a little better, but still draining slowly, you can repeat the process. Unfortunately, some clogs are either too deep or too intense for any of these home remedies. If you've tried everything, and you just can't seem to get that clog cleared on your own, give Brisbane Drain Cleaning by Conrad Martens a call today. Our team of dedicated service professionals will quickly assess your individual circumstances and easily get your drains cleared. Let us show you have we've built our reputation of providing dependable service focused on quality of workmanship to the entire Brisbane area since 1982. Read Also: 8 Plumbing Myths Busted 3 Reasons Why Business Organizations Need To Get The Drains Cleaned Regularly

READ MOREDetails