FilmoraPro review

by

26 January 2019

Technology

FilmoraPro

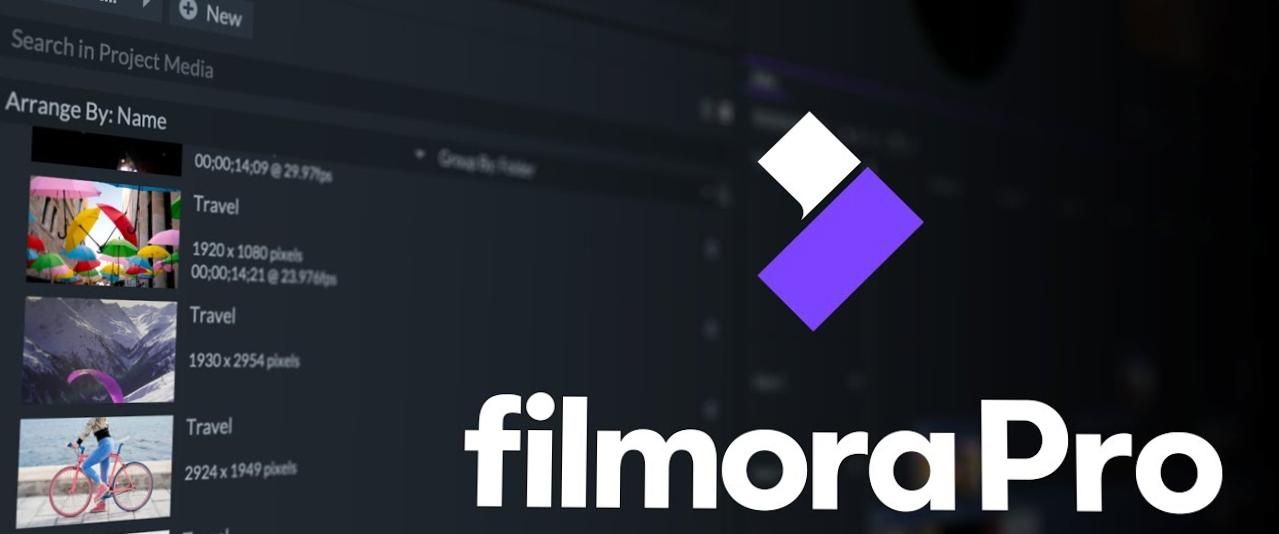
Have you ever wondered how professionals bring out those beautiful videos despite initiating shootouts in chaos and so much noise?  The Color contrast, HD quality and everything just perfect require a subtle video editing tool. Henceforth, Wondershare Technology has finally given a solution by launching an amazing tool called FilmoraPro.

Why choose FilmoraPro?

Professionals who wish to give extra quality to the shot videos can choose the wondrous video editing program that is designed for better control, productivity, and flexibility.

FilmoraPro is a perfect option for professional YouTubers, filmmakers, videographers and you.

After being compared with a lot many video editing tools, FilmoraPro came out as one of the finest and user-friendly software that takes your video editing skills to the next level. You don’t have to initiate those monotonous and lengthy editing steps to do the needful. Using FilmoraPro – Filmora’s video editor for pro, you can build up various interesting stories and express things better.

Primary features of FilmoraPro includes-

Dynamic editing

Dynamic editing

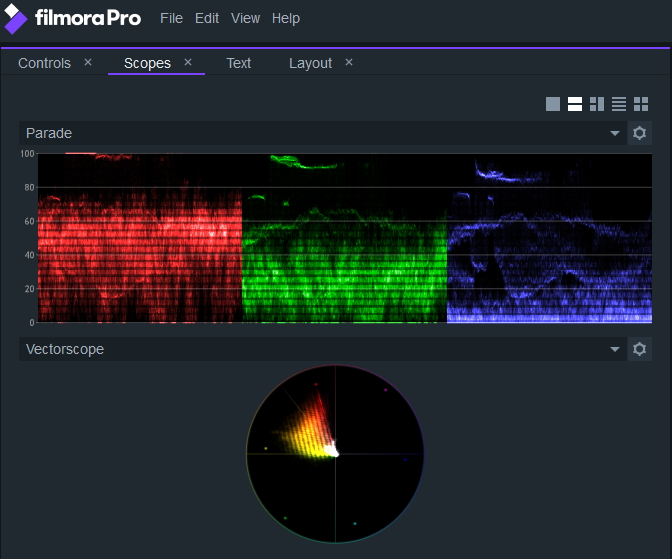
You can alter unlimited tracks with advanced editing mode that lets you initiate splits, range markers, and group time clips. The exceptional editing features of the application make flawless clips for more enjoyable moments. FilmoraPro – Filmora’s pro video editor offers vectorscope, parade, color histogram and waveform for making consistent changes and highlighting certain portions.

Powered audio editing

Dynamic editing

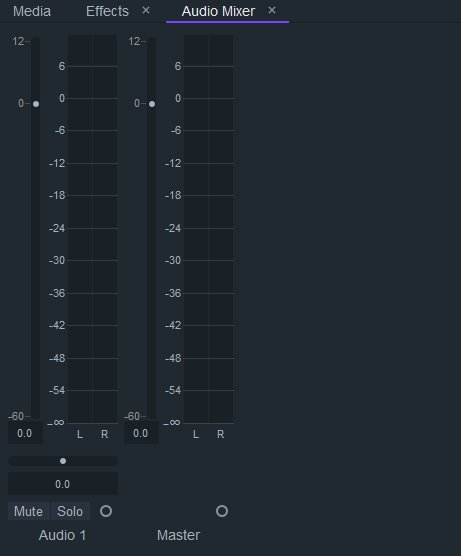
Do you wish to get a perfect audio sound with noise reduction and transitions?

Choose FilmoraPro – Filmora’s pro video editing software for the perfect audio sync.

If you want, you can separately record the video and synchronize it properly with the video. One of the most unwanted parts of video recording includes unexpected high and low pitch. The unbeatable video Editor can equalize the high and low pitch of the audios to normalize everything in a subtle way. You can also get away from unwanted background noise and cut down the level so that nothing feels annoying. The background noise can be evaluated by using a good quality microphone.

Motion graphics keyframing

you can generate animations for text and graphics besides replicating and adding ease to real-life motion.

Impeccable color selection

color selection

choose among sophisticated color tuning for controlling shadows, highlight and mid-tones of the clips.

Hollywood style effect

style effect

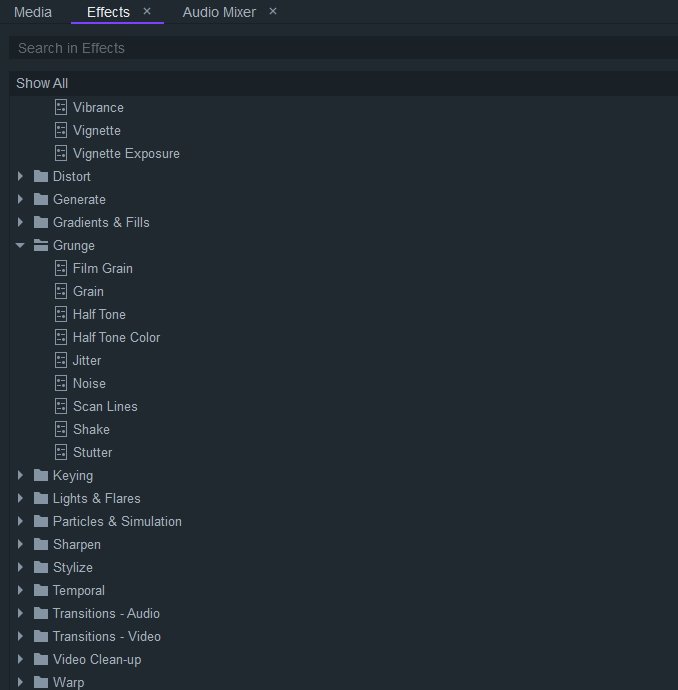
Chroma key, lens flare, and customizable visual effects are only possible in the Hollywood style editing option. FilmoraPro – Filmora’s video editor for pro has access to a large library of customizable Hollywood style effects.

FilmoraPro can help you to raise your standards

If you have always kept wondering what makes perfected video clips, FilmoraPro can give a permanent answer to all your questions. You can raise your standards by using ordinary editing features it has. Refining video footage and increasing the audio level gives better clarity to the video.

Furthermore, you can experience detailed color corrections and high quality presets for interesting output. The more editing tools you use for a video, the more interesting it becomes. Even if you do not have a very good story in the video, the editing skills can make the overall video quite capturing

Customizable animation options literally add life to the videos. You can establish your signature style and set keyframes for regulating effects and choosing your own animation style.

Alter video duration

You can change the overall speed and duration of the animations for generating fluid motion. Certain parts of the videos that require more attention of the viewers can be slowed down. The customizable text effect and Motion Graphics for the more and taglines to particular areas of the videos so that everything is clearly comprehensive.

Add that oomph to your videos with Hollywood effect

The movie magic effect feature in FilmoraPro – Filmora’s pro video editor shall always meet up your imagination.

In other words, you can create Hollywood style visual effects by blurring and highlighting certain areas. The magnanimous feature allows the audience to focus upon the important part instead of getting plunged into the unnecessary details of the video.

Different features embedded in FilmoraPro make it one of the highly competitive and versatile video editing tools out there in the market. It can even give a cut-throat competition to the professional video editing tools like Adobe Photoshop.

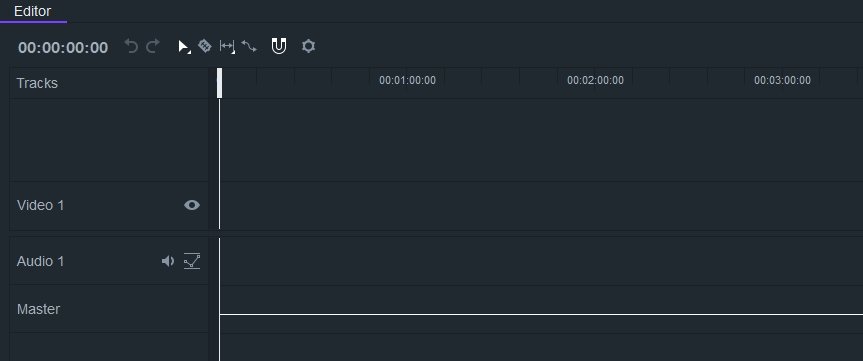
How to edit videos using FilmoraPro

Once you install FilmoraPro – Filmora’s pro video editing software on your laptop or computer, it is time to create well-organized videos that hold everything interestingly. The editing tool allows you to trim the live preview section and import all the audio and video files for better management.

Steps for editing videos using FilmoraPro-

  • Drag the files from the media section and eventually drop it in the timeline editor.
  • Select the options that include stretch, cut, slips, rate and so on.
  • Unlimited undo and redo options help you to edit the video without feeling worried about anything else.
  • Edit a part of the video that you think is important.
  • You can move back and forth towards the particular part that needs to be edited. Identify different parts of the video and label them correctly.
  • Access audio mixer and add an effect for enhancing the overall quality of sound in the video clip.
  • As soon as you are finished with the trimming and editing of the video, choose a customizable animation option and add it in between the videos.
  • You can set keyframes and change the speed and duration of the animations for better quality. Customizable motion graphic and text effect give proper detail to the videos and make it much impressive.
  • Finally, choose the view section and you are done with the editing needed to create a flawless video.

Final words

FilmoraPro is a good choice for video editing veteran and novice users. It is an amazing software that is geared for better performance and outputs. It has everything to create the best quality videos. The advanced features of the software allow you to have better control on your project so that you can work better. You can finish up with video editing within just a few minutes using the great tool.

Choose the preprogrammed theme or music and analyze your clips for generating a video. Using FilmoraPro – Filmora’s pro video editor to edit your storyboard and timeline in a pro way is also a good idea. With unlimited editing tracks, Filmora Pro (or filmora login or filmora sign in) outcomes in unbeatable video editing results that grab appreciation from all.

Read Also:

Content Rally wrapped around an online publication where you can publish your own intellectuals. It is a publishing platform designed to make great stories by content creators. This is your era, your place to be online. So come forward share your views, thoughts and ideas via Content Rally.

View all posts

Leave a Reply

Your email address will not be published. Required fields are marked *

Related

Mobile Testing With Appium

Mobile Testing With Appium On Lambdatest

Worldwide, there has been a sharp increase in the number of mobile application downloads. Organizations aim to increase user engagement for their applications by releasing new features every few weeks to gain a foothold in this market. This increases the pressure on testing organizations to publish thoroughly tested mobile applications to increase user engagement. To accomplish this, they must have a testing process that not only delivers applications that are free of bugs and function well but also has more thorough coverage. Naturally, automated mobile testing is becoming necessary to satisfy these demands. Automation testing is advantageous for all applications, including web and mobile ones. Appium is the most widely used automation tool for testing mobile applications out of the many available options. Appium is a free and open-source test automation tool that aids in automating mobile app testing to provide users with a high-quality application and a better user experience. The use of Appium on LambdaTest for mobile testing will be covered in this article. Before getting there, let's quickly review what mobile testing is and why Appium is utilized for this purpose. What Is Mobile Testing? The use of smartphones and mobile technology is growing exponentially. People find it difficult to see their lives without them. Today, we use mobile devices for practically everything, from grocery shopping to viewing films. To survive in the competitive market, mobile app testing has become imperative. Mobile testing guarantees that the apps and smartphones are safe, reliable, and easy to use. Several tests are conducted on mobile devices to evaluate an application's reliability, functionality, and usability. Mobile testing can be divided into testing of mobile applications and testing of mobile devices. Mobile device testing verifies and validates both the physical components and software aspects of a device to authenticate its quality. It evaluates aspects like the screen, apps, camera, etc. On the other side, mobile application testing is a procedure used to test applications that are being created for mobile devices. The primary goals are to test the apps' usability, stability, and functioning. It makes sure that the chosen application, in terms of connectivity, hardware, and software, is compatible with the chosen device. For an app to survive in the market today, mobile application testing is essential. The application is also tested in numerous other areas, such as its performance, security, and UI, to provide the best quality for the end users Types Of Mobile Apps There are three primary categories of mobile applications: Native mobile apps Native applications are platform-specific. In other words, they were created for a particular platform or operating system. It may be a Windows SDK, Android SDK, or iOS SDK. They have the extra benefit of being faster and more dependable in terms of performance because they concentrate on a single OS, but they are expensive to maintain. Such programs include Skype, Google Maps, and Snapchat, for instance. Mobile Web Applications Only mobile browsers are compatible with mobile web applications. They are accessible through mobile web browsers like Chrome and Safari. They are created using web-based languages like HTML, CSS, and JavaScript. Additionally, it is inexpensive and does not need users to install or update it. These include websites like AliExpress, OLX, Flipkart, etc. Hybrid Mobile Applications Native and web-based mobile apps are combined to create hybrid mobile apps. They can operate through browsers but can also be installed on native application devices. These apps are easy to create and affordable, but they lack the speed and power of native apps. These include services like Instagram, Uber, Gmail, etc. Now to test these apps many testers and developers leverage automation test tools like Appium. Let's quickly define what Appium is. Appium Appium is a free, open-source, cross-platform test automation tool that uses the common WebDriver library to automate test cases for web, native, and hybrid applications. It primarily focuses on testing mobile applications while utilizing the same API across several mobile operating systems, such as Android and iOS. The most popular mobile testing tool, Appium, offers simplicity, flexibility, and cost-friendliness for delivering the best user experiences with the continuous delivery method. It is used for quick and reliable testing across numerous platforms and devices. Numerous programming languages, including Java, JavaScript, Python, PHP, Ruby, C#, etc., are supported by Appium. This gives testers the freedom to create test scripts in any programming language they choose.  With its many features, mobile testing with Appium has quickly become popular in the mobile application organization. Why Use Appium Appium continues to be the top option for mobile app testing, regardless of whether the application is native, hybrid, or mobile and operating on Android, iOS, or Windows. By providing scalability and flexibility, Appium significantly improves the effectiveness of testing for mobile apps. It stands out as the best possible choice for testing mobile applications due to its broad feature set. Let's examine a few of its attributes. It allows for the flexibility to write test code in a variety of programming languages, including Java, JavaScript, PHP, Ruby, Python, and C#, and it can automate any mobile application created in any of these languages. Appium allows test automation scripts to run simultaneously on various Android or iOS sessions. This ensures scalability while accelerating the testing process. It has a built-in UI Automator that enables thorough examination of mobile apps while producing thorough logs and reporting structures for a better understanding of test results and enhanced troubleshooting. Appium offers the reuse of the same code for many device platforms, including iOS, Android, and Windows, which saves a significant amount of time and work. It provides versatility in allowing users to select their testing environment and device by allowing testing of mobile applications on emulators, simulators, and real devices in the cloud. It provides cross-platform compatibility, making it possible for the same tests to run on many platforms, expanding the coverage. It provides real-time test monitoring that enables collaborators to see and share device interactions using the integrated collaborative screen-casting capability, thus strengthening the execution of tests. Appium smoothly integrates with the TestNG testing framework, providing a greater number of capabilities. Through test scripts, it gives QAs complete access to the databases and back-end APIs. This aids in evaluating errors that originate from databases or back-end APIs. Why Use Lambdatest For Appium Tests? As is already known, Appium enables the testing of mobile applications on emulators and simulators. However, keep in mind that emulators and simulators are completely insufficient for testing at the final stage. They are unable to duplicate several device features that are required to optimize the app for unfavorable events, such as low power, unstable network, IP geolocation, and many more. Therefore, executing Appium tests on real device cloud is essential to provide conclusive, accurate results, make an app suited for working in actual user conditions, and ensure that the user experience is always at its best. However, it is highly challenging and expensive to set up an internal device lab that must be regularly updated and maintained for both the newest and older versions. Therefore, using a cloud-based testing platform like LambdaTest is recommended because it makes thousands of real devices instantly accessible for testing. Appium and LambdaTest, an AI-powered test orchestration and execution platform, can work together seamlessly. As a result, testers can scale their existing testing across several platforms and develop, run, and analyze their test automation with Appium on LambdaTest's real device cloud. Additionally, QAs can use Appium on the LambadTest real device cloud to do manual and automated app testing. LambdaTest enables testers to run Appium tests by offering online cloud-based access to more than 3000 real devices, browsers, and operating system combinations online.  As a result, testers may meet deadlines more quickly and with less setup time. The Appium automation testing on LambdaTest can assist with: Simplify the entire CI/CD process, make it simple to write reliable Appium scripts, and minimize the complexity of test frameworks. Support numerous mobile devices for parallel testing to speed up test execution and guarantee the best app performance across a range of devices, networks, and geographical regions. Test apps on actual remote devices in real-world conditions to speed up development and quickly find and fix major flaws. Additionally, LambdaTest offers a wide variety of advanced features that facilitate easy-to-use, effective testing. Here are a few of these features: It has an inbuilt mobile inspector that makes it simple for testers to check the components of an app. Additionally, it enables them to record their test procedures from the same location. It enables seamless integration with well-known technologies like Circle CI, Jenkins, Bamboo, and others to speed up DevOps and continuous delivery workflows. Gives testers access to a variety of debugging tools for Appium testing, including text logs, network logs, device logs, Appium logs, extensive reports, and accompanying screenshots and videos for both successful test execution and complete test failure. The test cases execution metrics reports can be retrieved whenever necessary from anywhere. This helps to support all remote team workflows. A mobile app can now be developed utilizing a variety of technologies and programming languages. Thus, another fantastic benefit of using LambdaTest is that it covers all of the key technologies and programming languages required to support a particular set of development practices. Furthermore, with LambdaTest, testers can benefit from manual cross-browser testing, automation testing, visual user interface testing, responsive testing, manual app testing, geolocation testing, and more, all with lifetime free access to LambdaTest. The Prerequisites To Use Appium There are a few prerequisites that must be installed on the system before automating apps with Appium. Downloading and installing the JDK (Java Development Kit) and the Appium Desktop/Server. Installing, and configuring the environment variable for Java. Installing the Android Software Development Kit (SDK) after downloading it. JAR file for Selenium Server. Setting up the Eclipse IDE. Having access to Google Play's APK app information. js installation is not necessary. Because "Node.exe" and NPM are included by default whenever the Appium server is installed. Integrating Appium With Lambdatest LambdaTest integration with Appium is necessary to utilize Appium testing fully. The following actions are necessary for the integration process: Visiting LambdaTest and creating an account. Acquiring the API credentials needed for Appium integration. The credentials will facilitate linking the LambdaTest cloud infrastructure and the Appium tests. Next, setting up and specifying the desired capabilities in the Appium tests to specify the device, operating system, browser, and any other essential factors that create the intended test environment and guarantee that tests are executed on the desired devices in the cloud. These configuration variables specify test environments and guarantee the smooth operation of the tests in such environments. The next step is configuring the test execution by including the appropriate capabilities and the LambdaTest endpoint URL in the Appium test script. By doing so, the platform and the Appium tests will be connected. Finally, run the Appium tests and keep track of their progress on the LambdaTest dashboard. The test results can then be analyzed to find any problems that require attention by examining the test reports, logs, and screenshots. Conclusion It may be concluded that due to Appium's cross-platform capability and simplicity of use, it has grown to be widely utilized in testing mobile applications for iOS and Android to meet the expectations of quick and dependable testing that spans numerous platforms, devices, and versions. In comparison to alternative testing techniques, Appium offers greater efficiency, flexibility, and cost-friendliness, empowering teams to deliver excellent user experiences while utilizing the continuous delivery methodology. It is advantageous to use Appium with a cloud testing platform like LambdaTest because it gives users access to automated test environments with cloud-hosted real mobile devices that are simple to use. The testing process is made more easy by having access to the vast array of functions offered by the cloud. Read Also: Which Is A Benefit Of Using Server–To–Server App Conversion Tracking Over An SDK? Mark Stiffler Gives You 7 Ways To Automate Your Business For Success 9 Ways To Improve Efficiency At Your Manufacturing Business

READ MOREDetails
Scan

How To Scan From Printer To Computer?

Even been assigned the task to edit a file and scan it back? You might have wondered how exactly you would do that. The question of how to scan from a printer to PC can be tricky and you might need a little assistance in this aspect. Scanning a file from a printer to your PC can be an easy task for you if you follow the instructions given below. The following are the steps you need to follow to easily scan a document from your printer to your PC or laptop. Multifunction Color Laser Printers are the best when it comes to printing colorful images. Connect your computer to the scanner: First of all, you need to make sure that your PC or laptop is connected to the scanner. If it is not connected, then connect the scanner to your computer. Both the machines should be connected to a cord, as well as both of them, should be connected to your WiFi. Place the file on the scanner: Now you have to place the document, which you wish to scan, face-down on the scanner. Once you have properly placed the intended document, close the lid of the scanner. Open ‘Fax and Scan’ on your computer: Now, using your PC or laptop, select ‘Start’. You can find the ‘Select’ option on the lower-left corner of your screen. Now navigate to desktop apps and open ‘Fax and Scan.’ You can also open ‘Fax and Scan’ by typing this name on the search bar. Checking if the printer is correct or not: Once you have opened the ‘Fax and Scan,’ navigate to the ‘New Scan’ tab and click it. You can find the ‘New Scan’ tab on the upper left corner of the screen of your PC or laptop. A new window will be opened when you will click on the ‘New Scan’ tab. Now you need to make sure that the printer is correct. Navigate to the upper left corner of the newly opened window and check whether the printer is correct or not. If the printer is not correct, click on the ‘Change’ option, and choose the correct printer you want to use. Picking the right settings: Now, you need to pick up the right settings before scanning your file. Firstly, select the right type of file. You can choose the file type in the ‘Profile’ section. Now choose whether you want to print a ‘black and white’ document or a ‘colored’ one. Now choose the type of file you want your file to be saved as such as the PDF or JPEG format. Now, you can adjust other settings such as brightness, resolution, and contrast etcetera, if you want to. Scan the document: After you have picked the right settings, make sure that you preview the file before scanning it. If something does not look right, you can adjust it now. If you want to make any changes right now, you need to repeat the process to ensure that the document is completely right before you scan it. Finally, click on the ‘Scan’ option and your document will be scanned. If you want to find the scanned document, open file explorer, and navigate to the Documents folder. You will find the Scanned Documents folder in the Documents folder. Read also: Paper Authority: Basic Tips in Purchasing a Printer 7 Ways To Stop Spending So Much On Printing In Your Business Advance Copier: Printing Quality Business Cards On Your Own Computer

READ MOREDetails
PDF To JPG

How Should A Newbie Get Along With a PDF To JPG Converter

Since the digital space is increasing its presence in people's lives, people are trying to learn new techniques of using the internet in the best ways possible. There are several uses of the internet, which can make your life easy. The new generation that is being brought up is very well equipped with technology and the internet.  Most of the operations of various companies have also shifted online. However, people still struggle with small tasks such as converting documents from one format to another. If you want to get your work done, then you need to learn the techniques to convert PDF to JPG, PDF into Word, JPG into Text, and other such formatting skills. This guide can help you understand the working of PDF to JPG converters if you are a beginner. Open a conversion site First of all, you need to choose a conversion site for PDF to JPG converter, reliable and authentic. Check out user reviews to find which of the conversion sites provide the best experience and output. Once it is chosen, you need to open it on your desktop, laptop, or mobile screen. Select PDF for conversion The next step after identifying the conversion site is the selection of PDF that you want to convert into JPG format. It can be done by choosing "open files" or "browse files" whichever is present in the conversion site. Some websites even have the option to "drag and drop " the files for conversion along with the "get URL" option if you want to open the document from the link. Authorize a format for output Once the files have been uploaded on the conversion site, you need to authorize the format of the output. This format is the type in which the user wants to convert the PDF. Select the option of JPG under image conversions to convert the document from PDF to JPG. Choose the medium of download It may take a few seconds to get the documents converted into JPG, depending upon the length and size of the PDF. Many conversion websites have a bar on the extent that is permissible to be converted by. It is not so with the PDF to JPG converter. Select the number of pages for conversion Before the conversion gets started, you will get the option of selecting the pages that you want to convert. Two choices regarding this are available as - 'convert all pages' and 'extract single images.' You can tap on any of the icons as per your suitability to get the JPG. Download the converted files in the selected format Once the download is complete, you are good to go. There is an option available for direct download in the system or email it to your ID. You can get the converted JPG images in a Zip file also to keep them intact together. All these steps can help you to begin well with a PDF to JPG converter and learn more such techniques on the internet. Read Also: Top Five Alternatives to MegaUpload in 2016 Popular Apps for Downloading HD Videos

READ MOREDetails