How To Take Care Of Your Drone The Right Way?

Published on: 30 June 2022 Last Updated on: 19 February 2025
Drone

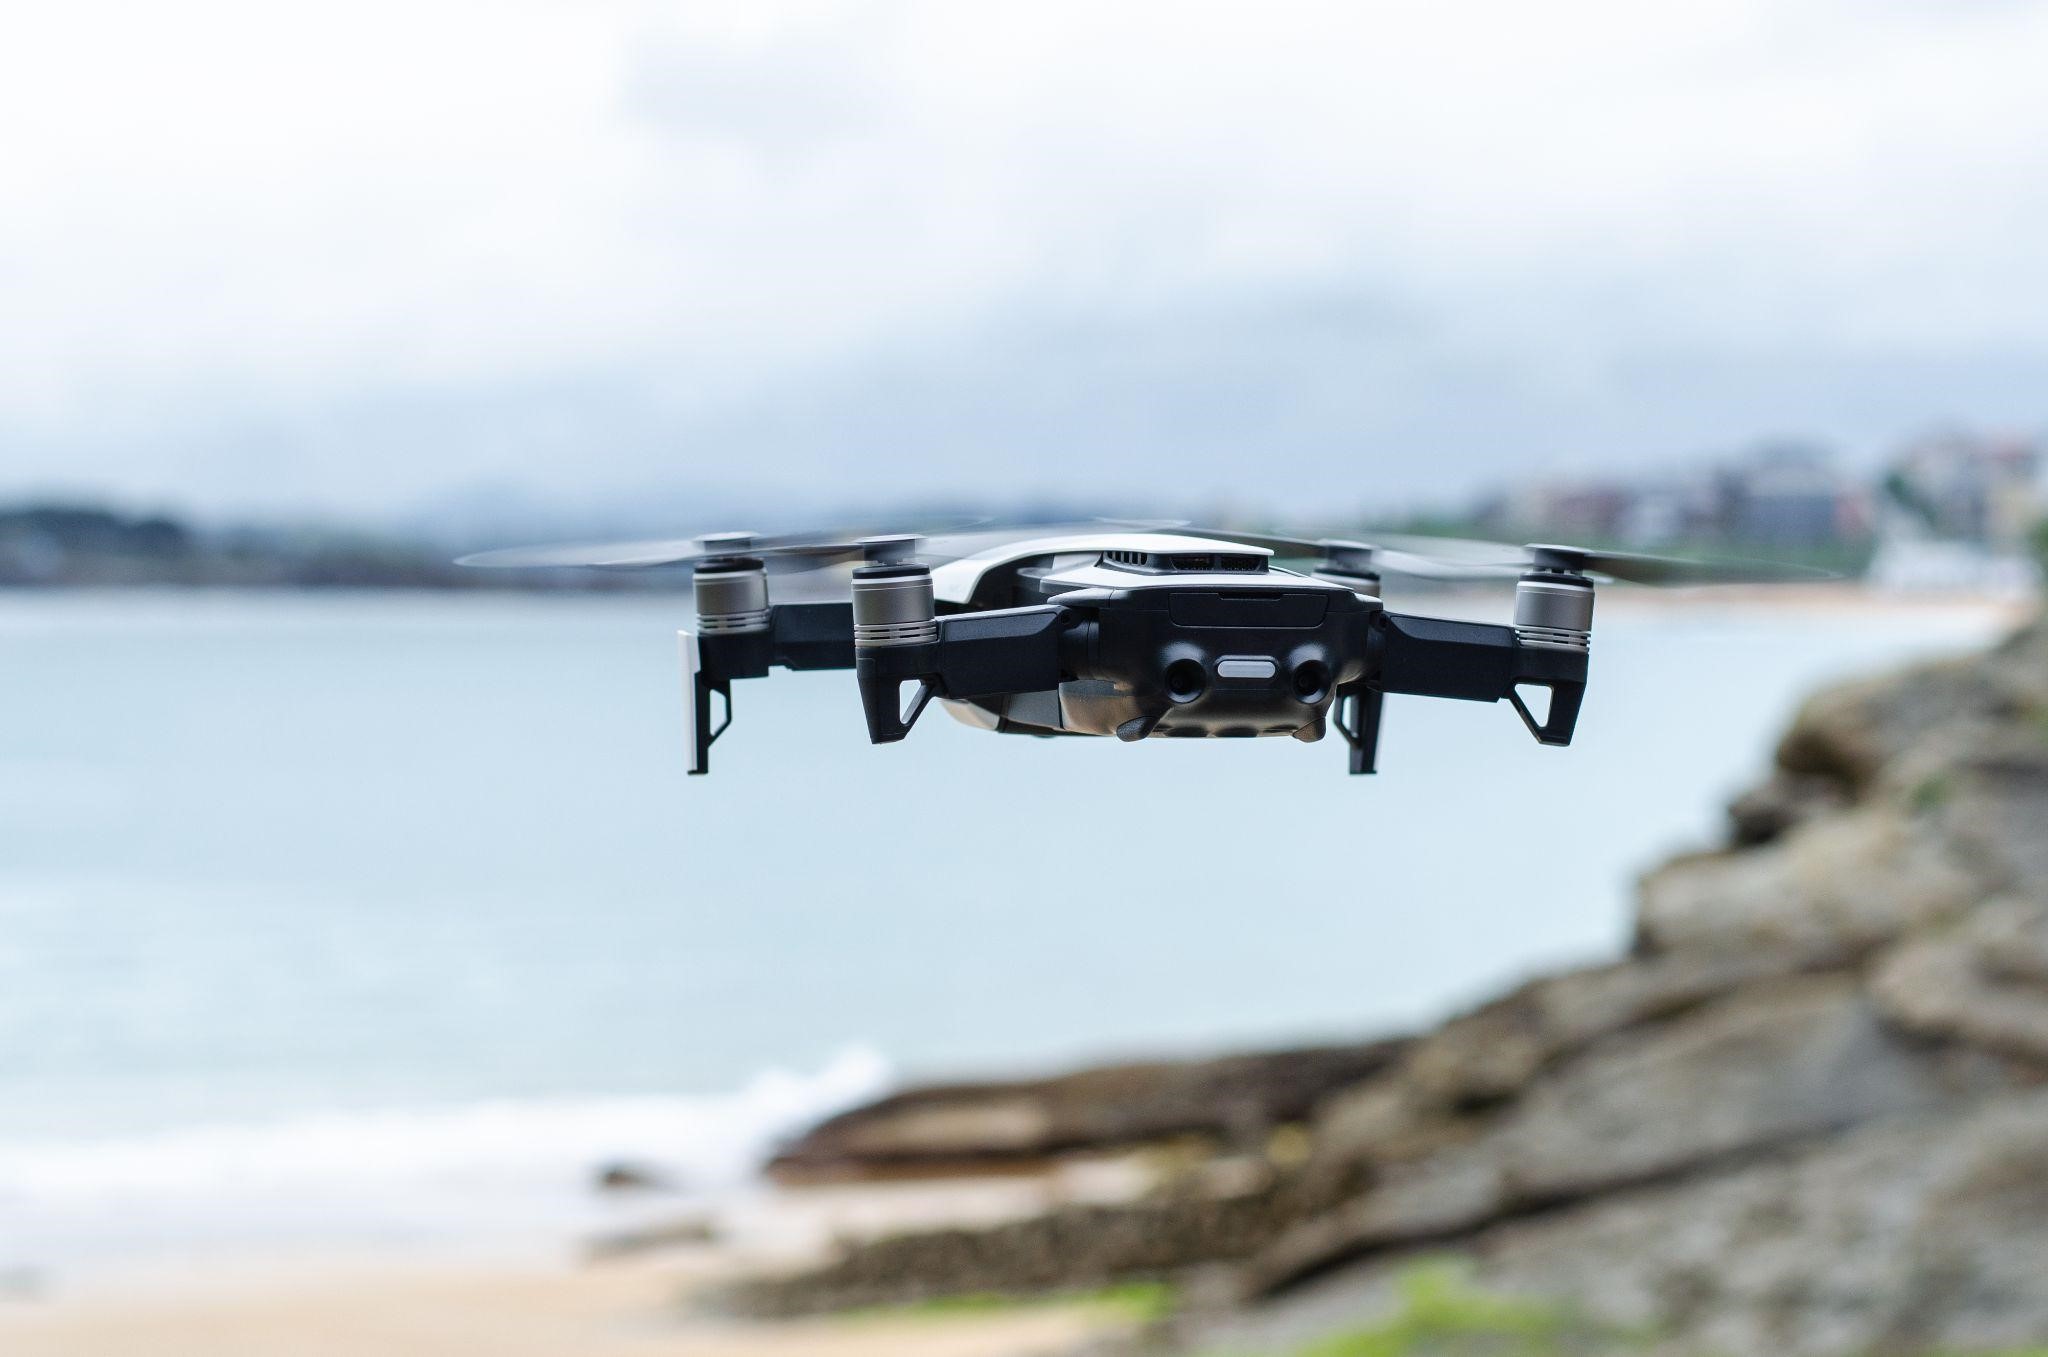
The answer to this question cannot be clear-cut. The life of your drone is determined by a number of variables. In most cases, price determines quality. Therefore, if you have spent more of your budget on a higher-quality drone, it is more likely to last longer. That is, of course, with proper maintenance. 

Quality drones have a lifespan of about 2 years or more.

Tips To Maintain Your Drone:

1. Take care of the battery

The main component you need to think about maintaining is the battery.

Drone batteries have a range of between 20 and 40 minutes on average. Their durability depends on the weather conditions, as well as on the way of driving, weight, etc.

 To make sure your drone will last longer and avoid the danger of falling, it’s good to:

  • always try to charge the batteries to 100% before flying
  • do not keep the batteries in the drone when not in use
  • do not let the batteries drain completely
  • do not leave the batteries plugged into the charger for more than 48 hours
  • if you are not going to use the drone for a while it is better to leave the batteries at 60%
  • store the batteries in a place with a constant temperature (20 – 22 C)

If your battery has started to last less, consider replacing it with a new drone battery.

2. Monitor the condition of the propellers

Next in importance are the propellers.

It’s a good idea to check them after every flight. If you notice any warping or breakage it is recommended to replace them with new ones.

3. Clean it

Cleaning the drone should become your routine procedure. The good news is that it doesn’t take long.

Always check the engine and clean visible dirt off of it. This can be done easily using a brush.

You can clean the rest of the drone with a soft cloth. Pay more attention to the sensors because if they are not cleaned well, the drone will be harder to navigate and the possibility of a crash is bigger.

4. Fly it in the right environment

Choose appropriate light conditions. Avoid using your drone in high winds, snow storms, heavy rain or fog.

5. Use an appropriate bag

Choose a suitable bag to store your drone. The bag should be rigid with special compartments for all components – the drone itself, charger, remote, extra battery, etc. If each of the components is separate the possibility of any of them getting damaged during the transportation is minimal.

Read Also:

Arnab is a professional blogger, having an enormous interest in writing blogs and other jones of calligraphies. In terms of his professional commitments, He carries out sharing sentient blogs.

View all posts

Leave a Reply

Your email address will not be published. Required fields are marked *

Related

Soldering Iron

How to Use a Soldering Iron

Of all techniques and methods used to join surfaces, metal sheets, Iron, and other objects together, soldering is highly preferred because it does not cause any type of damage to the items being joined together. This is because the solder used to stick them together has a lower melting point than most metals and it offers durable yet reversible bonds between the items. In addition to that, although there are a few key differences between the two types of soldering gear used, they share a similar trait and they’re both easily operable, which we will discover more in this article What Is Soldering? There are several types of soldering using different filler metals called solder, but, they all use the same concept which is heating a filler metal between two items so that it melts and fills the seam between the two items. Soldering is done using either individually bought soldering gear, which allows you to choose the type of tool that is most suitable for the project you are planning to work on, or a soldering station which usually is a standard combination of a soldering iron and a power supply. Soldering Iron  In order to learn how to use a soldering iron, one must first know its basic parts and the science behind its mode of operation. It is simply a tool that connects to a power supply, it consists of a handle that doesn’t conduct heat and a tip that heats up very quickly to high temperatures so it can melt the solder, it also cools down fast. To Be More Specific, The Main Parts Of Soldering Iron Are: Soldering tip: All soldering irons contain iron tips which are the only part that heats up; it doesn’t ooze out the solder as most people think, it simply heats the metals being joined so that when the solder is applied, it melts, but more often than not, the solder would stick on the tip. Luckily, most tips are interchangeable so, you can replace your tip in case of damage or in case you need a specialized tip to suit your uses; bear in mind that tips vary in size and shape, thus, they vary in their uses as well. Wand: The wand is the handheld part of the iron that the tip is attached to. It can be made from a large number of materials that poorly conduct heat or isolate it completely so as to prevent heat from the tip from transferring to the part where the wand makes contact with the skin. Inside the wand, there are wires and metal contacts that conduct and convert the electricity from the power outlet to heat. The contradicting functions of a wand are the reason why most people prefer to buy high-quality wands from renowned brands. Of course, there are other extras and accessories like brass sponges, cradles, and tip tinner which can be purchased individually or found in soldering stations which is actually one of the advantages of soldering stations; but, the two main parts will always remain the tip and the wand. Step 1: Safety First of all, before using a soldering iron, you must be familiar with standard safety precautions since the iron tends to get really hot; not to mention the fact that solder is literally molten metal. So, it would be smart of you to wear protective gear such as; safety goggles and protective gloves, because your fingers are most likely to come into contact with the tip during the first few times. You also should keep in mind to tie your hair and avoid wearing loose-fitting clothes. Moreover, it is preferable to work in a well-ventilated area since some types of solder contain lead which produces toxic fumes, it is also important to thoroughly clean your hands after handling lead-based material. Step 2: Preparing The Tip The tip should be regularly cleaned of any old solder because when old solder solidifies, it turns into a heat isolator due to oxidization resulting in a totally inefficient and highly wasteful soldering process. Not only that but also, slow heating means that you will have to hold the iron to the items being joined for a longer time; it would be highly inconvenient for you and very damaging for sensitive objects like PCBs. So, when the iron is fully heated, softly drag the tip against a sponge to remove old solder. You want to aim for a shiny tip. After cleaning the tip, you should “tin” the tip; to make it last longer and conduct heat better through newfound layers of solder. Same as above, on a fully heated iron, apply a little piece of solder and lightly coat the tip with tinner; then, immediately start soldering while cleaning and tinning the tip between every couple of joints for maximum conductivity and efficiency. Step 3: Actual soldering With your dominant hand holding the iron and the other holding a piece of solder, touch the area where the object comes into contact with the solder and hold it there for about a second then slide the solder underneath the tip while pushing the solder rod further according to how much solder you need. Then, make sure to pull back the solder first while holding the tip in position until all the solder melts; it usually takes about five seconds or less. Solder cools down fast so, you will not need to blow on the joint since it will only lead to a weak joint which can be identified by its oxidized, unclear, and grainy appearance. What you want to get is a smooth connection, not a lump. Finishing touches : After you’ve had enough soldering for the day, clean and in the tip again before you put it into storage, it helps increase its lifespan. As you may have noticed, soldering is not that hard of a task, it only requires soldering gear, steady hands, and concentration. So, go ahead, start soldering, and don’t be afraid to get creative. Read Also: Is Polyester Stretchy? – Its Materials & Properties [Detailed Explanation] Top 6 Different Types Of Scarves Names And Its Benefits How to Thicken Chili – Tried and Tested

READ MOREDetails
aeropress machine

How to Make Coffee with Aeropress Machine

 The Aero press is one of the most straightforward gadgets that you can use to make your morning coffee faster. Invented in 2009 by Engineer Allan Adler, the Aeropress machine has gained popularity due to its small size, high portability and efficient speed in brewing coffee. Due to its portability, you can carry the device to your camping escapade, fishing, or any sporting coffee. With the Aeropress machine, you can have your coffee anywhere at any time. How to assemble an Aeropress machine Remember, you can buy your Aeropress coffee maker from a trustworthy place. Some of the accessories that come with the coffee machine include: The Aeropress device which is a plastic plunger Cap that should get placed at the end of the AeroPress device The fillers which should be used alongside the cap A scoop that should be used to measure the coffee A funnel to put the beans and neatly organize them in the chamber Paddle to be used in stirring the coffee Once you have acquired all the accessories of the AeroPress machine, here is how to assemble the machine: Step 1: Push the plunger of the machine out of the chamber Step2: Remove the filter and put it in the filter cap Step3: By twisting the filter cap, put it into the chamber Step4:  Put the chamber on top of a stand. Put the chamber on a sturdy mug and ensure it stands firmly. Put the ground coffee in the chamber. Step5: Share properly to ensure the coffee is leveled correctly. Step 6:  Add water to the chamber. Ensure the water fill up to level 1. At this point, you are ready to brew the coffee. If you want hot coffee, use hot water, but if you need cold coffee, use cold water. Remember, with the AeroPress machine, the coffee taste is determined purely by the water's temperature. If you use boiling water, it will make your coffee bitter. The manufacturer's recommendation is to use water at 175 degrees. Though it is not practical to achieve the exact temperature, you can boil the water and allow it to cool down before using it. Also, ensure that you use high-quality coffee bean; preferably, coffee beans that have been ground recently. The coffee bean should be finely ground. How to brew coffee If you have everything in place, the process of brewing coffee should take less than two minutes. There are two ways to make coffee using the AeroPress machine; the inverted way, and the usual way. Both methods make delicious coffee, but one is faster. Equipment required Electric stove and kettle The AeroPress machine; stirrer, funnel, and scoop A coffee grinder Small pitcher, or a mug Timer Original method Start by boiling the water. Remember, boil the water and let it cool for a minute since the coffee maker works best at a temperature of 175 degrees. Grind your beans. Depending on the amount of coffee that you want to make, grind the beans accordingly. For the two cups, grind at least two spoonfuls of coffee. Remember, you must grind the coffee until its fine. Ensure the filter is wet. After assembling the Aeropress machine, put paper filler inside the cap. Place the device on top of a mug and dab the filter with warm water. Place the warm funnel on top of a mug and dispense the coffee. After pouring the coffee, remove the funnel. Add warm water. Ensure you add the water until it gets to the marked line in the machine. Remember, the water should be recently boiled and cooled. Using a spoon or a paddle stirrer, stir the coffee until it dissolves. Insert the plunger by pressing it down till a hiss is heard. If you fill any resistance, pause briefly. Push the plunger gently until it reaches the ground. 8. Remove filler cap while pushing the plunger. This should eject the used coffee while rinsing the seal. Dilute and taste your coffee. Depending on how you want your coffee to taste, add more water. The Aeropress machine makes concentrated coffee. Thus you can split the concentrated coffee and make more cups. Reverse method Reverse method is similar to the standard process but with few adjustments. Here is the method: Start by assembling the Aeropress machine. Remember, in this method, and the machine must get assembled in an upside-down manner. Put the plunger in the chamber, flip the device upside-down, and don't put the cap and the filter. Put the funnel and pour the ground coffee. Use fine coffee grits enough for the amount of coffee needed. Next, add boiled water until you fill the filter. Remember, you should boil the water and let it cool for a few minutes. using a spoon or a paddle, stir the coffee gently. Steep the coffee for at least one minute. Place the paper cap and tightly screw it into the chamber Carefully, flip over the machine. Remember, this should get done accurately and quickly. After flipping, place the device on a mug Taste the coffee and dilute as desired. Remember, both ways make concentrated coffee, thus add water until you get the desired coffee. The Aeropress machine features as the most resourceful and most efficient coffee maker. It is less fussy and makes minimum noise; hence, you can use in places that require minimum noise. The machine is also highly affordable, with some brand costing less than twenty dollars on amazon. It is light and highly durable; thus, it can last long and give you value for money. It is easy to assemble and clean, even if you don't have any technical knowledge. The only downside of this machine is that you can only make two cups of coffee. Thus, if you are hosting a party, or your household has more than two people, then you will be forced to make the coffee several times. How to make coffee: [embed]https://www.youtube.com/watch?v=jlCUYNe9pes&t=100s[/embed] Read Also: 10 Best Coffee Places In The US How You Can Create A Coffee House Experience In Your Own Home 7 Fantastically Unusual Uses Of Old Coffee Beans Monthly Best Coffee Subscription

READ MOREDetails
Gadgets

Your Guide In Buying Kid-Friendly Gadgets

Finding the perfect gadgets for your kids is easy if you understand some of the things to look at. Children always want to own gadgets and while choosing for them, you have to consider whether the gadgets or tech products would be fun and useful to them. It can be difficult to know the things to consider because technology has advanced and you will even find smart toys that can be connected to the internet. To make the right choice, here are tips you could consider that will help you pick the perfect gadgets for your kids. Parental Controls : One of the concerns you need to keep in mind while out there to buy gadgets for your kids is parental controls. This is especially necessary if the gadget connects to the internet, so you would be able to filter the content the child is able to access. It’s important to look for this because you don’t want your kid to be exposed to material that might pollute his/her mind at that young age. You could also have a feature that prevents accidental purchases when online. Make sure to understand the kind of settings available to see if the gadget provides adequate safety features for the child while surfing online. Features : Different gadgets don’t provide the same kind of features and you are likely to come across unique items that might make you want to buy a gadget. For example, while looking for the best rc submarine, you would want to know if it has automatic navigation to help in cruising inside water. Additional technology features help to make the gadget more fun to use and could be useful when you want to save on power. Some gadgets will automatically switch off when not in use to preserve power, which is good if you don’t want to keep changing batteries or charging often. The gadget should have settings that allow you to control different aspects of usage. Kid-friendly Content : What kind of content has been included in the gadget? Some gadgets like tablets come with preinstalled software and apps, which might have content to show to the user. You have to review the content to ensure it meets the right standards and does not expose your kid to material that might not be suitable at their age. Most importantly, to make your kids happy to use the gadget, you might want to ensure it has some interesting stuff like cartoons, children’s music, and games. Don’t forget that while inspecting gadgets you must also include educational features as part of your filter. Go for gadgets that help the kid to learn something new. When you go out to find gadgets for your kids, you don’t just pick anything you lay your hands on. You should first inspect the gadget to ensure it provides value to the kid and does not expose them to material that might corrupt their mind. Check that it has educational material and confirm if there are any parental controls that could help you manage what the kid can access when online. Read Also : Top 5 Electronics Gadgets To Buy From Amazon US 5 Awesome Gadgets For Your Office Must-Have Gadgets For Your Startup

READ MOREDetails