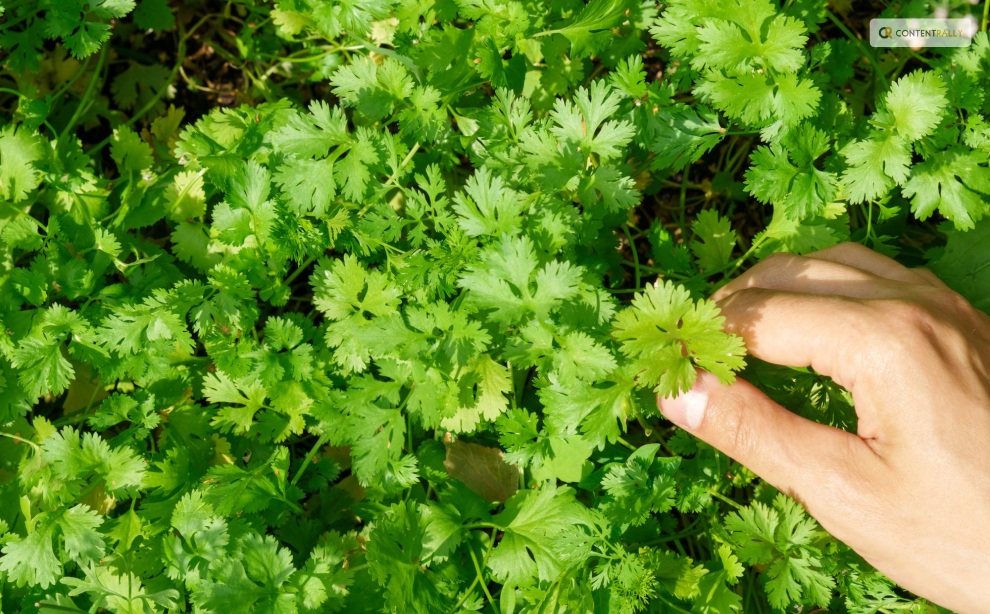
The Best Time and Method to Harvest Cilantro for Maximum Flavor and Aroma

how to harvest cilantro

One of the most used herbs in the world, cilantro, is also referred to as Chinese parsley or Coriandrum sativum. Fresh and zesty, cilantro gives your recipes a flavor boost. Mexican, Middle Eastern, Indian, Mediterranean, Chinese, African, and even Scandinavian cuisines use it extensively. Even cilantro microgreens are grown from it!

Since cilantro itself doesn’t keep well and loses aroma and flavor once dried, most people prefer to use it fresh. To have cilantro on hand, you should also have a few plants in the garden.

You can harvest the plant for its flavorful cilantro seeds, also known as coriander, even if you don’t use the leaves in your recipes. The leaves of the cilantro plants come throughout the spring and summer. Allow them to go to seed at that time since they grow easily in the garden!

You must know how to harvest cilantro properly if you want to have a steady supply. Keep reading to find out all you need to know about harvesting cilantro.

Harvesting Cilantro: Overview
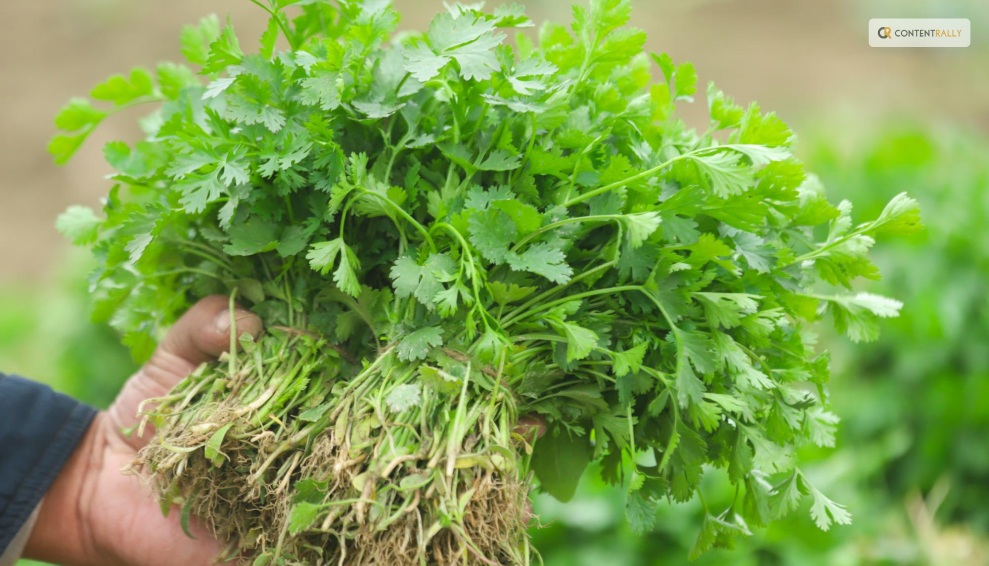
Harvesting Cilantro

Most people either love or hate the flavor of cilantro leaves. However, you should still think about cultivating a few coriander plants in your garden and saving the seeds for a range of culinary uses.

Most people in the US grow this delicious herb for its leaves. But the tasty coriander seeds are also worth harvesting. They have a distinct flavor from cilantro leaves. This fragrant herb of the cool season, cilantro, quickly goes to seed in the long, sweltering summer months.

As the plant reaches higher in the sky, its rounded, lobed leaves become feathery. Pretty clusters of tiny white blossoms quickly emerge. Many pollinators are drawn to these nectar- and pollen-rich blossoms, particularly syrphid flies and honeybees. Little round coriander seeds with a kelly green color emerge as the blossoms start to fade.

What To Expect from Cilantro?
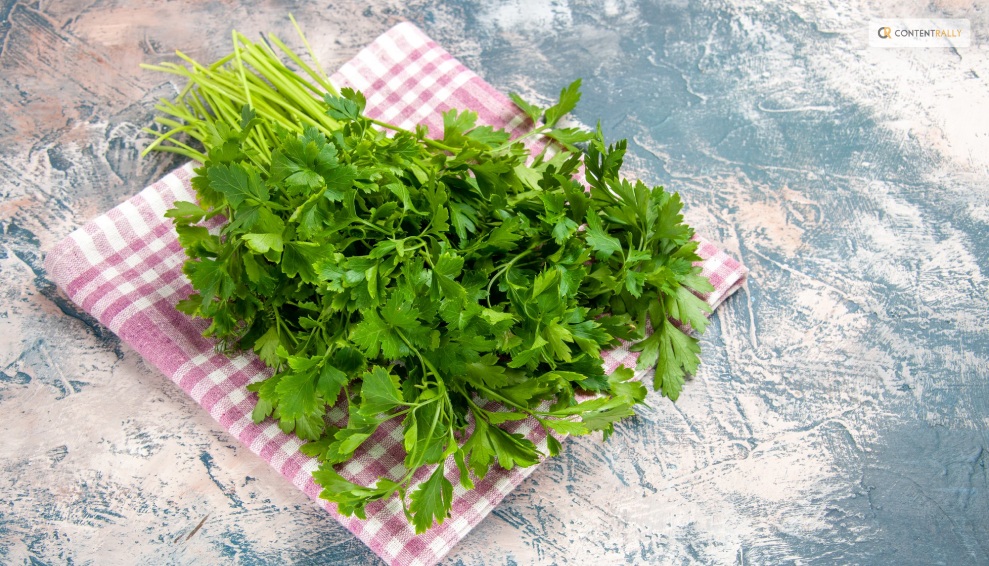
What To Expect from Cilantro

The distinctive flavor of coriander is citrusy and slightly nutty. It goes incredibly well with rice, beans, lentils, and roasted or grilled veggies. You can pick the seeds while they are still young and vibrant green. Or you can wait until they start to turn brown.

Since green coriander seed is only found in gardens, it is better to harvest them when they are still green because of their stronger, more distinct flavor. You will not find them in the farmers’ market or the grocery store.

If the seeds are kept in a glass container with a lid, then they can be refrigerated for several weeks and frozen effectively as well. Wait until most of the seed turns brown if you want to harvest the mature brown seed for winter grinding or planting next year.

Next, trim off a few inches of stalk and the seed heads, then hang them upside down in a brown paper bag. The seeds will drop out of the heads and land in the bag’s bottom once they are completely dry. The dry seed should be kept in a dry, cool place in a glass jar with a lid.

For optimal flavor, grind it just before using. The flavor difference between freshly ground coriander seed and the pre-ground variety typically found in stores will astound you. Try adding green coriander seeds to dressings and marinades. Frequently adding an equal amount of ground coriander to recipes that call for cumin makes the flavors of the two go particularly well together.

How to Harvest Cilantro?
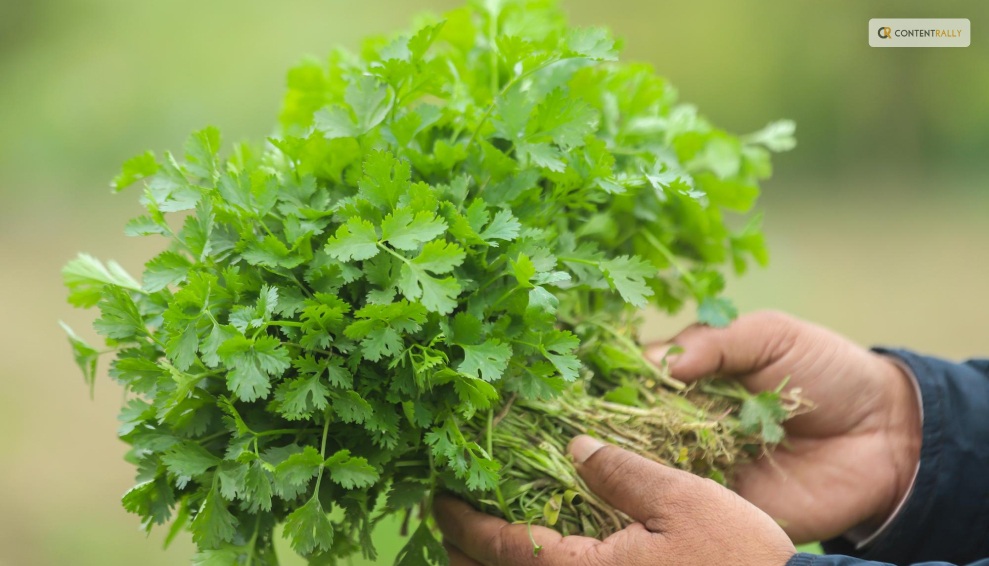
Harvest Cilantro

The most exciting aspect of growing plants is undoubtedly harvesting. Pick individual cilantro leaves if you plan to use a small amount. It is best to leave at least 1-2 inches of stem above the soil’s surface when harvesting larger quantities of cilantro.

It is preferable to leave a few lower leaves on the plant to support the herbs until they grow back. To cut the stems cleanly, use harvesting snips, long reach harvesting snips, or sharp, sterilized garden shears. To guarantee that your herbs regrow, it is best to remove only a small portion of the plant at a time.

Furthermore, when the cilantro plant blooms and sets seed, the herb may start to taste bitter. So, when wondering how to harvest cilantro, it is preferable to harvest before the plant bolts because the leaves will be less appetizing at that point.

When is The Best Time to Harvest Cilantro?
When is the Best Time to Harvest Cilantro

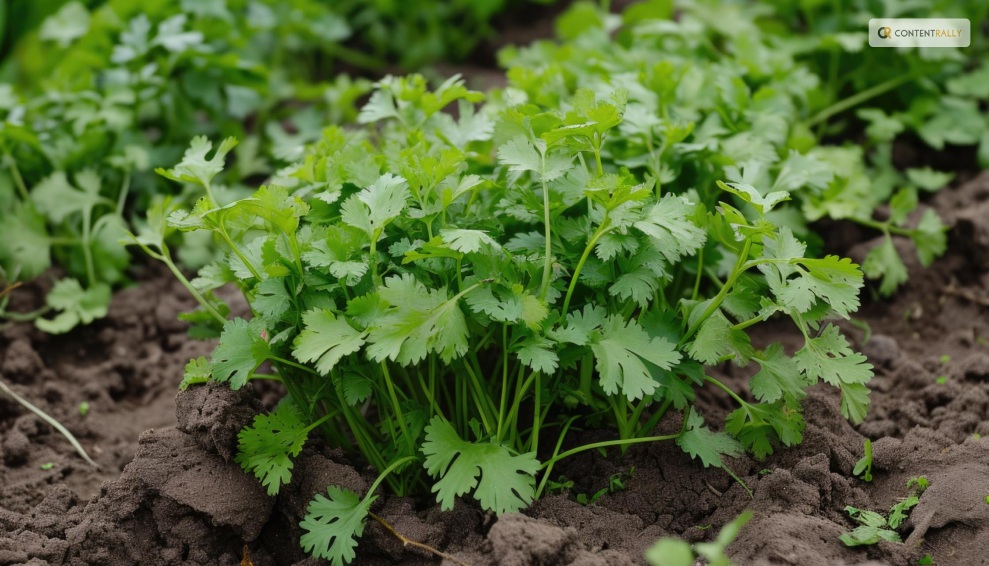
When the morning dew has cleared and the sun hasn’t set, it’s the ideal time of day to harvest a variety of fruits, vegetables, and herbs, including cilantro. This way you can lessen the stress on your cilantro plant and give the fresh stock cuts enough time to dry before dusk, which lowers the risk of illness.

Before it bolts, harvest cilantro when it is 6 to 8 inches tall. The flavor of cilantro leaves significantly decreases after they have bolted. The lifespan of the cilantro plants can be increased by careful and routine harvesting. It is crucial, though, to wait for your plant to become established before beginning to harvest.

The plant develops numerous long, thin stems as it grows. They are ready to be harvested when the stems are long, and the leaves have a lacy appearance. The cilantro herbs are about ten to twelve inches tall at this point. Gather your cilantro in the spring and into the first part of the summer.

Your plants may bolt to seed if summertime full sun conditions prove to be too hot for them. The best time to harvest cilantro is early morning. You can either choose to harvest it once a week or source just individual leaves whenever you need them.

Most of the time, it takes about 2-3 weeks for regrowth, so you must harvest accordingly. You must remember that regular cut-and-come-again harvesting is the most ideal while the plant keeps producing foliage.

How To Store Fresh Cilantro?
How To Store Fresh Cilantro

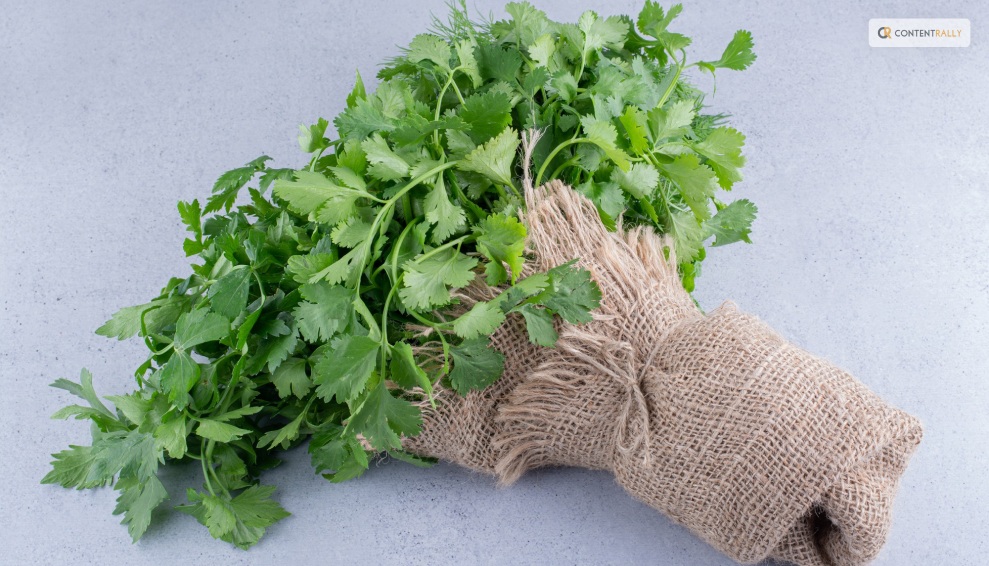
Part of knowing how to harvest cilantro is also knowing how to store them. It’s best to know how much you should take from the garden before you harvest. You will need to learn how to store cilantro if you do not intend to use the leaves right away to extend its shelf life. There are several approaches to try.

Storing Cilantro in Water

To keep the cilantro leaves dry, wait to wash them after harvesting. For storage purposes, store the stem ends in a glass or jar with 1 to 1.5 inches of water and refrigerate for a few days. At a minimum, change the water once a day. Use a plastic bag to cover the top loosely to preserve the humidity surrounding the herbs.

Storing Cilantro in The Freezer

Freezing cilantro is another low-maintenance way to store it. Shake off any extra moisture and rinse the leaves to get rid of any garden soil. Tear the leaves into small pieces and stuff them into ice cube trays, covering the herb with just enough water to barely cover.

You can pre-measure if you’d like to ensure that you know precisely how much is in each cube for recipes in the future. After the cubes are completely frozen, place them in a freezer bag. Add as needed to marinade, smoothies, soups, and sauces. You can freeze cilantro for up to six or eight months.

Read More: Everything You Need To Know About Harvesting Basil

How To Dry Cilantro?
How To Dry Cilantro

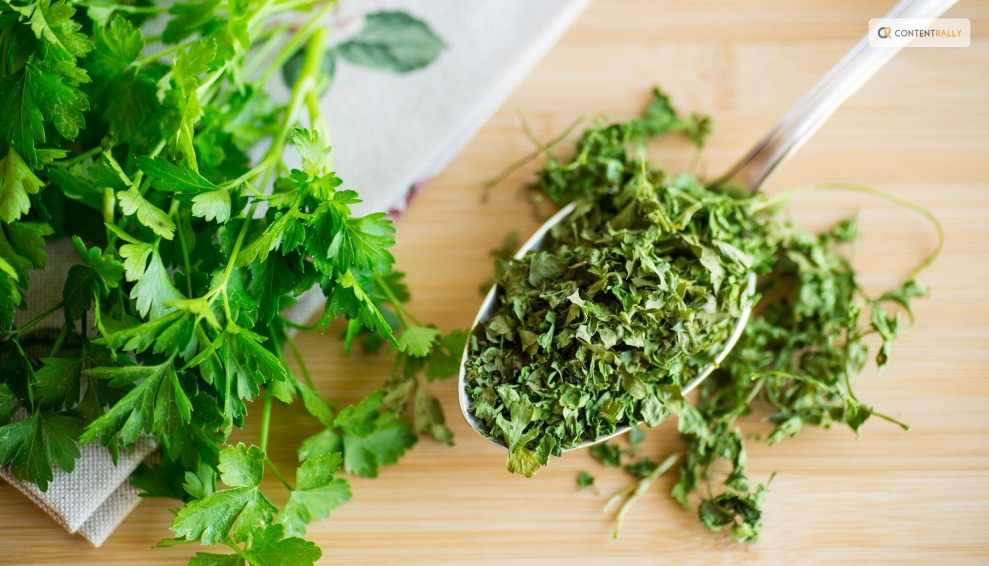
There are two methods for drying cilantro. You can use the oven to dry cilantro. Since hot air can greatly affect the flavor of the finished and dried herb, you might want to avoid using heat if you want to enjoy flavorful dried cilantro.

Air drying or hanging drying is a better way to dry cilantro. Gather the stems of the herbs into a small bunch and secure them with a string. Place the bunch in a dark, well-ventilated area and hang it upside down. Alternatively, you can wrap the bunch in a brown paper bag to keep the cilantro from getting dusty.

After the bunch has been hanging for about a week, begin to check its level of dryness every day or two. It’s ready to be crushed or powdered and stored for later use when it crumbles when touched.

Cure the cilantro ahead of time to reduce the possibility of mold growth. Put the dried cilantro in a glass mason jar to cure. Open the jar and give it a good shake every day to let fresh air into it and mix the contents. This will assist in achieving moisture content parity. If you’d like, you can also include a moisture-absorbing packet.

How To Harvest Cilantro Seeds?
How To Harvest Cilantro Seeds

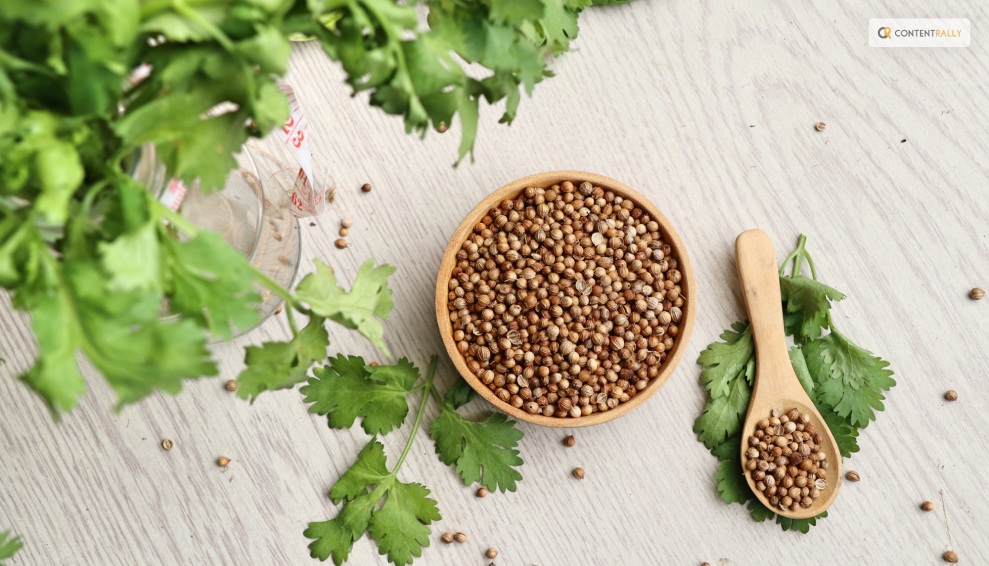
You can harvest the coriander seeds even if you don’t like cilantro leaves. The plant can grow to 20 inches when it flowers. This requires temperatures above 75 degrees. Pods will form once they have flowered, and the flowers will fade.

Before being harvested, these should be green to brown in color. These pods release the mature seed when it’s ready. Tie the stems with the seed pods still attached into a bunch. Next, hang them upside down in a paper bag in a cool, dry place to harvest the seeds.

With time, the seeds will sprout and drop into the bag. Store your seeds in a dry, cool place in an airtight jar. Unground dried seeds can be kept for three to four years in storage. Before using dried seeds in your recipes, grind them for the best flavor.

How To Harvest Cilantro So It Keeps Growing?
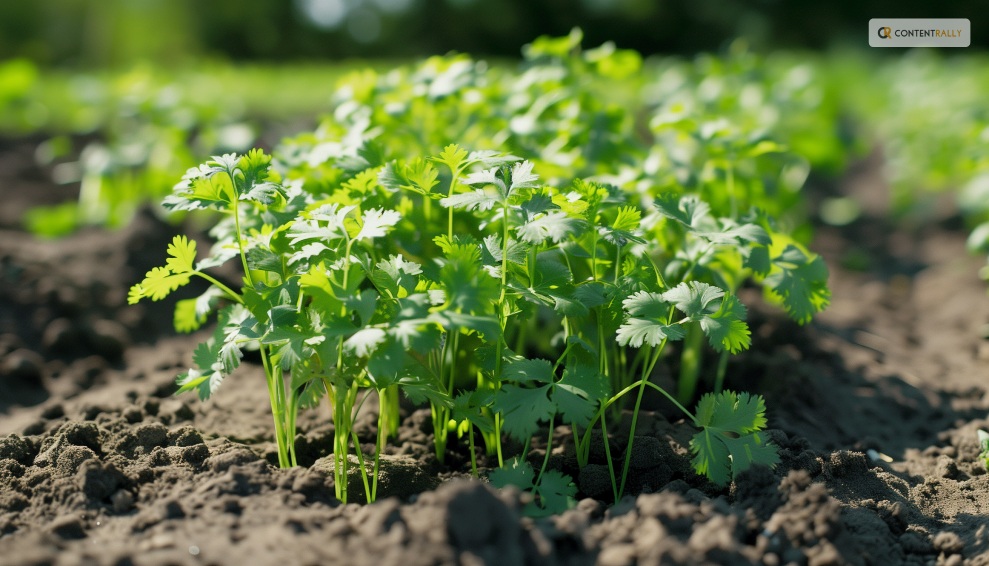
How To Harvest Cilantro So It Keeps Growing

If you sow cilantro seeds every two weeks from spring until late summer, you can be sure to always have fresh leaves available. We advise chopping them up and firmly packing them into an ice cube tray filled with water. Then, just place the tray in the freezer. These can then be added directly to hot pans when preparing soups or sauces. Or they can be dropped into hot or cold water for cooking or drinking.

What To Do If Cilantro Bolts?

What To Do If Cilantro Bolts

It’s time to collect and preserve your own coriander seeds once your plant produces seeds. Picture each of those tiny white blossoms turning into a flavorful spice for your cooking or seeds for the following year! In addition to being aesthetically pleasing and tasty, cilantro flowers are also excellent pollinators. 

There is a short window of time when the growing seasons of cilantro and tomatoes coincide. This proves they go well together. It usually happens that my tomato and pepper plants are just starting to take off when my cilantro plants bolt, sending forth gorgeous white flowers.

To maximize the amount of fruit your plants produce for you, beneficial insects that are feeding on your cilantro flowers will collide with your fruiting plants, vibrate their leaves, and assist in pollination. Ladybugs, butterflies, and bees all love cilantro flowers. It truly is a win-win!

Choose Slow Bolt Seeds

Seek out seed packets labeled “long-standing” or “slow bolt cilantro,” as these varieties have been cultivated to endure longer in the garden. You can find your go-to slow bolt seeds that are 100% certified organic from Seeds of Change.

Finding a local seed producer is another smart move. Buying local seeds means you’ll be growing a climate-adapted variety of cilantro, which increases the likelihood that you’ll keep it longer.

Harvest Cilantro Regularly

Regularly chop your cilantro leaves. This preserves the health of the plant and guarantees that the leaves of this herb are fresh when you use them. Your cilantro will continue to produce new leaves from the center of the plant if you regularly harvest it by chopping off the older outer leaves.

Additionally, your chances of cutting off those immature flower stalks increase with the amount of cilantro you harvest. This will aid in postponing any bolting.

 Since cilantro is incredibly obstinate, you can delay as long as you can. Cut that thick center stalk as soon as possible. After that, the plant will start to send outside shoots, giving you a little extra cilantro before it eventually bolts completely. For sun protection, surround your cilantro with tall plants.

Plant Taller Plants Around Cilantro for Sun Protection

Encircle your cilantro with large warm-season plants (like tomato or pepper plants) so that the taller plants can shade your herbs slightly and help keep the soil cooler as the temperatures rise. After all, four to six hours of sun is sufficient for cilantro to grow. To increase the lifespan of your cilantro in the garden, interplant it with larger plants.

Wrapping Up

You will need to have patience if you want to collect the seeds for your cilantro. Before seeds can be harvested, cilantro needs to blossom. Before harvesting, the resulting seed heads need to be allowed to dry on the plant for a while.

Harvesting the seeds is then as simple as shaking them into a paper bag or chopping off the entire seedhead and placing it inside the bag. If you have thoughts to share or questions to ask about how to harvest cilantro, please leave a comment below. We would love to hear from you!

Read Also:

Ankita Tripathy loves to write about food and the Hallyu Wave in particular. During her free time, she enjoys looking at the sky or reading books while sipping a cup of hot coffee. Her favourite niches are food, music, lifestyle, travel, and Korean Pop music and drama.

View all posts

Leave a Reply

Your email address will not be published. Required fields are marked *

Related

Home Value

The Guide to Understanding Your Home Value

As easy as it may sound, ascertaining your home's value is a complex process determined by several factors. For starters, you may estimate the value of your home by only knowing how much it cost you to acquire it, and how old it is. Before we dive deep into understanding your home value, let's get to know why it is vital to know your home's value. Comprehending the Value of Your Home Several factors can make you curious when it comes to knowing the value of your property. Maybe you want to relocate and need to know how much you would have from your old home to start your new one. Perhaps you are ready to get a new homeowner's policy, or maybe you are looking to refinance your mortgage. What is Your Home Worth? Many say your property is about as much as someone is willing to pay for it. In this case, all you would have to do is find someone willing to spend as much as you think is worth it. Generally, there is a lot to put into consideration when it comes to house value. The more you know about the factors to put into consideration, the easier it becomes for you to establish an estimated cost. Critical Factors to Consider • Recent sales of comparable properties in the area. • Location and neighborhood of the house. • Recent renovations and repairs. • The square footage covered and the age of the home. Here are three main steps that can help learn your home value: 1. Understand What "Home Market Value" Means Personal sentiments do not determine your . How great you think your home is, or highly-priced because of its memories is not substantial. Home market value is the amount one is willing to pay for your home. Consider that a buyer will not visualize your home the same way you would. For example, an old couple is looking to buy your house, but you have swings in the yard. While this may be of aesthetic and practical use for you, the potential buyer may view it as an added expense as they would prefer removal, especially if grandkids are not in the picture. A potential buyer will be keen on the following, which determines your house value as well. • Location: They will want to know how far your home is from essential services like schools, churches, highways, and shopping centers. Rooms: The room to bathroom ratio should meet architectural guidelines. Safety: If they would like to be future parents or already have kids, security is especially important. Nobody wants to live in a neighborhood where you have to keep looking over your shoulder. When choosing to resell, security is a vast price determinant. Square Footage: Property size is a crucial factor. Is the compound spacious enough for adjustments here and there to accommodate individual tastes? Curb Appeal: First appearances are everything. You wouldn't want to push away potential buyers because of an unkempt curb. The School District: Young couples or parents would be very keen on this. How many schools are in the area, and are they of acceptable academic standards? Sales of Comparable Homes in the Area: How much are people willing to pay? Keep track of the number of foreclosures in the area, if there are any. 2. Using Online Tools Searching for your home address online will help you learn many facts about your home according to public records. Information like age, the type of house it is, the square footage, the number of rooms it has, how much was paid for the home by previous owners, etc. The estimated value for your property is indicated in the public records. Unfortunately, you cannot entirely rely on the information you get online. The report found is only as helpful as the amount of data collected about your house and its neighborhood. 3. Engage the Services of a Real Estate Agent A real estate agent is very reliable in comparison to online information. Unlike online communication that is limited and may be inaccurate, a real estate agent has real-time data and access to several home listing service databases. The pros and cons will be better determined as they have experience and expertise in the matter. An excellent real estate agent will view your house from different angles and develop an attractive yet reasonable price. Pricing is everything. If the price is too high, it will overstay in the market as nobody is interested. If the price is too low, you will go at a loss, but the right price leads to a thick wallet, a big smile, and a satisfied buyer. In summary, you ought to engage the services of those with the required evaluation expertise and know-how. The ideal experts should offer you a free house valuation to better determine your property's worth. If required, they will also help identify a buyer. Read Also: 5 Tips For Designing a Tiny House 8 Smart House Upgrades that are Totally Worth the Money

READ MOREDetails
modern dining room

5 Tips for Creating a Modern Dining Room

 The dining room is more than just a space where meals are taken. It is the heart of the home and the one place that brings people together. As a space where families get to spend time and enjoy delicious meals, it is only right that homeowners would want it to be stylish and luxurious. The modern dining room comes in two types; the formal dining room is a separate area from the kitchen. On the other hand, open-plan dining where the kitchen connects to the living space. For the past years, the open plan dining has gained traction among homeowners, and the formal dining room is becoming more uncommon. Why? Because the large open plan is more practical and allows them to save space. Thus, the modern dining room concept has typically become the kitchen area that transitions into the living area. So how do you proceed with creating a modern dining room? Whether you are doing an extreme dining makeover or making a few tweaks to make your dining room, there are so many options to explore to give your space a modern tone. These tips will help you give your dining space a refreshing modern vibe. 1.Add a centerpiece When creating a modern dining room, it is essential also to decorate the dining table. A contemporary table centerpiece could spice up your dining room, giving it that modern look you are going for. Depending on your style, centerpieces go from a simple vase of flowers and candles to a decorative bowl with fruits. You can even customize one by DIYing decorations. Greenery centerpieces like succulents or snake plants would also do an excellent job bringing life into space. A bonus is they are low maintenance, and you won't have to deal with withered plants frequently. Mixing different statement-making materials with bold and neutral colors to decorate the room will give it a sophisticated look. Apart from elevating the dining room's overall appearance, a fantastic centerpiece will transform your dining into a classy space. 2.Integrate wooden furniture Wooden furniture has a lot to offer in the dining room. It's simple, and its natural attribute can bring style to the room. However, before you go in over your head with displaying cabinets and sideboards, start with the basics; dining table and chairs. However, you should consider adding a wooden dining table handcrafted to meet your preferred style and needs. There is a vast choice of wooden dining tables you can add to update your dining area. A large dining design would do a great job adding comfort. Team your dining table with classic chairs to give your dining space a whole new look. Anne Quin furniture offers to handcraft modern style dining tables at affordable rates. If you crave a luxurious dining set, you can learn more about Anne Quin furniture on their site. 3.Light it up One way to make a statement in your dining space is by adding a modern lighting fixture. Pendant lightings are on-trend, and most importantly, they work perfectly in the dining room. Always remember to choose a soothing light because you want people to be comfortable. The pro tip is the bigger you go, the better it is for the room's appeal. You can choose a single large hanging pendant or install a group to make a bolder statement in the room. There are many shops filled with affordable lighting fixtures, so you have free reign, one that marries well with the existing décor and finishes in the area. A beautiful lighting fixture will bring the room together and boost its visual appeal. 4.Add a banquette A modern dining space is about mixing different aspects: classic, elegant, and contemporary. Create a relaxed vibe in the room by adding a banquette near the dining table. A banquette is an ultimate steal when modernizing your dining space; homeowners get to enjoy a modern vibe while adding more storage space. It also offers a flexible seating option which is a bonus. You can top the banquette with colorful plush pillows to cheer up the area and add comfort. 5.A gallery wall Modern dining styles are about breaking the norm, and many homeowners are embracing going bold in their dining area. To give the room a purposeful look, you can choose to add modern art or a couple of picture frames. Since most modern furniture tends to be sleek and cold, a wall of art would create a warm look and maintain a contemporary tone at the same time. A beautiful piece of contemporary art will bring in some color to finish the dining room. Family photos or botanical-inspired prints could add personality to your dining space. However, ensure you use matching frames to give the room a cohesive look. Trust us, displaying them in your dining room would look twice as better as on your social media. Even though the kitchen wins many people's hearts, the dining area will always be a special place in the home. As seen above, the simplicity and minimalism that a modern dining design calls for taking1. different forms. These are a slew of tips you can incorporate to give your dining area a modern feel. Remember to go for designs that complement one another to give your room a seamless pattern. As long as you remember these things and find the right design combo, you should be good to go. Have fun and happy redesigning! Read Also: Ideas to Give Luxury Feel to Your Condo How to Make your Home Look Beautiful in the Upcoming Holidays 5 Tips For Designing a Tiny House How You Can Choose the Ideal Ceiling Light for Your Living Area

READ MOREDetails
your lawn

How To Prepare Your Lawn For Fall

With fall's arrival, you might think your yard work just shifts over to raking leaves. The sun isn't shining as hard, and your lawn isn't getting dry as quickly or growing as fast as it was in the summer. But if you want a healthy lawn to greet you when the snow melts and the ice thaws, there are plenty of things you can do now to give your yard the care it needs to survive cooler weather ahead. 5 Tips To Prepare Your Lawn For Fall Season You are investing your whole year to maintain the look of your lawn. But after the fall, you start to face more challenges to bringing that look again. Hence proper care and the right strategies are making your work simple. Here are the five tips for preparing your lawn for the fall season. 1. Reseed Late In The Growing Season If your lawn looks thin and brown or has dead patches, the time to reseed is in the late summer/early fall. It always is better to cover all the empty patchy areas of your lawn. Hence after the fall, you will not get enough time to clever up these patchy areas. Whether you're seeding a small patch or a whole yard, the cooler, damper weather of this time of year will promote successful growth, eliminate bare patches, and deter the growth of weeds. Consider Reading: 5 Essential Tips to Designing a Beautiful Front Yard Garden 2. Water And Fertilize Despite less sun and breezier, cooler days, your lawn still needs to be watered. Watering in the fall helps your lawn recover from summer and gain strength for the winter ahead, and while you can reduce your lawn watering, you shouldn't stop watering completely until the ground freezes. To make it easier, many Toronto homeowners install sprinkler systems that automatically water whenever they choose. Having lawn sprinklers in Toronto set according to your specific needs is an easy way to keep your grass watered and ensure your lawn is never too wet or dry. 3. Provide More Nutritions Fertilizing in the fall can also help provide energy and nutrients for the roots of your lawn grass. Fertilizing should be done about three weeks before the last mowing of the season. Roots are the most important part of the plant. After mowing, you can see the roots and provide more nutrition to boost plant growth. If you do fertilize, keep in mind that watering is a must for the fertilizer to work. The water helps the fertilizer dissolve and soak into the ground where it's needed. 4. Rake Your Leaves Make sure you're raking and removing all of those dead leaves that fall before the snow flies. If you don't, those pretty leaves will turn into a thick layer of wet leaves that can smother your grass and deprive it of sunlight, which will get in the way of the healthy growth you want. Plus, it's much easier to deal with dry leaves of your lawn during fall than wet, soggy leaves in the spring. Not only before the fall but every time raking, your garden’s dry leaves also look cleaner. 5. Cut The Grass Short With the cooler temperatures setting in, growth will begin to slow down, and your lawn will be preparing for dormancy throughout the winter. It's essential to continue the mowing process of your lawn during this time. You will want to cut your grassv shorter than usual during this time of year. Gradually lower the length of the mower until you reach the size of 1-1/2 or 2-inches. This will reduce the chances of snow mold forming in colder climates, and tall grass blades fall flat and smother the new grass next spring. Conclusion: Taking time to prepare your lawn for the harsh elements of winter can reduce the amount of time and effort you have to put into nurturing your lawn back to health come springtime. After strictly following these five tips, you can quickly minimize the challenges for the fall session and enjoy the green view again after fall. And in addition, these five tips are also boosting up the fertility rate of your lawn.  Read Also: The Top Four Reasons Why You Could Certainly Benefit from a Garden Shed How to Maintain Your Garden Railings? The Best Riding Lawnmowers: These Lawnmowers are for You

READ MOREDetails