The Best Time and Method to Harvest Cilantro for Maximum Flavor and Aroma

how to harvest cilantro

One of the most used herbs in the world, cilantro, is also referred to as Chinese parsley or Coriandrum sativum. Fresh and zesty, cilantro gives your recipes a flavor boost. Mexican, Middle Eastern, Indian, Mediterranean, Chinese, African, and even Scandinavian cuisines use it extensively. Even cilantro microgreens are grown from it!

Since cilantro itself doesn’t keep well and loses aroma and flavor once dried, most people prefer to use it fresh. To have cilantro on hand, you should also have a few plants in the garden.

You can harvest the plant for its flavorful cilantro seeds, also known as coriander, even if you don’t use the leaves in your recipes. The leaves of the cilantro plants come throughout the spring and summer. Allow them to go to seed at that time since they grow easily in the garden!

You must know how to harvest cilantro properly if you want to have a steady supply. Keep reading to find out all you need to know about harvesting cilantro.

Harvesting Cilantro: Overview

Harvesting Cilantro

Most people either love or hate the flavor of cilantro leaves. However, you should still think about cultivating a few coriander plants in your garden and saving the seeds for a range of culinary uses.

Most people in the US grow this delicious herb for its leaves. But the tasty coriander seeds are also worth harvesting. They have a distinct flavor from cilantro leaves. This fragrant herb of the cool season, cilantro, quickly goes to seed in the long, sweltering summer months.

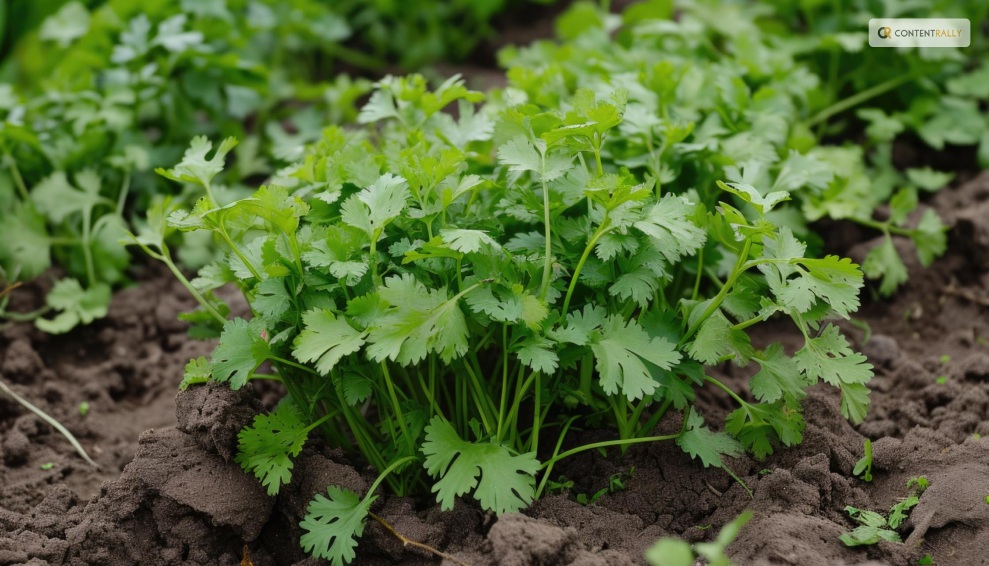
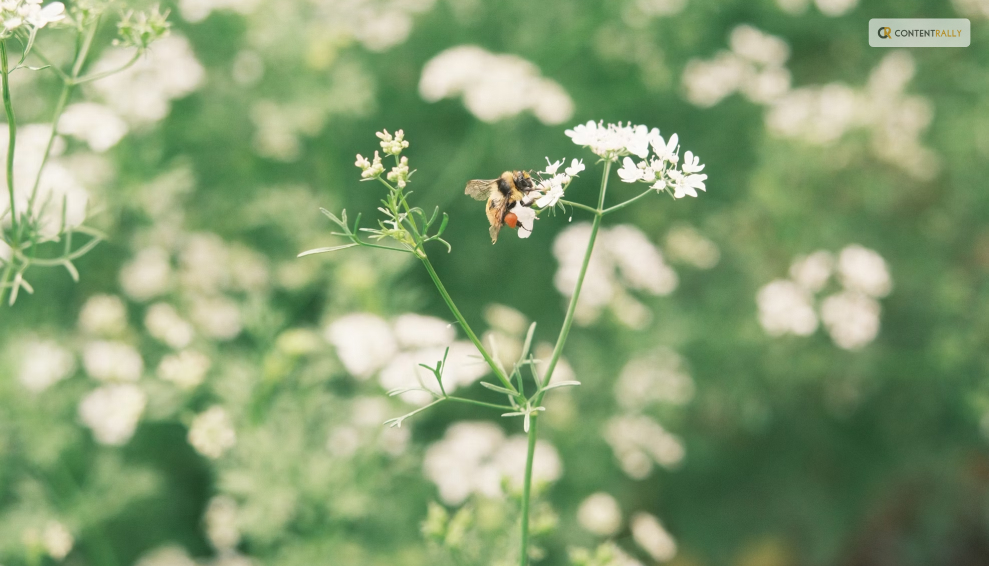
As the plant reaches higher in the sky, its rounded, lobed leaves become feathery. Pretty clusters of tiny white blossoms quickly emerge. Many pollinators are drawn to these nectar- and pollen-rich blossoms, particularly syrphid flies and honeybees. Little round coriander seeds with a kelly green color emerge as the blossoms start to fade.

What To Expect from Cilantro?

What To Expect from Cilantro

The distinctive flavor of coriander is citrusy and slightly nutty. It goes incredibly well with rice, beans, lentils, and roasted or grilled veggies. You can pick the seeds while they are still young and vibrant green. Or you can wait until they start to turn brown.

Since green coriander seed is only found in gardens, it is better to harvest them when they are still green because of their stronger, more distinct flavor. You will not find them in the farmers’ market or the grocery store.

If the seeds are kept in a glass container with a lid, then they can be refrigerated for several weeks and frozen effectively as well. Wait until most of the seed turns brown if you want to harvest the mature brown seed for winter grinding or planting next year.

Next, trim off a few inches of stalk and the seed heads, then hang them upside down in a brown paper bag. The seeds will drop out of the heads and land in the bag’s bottom once they are completely dry. The dry seed should be kept in a dry, cool place in a glass jar with a lid.

For optimal flavor, grind it just before using. The flavor difference between freshly ground coriander seed and the pre-ground variety typically found in stores will astound you. Try adding green coriander seeds to dressings and marinades. Frequently adding an equal amount of ground coriander to recipes that call for cumin makes the flavors of the two go particularly well together.

How to Harvest Cilantro?

Harvest Cilantro

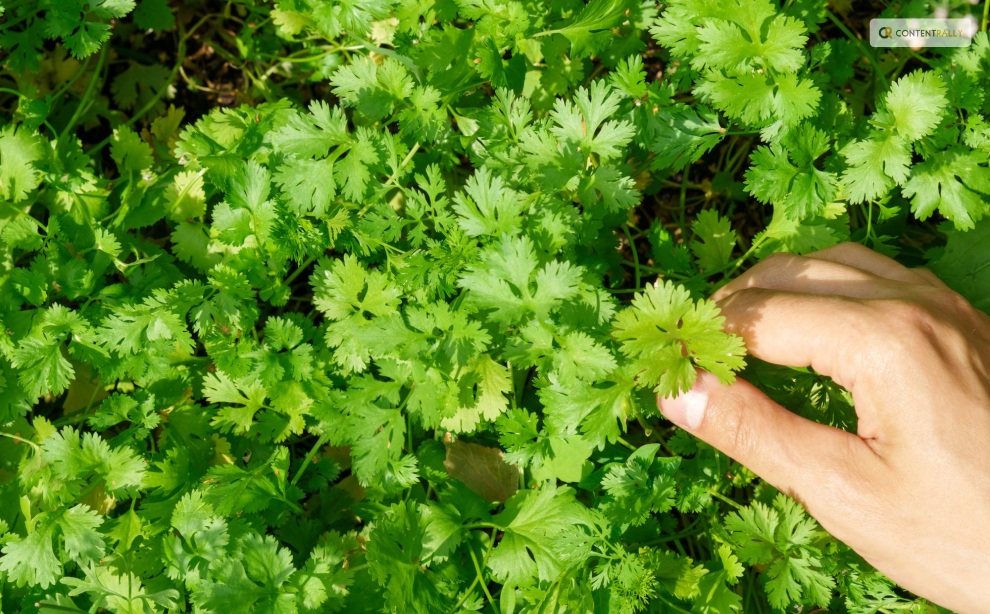
The most exciting aspect of growing plants is undoubtedly harvesting. Pick individual cilantro leaves if you plan to use a small amount. It is best to leave at least 1-2 inches of stem above the soil’s surface when harvesting larger quantities of cilantro.

It is preferable to leave a few lower leaves on the plant to support the herbs until they grow back. To cut the stems cleanly, use harvesting snips, long reach harvesting snips, or sharp, sterilized garden shears. To guarantee that your herbs regrow, it is best to remove only a small portion of the plant at a time.

Furthermore, when the cilantro plant blooms and sets seed, the herb may start to taste bitter. So, when wondering how to harvest cilantro, it is preferable to harvest before the plant bolts because the leaves will be less appetizing at that point.

When is The Best Time to Harvest Cilantro?

When is the Best Time to Harvest Cilantro

When the morning dew has cleared and the sun hasn’t set, it’s the ideal time of day to harvest a variety of fruits, vegetables, and herbs, including cilantro. This way you can lessen the stress on your cilantro plant and give the fresh stock cuts enough time to dry before dusk, which lowers the risk of illness.

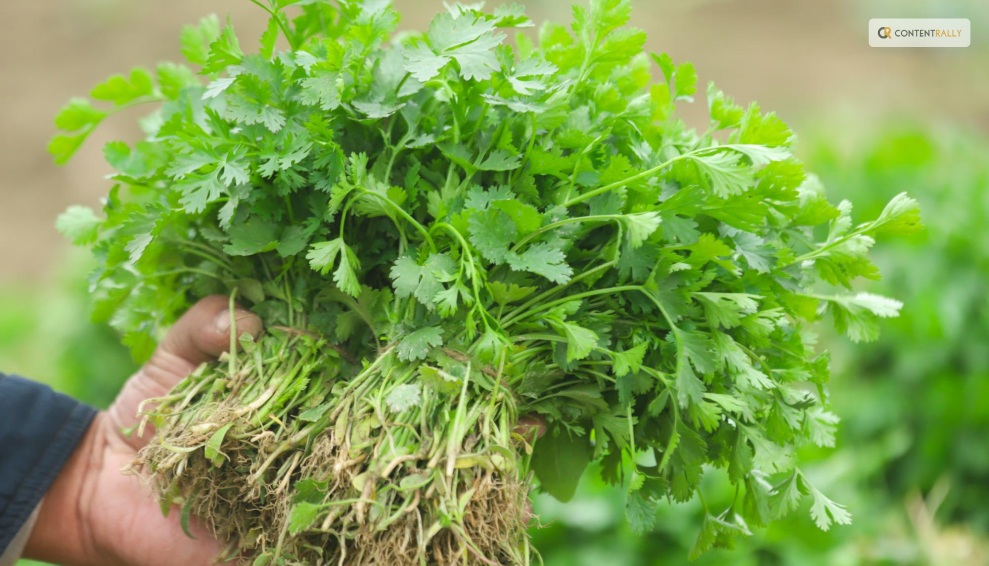
Before it bolts, harvest cilantro when it is 6 to 8 inches tall. The flavor of cilantro leaves significantly decreases after they have bolted. The lifespan of the cilantro plants can be increased by careful and routine harvesting. It is crucial, though, to wait for your plant to become established before beginning to harvest.

The plant develops numerous long, thin stems as it grows. They are ready to be harvested when the stems are long, and the leaves have a lacy appearance. The cilantro herbs are about ten to twelve inches tall at this point. Gather your cilantro in the spring and into the first part of the summer.

Your plants may bolt to seed if summertime full sun conditions prove to be too hot for them. The best time to harvest cilantro is early morning. You can either choose to harvest it once a week or source just individual leaves whenever you need them.

Most of the time, it takes about 2-3 weeks for regrowth, so you must harvest accordingly. You must remember that regular cut-and-come-again harvesting is the most ideal while the plant keeps producing foliage.

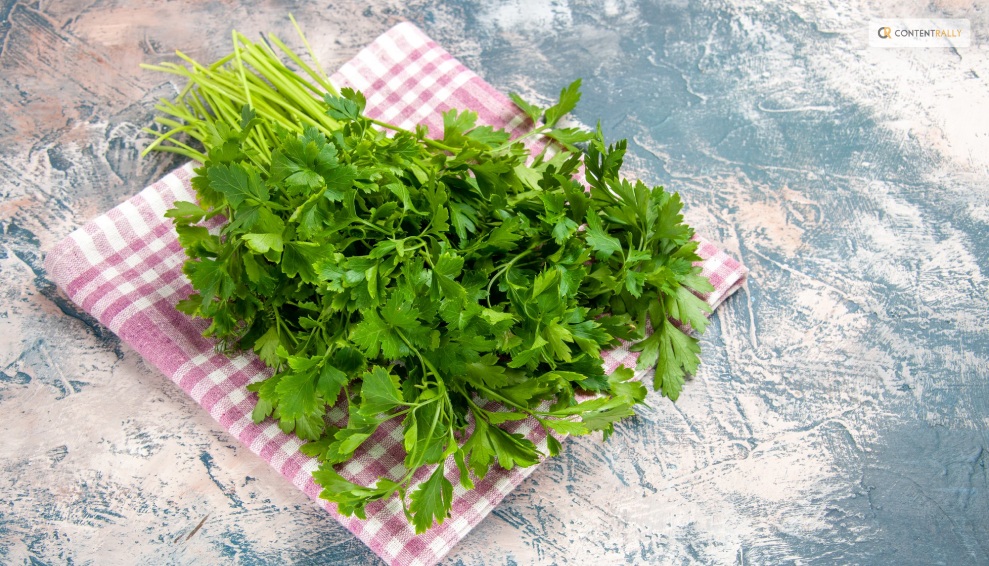
How To Store Fresh Cilantro?

How To Store Fresh Cilantro

Part of knowing how to harvest cilantro is also knowing how to store them. It’s best to know how much you should take from the garden before you harvest. You will need to learn how to store cilantro if you do not intend to use the leaves right away to extend its shelf life. There are several approaches to try.

Storing Cilantro in Water

To keep the cilantro leaves dry, wait to wash them after harvesting. For storage purposes, store the stem ends in a glass or jar with 1 to 1.5 inches of water and refrigerate for a few days. At a minimum, change the water once a day. Use a plastic bag to cover the top loosely to preserve the humidity surrounding the herbs.

Storing Cilantro in The Freezer

Freezing cilantro is another low-maintenance way to store it. Shake off any extra moisture and rinse the leaves to get rid of any garden soil. Tear the leaves into small pieces and stuff them into ice cube trays, covering the herb with just enough water to barely cover.

You can pre-measure if you’d like to ensure that you know precisely how much is in each cube for recipes in the future. After the cubes are completely frozen, place them in a freezer bag. Add as needed to marinade, smoothies, soups, and sauces. You can freeze cilantro for up to six or eight months.

Read More: Everything You Need To Know About Harvesting Basil

How To Dry Cilantro?

How To Dry Cilantro

There are two methods for drying cilantro. You can use the oven to dry cilantro. Since hot air can greatly affect the flavor of the finished and dried herb, you might want to avoid using heat if you want to enjoy flavorful dried cilantro.

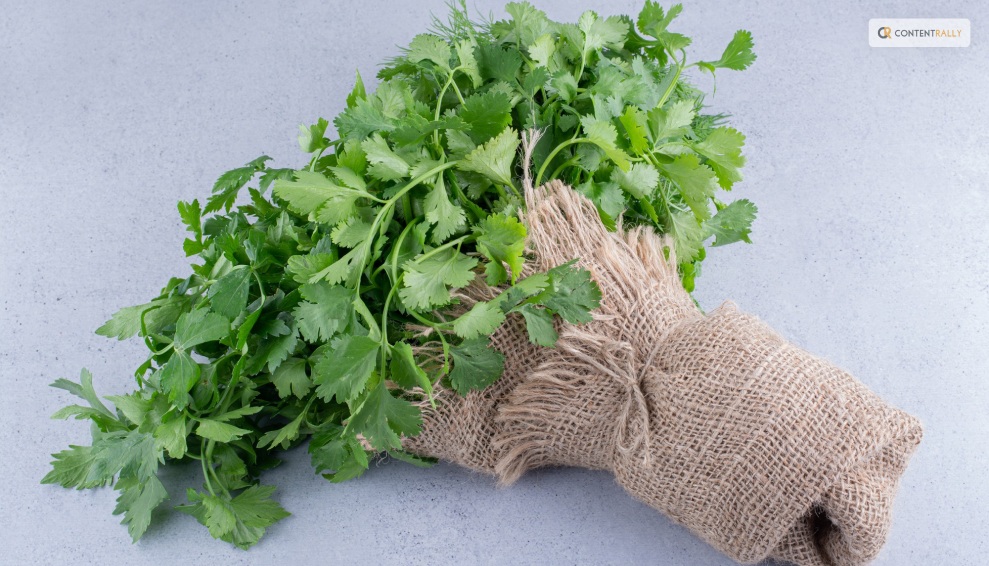
Air drying or hanging drying is a better way to dry cilantro. Gather the stems of the herbs into a small bunch and secure them with a string. Place the bunch in a dark, well-ventilated area and hang it upside down. Alternatively, you can wrap the bunch in a brown paper bag to keep the cilantro from getting dusty.

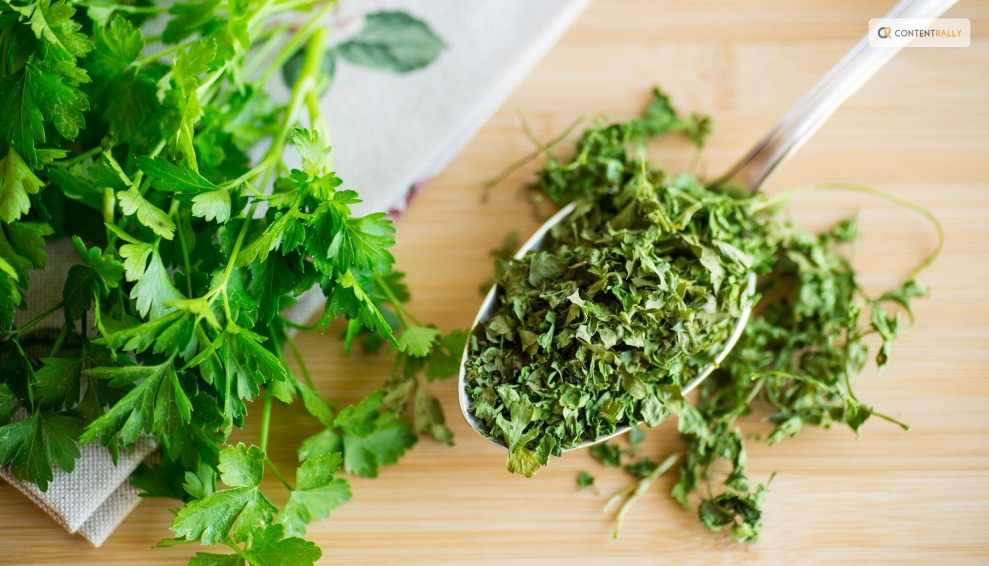
After the bunch has been hanging for about a week, begin to check its level of dryness every day or two. It’s ready to be crushed or powdered and stored for later use when it crumbles when touched.

Cure the cilantro ahead of time to reduce the possibility of mold growth. Put the dried cilantro in a glass mason jar to cure. Open the jar and give it a good shake every day to let fresh air into it and mix the contents. This will assist in achieving moisture content parity. If you’d like, you can also include a moisture-absorbing packet.

How To Harvest Cilantro Seeds?

How To Harvest Cilantro Seeds

You can harvest the coriander seeds even if you don’t like cilantro leaves. The plant can grow to 20 inches when it flowers. This requires temperatures above 75 degrees. Pods will form once they have flowered, and the flowers will fade.

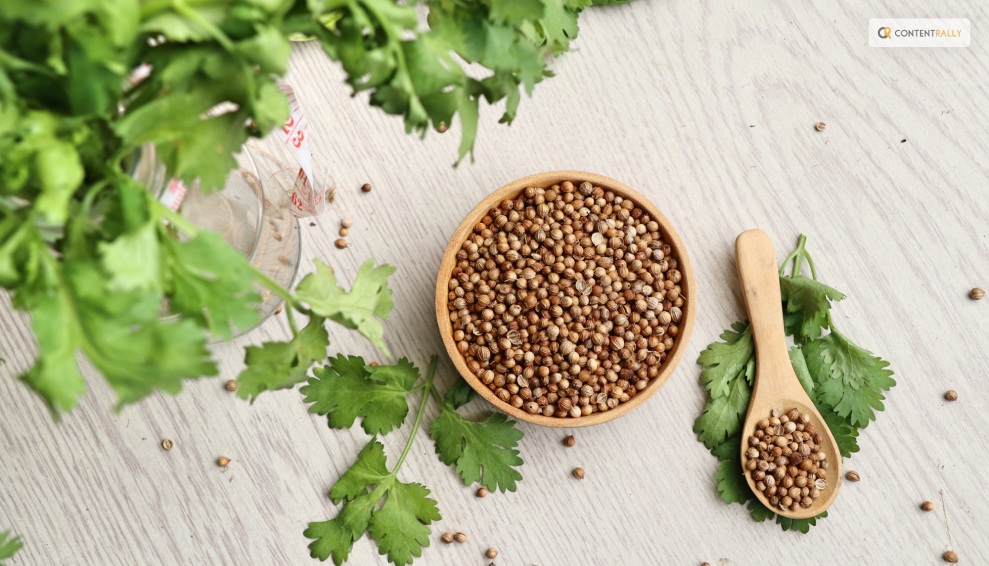
Before being harvested, these should be green to brown in color. These pods release the mature seed when it’s ready. Tie the stems with the seed pods still attached into a bunch. Next, hang them upside down in a paper bag in a cool, dry place to harvest the seeds.

With time, the seeds will sprout and drop into the bag. Store your seeds in a dry, cool place in an airtight jar. Unground dried seeds can be kept for three to four years in storage. Before using dried seeds in your recipes, grind them for the best flavor.

How To Harvest Cilantro So It Keeps Growing?

How To Harvest Cilantro So It Keeps Growing

If you sow cilantro seeds every two weeks from spring until late summer, you can be sure to always have fresh leaves available. We advise chopping them up and firmly packing them into an ice cube tray filled with water. Then, just place the tray in the freezer. These can then be added directly to hot pans when preparing soups or sauces. Or they can be dropped into hot or cold water for cooking or drinking.

What To Do If Cilantro Bolts?

What To Do If Cilantro Bolts

It’s time to collect and preserve your own coriander seeds once your plant produces seeds. Picture each of those tiny white blossoms turning into a flavorful spice for your cooking or seeds for the following year! In addition to being aesthetically pleasing and tasty, cilantro flowers are also excellent pollinators. 

There is a short window of time when the growing seasons of cilantro and tomatoes coincide. This proves they go well together. It usually happens that my tomato and pepper plants are just starting to take off when my cilantro plants bolt, sending forth gorgeous white flowers.

To maximize the amount of fruit your plants produce for you, beneficial insects that are feeding on your cilantro flowers will collide with your fruiting plants, vibrate their leaves, and assist in pollination. Ladybugs, butterflies, and bees all love cilantro flowers. It truly is a win-win!

Choose Slow Bolt Seeds

Seek out seed packets labeled “long-standing” or “slow bolt cilantro,” as these varieties have been cultivated to endure longer in the garden. You can find your go-to slow bolt seeds that are 100% certified organic from Seeds of Change.

Finding a local seed producer is another smart move. Buying local seeds means you’ll be growing a climate-adapted variety of cilantro, which increases the likelihood that you’ll keep it longer.

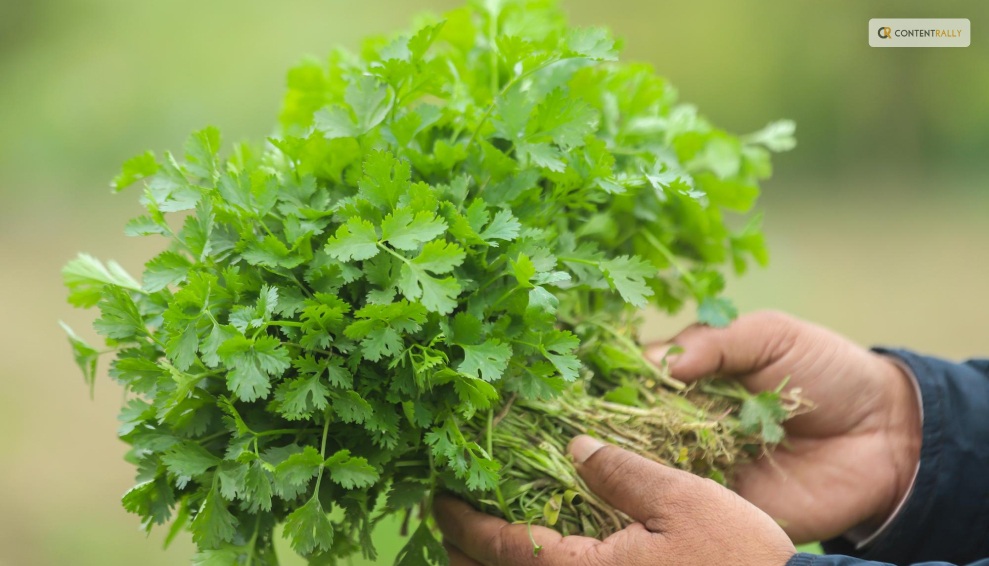
Harvest Cilantro Regularly

Regularly chop your cilantro leaves. This preserves the health of the plant and guarantees that the leaves of this herb are fresh when you use them. Your cilantro will continue to produce new leaves from the center of the plant if you regularly harvest it by chopping off the older outer leaves.

Additionally, your chances of cutting off those immature flower stalks increase with the amount of cilantro you harvest. This will aid in postponing any bolting.

 Since cilantro is incredibly obstinate, you can delay as long as you can. Cut that thick center stalk as soon as possible. After that, the plant will start to send outside shoots, giving you a little extra cilantro before it eventually bolts completely. For sun protection, surround your cilantro with tall plants.

Plant Taller Plants Around Cilantro for Sun Protection

Encircle your cilantro with large warm-season plants (like tomato or pepper plants) so that the taller plants can shade your herbs slightly and help keep the soil cooler as the temperatures rise. After all, four to six hours of sun is sufficient for cilantro to grow. To increase the lifespan of your cilantro in the garden, interplant it with larger plants.

Wrapping Up

You will need to have patience if you want to collect the seeds for your cilantro. Before seeds can be harvested, cilantro needs to blossom. Before harvesting, the resulting seed heads need to be allowed to dry on the plant for a while.

Harvesting the seeds is then as simple as shaking them into a paper bag or chopping off the entire seedhead and placing it inside the bag. If you have thoughts to share or questions to ask about how to harvest cilantro, please leave a comment below. We would love to hear from you!

Read Also:

Ankita Tripathy loves to write about food and the Hallyu Wave in particular. During her free time, she enjoys looking at the sky or reading books while sipping a cup of hot coffee. Her favourite niches are food, music, lifestyle, travel, and Korean Pop music and drama.

View all posts

Leave a Reply

Your email address will not be published. Required fields are marked *

Related

Ways to Make a Big Statement in Small Bedroom

5 Ways to Make a Big Statement in Small Bedroom

No matter how you want to redecorate your room, making a big statement in a small bedroom room is what you will find this post. And of course this article includes some ideas which can have an enormous effect and all the difference you would like to have in your bedroom by small changes. Despite the fact that it might appear to be anything but difficult to top off a little space with a negligible measure of furniture; yet, it is an fatiguing task for when one plans on putting forth a style expression. So, let’s see how it can be done. Idea # 1: A Nice Looking Bed Set Buying a nice bed set is never difficult and it’s so easy to change the look of your bed room with bright bed sheet, bed covers and pillows. It’s nothing like you need a big financial plan for it. Nice theme of a bed set can smoothly give your room an engaging look. You can try some hardwood bed set to make a statement in your room as well. Hardwood being utilized may turn out to be generally on an expensive side considering the two its sheer toughness and additionally high feel. However, it is justified regardless of each penny spent. Idea #2: Buy Some Gorgeous Looking Wallpaper A darker shade of wallpaper on one wall gives the room a bigger and better look. You can choose wall paper designs according to the overall theme of your room. You can use printed wall paper on one wall and keep the other walls plane. Idea #3: Have a Nice Bookshelf No room can turn out badly with a bookshelf joined inside. It isn't important to have a big book shelf in your room but including a small bookshelf inside will look great and noticeable. For rooms with a smaller size beautiful bookshelves can be fixed with traditional hardwood boards upon the divider. In a few cases, where the bed may comprise of a nice headboard, the book shelf can be made near the bed for best use of free space. Close by conventional sweet-smelling candles. Idea # 4: Get a Full Length or Big Sized Mirror Keep a full-sized mirror upon a whole divider or your preferred space. It is the most generally used secret and in addition the most seasoned trend to not just influencing the space to appear more outwardly engaging but also  influencing the space to seem bigger than it at first is. The impression of the room itself makes the ideal fantasy and also get intensifies, mirrors are best for adding more space to the premises of the little room. Idea #5: Lights/Chandeliers Lights, especially traditional chandeliers or side table lamps can change the look of your room. Lights help in making a comfortable atmosphere in your room. Mostly the essential lights may appear to be excessively cruel or too brilliant; some additional small lights like fairy lights, lamps or light chandeliers can really give your room a subtle look. Hanging up light fixtures of little to medium sizes upon the divider can help with better use of divider spaces. And additionally make a more traditional appeal in your room. It's not the size of your room you claim which matters. It is the manner by which you design it and also how you use free space in an imaginative way, which helps influence a room to appear sufficiently lavish. I hope you liked reading these bedroom decorating ideas. If you have some interesting tips to add, do let us know in comment section. Read More: Home Decor Is An Art Itself – Things To Know Mirror Decorating Ideas To Style Your Bathroom Top Expert Tips For A Stunning Condo Interior! 5 Essential Tips To Designing A Beautiful Front Yard Garden

READ MOREDetails
Tree Grates

How to Expand Tree Grates

Trees are an essential component of any great urban landscape. They not only add a touch of beauty to a property but also help urban dwellers by providing cleaner air, cool down buildings and their surroundings, and providing a natural carbon sink. Trees can affect both the micro and the microclimates of an urban area, making them an integral part of any city’s transformational plan. If you want to transform your urban property into an enduring beauty, it’s time to start planting the best trees. However, while trees will work great for your landscape, they have to endure a harsh environment that can cause lasting damage. Trees have to withstand car accidents and vandalism, increasing microclimate temperatures, paved surroundings, exposure to de-icing salt, wind, and the reflecting glare from buildings. This is where tree grates come in handy. If you have an urban area or property you would like to landscape, this article explores the role of tree grating, types of grates, and how to expand these installations. Introducing Tree Grating in Urban Landscaping A tree grate is a ubiquitous feature in most cities but most people don’t give these landscaping features a lot of thought. This is despite the fact these installations play a critical role in protecting trees from abrasion caused by bustling urban life. The landscaping installation protects roots that would otherwise become exposed and vulnerable to damage. The grating provides an ideal pit where roots can thrive without any dangers from pedestrians, exposure to glare, de-icing salt, and other harmful materials. Tree grilles create a greater surface area for natural or supplemental irrigation. These root coverings also facilitate better air circulation within the covered space. Tree grating protects the soil, the rooting system, and sometimes the trunk. If trees are left to grow without this physical protection, they might not withstand the harsh urban environment. While most people enjoy the beautiful landscaping, they don’t make any efforts to protect these trees. Other reasons to install tree gratings include: Enhanced aesthetics: You can choose a tree grate that increases the visual appeal of your landscape. Most of the products on the market are visually appealing and are designed to improve curb appeal. These installations are easy to customize to suit your landscaping needs. Improving safety: Grates also protect pedestrians against injuries that would be caused by exposed roots. Landscaping maintenance: Maintaining a green landscape is not easy due to litter build-up from trees. However, grates help by preventing weed build-up around the tree and also make it easier to maintain the area around the trees. Diverse styling options: You can choose grates in multiple sizes, shapes, materials, and designs. This makes it easier to find that perfect grating system that suits your landscape. Flexibility: The best grates for your trees should accommodate the tree’s growth. Expanding the tree grates is an important step in maintaining your green landscape. This gives room to your trees to thrive at their different stages of growth. You can choose grates for your trees from different materials including cast iron tree grates, natural stone, steel, recycled plastic, concrete tree grates, and other materials. When choosing any tree grilles, consider: The durability of the material Theft and vandal-resistance ADA (Americans with disabilities act) compliance Ease of customization Eco-friendly materials Ease of installation and expansion The versatility of the tree grills for different tree species. Steps to Expand a Tree Grate When designing and installing a tree grate, it’s important to appreciate that the tree will continue growing. This necessitates changes to the tree grille to accommodate such growth. If a tree grate is not expandable, it might cause more harm than good to the tree. For this reason, always assess how expandable any tree grille is before you buy it. The best tree grills are easy to expand by removing the inner center rings. This means you can continue expanding the grates as the tree continues to grow. When shopping for a grate, look for one designed for expansion. Here are the steps for expanding a tree grate: Check the rate of the tree’s growth and identify the grate rings you should cut.  Depending on the material, use a portable hard wheel grinder with an abrasive wheel (aluminum oxide) to cut off the marked rings.  Cut through with the wheel on thin areas of the grate casting For thicker areas of the grating, (including casting edges or areas with heavy support ribs) cut halfway through the casting with the grinder. Use a heavy hammer to remove the marked areas and they should break at the core line. Before applying the sharp blow, ensure there’s sufficient support behind the casting.  Continue the process for all the grates and leave enough room for the tree trunk to grow. Final Thoughts Using trees for landscaping has both functional and aesthetical purposes. Tree grates are crucial for green landscaping as they protect your trees against physical damage. These installations fuse aesthetics with function to add visual appeal to an area while also protecting tree roots, managing floodwater and maintaining beautiful, neat and safe sidewalks. With time, you should expand these grates to allow more room for tree trunks’ growth. Read Also: How to Safely Prune Your Trees Create A Stunning Outdoor Space With These Residential Landscape Lighting Tips 5 Essential Tips to Designing a Beautiful Front Yard Garden

READ MOREDetails
Save Garden

How to Prevent Root Damage to Sewer Line and Save Your Garden

Having a beautiful garden with big majestic trees is a dream come true for many. However, that’s until the roots of those trees don’t damage your sewer line. There’s nothing majestic about that except the royally high bills repairs and damage can add up to. The average cost for a main sewer line repair is nearly $2,500, according to HomeAdvisor. And your insurance won’t cover it if the problem is caused by wayward root growth, because this is classed as a ‘preventable cause’. Therefore, it’s essential that you do your best to prevent roots from damaging your sewer line. If all fails, you also need to use the most effective strategies for fixing the damage as fast as possible. How to Prevent Root Damage to Your Sewer Line and What to Do If You Fail : The most important thing to understand is that roots are naturally growing towards sewer lines seeking moisture and nutrients. Not having any trees directly on your property doesn’t guarantee the safety of your pipes either, because they grow for many feet underground and can get to you from the neighbors. The first thing to do in order to prevent costly damage is creating a map of sewer lines running through your property. Next, you need to get them examined for leaks and replace any places with even the smallest crack. Even a tiny leak ‘attracts’ roots, which can grow into the pipe and wreak havoc on it and your lawn. To minimize the costs you can use modern trenchless methods of drain replacement. This approach allows replacing whole sections of sewer lines by digging only a few small holes. Therefore, you save money on landscaping restoration. This method of repair and replacement is also faster than digging a trench, so you can minimize the damage. Now that you’ve ensured your sewer line system is perfectly fine and know exactly where the pipes are, you can move on to the ‘active’ prevention state. This starts with installing barriers that won’t allow roots to get to your pipes. Like with drain replacement, you can choose between methods that will require digging up your lawn and ‘non-invasive’ options. The latter is chemical growth inhibitors, like potassium hydroxide or copper sulfate. Bear in mind that the vegetation in the area where you spread these chemicals can suffer to some extent. The other option is to plant metal or wooden barriers directly into the ground so they run along the pipes. If you are only starting your garden, you have a chance to prevent root damage to sewer lines by designing it so the larger trees and shrubs are as far as possible from the pipes. You also need to choose the species with small root ball systems. Be sure to water them well so the plants don’t have to seek out additional moisture through the ground. Root Damage to Sewer Line: How to Tell If You Aren’t Too Late? One of the worst things about root damage to the pipes is that it’s very difficult to spot right away. And by the time it gets severe enough to be obvious, the repairs will cost a small fortune. Regular inspections by professionals will help avoid this, but you also need to know warning signs to look out for. These include drain clogs, wet patches on your lawn, and slow-flowing drains. In case of any of these, contact a professional plumber to find the reason as fast as possible. Read Also : Grow These Flowering Plants In Your Home Garden To Remove Vastu Related Problems Smart Fun Gardening: How To Take Care Of A Money Tree How To Choose The Right Containers For Your Container Garden

READ MOREDetails