Button Cell Battery Chart- know about it more

Published on: 04 March 2019 Last Updated on: 04 July 2020
Button cell battery chart

Did your flashlight battery run out? If yes, then it will be good if you buy a new battery for your flashlight according to the recommendation from the manufacturers. If you follow the instructions or manuals given by the manufacturer inside then you can save your device from damages and wrong type of batteries.

While you are replacing the batteries make sure to check the details such as battery type, capacity, chemistry, dimensions, max pulse current, self-discharge rate, etc. It may sound complicated however it is necessary for good performance of the gadget.

Here we have small tips related to battery and its safety-

You must never recharge the battery with the wrong charger as well as do not charge primary batteries or it may explode and cause fires. Do not swallow the battery; keep your kids away from it. These NiMH and lithium batteries do not contain toxic metals but they are dangerous and when swallowed electrolytes will close the circuit in the body as well as cause chemical reaction which caused the ultimate death of a person.

Battery types:

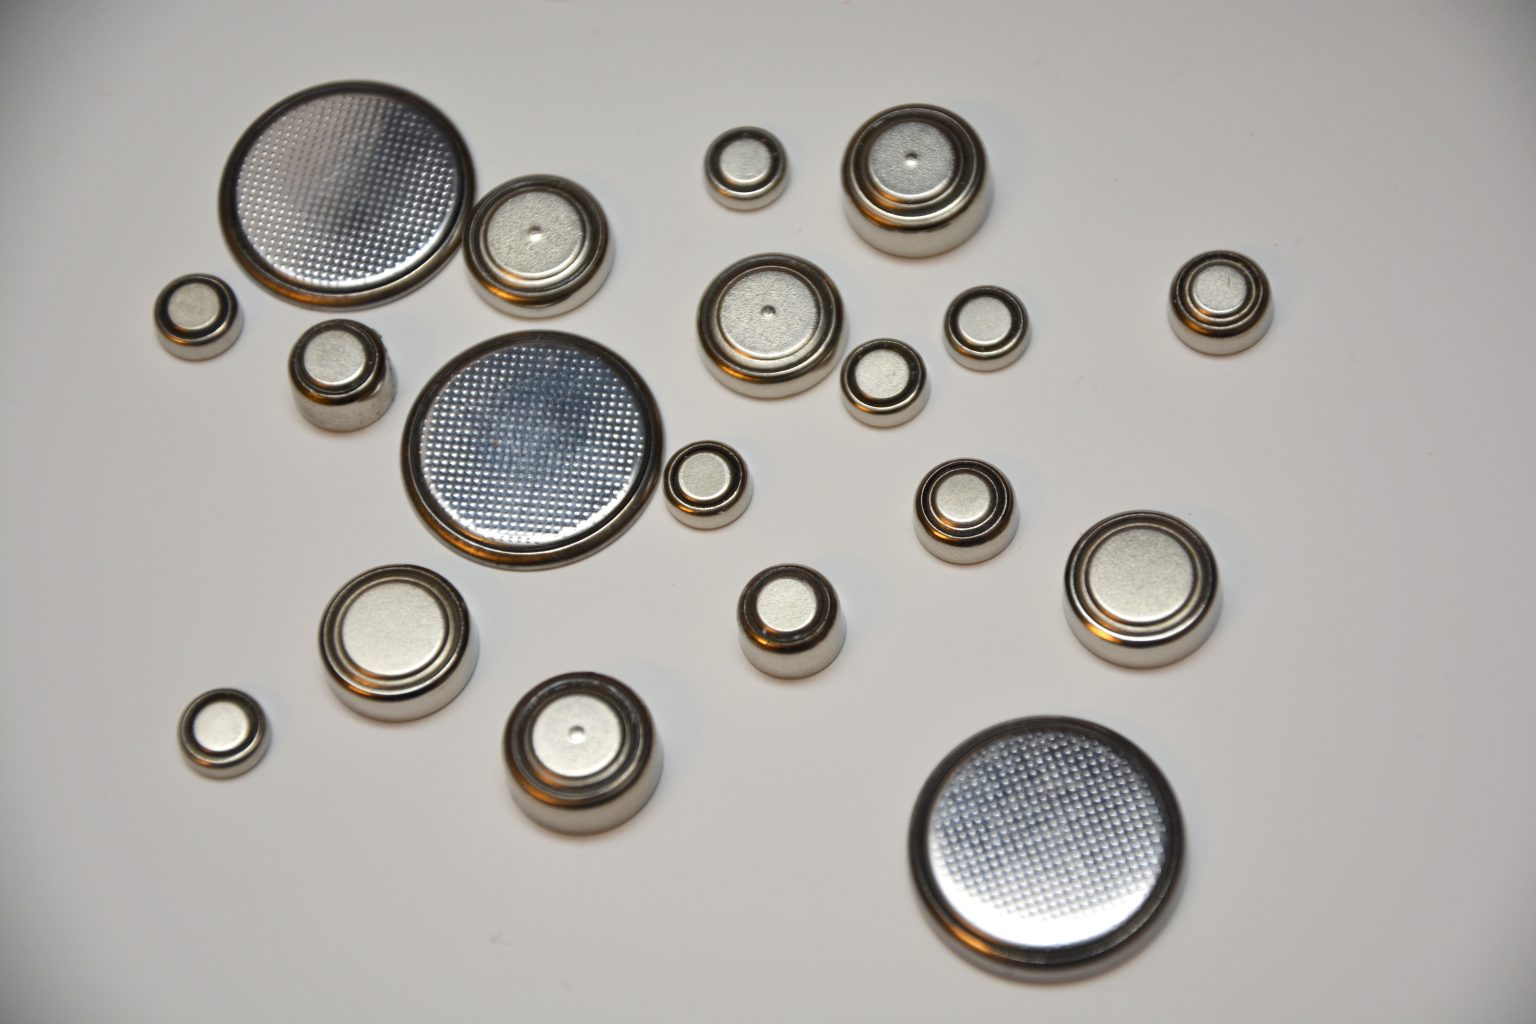
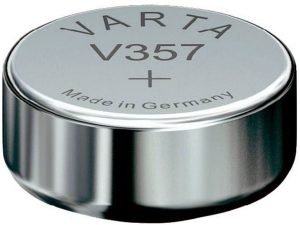
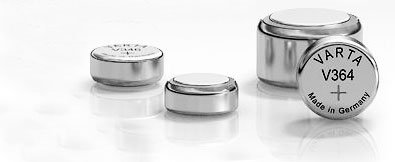
Coin/ button cell battery:

Coin/ button cell battery

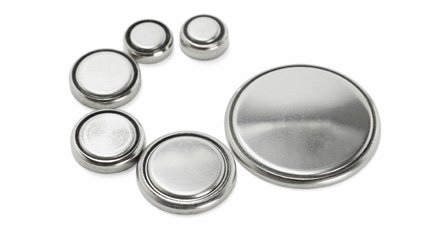
These are grouped under no- rechargeable batteries. It is common in key chains, watches, remote controls, and hearing aids. There are various chemistry types of this battery like silver oxide, alkaline, and mercury oxide. In addition, most of the manufacturer interchangeably makes use of similar labels for silver oxide and alkaline batteries.

If you look at the button cell battery chart then you can find out the difference and also know about the button battery sizes.

Alkaline:

Alkaline

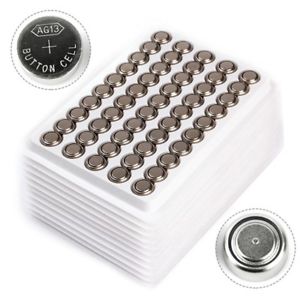
Alkaline coin/button cell batteries are cheap and reliable batteries. 1.5 volts is the nominal voltage of this battery but when you use this battery its voltage drops with time. The real capacity of this battery is dependent on the device cut off voltage. If it is to be used in electronic equipment where there is the requirement of the constant high voltage then the so-called capacity of this battery is low. In such gadgets the need for replacement of the battery is quick.

However, if the alkaline battery is to be used in gadgets that can tolerate low battery voltage, then its so-called capacity will be larger and you need not replace batteries in them so soon. Typical labels for alkaline batteries are LR##, AG##, LR###, etc. The normal capacity of alkaline LR44 is about 110-130 mAh and it is lower than equivalent silver oxide battery. Common Shelf life for it is 5 years.

Silver Oxide:

Silver Oxide

These button/coin cell batteries are a well-known type of batteries. They are not very expensive and have a shelf life of about 10 or more years. They have constant voltage while an operation that is identical to the nominal voltage of the alkaline batteries. Typical labels of this battery type are SR##, SG##, SR###, etc. Typical capacity of these types of batteries ex- Silver oxide SR44 is 150-200 mAh and it is more than equivalent alkaline LR44 while less than zinc-air.

Zinc Air:

These are used widely in hearing aid devices. They are having slightly lesser nominal voltage (1.4 to 1.45 V) however this voltage is quite similar or higher than the alkaline batteries voltage while using. In addition to this, these batteries got the largest capacity and chemistry. Typical capacity- 600-700 mAh and it is the much larger capacity when compared to silver oxide.

These batteries are not common because of different reasons, however, one of the common reasons is that they work by using air, and when electrolyte dries out, it is dead and needed to be replaced. Depending on manufacturer and model, after the protective tab of these batteries is removed, leave it for some minute in the air then use it for weeks. It has a shelf life of 4-5 years.

Mercury oxide:

Mercury oxide

These types of batteries are no longer in the use because of their impact on the environment. They require slightly lower voltage (~1.35V) they have good capacity. The typical capacity of battery MR44 is 180-200 mAh and it is quite similar to silver oxide SR44. If a small portion of these batteries is swallowed then it can induce vomiting.

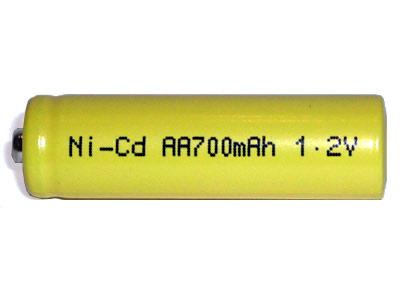
Cylindrical batteries:

These are commonly used in devices such as remote control devices, key chains, bikes, electric tools, etc. Cylindrical batteries are divided into 2 groups such as-

  • Non-rechargeable or primary batteries
  • rechargeable or secondary batteries

It is to be noted that the primary batteries must never be charges. Also, keep in mind that does not recharge batteries with NOT designed charger. The nominal voltage of the non-rechargeable cell is 1.5V regardless of whether they are alkaline or carbon-zinc batteries. These are interchangeable nit alkaline batteries that have huge capacity and they are used more than the zinc-carbon batteries.

For Primary lithium batteries, nominal voltage is 3V; they have a larger capacity and are light weighted. In addition to this, they tend to be highly expensive than the zinc-carbon as well as alkaline batteries and are utilized in high power gadgets such as cameras, flashlights, etc.

Secondary cells’ nominal voltage is dependent on its chemistry. These batteries are smaller and packed with enough energy but if mistreated then it may burst or explode. Hence, make sure you refer a button cell battery chart before replacing or using any batteries in your device.

  • nickel Cadmium battery

nickel Cadmium battery

it is also referred to as NiCd batteries and they have the nominal voltage of 1.2 V. it can generate large current however it has limited capacity as well as number of charging/ discharging cycles.

  • Nickel metal hydride– it is also referred to as NiMH batteries and it offers good capacity, low rate of self-discharge, good shelf life, etc along with reasonable rates.
  • Lithium secondary batteries– they have a voltage ranging from 3.3-3.7V and are labeled as 3.7 or 3.6V batteries. They have a large capacity, improved safety, and a higher drain.

For more information about batteries, you can refer button cell battery chart. We hope you have gained enough knowledge about batteries and their usage. Hurry up and go replace your batteries.

Read Also:

I enjoy writing and I write quality guest posts on topics of my interest and passion. I have been doing this since my college days. My special interests are in health, fitness, food and following the latest trends in these areas. I am an editor at Content Rally.

View all posts

Leave a Reply

Your email address will not be published. Required fields are marked *

Related

aeropress machine

How to Make Coffee with Aeropress Machine

 The Aero press is one of the most straightforward gadgets that you can use to make your morning coffee faster. Invented in 2009 by Engineer Allan Adler, the Aeropress machine has gained popularity due to its small size, high portability and efficient speed in brewing coffee. Due to its portability, you can carry the device to your camping escapade, fishing, or any sporting coffee. With the Aeropress machine, you can have your coffee anywhere at any time. How to assemble an Aeropress machine Remember, you can buy your Aeropress coffee maker from a trustworthy place. Some of the accessories that come with the coffee machine include: The Aeropress device which is a plastic plunger Cap that should get placed at the end of the AeroPress device The fillers which should be used alongside the cap A scoop that should be used to measure the coffee A funnel to put the beans and neatly organize them in the chamber Paddle to be used in stirring the coffee Once you have acquired all the accessories of the AeroPress machine, here is how to assemble the machine: Step 1: Push the plunger of the machine out of the chamber Step2: Remove the filter and put it in the filter cap Step3: By twisting the filter cap, put it into the chamber Step4:  Put the chamber on top of a stand. Put the chamber on a sturdy mug and ensure it stands firmly. Put the ground coffee in the chamber. Step5: Share properly to ensure the coffee is leveled correctly. Step 6:  Add water to the chamber. Ensure the water fill up to level 1. At this point, you are ready to brew the coffee. If you want hot coffee, use hot water, but if you need cold coffee, use cold water. Remember, with the AeroPress machine, the coffee taste is determined purely by the water's temperature. If you use boiling water, it will make your coffee bitter. The manufacturer's recommendation is to use water at 175 degrees. Though it is not practical to achieve the exact temperature, you can boil the water and allow it to cool down before using it. Also, ensure that you use high-quality coffee bean; preferably, coffee beans that have been ground recently. The coffee bean should be finely ground. How to brew coffee If you have everything in place, the process of brewing coffee should take less than two minutes. There are two ways to make coffee using the AeroPress machine; the inverted way, and the usual way. Both methods make delicious coffee, but one is faster. Equipment required Electric stove and kettle The AeroPress machine; stirrer, funnel, and scoop A coffee grinder Small pitcher, or a mug Timer Original method Start by boiling the water. Remember, boil the water and let it cool for a minute since the coffee maker works best at a temperature of 175 degrees. Grind your beans. Depending on the amount of coffee that you want to make, grind the beans accordingly. For the two cups, grind at least two spoonfuls of coffee. Remember, you must grind the coffee until its fine. Ensure the filter is wet. After assembling the Aeropress machine, put paper filler inside the cap. Place the device on top of a mug and dab the filter with warm water. Place the warm funnel on top of a mug and dispense the coffee. After pouring the coffee, remove the funnel. Add warm water. Ensure you add the water until it gets to the marked line in the machine. Remember, the water should be recently boiled and cooled. Using a spoon or a paddle stirrer, stir the coffee until it dissolves. Insert the plunger by pressing it down till a hiss is heard. If you fill any resistance, pause briefly. Push the plunger gently until it reaches the ground. 8. Remove filler cap while pushing the plunger. This should eject the used coffee while rinsing the seal. Dilute and taste your coffee. Depending on how you want your coffee to taste, add more water. The Aeropress machine makes concentrated coffee. Thus you can split the concentrated coffee and make more cups. Reverse method Reverse method is similar to the standard process but with few adjustments. Here is the method: Start by assembling the Aeropress machine. Remember, in this method, and the machine must get assembled in an upside-down manner. Put the plunger in the chamber, flip the device upside-down, and don't put the cap and the filter. Put the funnel and pour the ground coffee. Use fine coffee grits enough for the amount of coffee needed. Next, add boiled water until you fill the filter. Remember, you should boil the water and let it cool for a few minutes. using a spoon or a paddle, stir the coffee gently. Steep the coffee for at least one minute. Place the paper cap and tightly screw it into the chamber Carefully, flip over the machine. Remember, this should get done accurately and quickly. After flipping, place the device on a mug Taste the coffee and dilute as desired. Remember, both ways make concentrated coffee, thus add water until you get the desired coffee. The Aeropress machine features as the most resourceful and most efficient coffee maker. It is less fussy and makes minimum noise; hence, you can use in places that require minimum noise. The machine is also highly affordable, with some brand costing less than twenty dollars on amazon. It is light and highly durable; thus, it can last long and give you value for money. It is easy to assemble and clean, even if you don't have any technical knowledge. The only downside of this machine is that you can only make two cups of coffee. Thus, if you are hosting a party, or your household has more than two people, then you will be forced to make the coffee several times. How to make coffee: [embed]https://www.youtube.com/watch?v=jlCUYNe9pes&t=100s[/embed] Read Also: 10 Best Coffee Places In The US How You Can Create A Coffee House Experience In Your Own Home 7 Fantastically Unusual Uses Of Old Coffee Beans Monthly Best Coffee Subscription

READ MOREDetails
Laptop Stores

Location and Layout of Laptop Stores in UK

Society is developing fast. All kinds of shops emerge one after another. Good locations are quite different from bad locations. Gold shops can earn a lot of money. Shops with bad locations even cannot receive a single business. Location is important for electronics stores. So how to determine the location of the Laptop Stores in the UK? Let's take a look. We must understand laptop stores are different from maintenance shops. Maintenance shops can choose remote locations, while laptop stores cannot. It is not convenient for consumers to purchase. We know the rent of gold location is higher. But the sales performance can compensate for it. We can set up shops in prosperous shopping malls. Today, large shopping malls have become the only choice for young people. They can choose their favorite laptops while shopping. Consumers here also have after-sales services without worries. Besides the location, the overall decoration of laptop stores in the UK is decisive. A good decoration style can attract people's attention. The desire to buy will occur. There is a social survey about purchasing tendency. Consumers will prefer brand stores with unique decoration styles. Cleanliness is the top priority of a store. Definite cleanliness can win the trust of consumers. On the other hand, you can imagine a dirty store. How can it attract customers? Shops must set up a window to show their products to passers-by. It is more of a display of scientific and technological sense. It shows consumers the most popular products. The shop owner skillfully uses scenery and props. the background picture, appropriate lights, colors, and text descriptions are indispensable. Every consumer will browse the window before entering the store. A good window layout can introduce commodities, guide consumption, and promote sales. It can be an artistic masterpiece to attracts passers-by. The last is you should combine with Britain's custom. The decoration style of laptop stores needs to be elegant and luxurious. Consumers will identify the products by the decoration of one store. They may show no interest to whose decoration is mediocre or obsolescence. Those stores will lose many customers. The above is how to locate and decorate laptop stores in the UK. I hope this article can help you make a decision. Read More: How to Buy the Best Giant Screen Laptop Factory Refurbished Laptops: Why Would You Buy New?

READ MOREDetails
Gun Bluing

Does Vinegar Harm Gun Bluing?

Gun safety and maintenance are at the forefront of most gun owners’ minds.  We want to be able to clean our firearms without worrying about damaging them.  If you’ve looked at online forums at any point, you may have seen some people recommending using vinegar in cleaning. Is this safe, though?  Well, I’ll explain to you why it’s probably not the best thing to use in this article.  There are better alternatives that can clean it without any risk of corroding the metal – especially something like aluminum. Cleaning our Weapons As I mentioned above, if you look at any forums like this one, https://thefiringline.com/forums/showthread.php?t=524197, there is a hot debate on how to properly clean our weapons.  A variety of methods are suggested.  It’s important to remember that bluing on our guns is a vital part of it. You see, it protects the metal beneath from oxidation, usually known as rust.  Besides being ugly, it can negatively impact its integrity of it.  If there is already rust, though, you might need to scrape it away.  This can remove some of the bluings. How can you clean them, then?  Some recommend vinegar or a combination of that and other materials such as peroxide.  Unfortunately, this can damage it.  Acids and other corrosives probably are not a good idea. What Should We Use Instead? There are a few ways that we can go about this.  You are probably wondering what the best rust remover for guns is, so I’ll discuss a few options here.  The first thing I will cover is prevention. If you store your firearm in a cool and dry place, it will most likely not oxidize at all.  This is a good way to keep this problem from happening in the first place.  However, if rust does occur, you can go on to the next methods. You could try a battery charger.  For this, though, you will need a few other things.  This will probably only work for one made of something like aluminum or copper, as well.   Locate some baking soda, a battery charger, a steel rod, and a plastic container. No matter which way you are cleaning, make sure the gun is not loaded.  This is for your own safety as well as everyone else around you.  You should look in the barrel and double-check, maybe even triple-check, that there is no ammunition within. Next, you might try a traditional cleaning kit.  You can get them at most retailers that sell weapons like this.  This might be a slightly pricey option, but because the products are designed for this purpose, they are safe.  There is a low chance of damaging the bluing. Of course, you could also use steel wool and some oil.  If you use a form of lubricating oil before going in with the abrasive surface of the steel wool, you will most likely be able to remove the rust without causing any damage.  You need to have a careful and methodical process. As you go about the process of your choice, you will want to keep in mind some essential parts of cleaning your gun.  As you disassemble it, you should only do it in the way that the creator of it tells you to.  Otherwise, you may be risking your own safety. Wherever you decide to do it, it should not be a closed space.  Having proper ventilation is critical so that you do not inhale anything toxic.  Some firearms use lead in them or ammunition.  Breathing this in is not something you will want to do. If you didn’t know, it is recommended to care for your weapon after each time you use it.  Whether you go hunting or to the shooting range, getting rid of the residue is a part of being a responsible owner.  What you use for this might vary depending on the type you own. For example, rifle users may want to get a barrel snake.  This probably is not necessary for pistols or other smaller barreled guns, though.  My recommendation is to do your research on what to use for your specific weapon, and you probably should not use vinegar. Additionals: What is an Airsoft Gun?How Gun and Security Gear Advanced through the YearsParts of a Gun: All You Need to Know About the Components of Your Firearm

READ MOREDetails