CBD for Pain Relief: Dosage Guidelines and Safety

Published on: 10 September 2019 Last Updated on: 30 May 2021
CBD

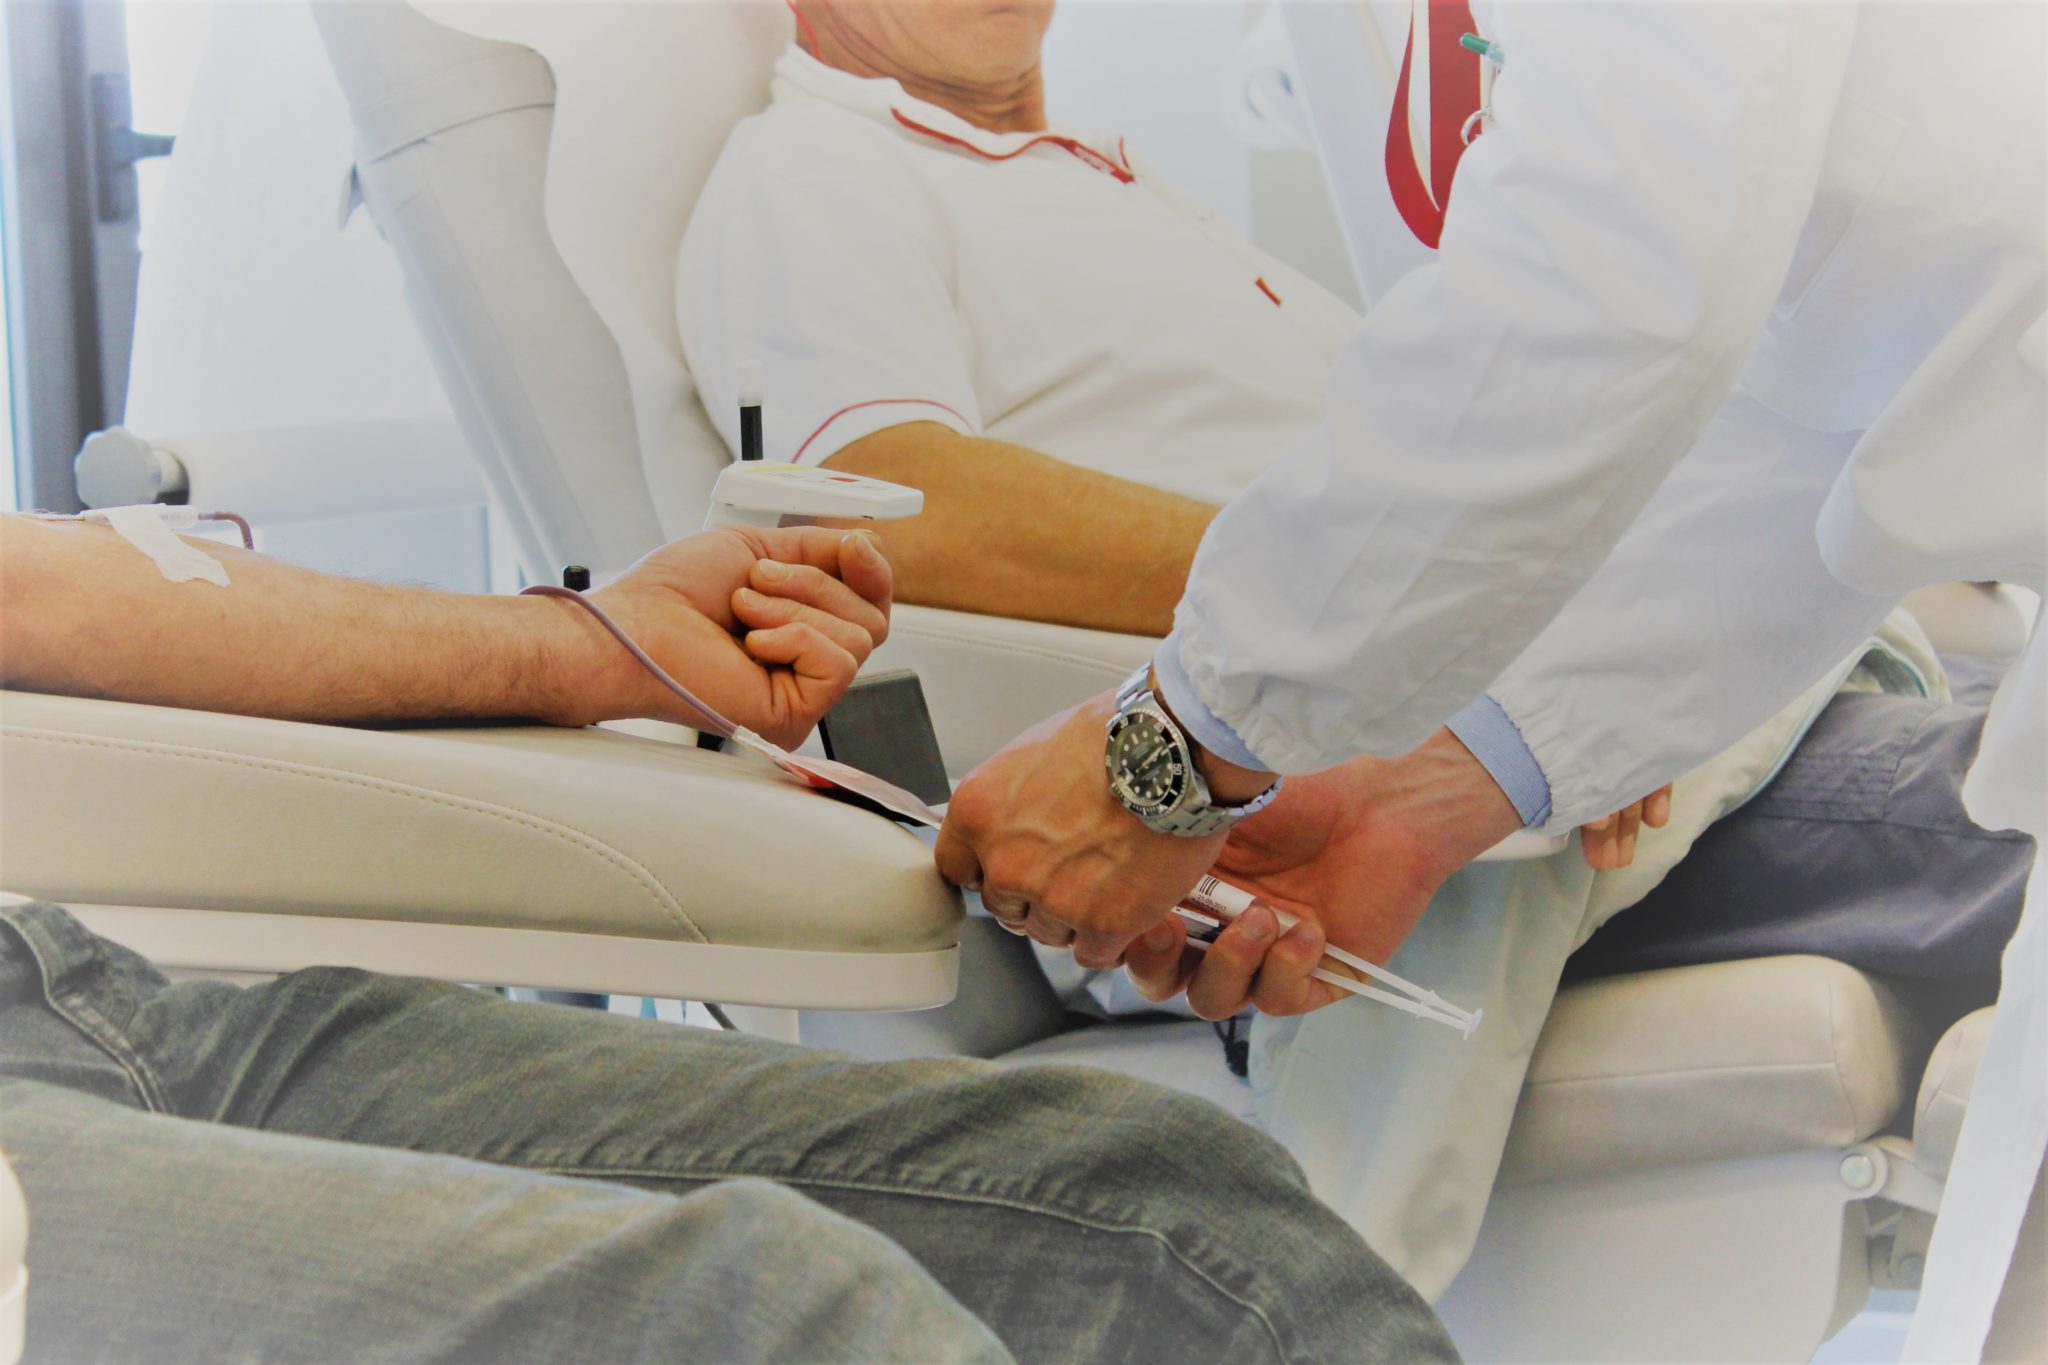
A lot of people have been using CBD oil for pain relief. One of the wonderful effects of using CBD is the effective pain relief it can provide for people experiencing various kinds of illness and conditions, including arthritis, multiple sclerosis, and chronic pain.

You can consider CBD like a multivitamin which takes some time and some getting used to for the body to experience its benefits. Also, the effects can vary from one person to another, which is why it is essential to consider the best way to dose CBD.

CBD Dosage for Pain

How little or how large a dosage of CBD to take will depend on a few elements, including your body weight, your body chemistry which is unique from others, the condition or illness you are trying to treat with CBD, and the concentration of the CBD product you are taking, whether it’s in the form of CBD infused beverage, oil, capsule, pill, gummy, or balm.

And while there is no ‘right’ CBD dose that can work for everyone, one can set his own dosage instructions with the passage of usage and time.

One of the easiest ways to figure out the best CBD dose to start with, especially for beginners, is based on body weight. If you have an average weight of 150 lbs. to 240 lbs., a starting CBD dose of 15 mg to 20 mg would be enough to relieve pain if you are looking for a variety of ailments. It can be taken either once or twice a day.

The effect of this dose can differ from one another. Some might experience its effect right after taking the dose while some others might take time noticing its effects.

General CBD Dosage Guide

CBD

The general CBD dosage guidelines will depend on your body weight and at what dosage range to start and how to progress from that.

1. Mild Range

Taking CBD should be gradual. It will be ideal if you start on a lower dosage, especially if you are considering CBD for the first time. It would be smart to make your body well acquainted with the effects of CBD before taking them in large doses or as you need.

At this range, the recommended dosage for an average weight between 46-85 lbs. is 9mg, 12mg for between 86-150 lbs. average body weight, 18mg for between 151-240 lbs. average body weight, and 22.5mg for average body weight more than 240 lbs.

2. Medium Range

If you need a higher dosage of CBD or if you are not experiencing any benefits or effects with the mild CBD dosage range, then you can move on to taking the medium dosage range for CBD.

At this range, the recommended dosage is 12mg for 48-85lbs average body weight, 15mg for between 86-150 lbs. average body weight, 22.5mg for between 151-240 lbs. average body weight, and 30mg for average body weight more than 240 lbs.

3. High Range

If the medium dosage range still hasn’t given you the desired effects, then you can go all-in with the high CBD dosage range.

At this range, the recommended dosage is 15mg for 48-85lbs average body weight, 18mg for between 86-150 lbs. average body weight, 27mg for between 151-240 lbs. average body weight, and 45mg for average body weight more than 240 lbs.

When to Dose CBD?

After figuring out the best dosage to start with when using CBD for pain relief, the next thing is to find your preferred CBD dosing schedule. There are three main dosage schedules you can choose from when taking CBD.

Hourly Micro-Dosing

Every Two to Three Hours

Once or Twice a Day

You can choose what is more convenient for you, as long as you stay with the recommended dosage amount per day.

CBD Edibles Dosage Guide

There are various CBD products you can take, and it doesn’t necessarily have to be in the oil form. There are CBD edibles available if that is your preferred way to take CBD. It often comes in capsule or gummy forms.

CBD edibles usually come with a guideline as to how much CBD there is for every serving. Aside from CBD oils, this CBD form produces a more prolonged effect, which is perfect for using in a once or twice-a-day dosing schedule. You can take one or more capsules or gummy depending on your needs or dosage.

CBD Balm Dosage Guide

You will either need to apply very little or a lot depending on the strength or concentration of the CBD balm. Using a small amount of the balm on the affected area is the best way to start and reapplying as needed.

The dosing of CBD mainly lies in the product, its quality, and its concentration. Some companies that produce CBD products provide dosing guidelines, but that is often specific to their product only. If you want to get your desired results, you can make use of this dosing guide, to begin with, and find the best dosage for your needs.

CBD for Pain Safety Concerns

As much as CBD can be beneficial for pain relief, that is only true if CBD is used the right way. Here are some guidelines when consuming CBD.

1. Make Sure You Are Dosing CBD and Not Other ‘Similar’ Oil

There are a lot of oils you can find in the market, and some can be mistaken for CBD oil. If you want to get the best benefits CBD can offer, then you have to choose your products well. If you are going for an oil-based CBD product, then make sure it’s CBD oil and not hemp oil. The two are not the same, even if you think they are.

2. Start Slow and Work Your Way Up from There

CBD can have very intense effects, depending on who takes it and how much. As a beginner, it is always recommended to start small and go your way up from there. That way, your body wouldn’t feel the shock of the effects of CBD.

There is no single ‘dosage’ that can work for everybody when it comes to CBD. The amount of CBD you take for pain relief will depend on several factors like body weight and chemistry, as well as the quality and concentration of the CBD product you have. The best way to figure the dosage of CBD for pain relief would be to use this starting dosage guideline and enjoy the process of figuring out which amount or dosage range works perfectly to achieve your desired effects.

Read Also:

Content Rally wrapped around an online publication where you can publish your own intellectuals. It is a publishing platform designed to make great stories by content creators. This is your era, your place to be online. So come forward share your views, thoughts and ideas via Content Rally.

View all posts

Leave a Reply

Your email address will not be published. Required fields are marked *

All Comments

It was both fun and informative, thanks!

Related

Ear Health

Important Habits to Protect Your Ear Health and Hearing

Hearing loss isn't always something that can be prevented. Sometimes loss of hearing is just something that happens as you get older. But in an increasingly loud and busy world, hearing loss might be caused early or worsened by the environment around you. And once you're hearing is gone, it can be gone for good. Can you imagine life without being able to hear? It's a scary thought for many and should be. And yet, very few of us take the proper precautions in protecting our ears and our hearing. That changes now. If you're committed to the concept of ear health and protecting your hearing, read on. We'll discuss several ways to help ensure that your hearing stays strong and true for many years to come. The Case For Earplugs : You likely rolled your eyes back in your youth when your parents advised you to wear earplugs to that rock and roll concert. But they were on to something. Approximately 15% of Americans lose hearing as a result of too-loud work or leisure environments. If you work or spend lots of time in an environment where the sound level forces you to shout to be able to communicate, it's likely that the sound levels there are dangerously high. This loudness could be due to a concert or club, or even more often, due to some form of loud and consistent machinery. If you know that you spend many hours around this kind of noise level, you should absolutely invest in a good pair of earplugs. Earplugs are easy to obtain, generally affordable, and can even be made individualized for your ears upon request. They can dampen the level of sound coming in from your environment by a significant margin, helping to curb the possible loss of hearing. Keep The Volume Low : According to the World Health Organization, over a billion people each year are at risk of hearing loss due to the unsafe use of audio devices. Earbuds, like the popular headphones designed by Apple, are especially dangerous for ear health as they fit directly into the eardrum. If you're a music lover, you probably spend a lot of time listening to music on headphones. If you care about the health of your ears, though, you should make an effort to keep the volume at a lower level. Doctors recommend a philosophy they've dubbed the 60/60 rule. The rule is a recommendation that you listen to music through headphones at 60% volume for less than 60 minutes a day for the benefit of your hearing. Even when not listening to headphones, you should aim to keep music played at a normal level to ensure long-lasting ear health. Avoid Cotton Swabs : One of the most common items in any household bathroom cabinet is a jar of cotton swabs. These little tools have been used by people to clean out ear wax for years and years, but it's only more recently that their nefarious reputation has begun to reach the public. It actually turns out that a little wax in the ears is both healthy and normal. Ears are self-cleaning organs and the wax in your ears actually serves to prevent dust and other particles from entering your eardrum. If you do have excess wax, it is not advisable that you use a cotton swab. You can very easily damage your eardrum by using a cotton swab. Instead, considering using a damp towel to gently clean around the canal. There are also various ear wax solutions that are available in stores. These are applied to the ears overnight and can help to dissolve and soften ear wax so that it can flow out of the inner ear on its own. Keep Your Ears Dry : Another frequent cause of ear damage is extra moisture. Excess moisture can allow bacteria to enter the ear canal and cause serious problems, such as a swimmer's ear or other infections. Following swims at the pool or beach, showers or baths, or any other water-related activity, you should be sure to gently towel-dry your ears. If you can feel the moisture in your ear following swimming or bathing, tilt your head to the side and tug lightly on your eardrum to help water drain out. There are also specially designed swimmer's earplugs available on the market, which can help prevent water from entering your eardrum during a swim. They work great for any age, kids or adults, and can be individually fitted for your ear by a licensed physician. Consider Getting Regular Check-Ups : Especially as you get older, you should ask your physician to incorporate hearing screenings into your regular checkups. Hearing loss doesn't happen in a flash of light, it is a very gradual process. It's recommended, then, that you have yearly consultations with a hearing healthcare professional, who can recognize the signs of hearing loss while it is still in the early stages. Taking action against hearing loss is important, as is discussing it with your doctor. Loss of hearing has been linked to other health concerns such as depression, dementia, and heart disease. Establishing a relationship with your doctor in regards to ear health early on can contribute to better overall health later on. If you do find yourself losing hearing, you should ensure to invest in a proper hearing aid. With all the advances in rechargeable hearing aids over the past few years, they now serve people with hearing impairment much better.  A well-designed hearing aid can help improve the quality of life for someone who has lost hearing and can stave off the other health issues previously mentioned. If you're interested in the best hearing aids on the market, you can learn more here. Read Also : 5 Dental Hygiene Tips For A Healthier Smile Essential Health Benefits Of Coconut Oil Must-Have Appliances For A Healthier Life

READ MOREDetails
wall pilates free

An Ultimate Wall Pilates Free Workout Plan for Beginners

To start your Pilates workout, all you need is a wall. With wall Pilates free workout, you can blend traditional Pilates with home exercise. This workout can be helpful for you whether you are a beginner in Pilates or have been practicing Pilates for a few years. Consider starting out with wall Pilates if you want to transform your fitness journey. In this article, you will get a Wall Pilates workout plan. Apart from that, you will also get a general overview of what a wall Pilates exercise is as well as its benefits. Moreover, this article will also set a Wall Pilates free workout plan. Finally, you will also get essential tips to perform this exercise. Hence, to learn more, read on to the end of the article. What is Wall Pilates? Wall Pilates is a form of Pilates training. It is a low-impact exercise where you have to use a wall for support and resistance. Basically, the wall provides support for your back, shoulder, and hips. Hence, you can use it as a resistance to perform exercise. Generally, when you perform traditional Pilates, you have to exercise on a mat or a reformer machine. Here, you use your body weight or the machine for resistance. However, with wall Pilates, you press your body and its parts against a wall. You make movements by exerting force on the wall and by using it as a support. Actually, in this exercise, you have to do the same repetitive movements that you practice during a mat. Some examples of wall Pilates are single-leg stretch, criss-cross, the hundred, etc. Benefits of Wall Pilates Free Hand Exercises The following are some of the major benefits of Wall Pilates that you must: By performing wall Pilates daily, you can strengthen your core muscles. As a result, this will help you prevent injuries and maintain a good posture. With time, you will improve your flexibility with wall Pilates. Additionally, it also helps you to improve your coordination and balance. As you are using a wall for your support, the stable surface can help you maintain the right form. Thereby, with time, you will get a better spinal alignment, which will ensure a lower risk of injury. With wall Pilates, you engage your full body for the exercise. This way, you can target all muscle areas of the body. Moreover, Wall Pilates free hand exercises are also effective in reducing blood pressure. Hence, if you do it regularly, you lower your risk of heart attacks and strokes. Wall Pilates also involves mindful movement, which can help you work on your mental health. People of all ages and fitness levels can perform wall pilates. This is because it is a low-impact exercise. Apart from all these benefits, one of the biggest factors to consider Wall Pilates is that it is a budget-friendly exercise. All you require here is a wall. Who is Wall Pilates Good for? Since Wall Pilates is a low-impact exercise, it will not be physically demanding and exhausting. Hence, this form of exercise is good for people of all ages and fitness levels. Moreover, this exercise is also good for pregnant and injured people. Furthermore, if you are someone who finds it difficult to lie on your back, you can even do Wall Pilates. Generally, traditional Pilates, like mat or reformer Pilates, are difficult to perform. This is especially true for people who have physiological issues or injuries. Hence, if you want to perform a light exercise to stay fit, Wall Pilates is one of the best options to consider. 15-Minute Wall Pilates Free Hand Workout To start a Wall Pilates workout, you need an open wall and a yoga mat. Here are the steps you must follow to perform your Wall Pilates workout: Start your warmup with a Cat-Cow pose and Thread-the-Needle stretch. Warm up for 2-3 minutes. Once you complete your warmup, start your wall Pilates exercise. Here, make sure to have consistency with the reps for each move. Once you complete the five Pilates exercises, repeat the circuit twice more. The next section consists of 5 back-to-back exercises that you must perform in each circuit. 5 Wall Pilates Free Hand Exercises Here are the Wall Pilates exercises you must perform to complete each circuit: 1. Single-Leg Knee Crunch The following are the steps to follow if you want to perform a single-leg knee crunch: Sit one foot away from the wall. Then, lie down on your back. After that, place your feet on the wall so that your legs look like a tabletop, horizontally. Stretch your left leg diagonally so that your toes are just touching the wall. Then, extend your arms over your head. Meanwhile, be sure to press your lower back into the floor. This way, you can engage your core. Pull your left knee toward your chest and curl your shoulders, hands, and your head towards your core. Then, slowly, go back to the initial position. Repeat these fifteen times to complete one set. 2. Wall Bridge and Calf Raise The following are the steps to follow if you want to perform the wall bridge and calf raise exercise: Sit one foot away from the wall. Then, lie down on your back. After that, place your feet on the wall so that your legs look like a tabletop, horizontally. Press your feet on the wall. This way, you can engage your glutes and your hamstring. Then, lift your hips off the floor. However, do not arch your back in the process. Moreover, when your body makes a straight line from the knees to the shoulder, lift your heels for a calf raise. This will balance out the movement. Then, return to the starting position to complete one rep. Repeat these fifteen times to complete one set. 3. Reach Backs The following are the steps to follow if you want to perform reach-backs: Start with a high plank by pressing your feet on the edge of the wall. Here, ensure to keep your feet apart by shoulder-width. Also, be sure to place your shoulders directly over your wrists. Moreover, your body must be in a straight line from your heels to your shoulder. Use it as your starting position. Then, lift your hips up. When you are lifting up, touch your left foot with your right hand. Then, come back to the starting position. Do the same with your left hand by touching your right foot. Again, come back to the starting position. Make sure to repeat this 10 times for one set. 4. Marching Bridge The following are the steps to follow if you want to perform a marching bridge: Sit one foot away from the wall. Then, lie down on your back. After that, place your feet on the wall so that your legs look like a tabletop, horizontally. Then, press your feet to lift your hips off the floor. Here, make sure to form a straight line from your knees to your shoulder. However, make sure not to arch your back. Consider this as your starting position. Then, lift your left foot and bring your knee toward your chest. Meanwhile, make sure to keep your hips still. Here, maintain the same bend in your knee and stop when your thigh is at a right angle to your torso. Then, come back to your starting position by reversing the movement. This is one rep. By performing 10 reps, you complete one set of the marching bridge. 5. Wall Sit and Calf Raise The following are the steps to follow if you want to perform the wall sit and calf raise exercise: Become a human chair: Stand with your back against a wall and take your feet about a foot forward. Then, lower your hips down to a position such that your knees are perpendicular to your hips. Also, make sure your ankle is perpendicular to your knees. Then, extend your arms horizontally so that it is perpendicular to your torso. This is your starting position. Hold the squat position to raise your arms, and reverse the movement to the starting position. Simultaneously, raise your heels to do a calf raise and reverse the movement. This is one rep. Perform 12 reps to complete one set of Wall Sit and Calf Raise. Tips for Effective Wall Pilates Practice Here are some useful tips if you want to perform Wall Pilates free hand exercises effectively: Don’t over-exert yourself with your exercises. Basically, start with simple exercises and gradually increase your intensity. Make sure to breathe steadily and have control of your breathing. Use good-quality mats to support your back and hips. There is no substitute for a professional instructor. Hence, consult with an instructor to perform your exercises correctly. Do you have more suggestions on how to perform Wall Pilates free hand exercises? Please share your experiences and opinions in the comments section below. Read Also: 5 Rowing Machine Workout Tips Every Fitness Person should know Get up and Workout! Things to Consider

READ MOREDetails
braces

Life with Braces: Tips from Surrey’s Orthodontic Experts

Surrey, British Columbia, is a dynamic city where nature's beauty intersects with a vibrant community and a growing healthcare landscape. Among its many offerings, Surrey is known for its exceptional orthodontic care, which is provided by experts committed to crafting beautiful smiles. Braces are an important part of strategies taken towards resolving a wide range of dental issues. For individuals suffering from crowded teeth or have concerns with rotated, gapped, or crooked teeth, it is a necessary solution to align the teeth. Furthermore, braces help improve the functionality of the teeth along with their appearance and health. Starting your journey with braces might seem daunting, but with guidance from skilled orthodontist surrey professionals, you can easily embark on this path. Whether for teens or adults, these expert tips will help you manage your orthodontic journey effectively. Getting to Know Braces Braces, a staple in orthodontic treatment, correct misalignment in teeth and jaws by applying steady pressure to shift teeth into desired positions. This path to a healthier smile demands patience, care, and a commitment to follow through with the necessary maintenance. If you are still a little confused with regards to the way braces actually help in resolving a wide range of orthodontic issues, then you should read the steps as discussed in the article.  Mostly, people with gapped teeth, crooked teeth and crowded teeth might want to use braces. Simultaneously, if you are someone who has issues with the way their teeth fit together, which is also known as malocclusion, then using braces can help you get a better solution.  With any concerns regarding braces, consulting orthodontists is the best way to go! Even though you can consult general dentists because some of them offer these services too. Pre-Braces Preparation There are different reasons why people get braces; therefore, individuals considering having braces should learn about how these work. It is also necessary to know about the different types of braces and how they work. Based on the types, you can decide on which one you will choose. At times, it is not on the patient but on the doctor to decide the type of braces that will be effective. It is also an important approach to understanding the severity of the condition and its necessary strategies to effectively bring change.  For example, if you are using metal braces, it is visible when you smile. Or if you use tooth-colored ligatures, it will be less visible! Selecting an Orthodontist Your first step is finding the right orthodontist Surrey, a decision that can significantly impact your treatment experience. Surrey offers a wealth of skilled practitioners who prioritize personalized care and comfort, ensuring you find the best match for your needs. Establishing Clear Expectations Openly discuss your objectives and any apprehensions with your orthodontist. A clear understanding of your treatment's scope, duration, and anticipated results will help temper expectations and foster a smoother journey. The Braces Experience Apart from knowing the types of braces, it is important for you to understand that there will be some side effects, such as irritation on the inner cheeks, lips, or tongue. You might also have some jaw pain along with difficulty in eating! In the initial days after you get braces, you can get temporary discomfort. Especially when experiencing tightening, it is quite common to feel uncomfortable. Be aware before you use braces. Following the steps below, you will learn how to take care of your braces! 1. Prioritizing Dental Hygiene Maintaining excellent oral hygiene is more critical than ever with braces. Surrey's experts advise brushing after every meal and committing to daily flossing to avoid food build-up and potential dental complications. 2. Utilizing Orthodontic Wax Orthodontic wax can be a game-changer in mitigating irritation from braces to your mouth's inner linings. A bit of wax on troublesome brackets or wires can provide immediate comfort and protection. 3. Dietary Adjustments Certain foods, including hard, sticky, or chewy items, pose a risk to braces and should be avoided. To safeguard your braces, favour softer foods and consider cutting harder foods into smaller pieces. 4. Managing Discomfort Some discomfort is expected when braces are first fitted or adjusted. Surrey's orthodontists might recommend mild pain relievers, soft foods, or cold treats to ease gum soreness during these periods. 5. Consistent Follow-Ups Keeping up with orthodontic appointments is essential for timely adjustments and progress assessment. Regular visits are a key component of your treatment's success, ensuring any delays are minimized. Post-Braces Care A lot of people use colorful ligatures which are tiny elastic bands keeping the wires firmly in place. At times, individuals might use ceramic braces which work similar to metal braces however, they are less noticeable. It is due to the fact that the ligatures and wires along with the brackets of the braces are tooth colored thus, blending with your smile. If you are someone who is worried about the visuals of the braces, they can use these braces. I would like to bring to your attention that there is a high possibility that it will break. Ceramic braces are one of the most fragile braces which are unable to withstand pressure! So, try and take care of the retainers. 1. The Importance of Retainers Retainers are crucial post-braces for maintaining your teeth's new positions. Adhering to your orthodontist's guidance on retainer wear is imperative to prevent teeth from shifting back. 2. Embracing Your New Smile Completing your orthodontic treatment is an achievement worth celebrating. Not only does it enhance your appearance, but it also boosts oral health and confidence. 3. Ongoing Oral Health Maintaining oral health doesn't stop once braces are removed. Continue with regular dental hygiene practices and routine dental check-ups to keep your smile shining for years to come. Benefits Of Using Braces! Braces contribute effectively to your dental health because at times, if the teeth are misplaced, they might not be completely functional. Individuals might suffer significant problems such as pain, cavities, gum diseases, bad bites, injury, tooth decay and bone erosion. It is therefore important to consider the significance of using braces especially when they are used to correct malocclusion and bite problems. From a young age, you must have proper orthodontic care which not only takes care of the health of your teeth but also your overall oral health! If you are facing concerns such as overcrowding or bite problems, even though it is minor, you must address it. You should regularly clean your teeth along with evaluation of oral health on regular intervals. This will contribute to an overall understanding of the oral health consequences! Final Thoughts Embarking on an orthodontic journey in Surrey, BC, is a step towards attaining the smile you've always envisioned. By heeding local orthodontic specialists' advice, you can confidently navigate the experience, looking forward to the transformative results that await. Remember, the process is a partnership between you and your orthodontist to achieve lasting oral health and aesthetic benefits. Read Also: Rediscovering Your Smile: Cloverdale’s Dental Bridges How to Use Practice Analytics to Improve Your Dental Practice Emergency Dental Clinic Immediate Care When You Need It Most

READ MOREDetails