How to Choose LED Lights for Every Room in Your Home?

Published on: 28 March 2019 Last Updated on: 04 November 2024
How to Choose LED Lights

The lighting you choose for every room in your home impacts the overall mood and appearance of the space. In the same way that light from the sun energizes your body, the light coming from bulbs inside your house will also affect your focus and energy. Therefore, in choosing lighting fixtures for your home, you need to consider the purpose of each room and the most suitable lighting to install.

How to Choose LED Lights for Every Room in Your Home:

1. Brightness and color of LED lights:

There are LED bulbs that emit blue light which helps increase focus and alertness. Those that emit yellow light, on the other hand, induces a feeling of relaxation and calmness. LED bulbs with lower temperatures typically produce a warmer, yellow light and in contrast, lamps with higher temperatures have a cool white glow similar to the appearance of daylight.

2. LED lights for bedrooms:

LED lights for bedrooms

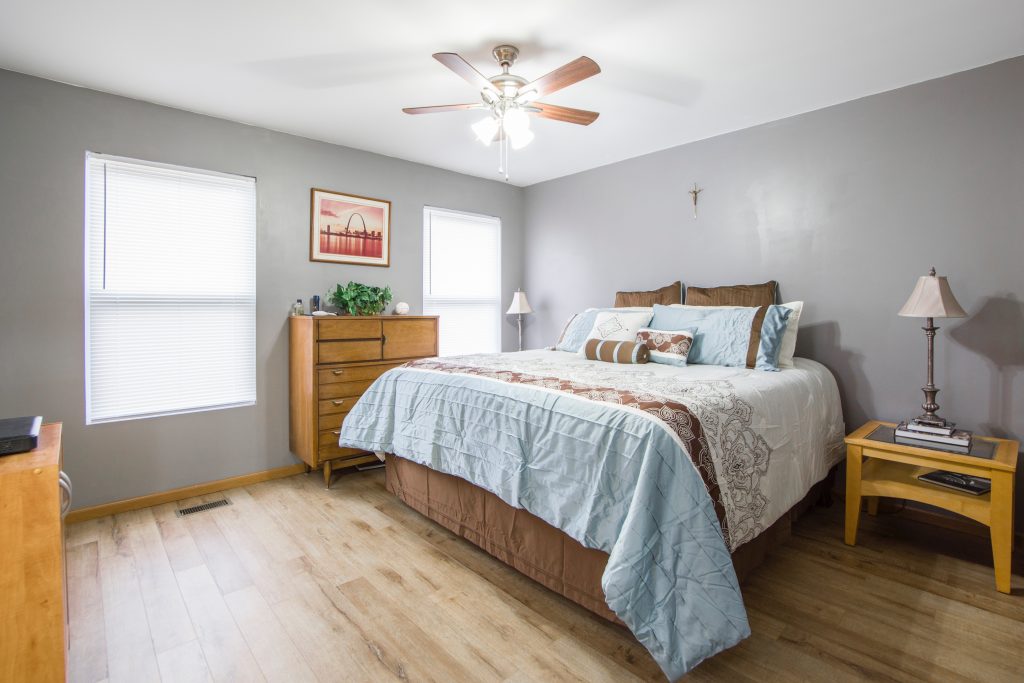
Bedrooms are supposed to be more relaxed and peaceful. In choosing an LED bulb to retrofit a bedroom, look for bulbs with a color temperature from 2,700 to 3,000 K. These tend to be warmer and produce a calming atmosphere. If you are unable to fit an entire room with new LED bulbs, you can retrofit an old lighting fixture using an LED bulb that is compatible with the existing installation such as an E27 LED bulb.

3. LED lights for a home office:

In a home office, you will want lighting that helps in maximizing productivity. As mentioned earlier, LED lights with a touch of blue help you feel more alert and awake. That is why in most office and commercial spaces, bright white LED lights mimicking daylight are often used. In selecting a place for installing LED bulbs, make sure that these are not directly above computer screens to avoid unwanted shadows or glare.

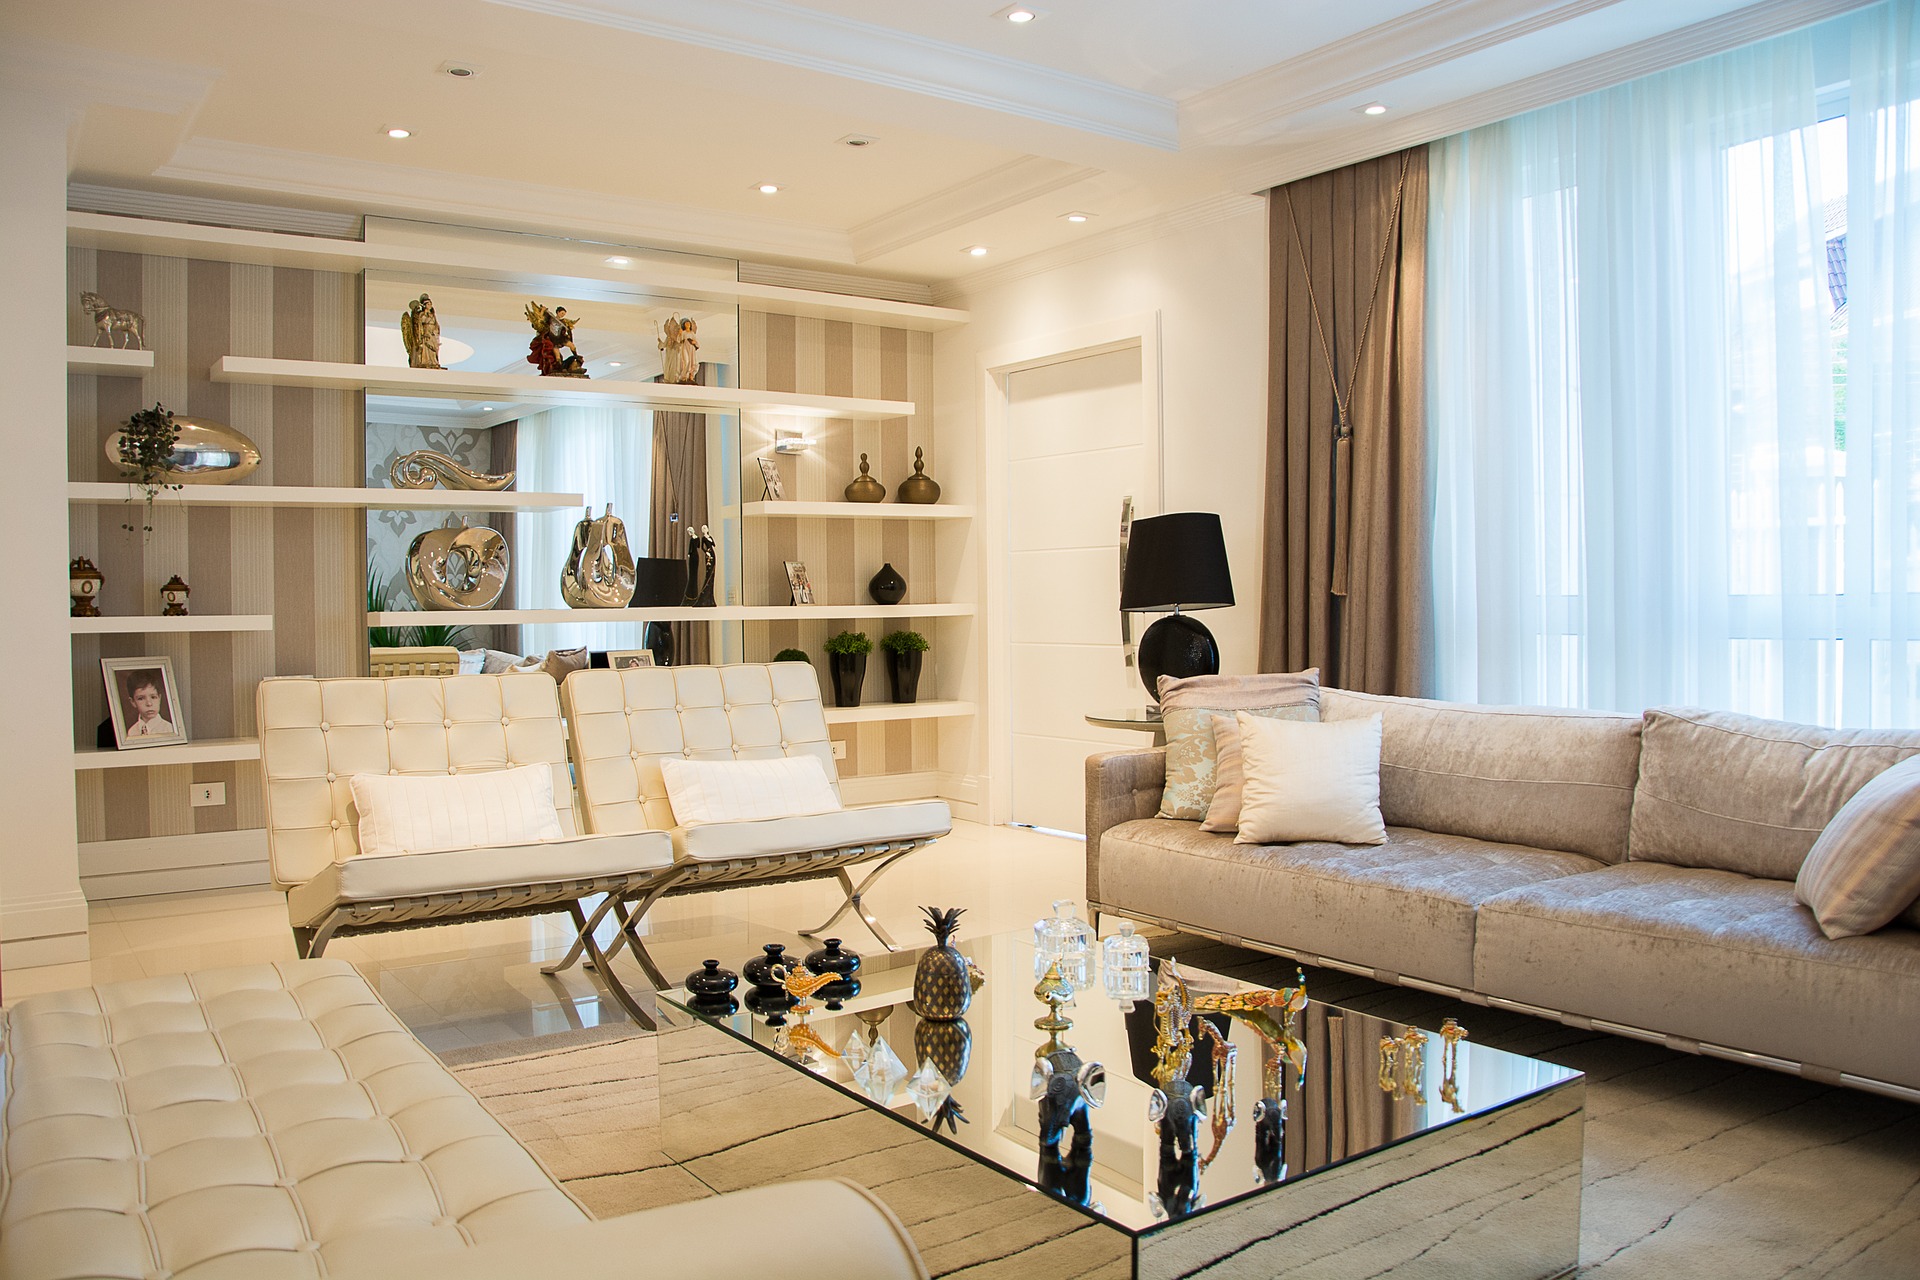
4. LED lights for living rooms:

LED lights for living rooms

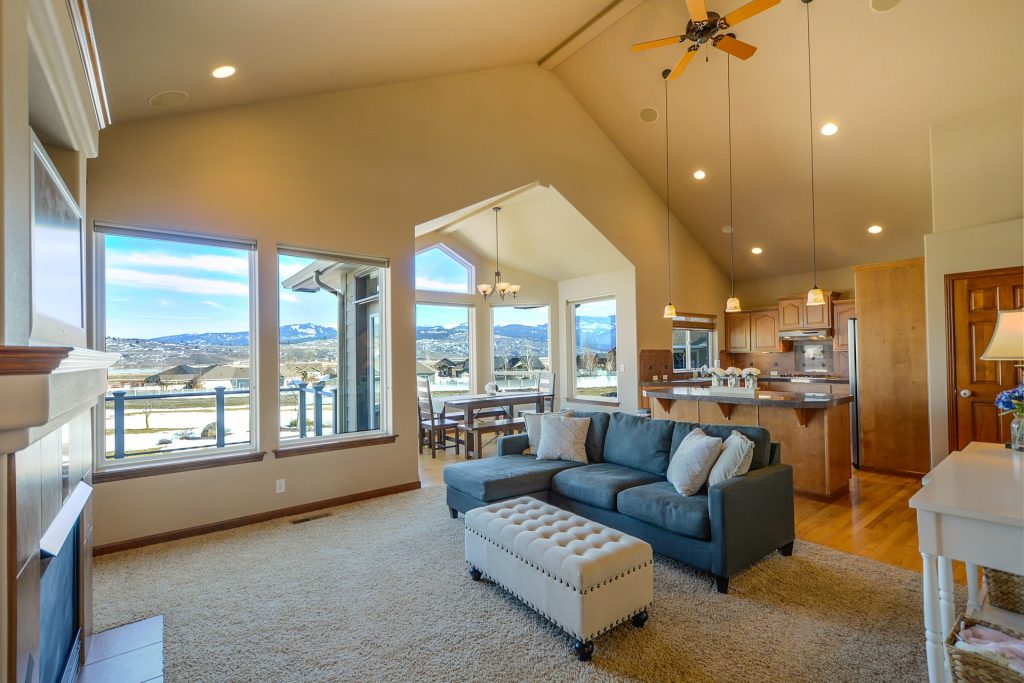
The living room is typically a multi-purpose space used in entertaining and relaxing. As such, there needs to be a mixture of light sources to create the proper atmosphere and ambiance depending on the occasion. As much as possible, avoid bright LED lights for living rooms and try to incorporate features such as dimmer switches and spotlights. If you will be adding adjustable spotlights or recessed downlights, install them near walls and corners to avoid shadows.

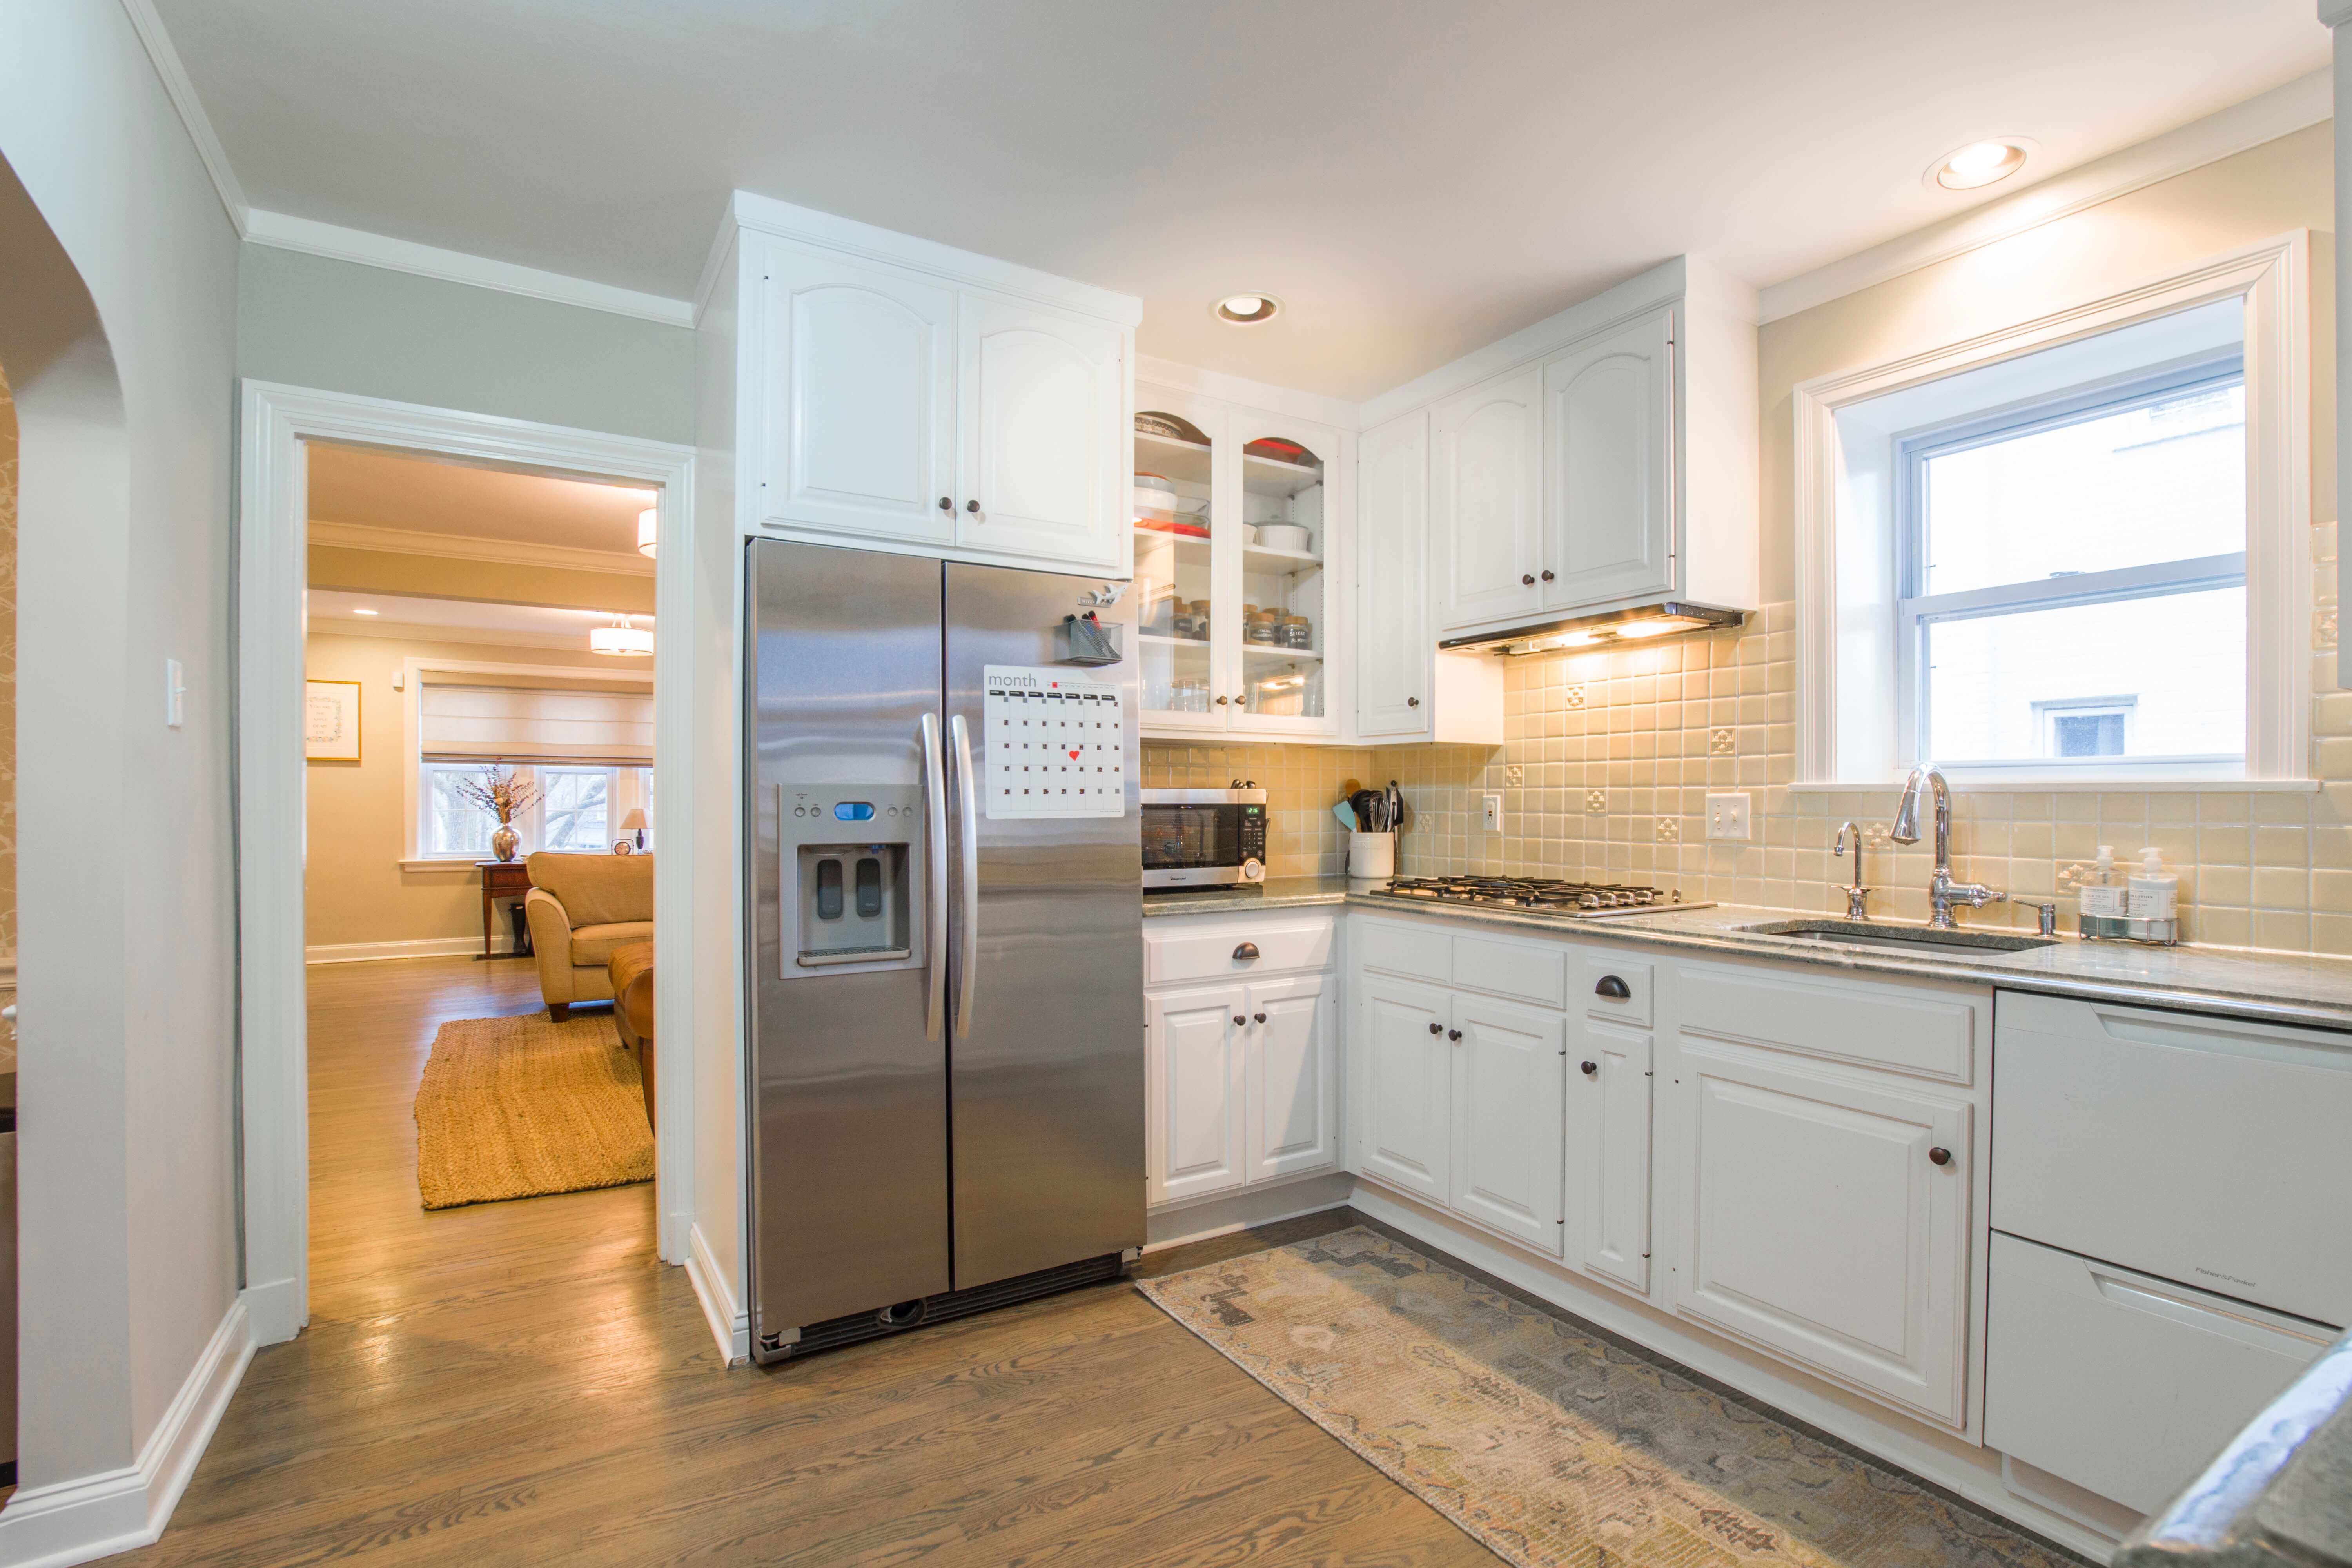
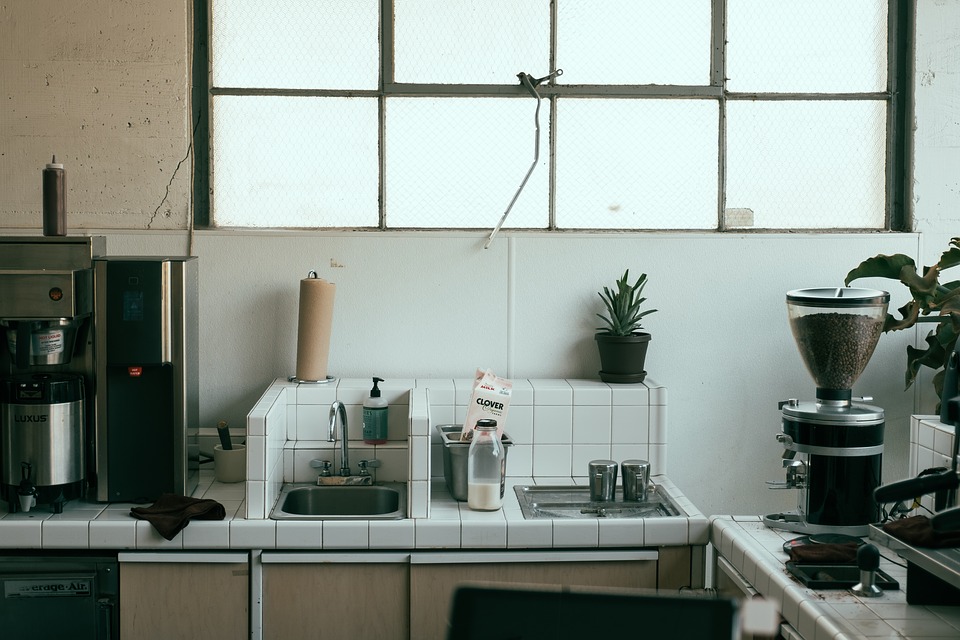
5. LED lights for dining rooms and kitchens:

LED lights for kitchen

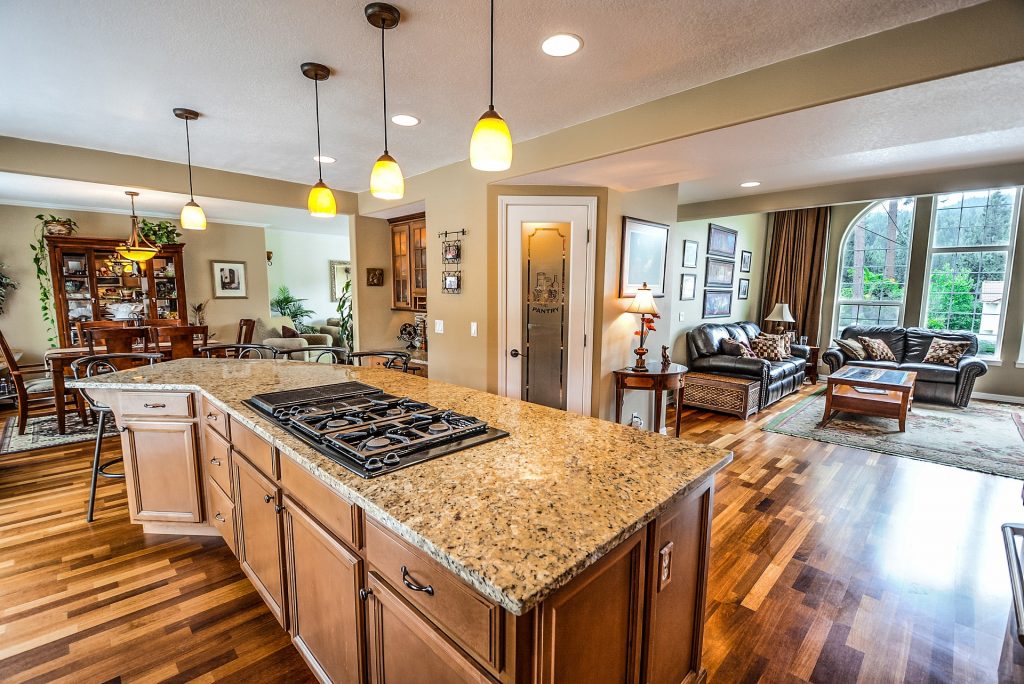
Dining room lighting should not be too bright as it can be too distracting to the diners. Install LED lights with warmer temperature and dimmable features to adjust the ambiance of the room according to the time of day. On the other hand, kitchen lighting needs to be functional; thus, blue-light LED bulbs are perfect for kitchens.

Adjustable spotlights are also perfect if you want them over specific work areas so that you can concentrate bright light only when needed. If you have a breakfast bar or a small dining area in the kitchen, make sure that there is separate lighting overhead to have a layered lighting scheme that complements the purpose of each area.

Read Also:

Content Rally wrapped around an online publication where you can publish your own intellectuals. It is a publishing platform designed to make great stories by content creators. This is your era, your place to be online. So come forward share your views, thoughts and ideas via Content Rally.

View all posts

Leave a Reply

Your email address will not be published. Required fields are marked *

Related

Content Rally

Stone Masonry Has a Long and Proud Tradition

For a long time the people have been fascinated about getting magnificent stonework done in their residential premises. As people in ancient times have been using natural stones in the construction and designing of their palaces, mansions and other significant structures, stone artistry is something that is not new to the world. Natural stones are eco friendly. The reason for this is that they carry a naturally inbuilt strength, resistance, and shine. These stones will in no way lose their natural shine and grace for a long time. They will be able to easily stand out in extreme weather conditions thereby preserving the natural form of the structure. It is for this reason that there is much stone artistry in the market. It is the stonemason firms that will offer you with professional and expert services in building innovative and unique stone based structures.  Who is a stone mason? A stonemason is a professional artistic who has ability to carve stone with art and knowledge in using different categories of stones for different purposes and structures as not every stone can be used for any structure. For example, a stone material that is not fireproof can get damaged when it comes into contact with heat. This is the reason why it should not be used in kitchen or around fireplaces. Where all can you use stonework? Amongst the most popular areas of a house where stonework is frequently used is the garden. Stone and garden are best of friends. This is because the stones provide the absolute natural look that complements the natural beauty and atmosphere of a garden. You can use stonework in the garden used for creating stone fences, flowerbeds, fountains, landscapes and much more. On being created together with stones, they will be able to provide your garden the look of an authentic stone garden. It will also be possible to differentiate the different segments of a garden by the careful use of dry and wet stones. In order to make a suitable choice, a professional stonemason can definitely be consulted. It is on a number of structures and areas in exteriors and interiors of your residential premises that the stone artistry can be implemented. In this way you can blend it with the surroundings to bring down a natural and environmental effect to the place. One such extremely popular option in stonework is the Stonewalls. This is an excellent g option for fencing down your garden or for making boundaries around your home. It is by the kind of rocks used in building it that the look of any stonewall is determined. If you are looking for old and weathered look then you should use rocks that look ancient and stale otherwise you can obtain new and polished stones, for not a weathered but only a raw stone look. When you employ a stall in your yard or garden eliminates the need of using concrete, cement or other fabricated material for the purpose. One more area where stone artistry is employed on a large basis is the fireplaces. The area near the stone fireplace can provide unique and magnificent look to the area. The stone fireplace can generally be found in the living rooms; fireplace may be just a corner but forms a major part in the ultimate look of the room. Since the fireplace is a heated place, it should be constructed with a material that can resist extreme heat and yet maintain its actual temperature. In the market, you can come across a wide range and types and textures of stones hat can be used at various places like floors, fountains, walls, terrace, roofs as well as in many more in exiting patterns and color combinations of your choice. We also have collections of information on Stonemason work. Let us know if you ever have any questions or concerns about Stone Masonry.

READ MOREDetails
What is the fastest growing plant on earth

What Is the Fastest Growing Plant On Earth?

What is the fastest growing plant on earth? The answer to this question is Duckweed which is known as the fastest-growing plant in the world in 2021. The Duckweed family consists of 37 species and can be found pretty all over the globe. Besides, this plant is also known as Wolffia, a plant that is easy to harvest and float on water. It grows very fast that you have never imagined of. Wolffia is found everywhere in freshwater and has become a subject of fascination for scientists. This plant acts much like a weed, although it is eaten by humans, animals, and ducks. What Is The Fastest Growing Plant On Earth? As already discussed above, the fastest growing plant on earth is Duckweed, also known as Wolffia. This plant is a tiny type of duckweed that grows faster. On the other hand, you are probably familiar with this plant (duckweed) that is found on ponds where several green beads seem to form a lid on water sources. The genetics underlying this strange little plant’s success has long been a mystery to scientists. The Genome Research of February 2021 will help scientists to know how plants grow up so fast and what are the functions that allow them.  What Makes Wolffia (Duckweed) The Fastest Growing Plant In the World? There are various reasons why Wolffia is known as the fastest-growing plant in the world. Many individuals are taking the benefit of this unusual crop as it is extremely high in protein and is a part of some Southeast Asian cuisines.  This plant reproduces very quickly. According to many types of research, Wolffia is regarded as the fastest growing plant in the globe. About forty percent of the plant’s genes are influenced by this time of day factor. Wolffia, clocks in with only 13 percent of its genes restricted by time. Can You Speed Up Growing Rate Of Plants? Smaller plants and trees grow faster than bigger versions of the same tree and plant because of the root ratio. These variants grow fast as they highlight a great balance of roots to top growth.  On the other hand, the plant and trees can place all their strength into top growth enables it to grow taller. And fast-growing plants only grow as fast as their roots support.  Besides, if you are growing plants, they must be planted right. In order to encourage deep root growth, you can also give continuous watering to the same.  The Final Thoughts  Duckweed is the fastest growing plant on earth and this is the correct answer to your question. The characteristics of the same are described above and if you have any queries about the same, you can specify them below in the comment section. More Resources: Garden Edging for Beginners How to Maintain a Bright and Beautiful Garden During Winter Smart Fun Gardening: How to Take Care of a Money Tree

READ MOREDetails
kitchen-2619008_960_720

Installing A Kitchen Tile Splashback – The Basics

Adding wall tiles to a backsplash can be a really simple and effective way to spruce up your kitchen sink area, as well as protecting the surface as well. Here we look at the basics. Home improvements needn't be expensive, all it takes is a little research and time and you can make a significant difference to the house you live in. Choosing tiles for a kitchen splashback can be a really simple and effective way to spruce up your kitchen sink area, as well as protecting the surface as well. For a project like this, you are likely to need little more than a couple of days to complete it, and a minimal amount of money to achieve a great result, depending on the equipment you already have. Before You Start Prepare The Wall Before you start, clear everything out of the way that may obstruct the job and/ or get broken or damaged while you work. You should also check that the wall is good for tiling as well – chances are you will choose porcelain tiles, which are heavier than more traditional ceramic tiles so the walls need to be up to support their weight. If there is any level of condensation you must wait for the wall to completely naturally dry out before you begin tiling. If the drywall you're working with isn't sound, you must repair it before you do any tiling. Plan The Design You'll need to plan your design before you can purchase your equipment or begin the project. Measure how high you want the backsplash to be from the countertop and consider the type of tiles you would like to use. If you are unsure, take a look at sites like Pinterest for inspiration. Get Your Equipment When buying your equipment, especially your wall tiles, try to start with more than you need. With porcelain floor tiles or wall tiles, it is always good to have extras in case some get damaged during the job or even years after and you need a replacement tile that matches. In order to determine how much tile requires you need to measure the length and width of the area, you are putting a backsplash on. Simply multiply the length by the width to get your desired wall tile amount. If you don't know what type of equipment you need for the job, speak to an advisor at the shop or warehouse and they will be able to advise you on the best tools for the job. Read also: Close Look At Top 5 Roofing Materials – Pros And Cons Install Once you have done all the correct preparation, it's time for you to install your backsplash. Safety First The first thing you need to do is make the area you are working in safe. All electrical appliances nearby should be either turned off if they are permanent fixtures, or moved away if they are temporary. Read also: Making Your Office Safer For Workers Clean The Area Using a clean cloth, gently wipe the area with warm water and let it dry naturally. Apply The Adhesive Using the manufacturer's instructions, apply your tile adhesive using a tile trowel. Make sure the adhesive is spread thinly and only apply enough adhesive for the area you are tiling, or it will dry before you have applied all the tiles. Lay The Tiles Place the first tile at the bottom of the backsplash in the middle. Firmly push the tile on to encourage it to settle into the adhesive and use a level to make sure it isn't wonky. Use a spacer or piece of cardboard on each corner of the tile and push them into the adhesive well. Continue to lay the tile's row by row, taking care to remove any adhesive that pushes up through the tile gaps. Ensure you are leaving enough room for grout and checking constantly that the tiles are level. Cut Tiles Away In A Separate Area Depending on the equipment you are using, you need to ensure you follow all safety procedures to ensure you are working safely. Ensure you only score tiles where the scored section won't be showing, and only score tiles when you need to, as the measurements needed may change as the job progresses. Wipe Once all the tiles have been laid you can wipe away any adhesive that has seeped out using a clean, damp cloth. Leave The Tiles To Dry You must leave the tiles to dry according to the time stated by the adhesive manufacturer. Trying to skip this process will result in an uneven backsplash and tiles that will not remain stable. Grout When mixing grout you should be wearing appropriate safety equipment such as gloves, goggles and a mouth mark. Grout the tiles precisely and carefully, taking care to wipe away any excess once it becomes firm. Once the grout has dried, you can then wipe the tiles off completely. Well Done! You should now have a fancy new backsplash to enjoy in your kitchen! Remember, if you take the time to do the job right, you should end up with a well-done backsplash that will look fantastic and last for years to come.

READ MOREDetails