How To Make Your Own Cannabis Topicals?

Published on: 02 March 2019 Last Updated on: 13 September 2024
Cannabis Topicals

The past couple of years has seen a lot of research put into the uses and benefits of cannabis. As legalization continues to advance to new jurisdictions around the world, scientific evidence is being used to remove the stigma around cannabis use and discover the truth about the substance after decades of myths have guided policy.

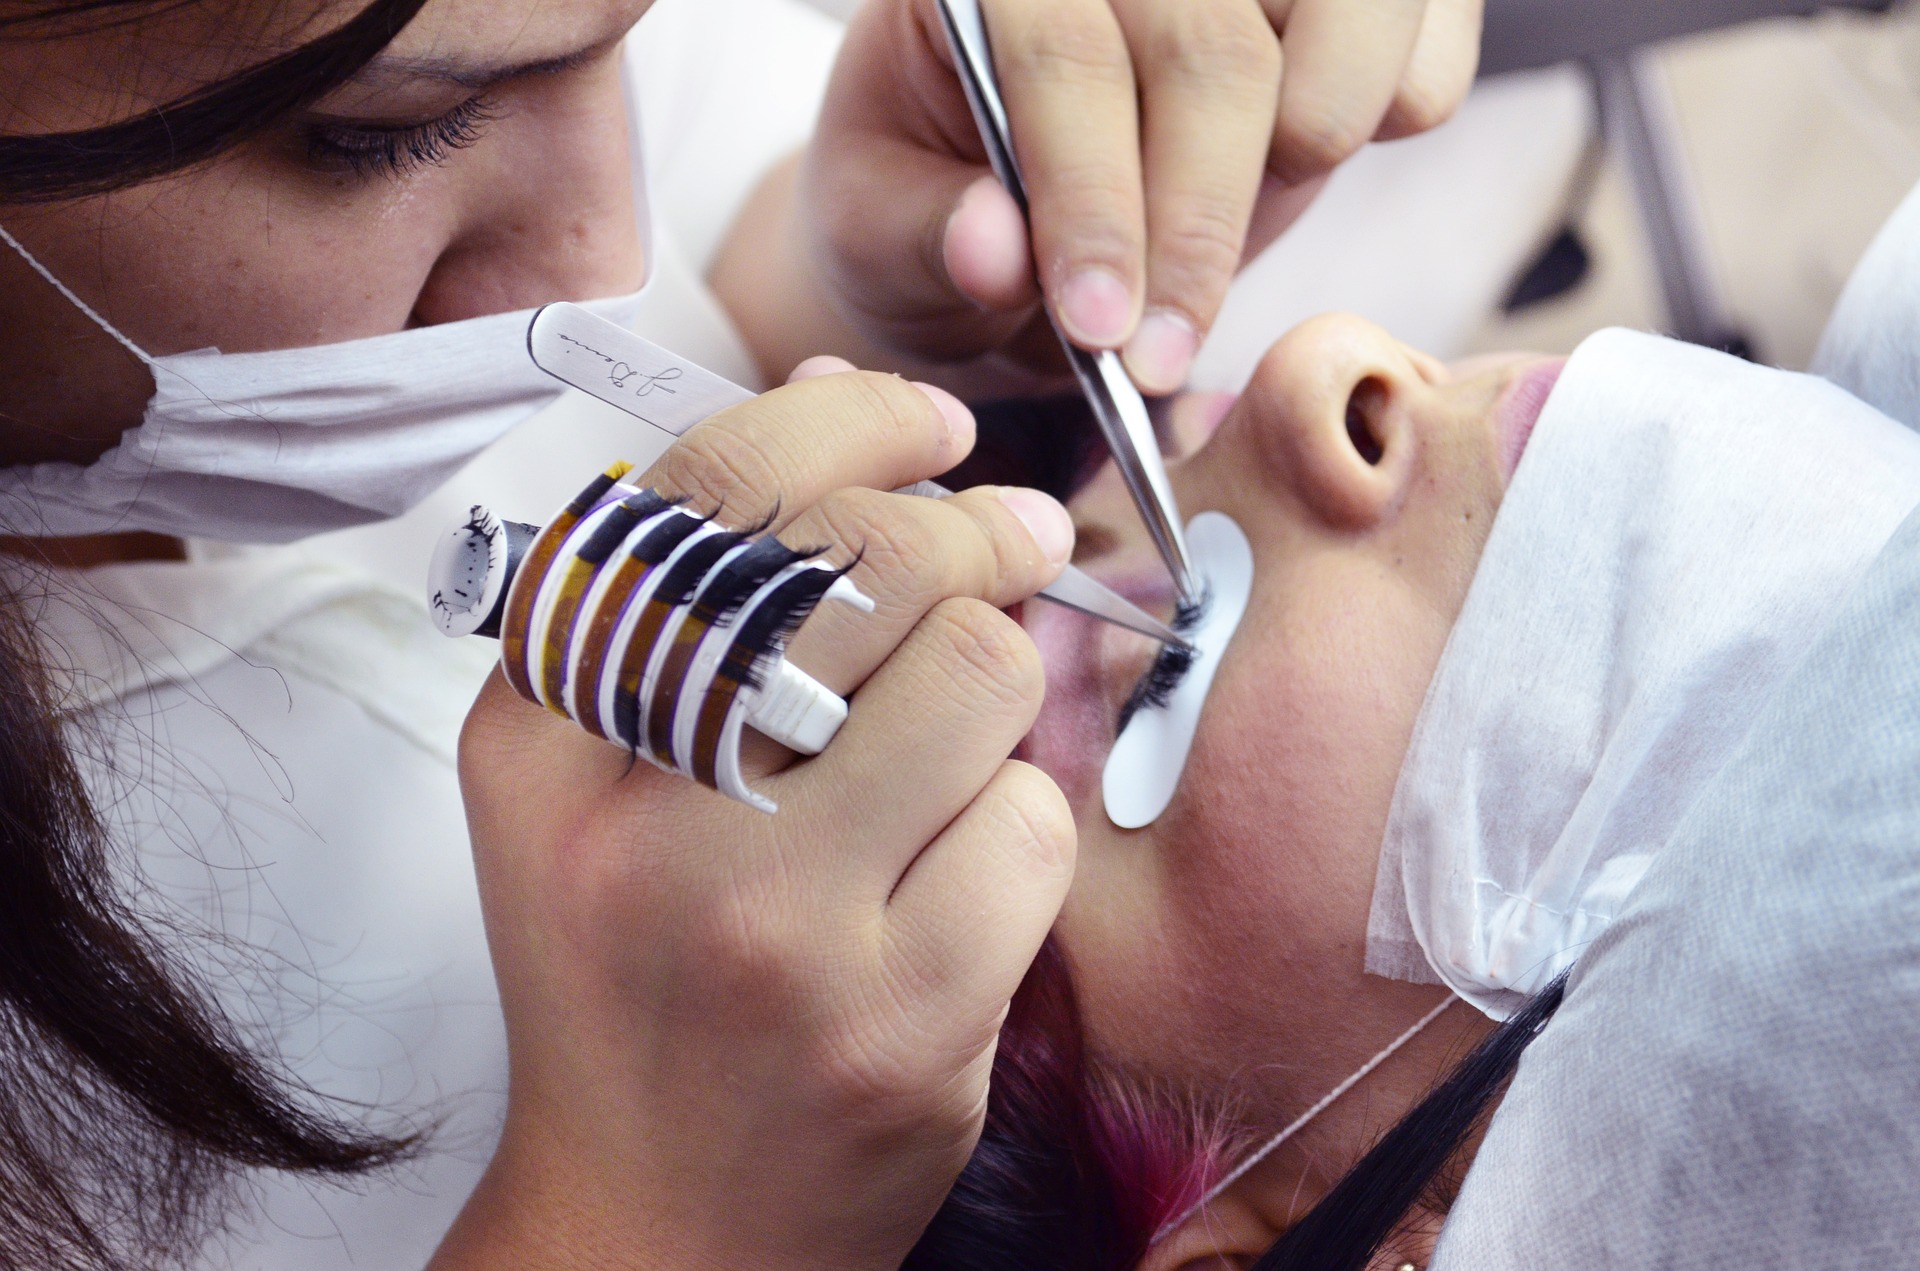
There remains a lot of apprehension about trying cannabis products. While many people are familiar enough with cannabis itself and smoking as a means of ingestion, other products remain a mystery, including edibles and topicals.

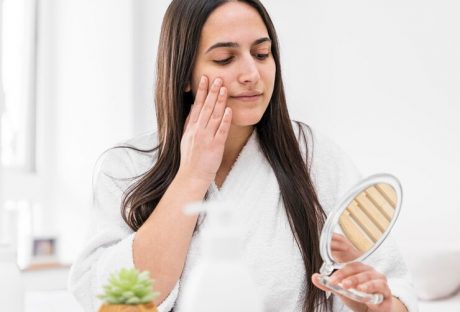
Cannabis topicals are non-psychoactive and are a versatile way to take advantage of the benefits of cannabinoids. Coming in lotions, patches, creams, sprays, lubricants, and balms, topicals are absorbed through the skin for localized relief. Topicals can be used to:

  • enhance sexual pleasure,
  • treat skin irritations,
  • alleviate psoriasis,
  • heal burns and bacterial infections,
  • keep skin youthful,
  • and reduce inflammation and arthritis.

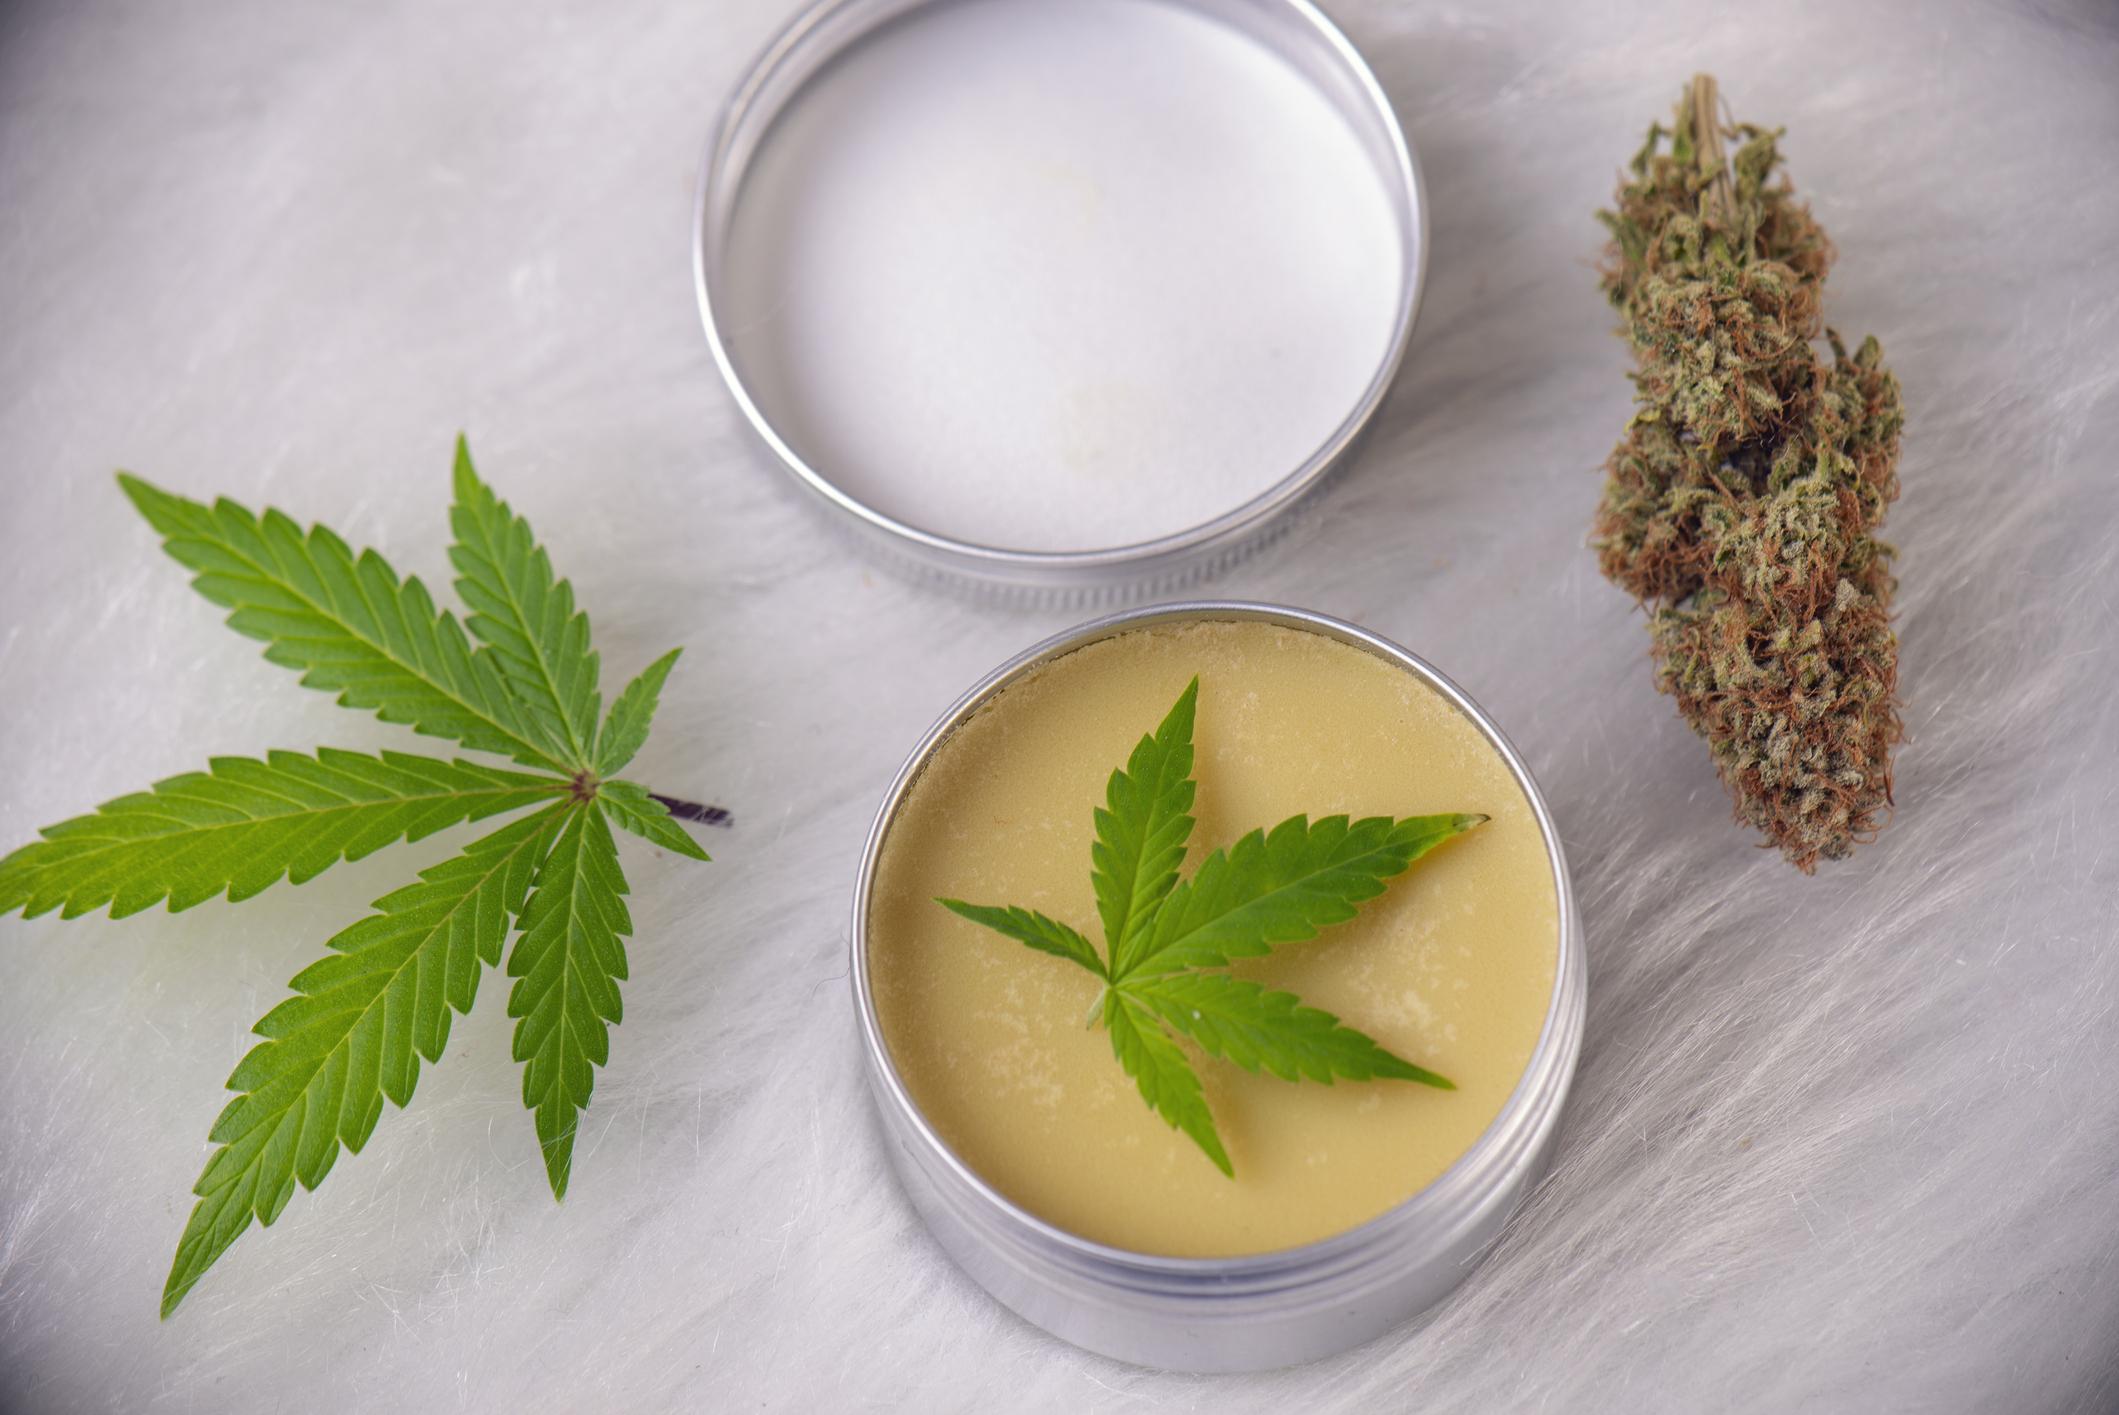
Topicals can also be made from the comfort of your home. Here is an easy how-to guide to making simple homemade cannabis topical. This recipe is a safe topical salve but can also be further mixed to make full-body lotions, face masks or lip scrubs.

Ingredients:

  • 10 grams of ground, dried cannabis
  • 1 ½ cups of coconut oil
  • ⅓ cup olive oil (optional)
  • ⅓ cup beeswax
  • 1 baking sheet
  • 1 saucepan
  • 1 heat resistant glass jar
  • 1 cheesecloth
  • A few drops of essential oils of your choice

Step 1: Decarboxylate the Cannabis

The first step to making your own topical is to decarboxylate the cannabis. This process is essentially heating the cannabis in order to ignite the THC. Put a single layer of cannabis on a baking sheet and bake for 30 minutes at 240 degrees Fahrenheit, turning often to ensure equal heat exposure.

Step 2: Cannabis and Coconut Oil Mixture

While the cannabis is in the oven, begin heating the coconut and olive oil in a pot on low heat. Stir often enough that the coconut oil does not begin to stick to the pan. Once the decarboxylated cannabis is out of the oven and cooled, begin to stir it into the oil on the stove for 20–25 minutes. Stir occasionally. This way, you can infuse coconut oil with cannabis to create an effective topical.

PRO TIP: It is important to keep the mixer on the stove on very low. Unfortunately, if the heat gets too high, there is a chance of burning cannabis and affecting the potency of the THC.

Step 3: Beeswax and Jarring

After the cannabis and coconut oil mixture has simmered for 25 minutes, strain over the cheesecloth into a heat resistant glass jar and set aside to cool.

In the same pot, melt the beeswax and essential oil of your choice. Select a mild essential oil that you enjoy, such as lavender, peppermint, or tea tree oil. As the beeswax slowly melts, add the cannabis-coconut mixture, stirring often. Once the beeswax, cannabis, and coconut oil are thoroughly mixed, you have your cannabis-infused salve. Once cooled, this salve can now be used on its own as a topical rub or can be further mixed into Aloe Vera or cocoa butter to make more of a lotion type product.

Cannabis topicals are not yet regulated in many jurisdictions where cannabis itself is legal, but regulation is on the way and it’s believed topicals will become popular products for cannabis users who want pain relief.

Read also:

Content Rally wrapped around an online publication where you can publish your own intellectuals. It is a publishing platform designed to make great stories by content creators. This is your era, your place to be online. So come forward share your views, thoughts and ideas via Content Rally.

View all posts

Leave a Reply

Your email address will not be published. Required fields are marked *

Related

can you dye wet hair

Can You Dye Wet Hair? Here Is The Reason For It

Many questions are arising associated with washing the hair and drying, but now the most frequent question that comes to your mind is, can you dye wet hair? Yes, it sounds a little bit different than the usual hair fashion-related question. But the answer indeed is yes, you can.  Some hairstylists think dry hair dyeing can improve your hair texture naturally, and the end result is more natural than coloring dry hair. The wet hair dying technique is called wet balayage. This is a similar hair-dying technique to dry balayage techniques. Only here is a simple difference. It only applied to wet hair. Why Do You Want To Dye Wet Hair? The dying of wet hair may not be a common practice, but when we are talking about the comparison with dry hair coloring, here are some positive effects of wet hair dying. The dye of the wet hair is the best to work for achieving a subtle result. The hair damage is less than usual dry hair coloring. If you want to apply any semi-permanent hair color, then this technique is the best. The hair color promotes better absorption on the wet strands. The semi-permanent hair colors are more Ammonia-free. This type of coloring is becoming less harmful to your hair. Wet hair coloring promotes the natural hair look. This dying wet hair is a more user-friendly approach when you are dying your own hair at your home. These all are the basic positivity of applying the color on the wet hair. When you want to dye your hair at home, wet hair dying is the most user-friendly and time-consuming procedure. All you have to do is just apply the color in the middle of the bath; after that, wash it off. Benefits Of Dying The Wet Hair When you are applying the hair color at home, wet hair colorings are the best possible way to get the desired result. If you have any queries about you can dye wet hair? Then here is the list of multiple benefits of dying wet hair. 1. The Wet Hair Strands Are More Absorbent  The wet hair strands are more absorbent than the usual dry hair. The hair color easily melts into the hair, and more easily, you will get the desired color look. The equal distribution of the color is also an attractive part of the wet balayage coloring. The color of the hair is distributed equally after the applications. The color change is quite simple. The hair color does not give you a drastically changing look. But if you want a good coverage color or anything which is a permanent hair color, then this color is not for you. The temporary and the demi temporary colors are working best as the wet color. Both of these colors have very less harmful substance init. 2. Best Hair Colour When You Are A Beginner When you are a just startup color applicant, then the wet color is the best-suited hair color. The beginners are more prone to make a mess when they are applying the color. The wet color is just covering all messes.  First, shampoo your hair and then apply the dye to the wet hair. This will give you a more subtle result. These semi-permanent and semi-permanent hair colors are not working well on greasy hairs. This technique is quite easy and time-saving rather than the other coloring techniques. The working professionals and the people who do not have much time to go to the salon are more comfortable using this technique. 3. Gives You A Natural Flowy Look When you are asking the question, can you dye wet hair? Then the first answer which comes to our mind is yes. Not only yes, but the more natural and flowy look is also given through this type of coloring. The implementation is simple, and the drastic change of the hair color can not be found with the use of these temporary hair colors. You can expect mild color and a soft texture change of the hair. The distinctive funky colors are better to work as the wet hair color. How Can You Dye Wet Hair? We all call this dying technique the wet balayage. This technique is simple and effective, and long-lasting more than your expectations. Here are the four simple steps of applying the dye to wet hair. Step1 Wash your hair by applying the shampoo. Step2 Do not use the conditioner, serum, or any oil after washing the hair. Step3 Then just pat dry the wet hair. Step4 We need a damp surface to apply the hair color. Step5 Check the ingredients list before applying the hair color on your wet hair. As wet hair is more fragile than dry hair. Better to use semi or semi-permanent hair color for your hair. When our hair is in the wet state, the hair’s inner cortex layer is also open, promoting better absorption. Step 6 Read the instructions which are written on the package before starting the hair dying application. Step 7 Then wear a pair of gloves. Step 8 And take an amount on the small bowel as per your requirements. Step 9 Then apply the hair color with the applicator brush. Step 10 You can apply the color to the small sections of your hair.  Step 11 You can also apply the hair color just like any hair care product. Step 12 Apply a good amount of color because, with every wash, it will become lighter.  Conclusion The wet hair dye applications are easier to apply on the hair. These hair colors are less harmful with respect to the other type of hair dyes. The wet hair colors are more for the hair’s benefit and for improving the texture of the hair textures. Can you dye wet hair will no longer be a worry for you if you follow the mentioned points. But it also has some disadvantages. You have to choose the correct hair color for you, which has a less harmful substance within it. If you need simple temporary hair color, then these hair colors are the best time-saver for you. Therefore, I have tried my best to give you answers on how can you dye wet hair and the reasons for the same. You can also mention some more in the comment sections below.  Read Also: How Many Jobs Are Available In Real Estate Investment Trusts? How to Download Game Of Thrones Putlocker Online for Free? 0123Putlockers And Servers – Watch Movies Online Is Real Estate Investment Trusts A Good Career Path?  Which Type Of Portfolio Might A Young Investor Who Is Not Afraid Of Risk Choose?

READ MOREDetails
Organic Haircare Products

Understanding Certifications In Organic Haircare Products: Ensuring Transparency And Quality

Nowadays, with awareness and proper knowledge, people are getting more and more conscious about the products they use; hence it has led to a rise in demand for organic haircare products. With a focus on organic ingredients, organic haircare offers a greener and healthier alternative to conventional haircare products. However, as the market grows, it becomes essential for consumers to differentiate genuine organic shampoo and conditioner from those that merely claim to be so. In this blog, we will dive into the world of certifications in organic haircare products, understanding their significance, and how they ensure transparency and quality. What Are Certifications In Organic Haircare? Certifications are endorsements from reputable organizations or governing bodies that validate the authenticity of organic claims made by haircare brands. They act as a reliable assurance for consumers, indicating that the products have undergone stringent evaluations and meet specific standards. Why Do Certifications Matter? Transparency and Trust: Certifications offer transparency about the sourcing, production, and ingredient quality of organic haircare products. Consumers can easily trust that the products they are using align with their ethical and environmental values. Quality Assurance: Certifications ensure that organic haircare products meet certain standards in terms of ingredients, manufacturing processes, and sustainability practices. This assurance promotes higher-quality products for consumers. Avoiding Greenwashing: Greenwashing is a marketing practice where companies falsely claim to be organic or eco-friendly to attract environmentally conscious consumers. Certifications help distinguish genuine organic products from deceptive marketing tactics. Common Certifications In Organic Shampoo And Conditioner: USDA Organic: One of the most well-known organic certifications, the United States Department of Agriculture (USDA) Organic label verifies that the product contains at least 95% organic ingredients. The remaining 5% must be from an approved list and must not contain any synthetic chemicals. ECOCERT: ECOCERT is a globally recognized certification that ensures the organic and natural integrity of products. They assess the product's ingredients, manufacturing processes, and environmental impact. Leaping Bunny: While not specifically for organic products, the Leaping Bunny certification is crucial for cruelty-free hair care. This certification confirms that the product and its ingredients were not tested on animals. Tips For Choosing Organic Haircare Products: Look for Recognizable Certifications: Prioritize products with well-known organic certifications like USDA Organic, ECOCERT, or COSMOS. Read the Ingredient List: Check the ingredient list for natural and organic components, avoiding products with harmful chemicals like sulfates, parabens, and phthalates. Research the Brand's Values: Investigate the brand's sustainability practices, ethical sourcing, and commitment to the environment. Read Reviews: Look for consumer reviews and feedback on the product's performance and authenticity. Conclusion: Certifications play a vital role in verifying the authenticity of organic haircare products, providing consumers with confidence in their purchases. When armed with knowledge about these certifications and label claims, consumers can make informed decisions, selecting high-quality, organic haircare products that align with their values and contribute to a greener, more sustainable future. Read Also: Use Organic Products To Prevent Gray Hair Why Hairdressers Love Rose Gold Colour Who Are The Best Software Vendors Out There?

READ MOREDetails
Epilators

Epilators: The Best Solution To Smooth Skin

Epilators are an electronic device that can be used to effectively remove hair at the follicle level. They work in a manner similar to tweezers but cover a larger area at the same time. This works with the help of springs and rotating discs that pull the hairs out from the root level allowing you to have smoother skin for longer durations of time. Compared to other waxing methods the epilator is also effective in terms of short regrowth time. Usually, you need to space two hair removal sessions apart with adequate time to let the hair grow long enough to pull them out. In the case of the epilator, it can pull hairs up to 0.02 inches tall as well. This allows you to use this device without much gap to enjoy consistent smooth skin. How to choose an epilator: While choosing an epilator it is essential to look at the specifications in order to assure it is the best option for you. Looking at the number of tweezers is a good way to assess an epilator. On an average, epilators have 40-60 tweezers. The more the number of tweezers is, the easier and faster the process will be. It will also result in lesser pain as more number of hairs can be covered with a single roll of the epilator. Another factor to consider while choosing an epilator is its battery power. The noise, speed settings, and area of usage are also integral points that can help you shortlist. Cost of an epilator: An epilator is a device that can be used for a few years and hence it is worth the money invested. It is economical and viable. You can choose an affordable epilator that is effective as well based on a good research. Some of these devices offer additional features such as multiple fittings that can be made of to use the epilator in different parts of the body including the sensitive areas. How to use an epilator: Epilators have to be used with caution regarding areas of usage. There are a lot of precautions to take before you use your epilator that will let you undergo the process with less pain. These include moisturizing your skin beforehand and many other shortcuts that will let you be more comfortable with the whole process. It is also necessary to know if you are using a dry epilator or a wet one and condition your body to have the required state. It is integral to apply a numbing cream before you use the epilator on sensitive areas to reduce the pain. For a Brazilian, there are specific fittings for an epilator and specific epilators available. Similarly while epilating the face it is essential to use a face epilator and not the same one that you may use on your arms and legs. An epilator is a convenient tool that is easily portable and highly effective for smooth hairless skin. This device is functionally effective as well as cost effective. You can choose from options available to find one that suits you best. Read Also: 7 Tips For People With Hypersensitive Skin 7 Anti-Aging Tricks And Tips To Get Youthful Skin Like A Teen

READ MOREDetails