Published on: 26 May 2016
Last Updated on: 04 November 2024
Healthy hair is closely related to your diet. We all know that dying and curling your hair can make you more attractive, but those are not the best things for your hair in the long term. What it really needs is essential nutrition. We listed the top 5 foods that will keep making sure it’s as healthy as possible.
Spinach
Spinach is rich in iron and also contains high amounts of vitamin A, vitamin K, and folate. One of the main causes for hair loss or breakage is a lack of iron. Iron helps in producing red blood cells called hemoglobin, which carry oxygen to different parts of the body and distribute essential minerals and nutrition for our cells to function properly. When iron levels are low, the number of red blood cells is decreased. As a result, our body experiences fatigue and weakness. A decrease in red blood cells means that oxygen is unable to reach derma papilla cells, which are the main source for nourishing hair follicles.
Spinach also contains the highest amount of Vitamin K of any other vegetable. Vitamin K helps blood circulation by preventing blood from getting clogged in the body. One cup of spinach provides about 200% of the daily recommendation of vitamin K.
Salmon
Salmon is a great source of Omega 3 fatty acids. According to Foxnews.com, our bodies are not capable of producing Omega 3 fatty acids alone, so it is important to eat foods or hair growth vitamins that include this source.
Omega 3 fatty acids have a direct link to the health of hair follicles and keep our hair growing stronger by regulating sebum production. More hair care manufacturers are introducing new products that contain alpha-linolenic acid (ALA), which is a vital part of Omega 3 fatty acids.
Eggs
Our hair is largely made of protein but also contains a small number of lipids (a key source of moisture for hair). In order to keep hair in an optimal condition, providing enough protein is essential. Eggs, especially the egg yolks, are loaded with protein and vitamin B-12. Vitamin B-12 is another important component to nourish follicles and maintain normal hair growth cycles.
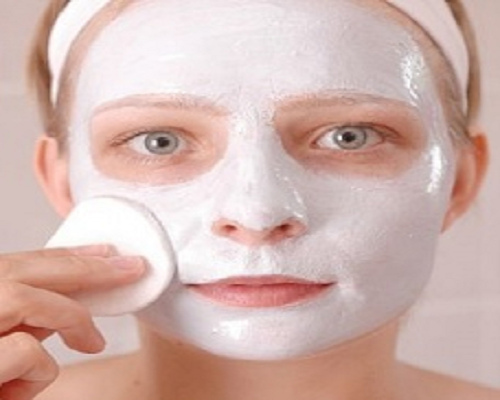
Egg yolks are also often used for hair mask treatments as one of the many hair growth natural home remedies. Mixed with a couple of teaspoons of honey or olive oil, the mixture should be applied to your hair (including your scalp) for 20-30 minutes. Cleanse by rinsing it with warm water. This egg hair mask is another great way to strengthen hair and add moisture.
Bell Peppers
Vitamin C (ascorbic acid) plays a protective role in the health of our skin and hair. Its antioxidant properties help by preventing harmful free radicals from damaging our body parts. One of the early signs of a lack of Vitamin C is dry skin and breakage of hair according to the University of Maryland Medical Center. Bell peppers contain high amounts of Vitamin C and Vitamin B-6. One medium-size red bell pepper provides 292% of the suggested daily value of Vitamin C.
Oysters
Oysters are packed with Zinc (about 30 mg per serving), which plays a vital role in overall human health. Considering the daily intake recommendation for Zinc is 8 to 11 mg, it’s obvious that oysters can be very beneficial.
Zinc helps by contributing to a healthy immune system, cell growth, and renewal of cells for skin, hair, and nails. By regulating appropriate hormone levels, Zinc-rich foods such as oysters can prevent premature hair fallout.
Content Rally wrapped around an online publication where you can publish your own intellectuals. It is a publishing platform designed to make great stories by content creators. This is your era, your place to be online. So come forward share your views, thoughts and ideas via Content Rally.
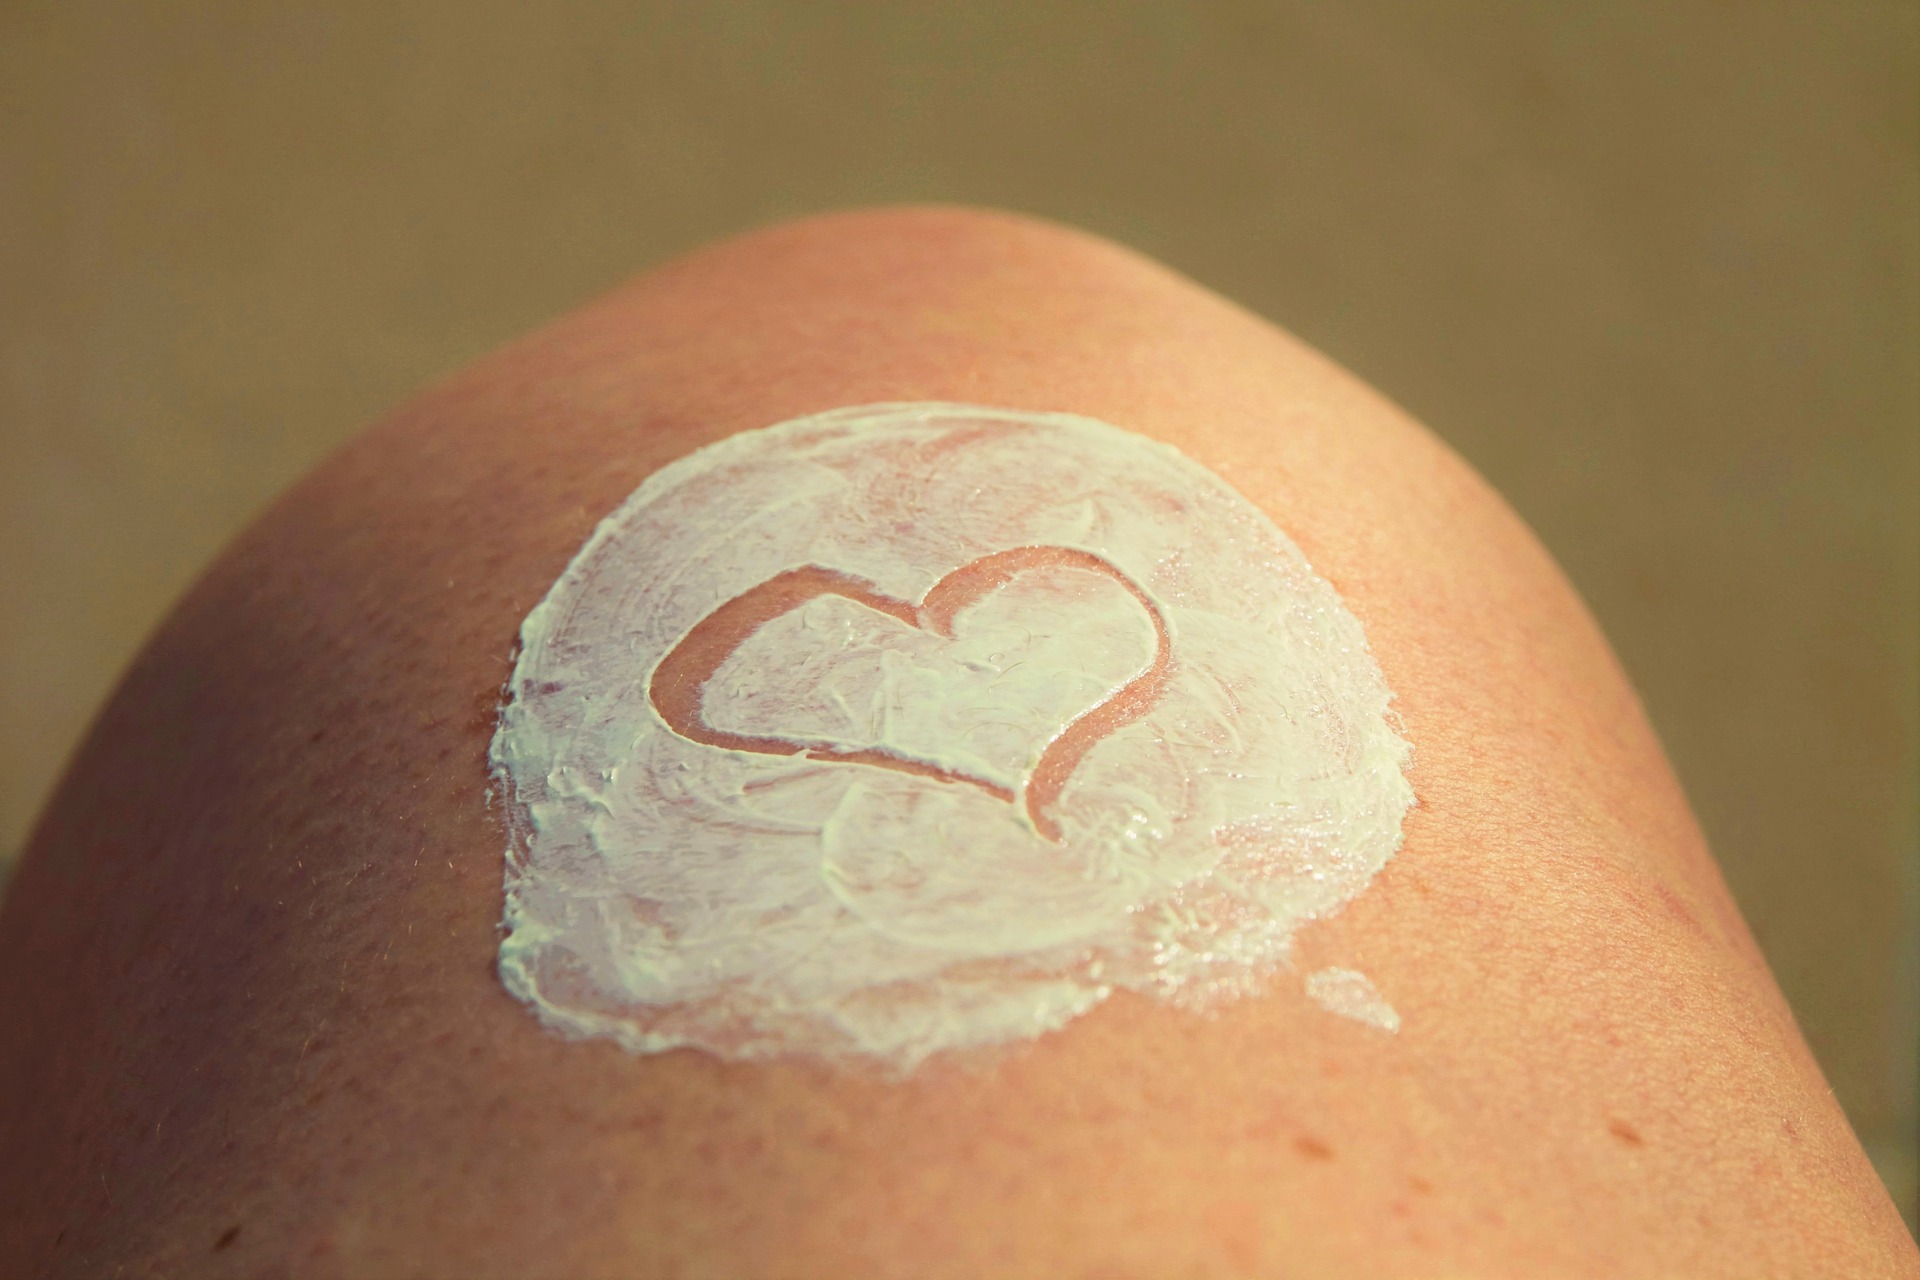
Whether it's cool, warm or stormy, having one's skin protected all the time is the one action you ought to never miss prior to heading outdoors for the day. Sun lotion can help you to protect your skin from sun damage. Protecting your skin shields it from sunlight effects, reducing any danger of uncomfortable sunburns, skin cancer cells, and also early indicators of aging, such as solar flare and also creases or wrinkles.
Getting the very best after sun lotion can be very frustrating. Do you prefer chemical, physical or natural products? Creams, lotions or sprays are some of the things you have to consider prior to choosing what is best for your skin type and skin tone before you purchase.
How then do you choose the best after sun lotion for your skin type?
Opt for waterproof alternatives
Why should you go for waterproofs? Even if you will not be going for a swim waterproofs are noted to stick longer to the skin and will certainly remain on longer while you're sweating. How often one should wear them and are they suitable for fitness too? They are equally good for your workouts sessions since you tend to sweat a lot after the process but you ought to constantly reapply every 2 hours as well as after swimming or sweating.
When you are confused; go for creams
Why should you pick creams? They're simple to use and equally easier to apply. And you can use them at least two times in a day; at morning and at night as compared to the others. Depending on your choice; you can equally go for sprays but they are not heavy enough neither do they last longer; for wipes, you will need to constantly use them perhaps 5 to 6 times a day for them to be effective. Anyone you pick should definitely soothe your skin and you should be comfortable enough to follow its required routine.
Formula issues
The formula plays one of the important roles when making a final decision on what to settle for and should definitely influence your decision. It is all about what the formulation of the after sun lotion you are going for; thePhysical or mineral are dominantly made with zinc oxide or titanium dioxide, the reason why you should go for mineral-based is that they absorb properly into the skin and help to protect your skin from sun rays. Next, we have the chemical products which have been mostly made with components like oxybenzone or avobenzone; they are also easy to absorb to the skin. Though both successfully shield the skin, however zinc oxide and titanium dioxide are safer and good for most skin types especially for those with super sensitive skin and will be the perfect alternative if you cannot find an all-natural product.
The different options that you can find based on your preferences
It all comes down to our personal needs and skin types, if you have dry skin, it is important that you go for what is moisturizing. Search for a product that clogs on your pores better and what you feel will hydrate your skin better. You can as well decide to go for what is sticky or completely matte; you can also choose to settle for one with a particular fragrance you love or opt for one that is fragrance-free. No matter what your preferences are; there is always one product that will satisfy all your needs; just take your time and be patient enough and in no time especially after using it as prescribed, you will definitely love how flawless your skin will look and you will absolutely love the glow that accompanies the skin protection.
Read Also:
How To Make Your Own Cannabis Topicals
How To Start, Set Up, And Grow Your Own Massage Business
Stage makeup might be the new norm. However, the 1920s flapper makeup is nothing short of a sensation.
Artists see it as a timeless token of expressive beauty, style, and sensational glamour. Let’s check out the main touch points of the artisanal and aesthetic flapper makeup.
No doubt the 1920s looks were iconic. So, it’s worthwhile to understand the styles that inspired flapper makeup. We can also try to explore the twenties’ spirit that was depicted through the bold makeup looks. After all, expressing the inner self is the prime function of beauty.
Before we know in detail, can you tell what flapper makeup was precisely? Well, long eyelashes, neatly defined brows, and scarlet lips are the tokens defining flapper makeup. That’s not all. The advent of rosy cheeks for that doll-like look can also be credited to the 1920s.
What Defined Flapper 1920s Makeup?
Eager to get into the crux of flapper makeup? Modern makeup enthusiasts are obsessed with the right nude look or depicting a sensational minimalist look. But the 1920s saw makeup and beauty differently.
Remember the characters from The Great Gatsby? The youthful quest of character and dollish overtones dominated the thoughts of the 1920s artists.
Today, you won’t celebrate such layered makeup. Instead, models proposed in angled foundations with neatly chiseled jawlines are today's front runners. Moreover, the heavy blushed, and brighter skin toning of flapper makeup has found a replacement in the contoured makeup of today.
So, the basics of the flapper makeup look is getting dolled up with makeup. Since the makeup was ceremonial, events like dancing and night parties were so. Many of you may think- What about nails? Trust me, your favorite ombre nail designs 2024 versions would not have made any mark in that look.
The face was still the epitome of beauty.
Types Of Flapper Girl 1920s Makeup
There were many flapper styles during the 1920s. In our imagination, the bold 1920 makeup girl would have liked some of these flapper styles:
1. The Classic Decor
Dark and smoky eyes dominated this look. Remember the goth scenes with grim female characters? Yes, you’re thinking right. Sharp eyebrows, blood-red lips, and pale white complexions complemented the classic flapper makeup look.
2. The Bob
Rain or shine, girls would go gaga over a playful twist. The definition of the bold flapper makeup completed with the faux bob.
Short hair was the norm of the day. No commitment. Just do a contemporary transition and have fun!
3. The Cost-Effective Version
Flapper makeup had a cost-effective version, too. If you don’t want your flapper makeup experiment to cause a hole in your pocket, here’s your solution. Firstly, grab any light foundation.
Go for the wet n wild photo focus matte/gloss liquid foundation. It costs $5.47 and is available in classic, beige, and other shades. You can also go with the e.l.f. Flawless Finish Foundation. The latter would be better for the glossy, bold look.
It covers uneven skin tones like MAC, The Whoo, or any in that category. Remember, the foundation is the basis of the cost-effective flapper makeup.
Secondly, your primary role is to create smoky eyes using your regular eyeshadow palette.
Lastly, go for a cheap radiant red lipstick for those popping red lips. BAAM! Your pocket friendly flapper makeup looks completed in 30 minutes or so.
4. The Zombie Flapper Makeup Look
Today, I suggest a mattifying primer with a matte foundation, contour for cheeks, and dark shades for eye sockets. Of course, a makeup setter spray to top it up. But do you want to know how a 1920s makeup flapper would look like?
Complement your flapper style with an authentic macabre look. Create a makeup base to begin with. After that, create defining under-eye circles, draw cracks, and apply fake blood in patches and splashes on your skin.
Could you spot the difference? The 1920s flapper is so much more high definition than today’s looks. That’s the beauty of the bold makeup sensation we’ve left behind.
How To Use 1920s Flapper Makeup: Tutorial
The prime element in your 1920s flapper look would be how you groom your eyes. The eyes are an actual package here. Similarly, I’m talking about eyebrows, lashes, lids, and under-eye.
Secondly, you must draw bold lips. No extraordinary treatment. But well-defined bright lipstick.
Lipstick
However, I find that MAC’s Locked Kiss Transfer Resistant Creamy Matte would be an iconic lipstick I’d choose for realistic flapper makeup. After all, you must make your lips feel soft, thick, and plushy yet neatly chiseled.
Mascara, eyeliners, eye shadows, etc
After that, we will focus on the eye section. First, apply your eye shadow. You will find film stars staging dark eye shadows at that time. I also feel that the darker eye shadows preserved the real essence of the flapper makeup.
It’s not the twenty’s spirit if it’s not bold and defining! For parties, most women flaunted their dark, smoky eyes. I was so hooked on that look.
Indeed, my suggestion for eye shadows would be the same.
Secondly, we will focus on the eyeliner. Start by drawing a thin line with your eyeliner. Let the top lash line be smudged; use a thin eye shadow brush. However, something still seems incomplete.
Complete your eyeliner effect with an added eye shadow shade on the eyeliner.
Caution: The to-eye shadow layer should only go down the point once the smudged eyeliner liner is marked. Otherwise, you won’t be able to conceal the extra eye shadow.
I prefer the NYX eye pencils for the above. However, you can go with the brand of your choice.
Thirdly, I would suggest a lash mascara brush. Brush your mascara more towards the center of your traditional long eyelashes. Don’t focus much on the sides.
Brow Pencils
Finally comes the eyebrows. The typical choice would be long and thin eyebrows. Meanwhile, don’t forget to use brow pencils to perfect your brows. Certainly, thin, chappy, or sparse eyebrows won’t make sense if we’re speaking flapper makeup here.
However, there’s something more important here. Don’t draw a clean eyebrow arch. Rather, slop downwards. Most experts would not go any further. However, I am skeptical about the look and more about the finish. So, I would like yur blush to be perfect as well.
Don’t taper the blush. Instead, try to give it a rounded appearance. After all, the blush is the crux behind the more youthful look.
Other than the face, hands and feet also mattered in the 1920s. Back then people knew what is pedicure. The introduction of hemlines popularized nail care and pedicure trends. But nail makeup was not highly defined. So, they did not know what is builder gel.
Related: Get Part Ready In No Time with These Hair And Makeup Hacks!
The Flapper Era: A Cultural Revolution
The flapper makeup is no less than a revolutionary look. It was the prime movement that resulted in the rise of a subculture. When a group of young people wished to defy social norms and sexual definition, they chose the flapper over minimalist makeup.
Moreover, flapper makeup was a strong connotation of the fact that 1920s women were trying to break free. They needed to make accurate, bold statements that came in the first look.
Flapper makeup looks aligned with style, approach, and cultural tastes. For example, flappers liked jazz. They also had bold lifestyles.
Key Elements Of Flapper Makeup
That’s easy. Flapper makeup uses all high-definition components. So, there was minimal layering in the makeup.
Firstly, the flapper's makeup is incomplete without dark and smoky eyes.
Secondly, a pale white skin tone is a definition look for a flapper.
Don’t go by the racial connotation of the makeup essentials. After all, these elementary things defined a revolutionary generation.
After dark eyes, flappers could not feel complete without firm lips and blush.
Iconic Flapper Makeup Products
Here are the main kits you would find in the makeup box of any flapper:
1. A heavy-duty mascara
2. Sets of long eyelashes
3. White toners, foundations, contours, etc. for base makeup
4. Eyelash curler
5. Eye pencil
6. Lipstick
7. Powders for touch up
Flapper Makeup Techniques
I have defined the flapper makeup essentially briskly already. So, I will talk about five master flapper makeup techniques only-
1. Have thin and long eyebrows and use a kohl liner for the best effect
2. Don’t forget false lashes.
3. Create a smoky eye effect as it would suit you
4. Plumm red, burgundy or any rich shade of red would do good
5. Carry Face powder
Flapper Makeup In Modern Culture
Days have changed. People don’t prefer the bold look that may seem prosthetic to the modern generation. However, bold makeup was an expression of revelation from shackles for women back then.
So, it’s natural that the essence of flapper makeup still exists today. If you’re curious too, here are two unmistakable things that have become timeless.
Firstly, the smoky eyes look. Women still use the smudgy and messy eye-shadowed look for that bold statement.
Secondly, we see the cupid’s bow lips quite often. That is another gift of the flapper makeup era.
If you want to know more about flapper makeup or want to offer tips, comment your doubts or queries in the following section. I will check the comments in no time!
Additional Resources:
Polish Your Creativity: A Colorful Journey into Self-Care With Nail Polish
Smashbox Primer: Use It To Make Your Makeup Last Longer
Essential Eye Care Tips That Can Improve Eyelash Hygiene
Going to the dentist requires that you take an active role in your dental health care and maintenance. Although professionals are trained to look out for dental issues and to clean your mouth to meet standards of optimal health, you should still pay attention to the specific dental procedures your dentist or dental hygienist recommends and performs during your appointment.
In this article, we discuss the routine dental care that should commence during your routine visits. Here are three routine dental care procedures for a brighter, healthy smile.
1. Consistent Teeth Cleanings:
While you should already be brushing your teeth at least twice a day, when you go to the dentist, make sure that you’re given professional teeth cleaning.
The devices that dentists use to remove plaque and build-up in the mouth are much more effective than your daily brushing. For this reason, you must make sure that a teeth cleaning is performed at each of your visits. Without this routine cleaning, you are more susceptible to gum disease, and issues like gum disease and cavities.
2. Ask For a Deep Cleaning:
In addition to your routine teeth cleaning, you should also ask your dentist to perform deep cleaning at one of your yearly appointments.
The purpose behind deep cleanings is to ensure that the area beneath the gums stays healthy. The focus is to target the buildup that has accumulated underneath the gums. In doing so, you will further reduce your risk of gum disease, teeth whitening, and other dental complications that could compromise your health.
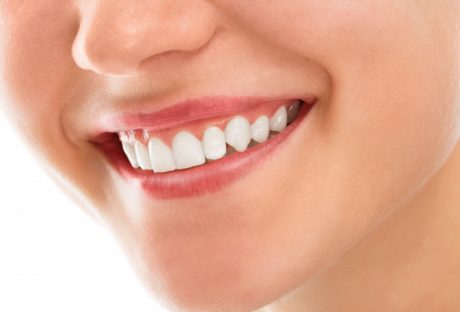
3. Teeth Whitening and Strengthening Services:
If you are interested in preserving the appearance of your teeth, you might also consider asking your dentist to perform a routine teeth whitening service at one of your appointments. Choose teeth whitening for a cost-effective way to maintain a brighter smile.
Your provider might be willing to perform the teeth whitening themselves or will offer you at-home professional-grade products that you can use to complete the teeth whitening yourself. You can expect to pay around $50 for a professional teeth whitening by your dentist.
In addition to routine brushing and flossing, you can reduce acid buildup with regular fluoride treatments. Fluoride makes it easier for your teeth to resist acidity.
Your enamel becomes more deeply protected and less likely to dissolve. Many kinds of toothpaste contain fluoride, which is part of the reason dentists recommend brushing twice a day. The more you work to build up your resistance to dentin decay, the healthier your teeth will remain.
Fluoride treatments only take a few minutes to complete, so be sure to inform your dental provider that you are interested in a quick fluoride treatment when it is time for your regular visit.
The Bottom Line:
It is wise to trust your dental professional, but that does not mean you should not keep track of your dental health on your own. Check off these routine treatments as you go about your yearly checkups for the best dental health possible.
Read Also:
The Process of Invisalign
How To Get a Better Smile Whatever Your Budget
What Is A Good Alternative To Wearing Dentures?


All Comments
incandescent bulbs
Nice post. I learn something totally new and challenging on websites
Outsourcing DataEntry
I truly appreciate your technique of writing a blog. I added it to my bookmark site list and will
outsourcing medicalBillers
I just like the helpful information you provide in your articles
Outsourcing Data Entry Services
Pretty! This has been a really wonderful post. Many thanks for providing these details.