How to store your Lego

Published on: 17 June 2019 Last Updated on: 08 December 2021
Lego

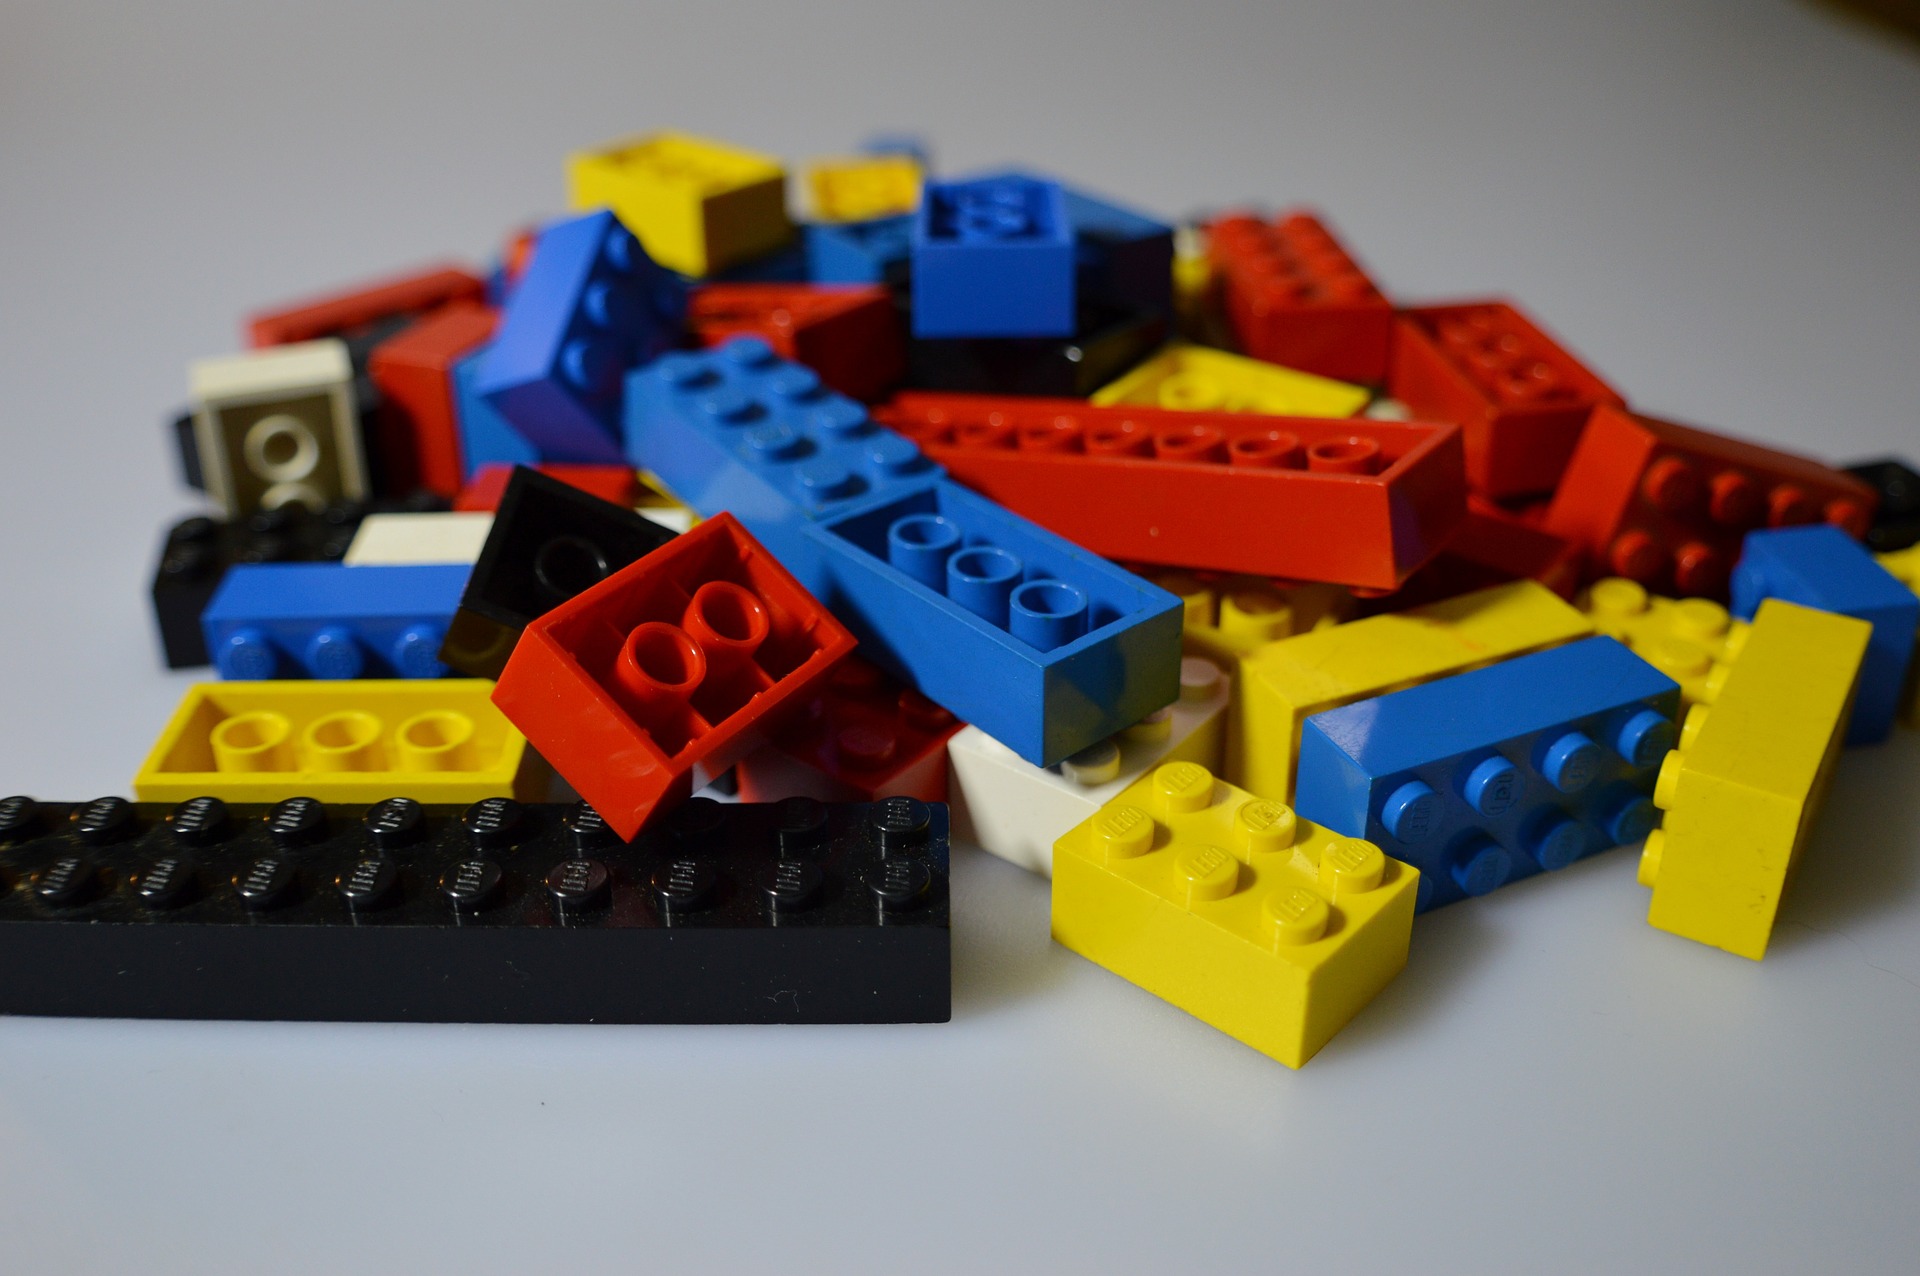
Lego is very beautiful playing items to engage a child while parents are busy with their home works. Additionally, Lego gives mental refreshment to your child and it will also improve your child mental health. Children play with Lego and work to make some beautiful playing items then this child’s efficiency and effectiveness of works also improve. So, Lego is very important to engage our child. But after playing if we fail to arrange and organize it properly, we may lose the valuable parts of the Lego. So, you need to buy Lego storage systems to store your Lego properly.

There are different types of storage systems available in the market. Among all types of Lego storage systems, you need to purchase the right one to fit your needs.  Now I am going to show you different l Lego storage systems for.

How to store your Lego:

1. storage bags:

Lego storage bags are the most common Lego storage system because Lego storage bags are easy to carry and handle. You can easily store your Lego on this bag. And you can easily keep this bag in a safe place. The Lego storage bags will not take a large storage space. If you have a bed with free underground storage, you can easily keep your Lego storage bags under the bed.

2. Lego storage Table:

Lego Storage Table is also a popular form of Lego storage ideas. Your child can play with this on this table. After ending the playing, your child can store the Lego in the drawer of the Lego storage table.  So, these types of storage Tables will serve both purposes.

3.  storage Open bin:

You can also buy the Lego storage Open bin from the market. It will allow you to store and display your Lego. It is best for storing built Lego sets. You can also store non-built set here. But the problem is that you have to give some space to place this storage Open bin.

4.  storage Container:

Lego storage Container is the easiest ways to store your Lego. But it is very difficult to sort and store the Lego here as you cannot separate and store your Lego.

5.  storage brick:

Lego storage brick is one of the best Lego storage products that Lego storage manufacturer ever made. This product is designed like a brick but has a good storage capacity with a removable cover. You can easily buy this item storage brick to store the Lego.

6.  storage Shelves:

Storage Shelves is used mainly to store toys. But you cannot store non-built of this item to set here. You can store and display the Lego-built set here.

7.  storage Drawers:

Its storage drawers are also popular forms of storage ideas. You need to build some drawers on the side of the wall or you should go to purchase a cabinet with storage drawers.

Conclusion:

In a nutshell, you have to choose the best storage ideas for you from here based on your personal choice and your home condition. So, hopefully, you and your child will be happy with your Legos.

Read Also:

Content Rally wrapped around an online publication where you can publish your own intellectuals. It is a publishing platform designed to make great stories by content creators. This is your era, your place to be online. So come forward share your views, thoughts and ideas via Content Rally.

View all posts

Leave a Reply

Your email address will not be published. Required fields are marked *

Related

Alexa device issue

How To Troubleshoot The Alexa Not Responding Issue? [Fixed]

Alexa is a virtual assistant, which works with an echo dot in order to fulfill all the demands of its users. With its thousands of attractive features, Alexa has made the life of its users super easy and also entertaining at the same time.  With its hi-tech features, Alexa can do almost everything from controlling smart home lights to set reminders, playing songs, jokes, news, quizzes, and much more things. But due to some reasons, you may find your Alexa not responding to the commands that you are giving it.  Do not worry if you are facing the Alexa not responding issue. Here we have the most effective and easiest troubleshooting steps to fix this issue.  Troubleshoot The Alexa Not Responding Issue: Here are the troubleshooting steps that you need to follow for solving the Alexa not responding issue with your echo dot. There are a bunch of reasons for what you may be facing this Alexa not working issue.  So, let’s head towards the troubleshooting steps.  1. Check The Microphone Button There are many instances when we find that the reason behind Alexa not responding is because the microphone is damaged or we forget to turn the button on. The microphone button is one of the most common reasons for this issue.  So, check the microphone button first. If the issue persists and it seems that everything is totally fine there. You can step to the next process.  2. Reboot The Device This is one of the most effective and easiest ways in the whole troubleshooting process of Alexa is not responding issue. There is not much trouble, all you need to do is just restart the device and the issue will get resolved. But this restarting has a definite name called power drain, and it is more than just powering off the power button and power on it again.  Here is the step-by-step guide for the power drain process. First, you need to check the power light. In case it is showing blue light, that means the device is able to hear you but simply the Alexa device is unresponsive to your commands.  Disconnect the power cable from the power source for at least 30 seconds. Wait for a little while, and after that, connect the power cord again with the power outlet. Now, when your device is ready completely, try to give it any command again. If the issue is resolved, then it is fine. But in case the issue of Alexa not responding continues, head to the next step.  3. Echo Dot Hard Reset In case the above described troubleshoot does not work for your echo dot. Here is the step-by-step guide to hard reset. You will find the reset button at the bottom of the device. You can use a pin to press the button. As soon as you press the button, the device will power off. Here, you need to wait for a little and then power the device on again. All the settings of the device will then reset to the original.  4. Disable And Enable Alexa Privacy If Alexa not responding after all the above-mentioned troubleshooting steps, now is the time to enable Alexa privacy and in order to do so, follow the below steps. You will find a button at the end of Alexa’s nucleus screen. You need to press the button. This button is to enable the privacy of Alexa. If you press the button again, the device will hear you again. Give a command to Alexa in order to check whether the issue is resolved or not.  5. Check Your WiFi Connection Behind the “Alexa not responding” issue, there is a huge chance that maybe your wifi connection is not working properly. That is why Alexa is finding it difficult to respond to your commands.  Well, let me tell you that if you do not have a proper internet connection, there will be no use for this Alexa device. So, check the router now. In case you find anything wrong, contact your network service provider.  6. Try Changing The Position  In case you have placed your echo dot device far from your router or in someplace where it is having issues connecting with the router. This can be the main reason why you are experiencing “Alexa not responding.”  Make sure that you are placing Alexa within the wifi range. The place should be accessible to yours as well so that your echo dot device can connect with the network properly and also can hear you clearly.  7. Set Echo And Smartphone On The Same Network Always keep in mind that the smartphone that you are using and Alexa have to be connected within the same network. In case they are connected with different routers or your phone is not connected with the router’s network, you will face the “Alexa not responding issues.” Connect both of them on the same router’s network in order to resolve the issue.  8. WiFi Congestions If you have connected a lot of devices within the same router’s network, it may create the “Alexa not responding” issue. Due to excessive wifi congestions, your echo dot is not able to respond to your given commands. Remove or disconnect some other devices, and then try to give your device command and check if the issue is resolved.  Still Alexa Not Responding? All the steps that I have told you in this troubleshooting guide are enough for resolving Alexa not responding to voice issue. But if you face the same problem after performing all the troubleshooting steps. You should contact Alexa customer care. Call on the Alexa helpline number and ask for help.  More Resources:  Benefits Of Having A Cordless Vacuum Cleaner At Home What is type c cable, and is it worth buying

READ MOREDetails
Bikini Trimmer

Useful Tips to Help You Buy the Best Bikini Trimmer

Managing body hairs in sensitive areas can be tricky. Let’s say you want to sport that figure when you head out to the beach. You want to look polished, but some hairs can spoil it for you. As such, you need to go through the best guides that arm you with bikini trimmer buying tips. There is a hill of information about this topic online, and it can be difficult to separate the real stuff from the shallow tips. The good thing about bikini trimmer guides is that they will lead you to a variety of trimmers that fit your needs. It’s important that you factor in your preferences, budget, and lifestyle. Apparently, you need to sift through trimmer reviews and go for one with excellent feedback from other users. The perfect bikini trimmers will come with ergonomic handles that will offer control such that you can maneuver those curves and folds them down there. Buying a bikini trimmer goes past the machine itself. You need to consider the cost of blade replacements, or batteries if it’s a cordless trimmer. You need precision cutting and you should opt for the trimmer whose features enable you to shave with accuracy. What Qualities to Look For? Design: The modern bikini trimmer comes with a range of designs. Away from the fabulous trimmer looks, there is a need to check whether the design specifics match with your needs. Assess whether a given trimmer feels good in your hands and bag. The grip should be excellent. Nobody wants to use a shaver that keeps slipping when you need to be precise. You can opt for straight or curved designs as long as the ergonomics are okay. Bikini trimmer designs and portability go hand in hand. For the ever-mobile woman, the cordless design will suffice. Check whether it can fit your conventional carry pocket. You don’t have to choose the bulky types. Proper research will lead you to a design that is versatile, slim in shape, and with great shaving power. If you don’t want to shave outdoors, the corded, mains power trimmer will suffice. Some bikini trimmers are built with the idea that they can be transformed into an all in one hair clipper device. If you want your trimmer to help you with your eyebrows, check whether there are options to fit in blades that can hack your eyebrows. If not, you can choose a single-use trimmer that is customized to handle more than just bikini shaving. Easy to Maintain and Clean: When you buy a bikini shaver, you want to be sure that it’s easy to maintain the gadget. If you have thick hair, you want the gadget to operate smoothly without issues caused by hair clogging up in some parts. The less the add-on features or ports the better. Remember to choose a trimmer that you can fix on your own. There are low-quality clippers that will keep breaking and require professional attention and money to revive them. Blade Quality: For excellent shaving, check whether the trimmer you buy comes with high-quality stainless steel blades. Who wants to buy trimmers with blades that rust? It can end up posing risks to your sensitive skin. It’s prudent that you consider the trimmer with self-sharpening blades. You don’t have to worry about surgical precision even when your tufts seem troublesome. Waterproof-Wet and Dry Shave: There are individuals who want to shave right after a dip in the pool. If you want to get it done after a shower, you need to have a trimmer that can handle a wet shave. It’s advisable if it’s a double wet and dry shave trimmer. Warranties: Do you want a trimmer that will last and meet the claims that the manufacturer makes? Going for the bikini trimmer that comes with a warranty sounds like a logical idea. In essence, the manufacturer is telling you that they believe in their brand. Don’t fall for cheap trimmers even if the prices are enticing. They will end up costing you more in the long run. Choosing the perfect bikini trimmer is a matter of personal preference and adequate product research. Don’t dive into the purchasing process, when you have no idea about the trimmer that best meets your bikini shaving needs. Read Also: 5 Tips to Give your Hairstyle a Perfect Look What To Know About Laser Hair Removal Utica NY

READ MOREDetails

Five Essential Kinds of Gear to Prepare before Going to Shooting Ranges

So you’ve just bought a gun and are itching to try it out in your nearest shooting range. Before you go full-on Rambo, you may want to inspect your gear first to ensure you have everything you need. You could be missing a few pieces of essential equipment. While most shooting ranges have gun shops, their merchandise usually comes at a premium. It’s cheaper and better to take your own gear with you. Not only will you save a significant amount of money, but you also won’t be forced to practice with equipment previously used by strangers. Read also: What Is An Airsoft Gun? If it’s your first time going to the range, chances are you only have a few ideas as to what you should bring aside from your gun. As a pro tip, here are some of the equipment you need when going to a shooting range. 1. Lots and Lots of Ammo : Prepare your ammo to get the most of your time in the range. Gun shops in ranges tend to mark up their ammo prices, so it’s more frugal to buy bullets outside the range. Generally, it’s a good idea to bring more ammo than you need. The thrill of shooting can make one eager for another round, and the next thing you know, you’ll have gone through your ammo supply like as if it were water. Thus, buy a lot of ammo in advance, buy .22 ammo in bulk, buy 9mms, buy all the ammo you need. 2. Eye and Ear Protection : Gunshots are extremely loud. Normal fire, even with low-caliber handguns, can reach 140 decibels. That’s enough to cause permanent hearing loss. Compare that to an idling bulldozer (idling, not in active use), which has a loudness of around 85 decibels, a noise level that can damage the ears if it continuously penetrates the ears. By contrast, a single gunshot is enough to cause hearing loss. That’s why every shooter needs some form of ear protection. They can be earplugs or noise-canceling earmuffs. The eyes are other related and equally vulnerable part. There are a lot of reasons for wearing protective eyewear when in the range. One is that the spent gunpowder can enter and burn the eyes, potentially causing permanent damage. To include a set of shooting glasses or goggles with your shooting gear. 3. Binoculars or Spotting Scope : It’s no fun shooting if you can’t confirm a hit, and it’s dangerous to walk to your target if there are other people practicing. You’ll either need a binocular or a spotting scope to check your target, especially if it’s placed at a distance. There are pros and cons between binoculars and spotting scopes. But they generally have the same use. What to bring depends on your personal preference. 4. Shooting Targets : Shooting ranges frown upon plinking, which is using improvised materials like tin cans and bottles for target practice. One reason is that they can shatter and spread, making it a headache to clean up and remove them from the range. Thus, it’s common etiquette to use standard targets, like paper bullseye targets for new shooters. All ranges sell standard targets, but like with ammo, they come at a premium. It’s cheaper to buy targets from outside. You can even print your own paper targets. If you want to spice it up a bit for more fun, you can try different types of targets. Some shops sell targets that explode into chalk or dust when hit; others have spinning targets for those seeking a challenge. 5. Maintenance Tools : Nothing kills a good time at the range than a gun getting jammed does. If your gun ever breaks down on you, don’t let it end your day. Get your tools and fix it. Some folks at the range can even help you out. But repairs aren’t possible if you didn’t take your tools along with you. That’s why you should always take your gun maintenance tools with you whenever you’re going to the range. Are You All Set and Geared Up? Going to a shooting range can be intimidating, especially for first-timers. Even seasoned shooters can forget to take a few items to the range. Just remember to include these five in your shooting gear, and you’re sure to have a blast at the range.  

READ MOREDetails