









With billions of people that are online every day, YouTube is a goldmine for prospective content producers. It's one thing to understand how to launch a YouTube channel. It is a whole different thing to be aware of how to expand your YouTube channel like a pro. It involves more than just uploading films in the fast-paced digital world of today; it also entails building real relationships, inspiring creativity, and embracing the craft of storytelling.
Imagine a cooking show where a great chef delivers delectable recipes and captivates viewers with their contagious enthusiasm for culinary treats.
Or imagine a travel writer who chronicles amazing adventures throughout the world. You could transport readers to gorgeous locales through captivating narratives and stunning images.
Who would not hit "like" and "subscribe" if they were a tourist or foodie?
We'll cover the methods for producing captivating videos that leave an impression on viewers. We will also talk about optimizing material for search engines to boost discoverability and foster meaningful connections. With this, you will be navigating YouTube's always-evolving environment with ease.
How To Upload A Video To YouTube: A Step-By-Step Guide

YouTube is the best platform for publishing video material. In fact, YouTube has nearly become synonymous with online video at this point.
A billion hours of video are seen on YouTube each day by its more than 1.9 billion monthly active users. That is equivalent to watching video every day for more than 114,000 years, to put it in perspective.
Leading YouTube content producers can earn hundreds or even thousands of dollars each day. Ironically, though, creating videos isn't really necessary to succeed and earn money on YouTube.
So, how exactly DO you succeed on YouTube? Here are some of the best approaches by YouTubers that demonstrate exactly what you should (and shouldn't) do while creating content for YouTube.
Here’s everything, step-by-step, for you to make a successful YouTube video:
1. Initialize the Upload Portal
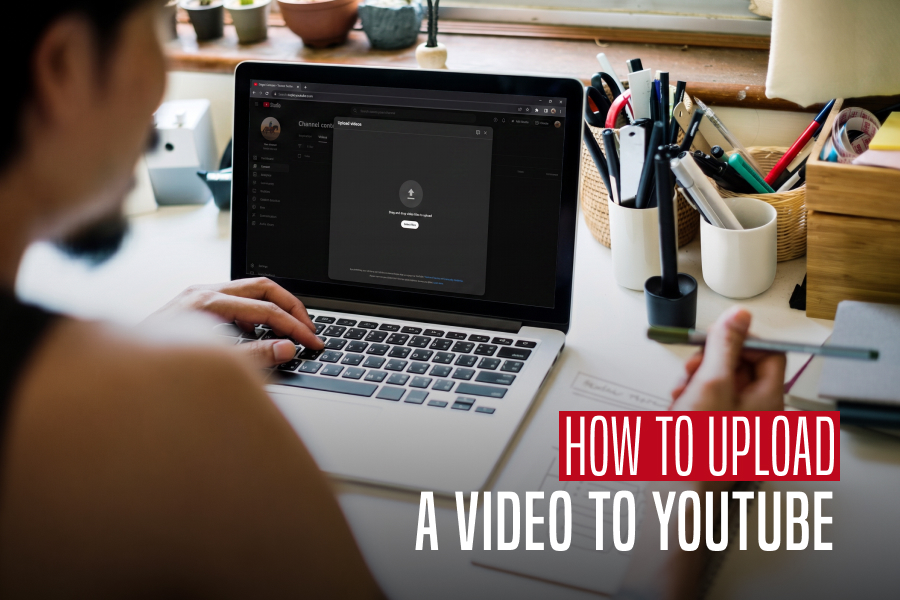
To begin the process, navigate directly to your web browser and open the YouTube Studio dashboard backend interface.
Once the main command screen loads, look toward the top right corner and click the prominent blue Create button.
Immediately following this action, a dropdown menu will appear where you must select Upload videos to launch the cloud ingestion pipeline window.
2. Select and Transfer Your Master Media File
When the interface updates, click the large Select Files button located in the center of the upload window to open your local system directory.
Next, browse your internal hard drive folders to choose your optimized MP4 video asset.
Consequently, the background data transfer will initiate automatically, and a real-time progress indicator will display while the server receives your file blocks.
3. Optimize Title and Structural Description Elements
While the file transmits in the background, you must pivot your attention to refining your primary on-screen search metadata.
Therefore, input a compelling, keyword-rich headline into the mandatory Title field to capture immediate consumer interest during search queries.
Furthermore, draft an exhaustive overview within the Description box.
You can use clear transitional phrases to break down your video sections and incorporate strategic keyword variations.
4. Upload an Eye-Catching Custom Thumbnail Graphic
To maximize your click-through rate, move down the configuration panel to locate the dedicated imagery module.
At this point, click the Upload Thumbnail tile to source a custom, high-resolution graphic directly from your computer storage.
As a result, this visual asset will override the automated, blurry frames captured by the server, ensuring your video presents a polished and professional exterior on user feeds.
5. Configure Audience Restrictions and Age Gate Rules
Before moving forward to advanced indexing arrays, you are legally required to verify your target demographic parameters.
Scroll downward through the primary options list to locate the mandatory COPPA compliance checklist.
Subsequently, explicitly toggle the radio button to declare whether your content is tailored specifically for children.
Thereby, this allows the system to apply appropriate data privacy shielding.
6. Inject Discoverability Tags and Content Categories
After clearing the initial compliance hurdle, click the Show More text link to unroll the advanced indexing command layer.
First, input highly relevant search Tags into the metadata field.
Therefore, this separates your industry terms with commas to guide the search algorithm accurately.
Next, select your exact video Language and assign your project to its primary industry category.
This will ensure proper placement across global algorithmic recommendation networks.
7. Add Interactive End Screens and Info Cards
Once the primary details page registers a completed status, click the blue Next button to move into the Video Elements workspace.
Here, you can click the Add button next to the End Screen module to layer clickable subscription buttons over the final twenty seconds of your footage.
Also, add interactive Cards at specific time markers.
This will smoothly slide out during playback to direct viewers to external links or secondary playlists.
8. Execute Automated Copyright and Safety Verifications
After finalizing your interactive elements, click Next again to move into the system-driven Checks backplane.
During this phase, YouTube's automated scanning software processes your audio and video hashes to look for potential copyright strikes or monetization boundaries.
As long as your background tracks utilize authorized assets, the security suite will display green checkmarks, giving you clear validation to proceed to final publishing safely.
9. Select Final Visibility and Publishing Windows
Finally, click the last navigation node to open the Visibility configuration pane.
In this matrix, choose whether to set your file to Private, keep it Unlisted for internal testing, or select Public to launch it immediately to your subscriber base.
Alternatively, you can configure the automated Schedule calendar to lock in a future deployment date.
Also, this ensures your content drops smoothly onto user feeds at the exact moment your target audience is most active online.
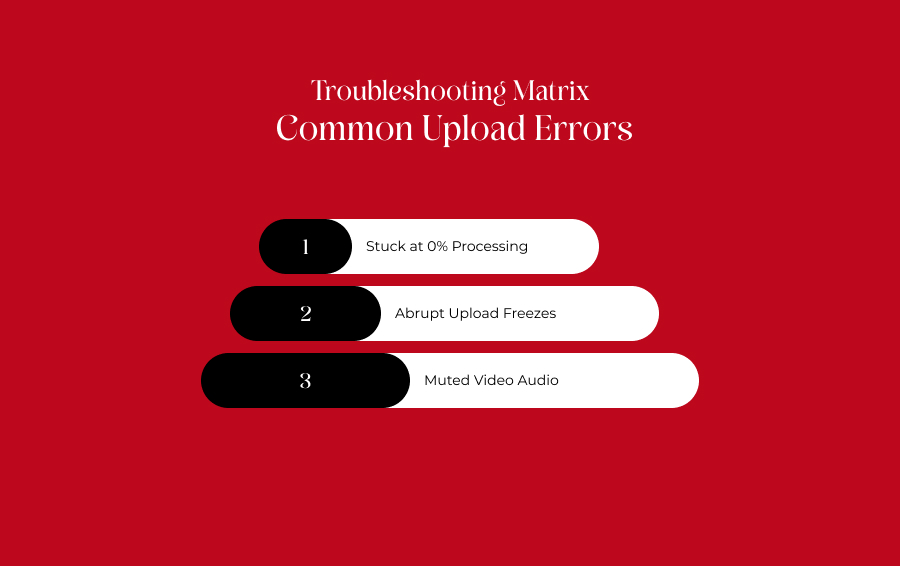
Troubleshooting Matrix: Common Upload Errors
Printers disconnect from local subnets, and digital video uploads sometimes encounter data parsing failures.
Use this breakdown to solve common processing blocks:
· Stuck at 0% Processing:
Your file format utilizes a heavy, unoptimized codec profile. Convert the video into an MP4 file using HandBrake before re-uploading.
· Abrupt Upload Freezes
Your local internet connection dropped its dynamic IP lease. Keep the tab open; the system will resume data transmission automatically when connectivity returns.
· Muted Video Audio
The automated check scanned a copyright violation in your background music tracks. Swap the audio using the built-in, royalty-free YouTube Audio Library.
How To Upload A Video To YouTube Explained
Building a loyal audience and expanding a profitable YouTube channel can be difficult, especially if your genre has a lot of rivals.
Still, success is possible with the right commitment, imagination, and tactics.
You can gradually grow your channel's popularity and attract more viewers by consistently producing interesting content.
Also, this includes using SEO to optimize your videos, engaging with your audience, and collaborating with other creators.
Check out Contra if you're a freelancer looking to market and manage your services without paying commissions.
You can promote your abilities and connect with potential clients on our Independent-first platform without paying any fees.
Contra can help you find a freelance social media specialist if you're a client trying to expand your YouTube channel.
Learn More About Youtube's: