Published on: 14 December 2022
Last Updated on: 20 February 2025
When you’re a homeowner, you have many things to do on the lawn.
Choosing which lawn maintenance duties are more crucial than others can be challenging. Maintaining lawn weed control is an essential aspect of home maintenance.
Here Are 5 Points On Why Weed Management Is Crucial
1- A weed infestation is unsightly
Weeds are unsightly, no matter where they are in your yard, but the view also turns deplorable. What others perceive of your house depends partly on how it looks from the outside. It is odd to consider that something as little as a few weeds may impact someone’s perception of you, yet it is a genuine possibility.
2- A lengthy process to rectify the weed situation
The best action is to take quick action if you experience a weed problem. You may choose a variety of do-it-yourself methods, such as manual weeding by choosing an appropriate weed wacker or weed killer safe for pets, or contact a weed control services provider. However, managing weeds on your own might take a lot of time, particularly if you don’t have enough time.
3- Your yard will continue to be invaded by weeds
Weeds will continue to try to infiltrate your garden, thus, it is crucial to maintain weed control measures. Weeds don’t require much to live since they may quickly outgrow their weak roots. Weeds may be stopped from returning by scheduling routine lawn maintenance – as a regular effort.
4- Cost-saving
While purchasing a weed killer at a home improvement store typically results in significant cost savings, although it may not be the best choice for your lawn.
You could have to spend a substantial sum of money having the weeds removed if they are not adequately managed or are allowed to grow unchecked. On the other hand, purchasing weed killers online can be more cost-effective as online vendors provide more discounts.
5- Effective weed management can ensure enduring results
Your lawn will progressively get rid of those troublesome weeds and develop a resistance to them with regular weed management and pre-emergent weed control treatments.
Different Weed Control Techniques
1- Preventive Weed Control Techniques
The key to successful weed management is prevention. An out-of-control weed infestation that has grown over time may call for more expensive treatment measures. Preventive weed control is any strategy to stop weeds from spreading across a farm or into a pasture.
2- Traditional Techniques for Weed Growth Control
Weeds are opportunistic and invasive and can have several damaging effects. Therefore, cultural management or developing a competitive and desired vegetation aids in weed prevention or, at the very least, slows their growth. The treatment of weeds is thought to be very successful using cultural control.
3- Chemical Techniques for Controlling Weed Growth
Chemical weed control refers to using or applying chemicals (herbicides) to soil or weeds to control weed development. The most efficient and effective way to manage weeds is with herbicides.
Some herbicides are designed to prevent damage to the weed’s neighboring plants. Weeds can be effectively controlled by chemical means. For this control, there are several chemical products on the market at the moment.
4- Biological Techniques for Weed Growth Control
Biological weed management is any method using live organisms that naturally inhibit weed development. In addition to eliminating weeds, living agents are also utilized to inhibit the germination of their seeds, such as grazing animals, insects, fungi, or bacteria.
Quite often, insects are used in biological weed control; this strategy is sometimes referred to as insect bio-control or integrated pest management (IPM). A cinnabar moth, a tansy flea beetle, and a chrysolina beetle are just a few insects employed in IPM.
Arnab is a professional blogger, having an enormous interest in writing blogs and other jones of calligraphies. In terms of his professional commitments, He carries out sharing sentient blogs.
The global housing market is reportedly shifting. Now, some of the most luxurious homes around the world are being sold at a fraction of what they cost a few years ago.
While it may be the dawning of a worldwide seller's market, there are plenty of expensive homes exceeding the average buyer's price range.
Even if you can't fork over mega-millions for a mansion of your own, it's fun to imagine what it might be like to live in the world's most luxurious residences.
Amazing Abodes: 10 Stunning Homes Around the World
Read on for an inside peek at ten of the world's most stunning abodes!
1. Beverly House, Beverly Hills, California:
The Beverly House is within walking distance of the iconic Sunset Boulevard and has been in many major motion pictures. It appeared on-screen in major box-office hits, such as "The Godfather" and "The Bodyguard".
Designed by the famous architect, Gordon Kaufman, the Beverly House is on the market for a cool $135 million dollars. But, if you don't want to commit to a mortgage, you can rent the star-studded digs for a mere $600,000 dollars a month.
If you're looking to move out west, you could always sell your home to Otranto Real Estate. It won't get you $135 million, but it's a start, right?
2. Luxury Italian Villa, Otranto, Italy:
This luxury Italian villa has stood the test of time since its construction, which dates back to 1840. Perched on the coast, overlooking the sandy shores, and full of charming courtyards and gardens, this one-of-a-kind 16-room property is breathtaking, even in pictures.
It's currently for sale, but the price isn't open to the public. The price tag on this stunning display of Italian architecture is available by application only.
3. Buckingham Palace, London - One Of The Most Famous Homes Around The World:
It's easy to see why this royal beauty is fit for a queen.
As the home of Queen Elizabeth, there's no chance of buying this castle for yourself. But, you can visit and tour the castle's grounds. Buckingham Palace is open to the public during specific times throughout the year.
It's unlikely that you will get around to viewing all 775 rooms. But, many of the staterooms are available for viewing and they are every bit as glorious as you might imagine. In fact, every inch of Her Majesty's royal homestead is worth the price you will pay for admission to the royal grounds.
While you're there, make sure that you swing by Windsor Castle, which marks 900 years of royal architecture. If you want to see the actual home of the Queen, you will want to head to Edinburgh where you can visit the Palace of Holyroodhouse. Both are open to visitors all year.
4. Antilla, Mumbai, India:
The Antilla is a 27-story skyscraper that's owned by the fifth richest man in the world.
Mukesh Ambani, the world-famous billionaire, had the luxurious tower built for his own private use. His wife visited New York and fell in love with Asian interior design, causing him to design the tower for her.
Antilla is the world's largest and most extravagant residential property. The home cost the businessman around $2 billion dollars.
5. The Playboy Mansion, Beverly Hills, California:
It's not the original Playboy Mansion, which was in Chicago, but Hugh Hefner's final party house is bigger and better than the first.
Hefner, known for his partying lifestyle and hosting exclusive soirees, placed his mansion on the market for $200 million. However, the deal included a caveat that he would be able to use the address to party until he passed.
Eventually, the Playboy Mansion sold for half of the original asking price. The Greek millionaire who owns Hostess, the brand that makes Twinkies dessert cakes, bought the home.
6. Fleur de Lys Mansion, Los Angeles, California:
The former home of Mariah Carey recently sold for $102 million dollars, paid in cash by an anonymous buyer. Its spread includes 12 bedrooms and 15 bathrooms. There's also a 3,000 square foot wine cellar, tasting room, two-story library, expansive ballroom, swimming pool, tennis courts, and a spa.
The Fleur de Lys Mansion, built in 2002, modeled the French castle known as the Palace of Versaille, which had been the most decadent home of its time. The Palace of Versaille was the home of Marie Antoinette, who became famous for her narrow-minded extravagance.
Supposedly, a crowd of peasants once stood in arms outside of her palace complaining that they hadn't even a crumb of bread to eat. The wealthy Mademoiselle supposedly responded "Let them eat cake", even though we now know that isn't accurate.
The socialite's supposed response, absurd to those hearing it, has defined Antoinette as one of the most out of touch characters to ever grace the pages of history books.
The quote is still cited when referring to the overwhelming differences in thought between social classes.
7. Xanadu 2.0, Medina, Washington:
Owners Bill and Melinda Gates built their sprawling Washington home with many cutting-edge features. As the mastermind behind one of the century's most notable companies, Gates created the tucked away abode to match his tech-savvy image.
A few of the unique amenities of Xanadu 2.0 include an underwater music system, a separately-housed swimming pool, and a trampoline park with 20-foot ceilings.
The 66,000 square foot home has 24 bathrooms in all, 10 of which are full baths.
In addition, it also has 6 kitchens, male and female locker rooms, a sauna, and a 2,300 square foot reception hall. The reception hall has a wall-to-wall limestone fireplace and a massive video screen for entertaining. It can seat up to 150 people or accommodate up to 200 guests if standing.
Also interesting is the home's heating and light system. They are controllable using a pin-passcode that guests can set according to their personal preferences. The house's sheltered design aids in reducing energy usage and regulating temperatures.
Gates also houses his ancient Da Vinci manuscripts here, which he acquired in 1994 for over $30 million dollars at an auction. He can display additional artwork, stored on $150,000 worth of storage devices, via the $80,000 computer screens adorning the walls.
8. Acqua Liana, Florida:
This property's claim to fame is that it holds the title for the world's most luxurious eco-mansion.
The 15,000 square foot home boasts 7 bedrooms, 11 bathrooms, a waterfall spa that's lit with fire, floating sun terraces, and an arched aquarium wet bar. It's almost hard to believe that such extravagant details could also be eco-friendly.
Still, for any doubters, there are plenty of "green" qualities throughout the luxurious homestead. Acqua Linea has superior air quality, $120,000 worth of solar panels, ultra-efficient appliances, and extra LEED features. This helps the eco-mansion to maintain an energy-neutral setting most days.
Its' designer created the home, not only to be sustainable living quarters but also as a work of art. His visits to exotic tropical locations such as Bali and the South American rainforests inspired him.
9. Palazzo Di Amore, Beverly Hills, California:
Jeff Greene, an LA real-estate mogul, owns the Palazzo Di Amore, which is Italian for "Castle of Love". He listed the home for $195 million dollars but has since lowered the asking price by at least $66 million.
The sprawling compound is an entertainment mecca. It features a rotating dance floor, laser light system, and a high-tech DJ booth. There's also a bowling alley, game room, theater, and parking space that can accommodate up to 150 cars at a time. The hard part is getting your friends to come over, it's getting them to leave!
10. Kensington Palace, London:
Valued at $222 million dollars, Kensington Palace sits on one of Britain's most exclusive streets, which also known as London's "Billionaire Row".
When the homeowner, Laski Mittal of India, purchased the 55,000 square foot palace for $128 million dollars, it was the most expensive address on the market. In addition to owning the famous mansion, Mittal also owns the world's largest steel manufacturing company.
Kensington Palace was once home to the de Rothschild family. It's located near the current home of Prince William and Duchess Kate Middleton.
Looking Into Buying a Mansion of Your Own?
If you're interested in purchasing one of the mansions above, you'll be happy to know that several of these properties are currently up for sale. But, there are also plenty of other homes around the world priced for much less in the event you aren't prepared to spend millions (or billions) of dollars.
But, before you invest in any type of real estate, there is some crucial information that you need to know.
Ready to start searching for your own dream home?
Check out this post for a list of essential things to know before buying a new house!
Read Also:
Top 5 Most Expensive Beachfront Homes
Different Types Of Conversions To Make The Most Of Spare Space In Your Homes
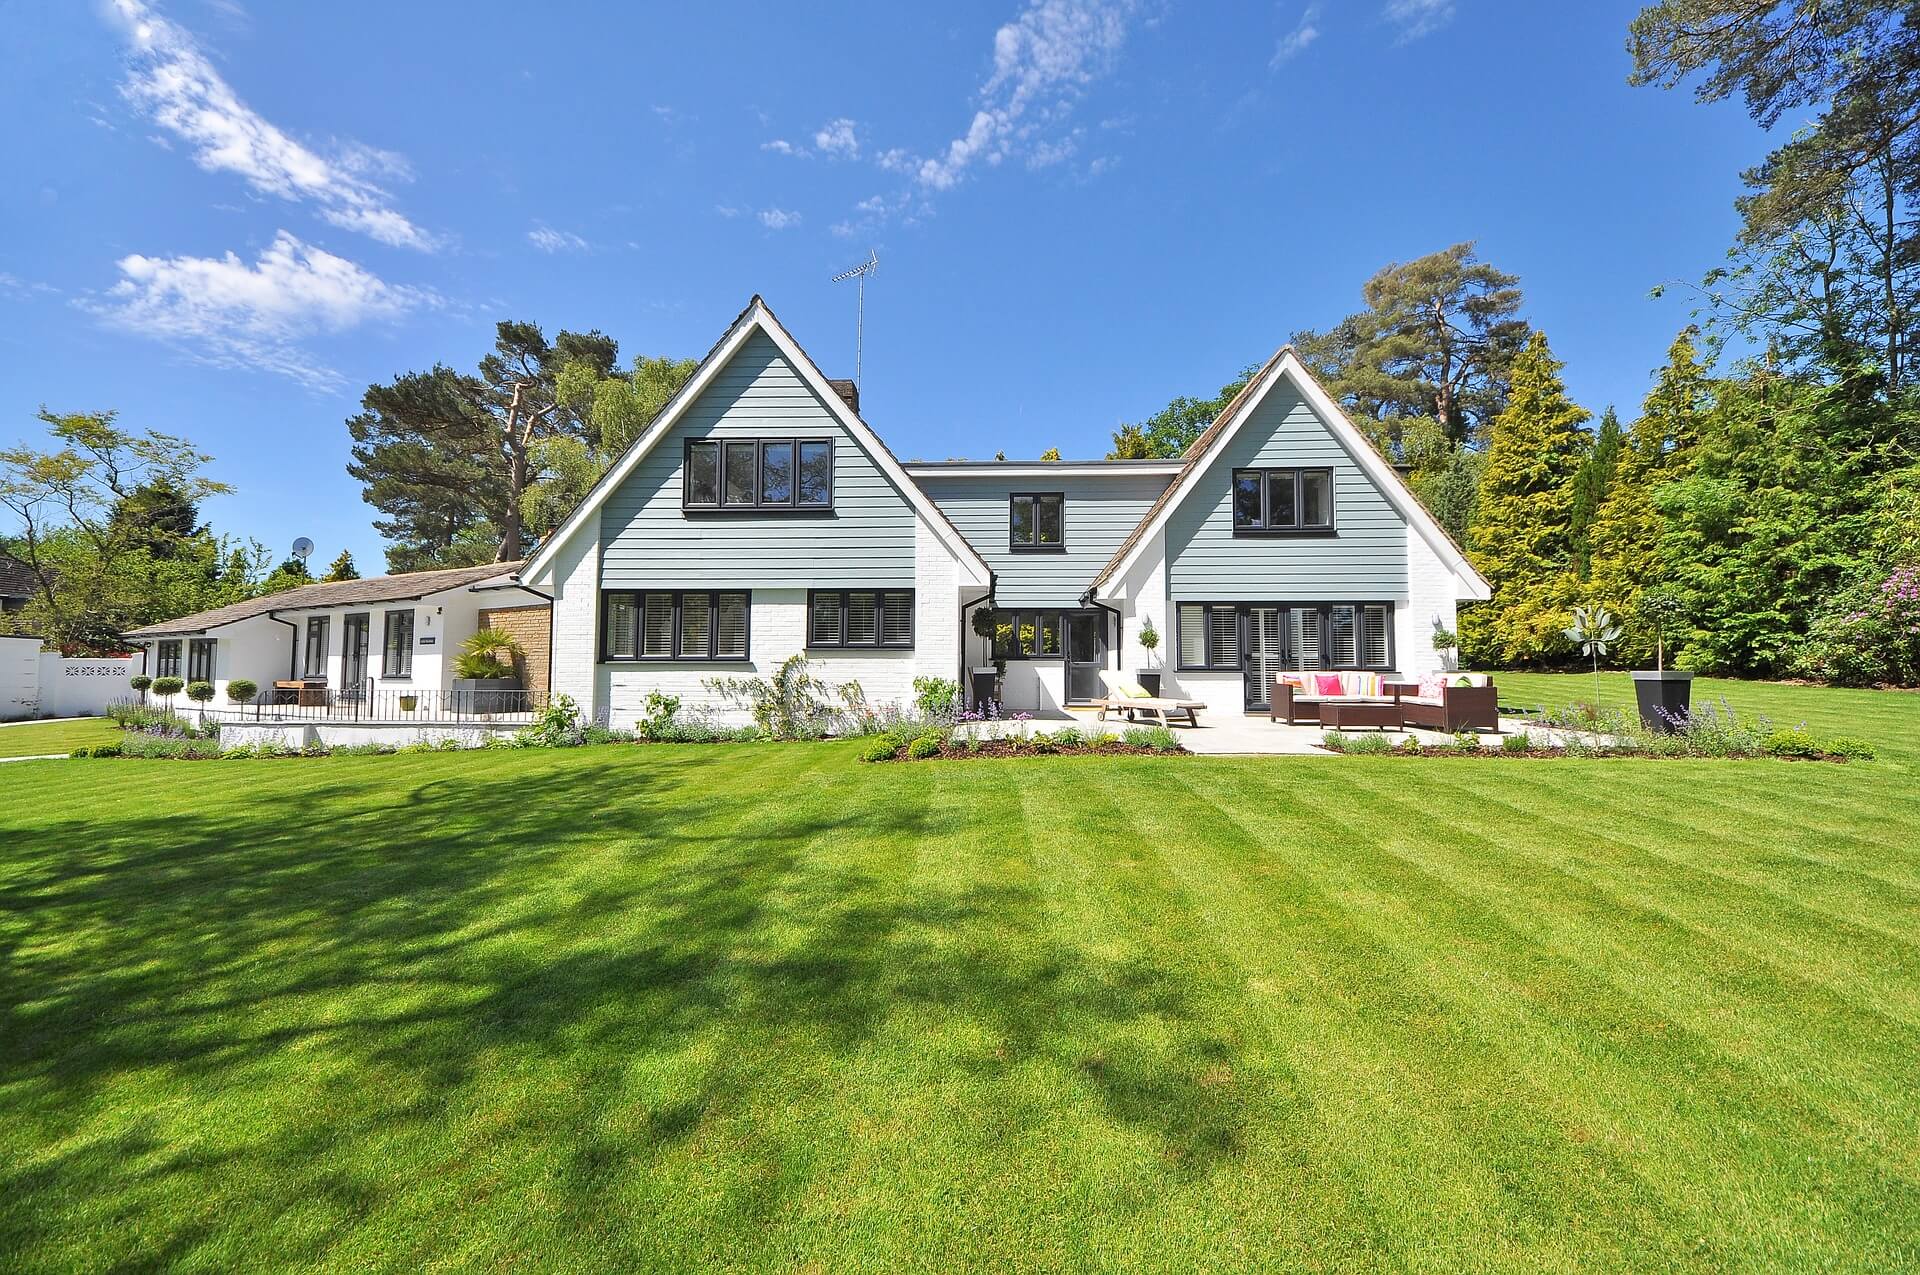
Your yard is an extension of your home. Just like your home, you want to keep your yard in great shape. Like your home's interior, you also want to make sure the yard is an entirely inviting place. You also want your lawn to stay tidy and green. There are lots of steps you can take to accomplish this task. A beautiful yard is not only a place to admire. It's also a credit to the neighborhood for your neighbors to adore as much as you do. If you're going to put that house on the market, you'll want to make sure it has instant curb appeal. Homeowners planning on staying put can also benefit from a lush yard full of pleasing features any day of the year.
Here are 7 secrets to keeping your Lawn Tidy and Green:
1. Creating Outdoor Rooms:
It's best to think about the entire yard as a series of open rooms. Each room can be dedicated to a separate purpose. One area might be where you grow your beautiful roses. The next might be an area dedicated to growing lots of fruit and vegetables or a grove of trees that you can retreat to on a hot day. Each area can serve different purposes and yet still be part of an organic whole at the same time. Each area can also provide you with hours of enjoyment. Keeping each area in the best shape possible makes it possible for you to use that part as intended.
2. Other Features:
A yard typically has lots of other features besides the grass. You might have a birdbath or a pool. One area might have a large deck and a patio where you take your morning coffee before heading off to work. When making sure that your own lawn is in ideal shape, you'll want every single feature to work effectively. Allow enough space to make sure that any chlorinated water in your pool is firmly away from your more delicate flowers and growing vegetables. Keep a close eye on your deck and the patio area. These need to carefully examined as the season's pass. Look for any cracks in the pavers and other parts of the patio. Apply a coat of stain to the entire deck with waterproof features to keep it looking good and avoid problems with wood rot.
3. New Forms of Grass:
Different kinds of grasses can also be used in your yard. Synthetic turf from SurfaceIT Sydney can provide you with a useful alternative to your standard yard materials. This new form of grass is easier to maintain than many other types of grasses. There's no need to use lots of messy chemicals like fertilizers to keep in looking good. This form of grass also needs a lot less help to make it look good. You don't have to spend hours mowing it each year. It will also last longer than a handful of grass seeds and won't get full of dirt in the middle and muddy patches in the middle of a storm. This is a good choice that can work well with other types of lawn material for a coherent and elegant look.
4. Proper Fencing:
Fencing is another way to keep your yard looking fabulous. If you have a large dog, the fence will make sure they're not wandering the neighborhood. Fencing also provides a safe space for kids to enjoy as parents watch them have fun. Think about the kind of fencing you want to use. There are many choices ranging from standard wood to aluminum siding. Fencing can be easily integrated with the rest of the home's look and materials by using the same material as the rest of the house in this design. Add additional privacy by training a series of vines to climb over varied areas of the property. They'll add lots of colors and provide a lot of interest to the entire yard.
5. Long Term Plans:
Any plan for your yard should have both short term and longer-term ides in place. In the short term, you might want to begin by removing any existing features that you don't like. For example, you might have bushy areas with lots of growth that have grown over time and even uprooted areas in your yard.
Investing in the right tools to help you clean your yard effectively and swiftly is essential. One must-have tool is the Milwaukee M18 electric string trimmer which is a flexible, multi-use tool that is durable and long-lasting.
Your longer-term plans for the yard might include other aspects of it such as putting down a brand play space for the kids and installing new railings. Consider how you reach each area in the yard. Keeping it in good shape also means removing any obstacles in the path to the yard such as redoing the paths that lead to it.
6. Feeding the Yard:
All cards need to be fed to look good. You'll want to think about how to feed your yard and when to feed it. Now is the time to bring in the tools you need and store them in an easy and convenient place such as your garage. The yard needs to have food typically several times a year. You'll want to take the time to make sure the yard is fed on schedule. Adding additional items such as mulch can help by adding even more interest and protecting areas of the yard that might otherwise get too much sun all day long.
7. Watering It Right:
A yard also needs water. Water makes sure are all areas of the yard look nice. Nature typically waters the yard as needed. However, sometimes nature needs a little help now and then with the watering process. If you see areas that look as if they are getting a little bit brown, you'll want to make sure they are fully watered. A few minutes of watering once a week can keep your yard in great shape even in the middle of long, hot days. Consider grasses and other plants that need less water but will still look great. You'll conserve water and have a stunning yard at the same time.
Read Also:
4 Essential Tools Needed To Maintain Your Garden In The Winter
5 Essential Tips To Designing A Beautiful Front Yard Garden
People with a closed space mentality can rarely be seen in today’s world. They are always after making room for more space whether it be a kitchen, or a living room, bedroom or a bathroom. With the passage of time, you tend to buy furniture and other essentials every now and then but unfortunately, there isn’t enough space in your house. So, how can you achieve the balance? Firstly, by recycling, reusing, upcycling and also purchasing fewer things can help in maintaining the balance. Secondly, you can make room for your stuff by getting rid of unwanted things.
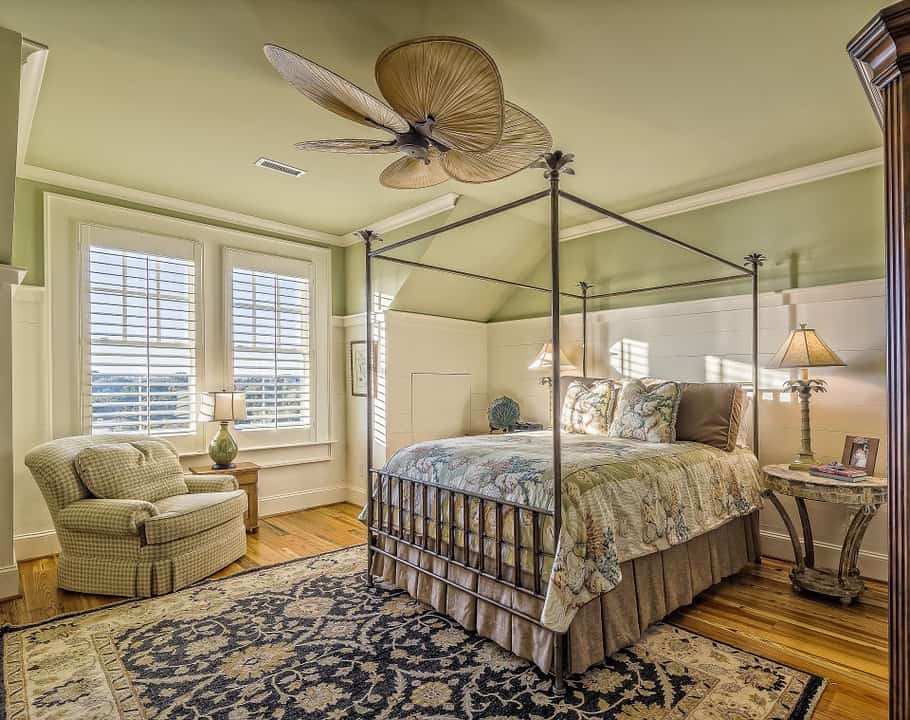
Of all the rooms, you wish to own a bedroom that echoes ultimate relaxation and enough space. Are you desperately searching for some space offering ideas for your bedroom? Do not worry as this post is all about that. Below are some tips that after incorporating can help in converting a basic bedroom into a functional and spacious one.
1. Adding Sliding Doors
For more storage, you need more wardrobes and for that, you need more space. Well, No! Space is not an issue now as fitted wardrobes along with sliding doors have come into the picture. These wardrobes are an only option to give you most out of your space. When your room possesses huge wardrobes, doors other than with sliding feature doesn’t make any sense. They make a lot of sense as sliding doors saves enough living space and on the other hand, looks extremely elegant.
2. Hidden Compact Study Space
Many people are not able to afford big houses where study room is designed separately. In those cases, study room requirements can easily be constructed in the bedroom itself. These super-compact desks are basically a wall-mounted box that transforms into a desk that folds. A light and easy to move chair augment your study setup making it minimal.
3. Multifunctional Conceptual Furniture
One furniture playing a role for another one is the trend going nowadays. Suppose you are in the need for a sitting area in your bedroom but also wish to have a couch where you can lie down and read books. Being smaller in size, you can’t accommodate everything you wish for in this kind of room.
Read also: Experts Recommend: Top Interior Design Trends For 2017
Look for multifunctional furniture when you have a shortage of space in your bedroom. Not only that, even if you have bigger rooms, incorporate furniture that serves more than one purpose.
4. Perceptions are Everything
Did you ever think of adding big mirrors in your bedroom? If you never did, you should as they play an important role in giving more space to your bedroom. Mirrors can create an illusion of spaciousness when there is not much space in reality. Now, you do not have to make your entire room a mirror market. Instead of adding mirrors everywhere, pick one wall and cover it with a big mirror. You will be surprised to see that, instantly, space gets doubled or “it seems” doubled!
Read also: How Activity Mirrors Add Value To Exercise Place!
5. Using Mono Color
Another way to create more space in your bedroom is to go for a mono color theme which is highly effective. You can choose any color for this theme but white has been and still a top choice. To add class to your bedroom, white walls, white curtains, white floors, and white upholstery – all add up to lend space to your room.
A bedroom needs to be a place where you can lie down and get ultimate relaxation. Getting more space in a room is every house owner’s dream. Pick a few ideas, rearrange your furniture and make minute changes to get a spacious bedroom. For more innovative bedroom design ideas, consult the experts who study interiors deeply.