Tips To Unpack, Stay Organized After A Move

Published on: 23 July 2020 Last Updated on: 12 August 2024
Organized After A Move

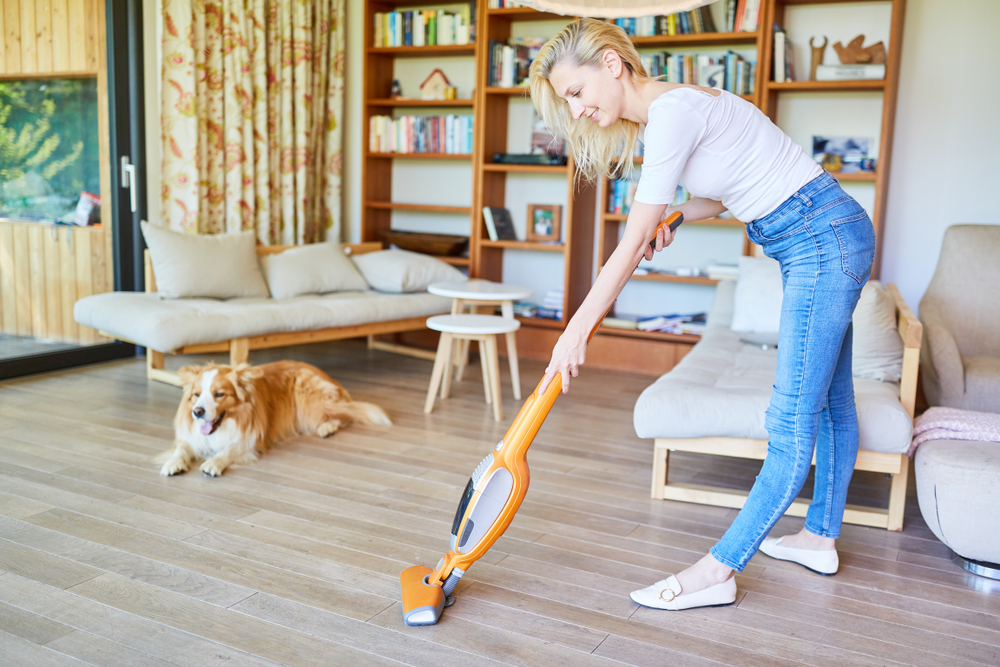
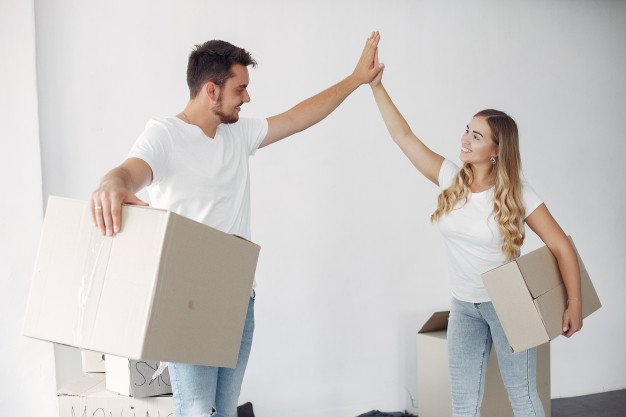
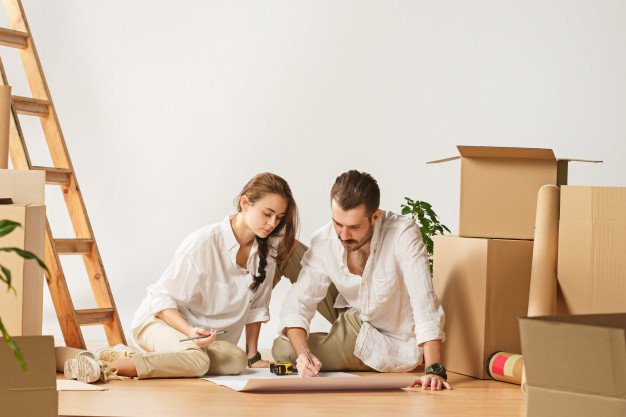
So you have finally moved into the house of your dreams. What next? Once your belongings are unloaded, you must figure out how to get organized after a move. This includes unpacking and organizing all of that stuff! Of course, this whole process can be a little too overwhelming. But Austin maid service has some organizing tips that might come in handy.

Tips for Organizing a Move

Tips for Organizing a Move

Before moving in, make sure the new home is completely spruced up to welcome its new members. This includes wiping down shelves, countertops, cabinets, and floors. The bathroom and kitchen should be completely clean and smell good.

Once you have stepped into your new home, it’s time to unbox the essentials first. Forget everything else and unpack the essentials box that carries important stuff that you cannot do without.

Little steps first

Of course, you want to organize your new home right away. After all, it is your dream house and you wish to start enjoying your stay quickly. But it can be quite messy initially. If you try to start by organizing all rooms together, you may end up making no significant progress at the end of the day. So what next?

Well, you must start with one room first and unpack your stuff accordingly. For a family of small kids, you may start with unpacking the nursery. Try to maintain a sense of normalcy so kids do not find moving overwhelming. Setup their rooms first and you can easily create a safe haven for them, where they can play and rest while you organize the rest of the space.

After the kid’s room, you can start with the kitchen and your bedroom. Other rooms can still wait.

Give rooms a purpose

In order to stay organized after a move, the next step is to plan how to store your belongings. In this regard, you can assign different purposes for each room, including the pantry, basement, garage, hallway, and bathroom. Now start unpacking things and assign everything a new home.

Start with larger items

Bulky stuff takes up a lot of space. So start with arranging larger items. You do not want to hit a bed or dressing table every now and trip and fall. Move dining tables, beds, dressers, and solid pieces of furniture to their respective rooms. This should clear up space and make you feel a little relaxed. It’s absolutely fine to delay organizing the smaller stuff. Take some rest and then unpack smaller items, including books, clothes, utensils, and accessories.

Install all larger kitchen appliances first. This includes the fridge, dishwasher, stove, food processor, washer, and dryer.

Tackle the kitchen

When looking for tips to organize home after a move, your priority should be to unpack the kitchen stuff. What is the most essential cookware? What else is most commonly used in the kitchen? You want to organize the essentials first.

Organize those in easily accessible drawers. This includes pots and pans, coffee mugs, cereal bowls, and plates.

Keep all dishwashing soaps and sponges handy. Do not forget the kitchen cleaning supplies as well.

Unpack remaining rooms

Once your most important rooms are in order, it’s time to organize the remaining space. Tackle one room at a time and then move to the next.

It is a good idea to keep the task of organizing storage areas for last. Since home organizing after the move is a huge task that may take days, this will ensure you have a clean uncluttered space for dining and resting. The storage space can still wait.

Don’t forget the entryway

Organize this space once you are done with the cleaning aspect of all major rooms. If you continue to ignore this area, it might turn into a complete mess with a pile of stuff that you have been delaying organizing. So when you wish to get organized after a move, place a small basket by the door. This should collect all of the mail that reaches your new home. Bring some hooks to organize items that can be easily lost. This includes keys and dog leashes.  When installing hooks at the entryway, keep a few points for coats, jackets, and umbrellas. You don’t want this type of stuff to crowd your chairs and sofas.

Place a shoe rack at the entryway. You do not want any viruses to enter your new abode with shoes, right? In these coronavirus times, it becomes even more important to drop your shoes at the door.

Place a rug or mat at the entryway to avoid bringing dirt, snow, and slush into your abode.

These tips for organizing after a move can make life a little easier for you and your family. You can always rely on dependable professional services for the job if the task seems a little overwhelming.

Read Also:

Content Rally wrapped around an online publication where you can publish your own intellectuals. It is a publishing platform designed to make great stories by content creators. This is your era, your place to be online. So come forward share your views, thoughts and ideas via Content Rally.

View all posts

Leave a Reply

Your email address will not be published. Required fields are marked *

Related

Clean Blocked Drains

7 Ways to Clean Blocked Drains in Your Home

The drains in your home really do take a lot of abuse. Not only are things sometimes accidentally flushed down toilets and drains, but they also naturally collect all of the dust, hair, and whatever else is in the air. Over time, your pipes are bound to get clogged at some point.Clean Blocked Drains cxan make things work for you in all the aspects. Of course, a plumber can clear out a clog in a snap. But, here are seven things that you can try on your own first without using harsh chemicals which could harm your pipes. 7 Ways to Clean Blocked Drains in Your Home: 1. Find the clog: It might not be that deep. In a toilet, it's generally somewhere in the base. And, in sinks, it's often in the trap underneath it where hair and other debris will settle. There are a few different tools that you can use to attack the clog from the outside of the drain. Trap cleaner: You can find one at your local hardware store. It's usually made of plastic and is about the length of your arm. It has ridges along the sides and is designed to fit inside of your drain. You can use it to fish out anything that might be clogging the trap. Drain snake: It's the same idea as the trap cleaner, only it's longer and has a hose that rolls up, so it can get to clogs that may be deeper inside of the drains. Wire coat hanger: In a pinch? Just grab a wire coat hanger, unwind it, fashion it into a long hook, and use it to clear the trap. 2. Use a plunger: It's a basic home necessity for toilets. And, it can also be used for sinks. All you need is a solid suction and you may get the same results on a sink drain that you would with a toilet. In a sink, it might help to have a little standing water while you are plunging. 3. Dish Detergent: You can use it in toilets and sink drains. Pour it straight down the drain or into the toilet, about a quarter of a cup. The detergent will settle on the clog, and start to break it down. Let it sit for a few hours, run some hot water, and try plunging. The soap is sometimes strong enough to break up the clog. 4. Boiling Water: This would be more effective for a sink drain. Pouring boiling water directly down the drain could break up the clog. You could add boiling water, wait a few minutes, try plunging, and repeat the process a couple of times, if necessary. Just make sure the water isn't still boiling while you are plunging to protect yourself from any scalding. 5. Use a wet/dry vac: Wet/dry vacs are great for many purposes, including clearing clogs in your drain. If the clog isn't too deep, you can use it to either pull the clog out or push it down the drain. It's a good idea to try to pull it out first to remove the clog from your plumbing system. But, sometimes pushing it will also clear the clog and allow it to drain. 6. Clean the trap: If you are dealing with a clogged sink, you can usually access the trap underneath the drain. Most likely, that's where the clog will be. If you're handy with home repairs, here's a quick how-to. You'll need a plumber's wrench. Have a bucket underneath to catch the water. Unscrew the fittings on the top and bottom of the trap. Remove the trap and clean it out. An old toothbrush is perfect. Clean out the surrounding pipes. Put it back together. A plumbing company such as Red Dog knows all about unblocking drains so if you are not confident taking apart the pipes in the drain, it may be worth hiring a professional. 7. DIY Clog-removing Recipes: You may actually have a few things in your pantry that can be used to clear up clogged drains. Here a few different ideas that you can try before calling a plumber. Mix salt and baking soda: Combine equal parts of salt and baking soda, maybe a half-cup of each. Pour it directly into the clogged drain, and let it sit for a few minutes. The salt and baking soda will settle on the clog and start to eat away at parts of it. Then, pour boiling water down the drain. If there is standing water in the sink, you can also include plunging the drain in the process to get things moving around. Combine baking soda and vinegar: Mix together equal parts of white vinegar and baking soda, maybe a half-cup of each. Stand over the sink when you mix them. The reaction of the two substances will result in an almost immediate fizz. Pour everything down the drain. This one is best to let sit for a few hours or overnight. Afterward, try rinsing the drain with hot water. Sodium Hydroxide: More commonly known as caustic soda, you can find it at your local hardware store if you don't already have it on hand. You will mix 3 cups of soda with about a gallon of water. The mixture will get warmer and begin to fizz. Pour all of it directly into the drain. Wait for a half-hour or so, and pour boiling water down the drain. If it seems a little better, but still draining slowly, you can repeat the process. Unfortunately, some clogs are either too deep or too intense for any of these home remedies. If you've tried everything, and you just can't seem to get that clog cleared on your own, give Brisbane Drain Cleaning by Conrad Martens a call today. Our team of dedicated service professionals will quickly assess your individual circumstances and easily get your drains cleared. Let us show you have we've built our reputation of providing dependable service focused on quality of workmanship to the entire Brisbane area since 1982. Read Also: 8 Plumbing Myths Busted 3 Reasons Why Business Organizations Need To Get The Drains Cleaned Regularly

READ MOREDetails
Maintain Clear Windows

10 Tactics To Maintain Clear Windows

There is nothing as wonderful as sunshine to perk up your mood, create a sense of calm, or rejuvenate your spirit after considerable hard work. After all, hotel advertising utilizes actresses and actors walking out into the sun and smiling to instill a sense of relaxation, but scientific studies have shown that sunshine helps boost serotonin levels in your brain (the chemical that boosts your mood). But, in our busy lives, it isn't always possible to step outside for a dose of sunshine, leaving the majority of people to rely on their windows. And if that sunlight has to fight through dirt, smudges, and everything else that the weather (or children) have smeared over it, there just isn't as much of that mood-lifting light reaching you. Ideally, you should wash your windows twice a year, and despite the clear benefit, that is a daunting task. Here are 10 tactics to clean and maintain your windows. 10 Tactics To Maintain Clear Windows: 1. Gather Your Materials: It is important to have the right materials to clean your windows. Using the wrong ones will leave you with dirt and smudges regardless of your vigorous scrubbing. A squeegee is a superior choice over a rag, which will move the dirt from one part of the window to another. With a squeegee, you can pull all the dirt to the bottom without transferring a single spec. For small-paned windows, you may require a sponge instead of the squeegee to fit in tight spaces. And lastly, you will need several clean rags for sills, sashes, and drips. 2. Cleaning Solution: Next, you will need the right cleaning solution, two gallons of water mixed with 1 teaspoon of dish soap or equal parts water and vinegar. This amount of soap creates fewer suds and thus less soap residue to smear a clean window. 3. Pick the Right Day: Windows should not be cleaned on any day. It may seem sensible to pick a warm sunny one (after all, a little sunshine is beneficial), but the sun will dry up the cleaning solution before it can be wiped away. Therefore, a cloudy day will give you enough time to spray and wipe down your windows without any streaks. 4. Wash the windows: With a sponge or spray bottle, wet the windows with the cleaning solution. For tall windows, or windows on the second story, you may want a ladder, or you can attach the sponge to a long handle or broom. 5. Dry Immediately: And then dry the window with the rag or squeegee. For smaller windows, pull the squeegee straight down, but with larger ones pull the squeegee from side to side to clear off all dirt and cleaning solution. Make sure to wipe all drips as it is important to remove the water before the window dries to prevent streaks. 6. Clean the Rest of the Window: Make sure the clean the sills and sashes as well. They have taken just as much or a beating from the weather (and children) as the glass and deserve a little TLC. 7. Stubborn Stains: Occasionally, dirt takes a little extra work to clean off, but that doesn't necessarily mean scrubbing. Apply either straight vinegar and let it sit for 5 minutes or gently rub the stain with a mineral deposit remover before cleaning normally. 8. Saving Time: If all of this sounds like your whole afternoon, an afternoon that could be spent more enjoyably at the pool or more productively at the office, consider a window cleaning service such as Thistle Perth Window Cleaning. Let someone else do the difficult part for you, while you enjoy all the sunshine benefits. 9. Keeping Windows Clean: With all the strenuous work and cash spent on cleaning windows, maintain them by vacuuming blinds and window sills inside to keep dust from accumulating. 10. Enjoy: Now you can enjoy all the mood enhancements that sunshine brings. It is time to relax and enjoy the room. Or, if you are feeling an energy boost with the newfound light, perhaps it's time to conquer that junk drawer. Read Also: speedwrite Automatic Text Generator Review & Alternatives How to Plant Grass Seed on Hard Dirt? Is Other Consumer Services A Good Career Path In 2021?

READ MOREDetails
curtains

Everything you need to know about glamming your home with curtains

Considering drapes or curtains but stuck on which style and design to choose? Well, this article is for you. We shall delve into all the details that you ought to know when looking for curtains for your home. Sheer curtains The sheers are made from a translucent fabric that softly filters light. These curtains do not darken the room, but they allow plenty of natural light to fill it. The sheer curtains also ensure that passers-by cannot get a glimpse of your house hence protecting your privacy. It is for this reason that sheers make great living room curtains. Pair your sheers without blackout curtains for an unmatched level of privacy. The custom curtain combination gives you complete control over light levels and helps in regulating room temperature due to the insulating blackout fabric. Curtain fabric The fabric is the first to consider when purchasing curtains. The choice of fabric will determine their functionality in your home. You should choose various fabrics for different rooms. The patio curtains offer the best fabric. Blockout curtains These curtains are also referred to as blackout curtains and are primarily predominant in Australian homes. These curtains prevent light from entering through the windows hence resulting in a darker room. They also help in insulating your home. During the winter months, the thick-lined fabric gets your home warm, while during the hotter ones, the fabric prevents hot air from passing via the windows. Linen curtains It is regarded as one of the best fabrics you can select for your home despite being overlooked. These fabrics have several practical advantages. For starters, linen is a durable and robust fabric making it a worth trying investment. It has an anti-bacterial fabric with hypoallergenic features and is exceptionally absorbent. For this reason, it is the best for anyone in the family who is prone to allergies. Curtain length One of the essential steps in getting suitable curtains is ensuring you have the correct measurements. Poorly installed or ill-fitting curtains will make even the most stylish of rooms look unattractive and disorganized. Walk with an expert to determine the length of your curtain. You will have a sit down with him to know what you want to achieve in your home. Provide a sense of height to a room by hanging a fabric higher than the window. For a classic look, go with curtains that skim the floor. Curtain color Take all the time when choosing a color for your curtain since it is an investment for your home. There are a variety of drapes and curtains with different beautiful colors that can you can select. The living room area should have bright colors since it the eyes of everybody. White and grey curtains are the most popular choices. Summary Curtains literally “add life” to your home. Get a professional who will guide you in determining all the above-shared information, and you will bring happiness to your home. Read Also: Remodeling Tips for New Homeowners How to Keep Your Bathroom Clean All the Time How Do You Match Sofas With Accent Chairs?

READ MOREDetails