Kitchens are an emotion. If we see every room of our home and pick our favorite, most of us will pick the kitchen above any other room. The reason being straightforward, that is food. The kitchen is where we get to see the love of our mind, stomach, and the gateway to most of our happiness, that is food. It is a place where food is prepared and we love it unconditionally.
Spacing In Making Kitchen And Type Of Kitchens According To Size
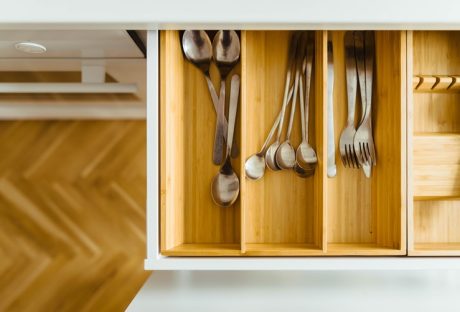
Talking about kitchens, in that domain also, there are various sizes of kitchens. As we are living in the modern world, DIY kitchens are one of the most trendy things that people use to opt for, when it comes to interior designs or renovations.
Make sure to check out DIY Kitchens with Kaboodle Australia, if you are looking for DIY Kitchens. Let us now discuss the various types of kitchens.
Consider Reading: 5 Types Of Kitchen Cabinets
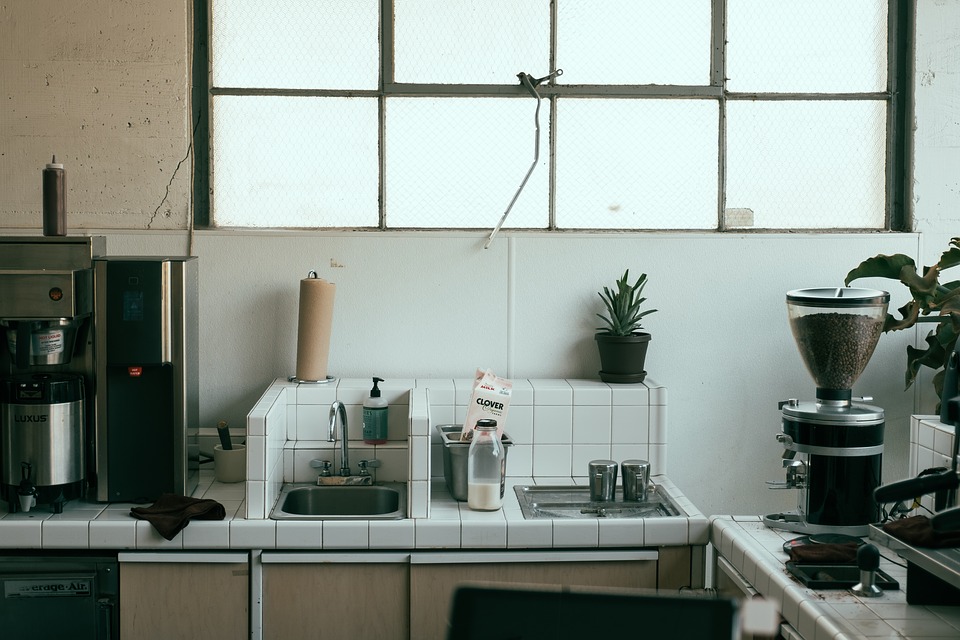
Big Kitchens – Good Mood And Aesthetics:
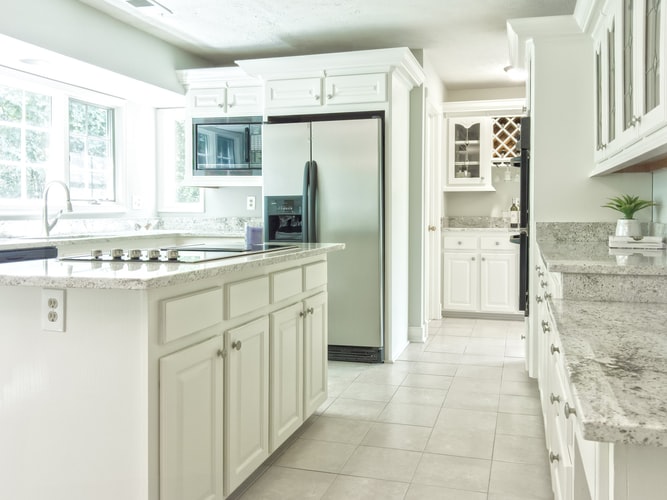
When a person who does not have any financial problems or limitations builds a home, he or she does not have to be very careful about the kitchen’s spacings.
Most of the time he or she would prefer to have a full-sized and widely spread kitchen. The simple reason for it is that the mobility of the cook would not be sacrificed thus it would be comfortable for the cook to roam around. Hence these kitchens are expensive to make but still, they are the best to look at.
Small Kitchens – Little Clumsy But Essential:
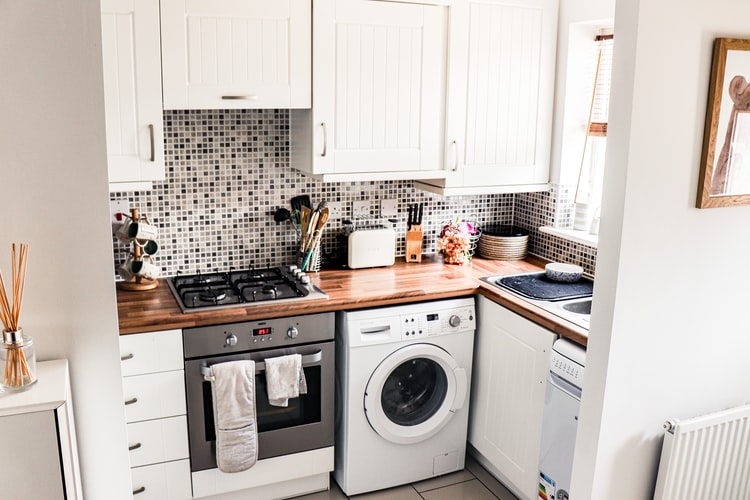
If a person does not have a lot of money to spend while building a home, he or she will not be able to build a big kitchen with a lot of spacing. They have to settle for a not-so-big kitchen because of limited space, a limited amount of resources, and a limited amount of money.
Hence these kitchens require a little more attention to detail while making them dig out the best possible aesthetics in the least space.
Kitchens Attached To The Dining Area:
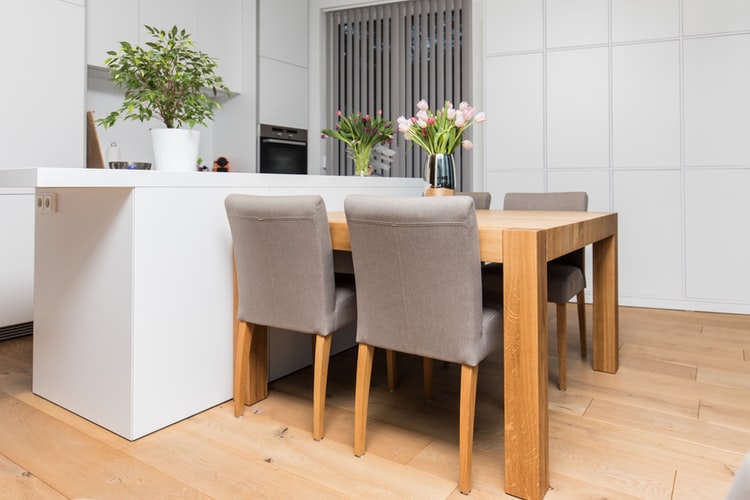
While we talked about big kitchens and small kitchens in the previous sections, it is really important to shed light on the modern designs of kitchens too. Many kitchens nowadays are directly attached to the dining room of the home.
This provides a lot of visibility, friendliness, and character to the kitchen’s aesthetics. These trends are great and modern designs are more practical than showing royalty.
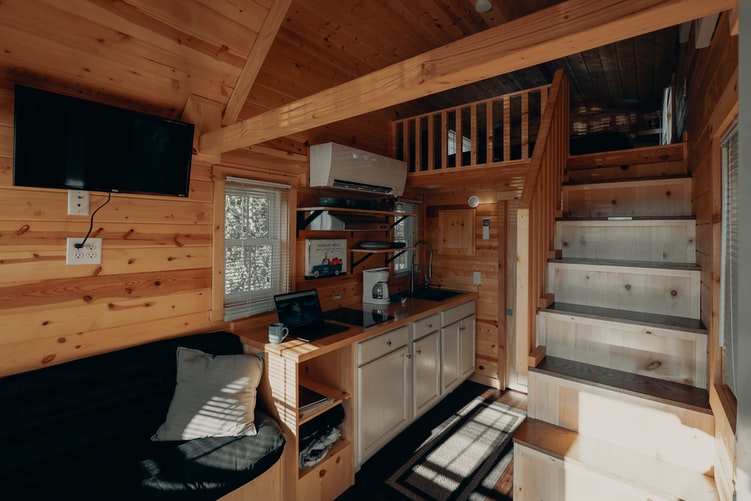
Double Floored Kitchens In Big Houses:
While we have seen the type of kitchens that are directly attached to the dining room of the house, there is a new type of modern design of the kitchen too. There are kitchens which are dual storied and are big. These types of kitchens can also be built in small houses with little space.
Usage of space can be optimal when this kind of dual stories kitchens are made or even planned before making. New designs are indeed very practical and a lifesaver for less budget too.
The Final Thoughts
So, different kinds of kitchens are available to get inspiration from depending upon how much money you have in your pocket to spend. Moreover, if come across any issues, mention them in the comment section below.
Read Also: