Updating the Driveway on Summer Time: What You Need To Know

Published on: 17 February 2022 Last Updated on: 12 February 2025
Driveway

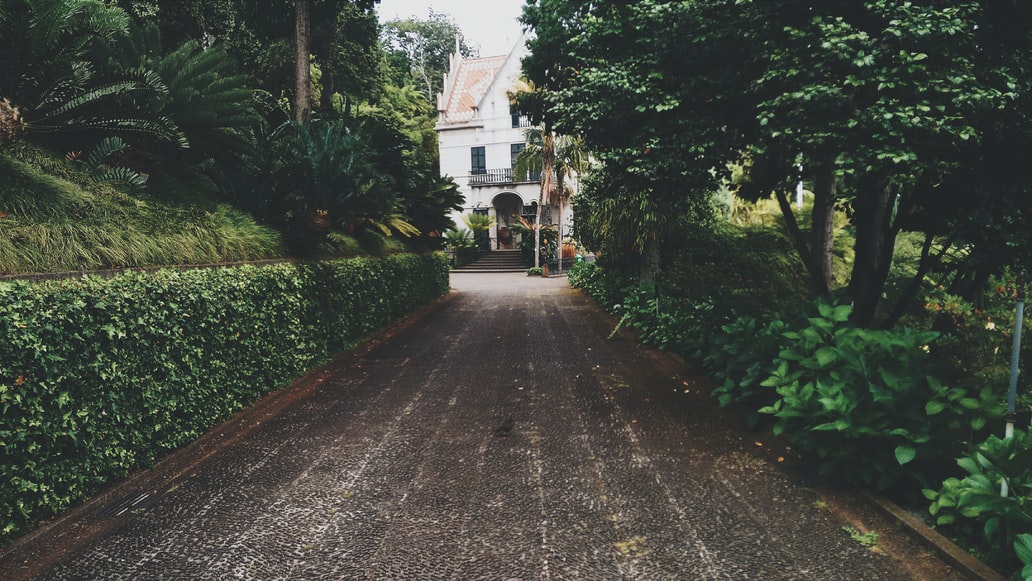
Does your driveway look worn out? Or is it starting to fade and crack? If that’s the case, you should note that your driveway can affect the curb appeal of your property. Sadly, most people hold on to repairing their driveways until they start noticing major issues like water drainage problems and potholes. However, this should be the case.

You should always schedule periodical driveway upgrades—especially during the summertime. Generally, summertime is the perfect period to update your driveway and address some of these issues. With that said, let’s look at some of the things to keep in mind when upgrading your driveway.

Paving material

Driveway

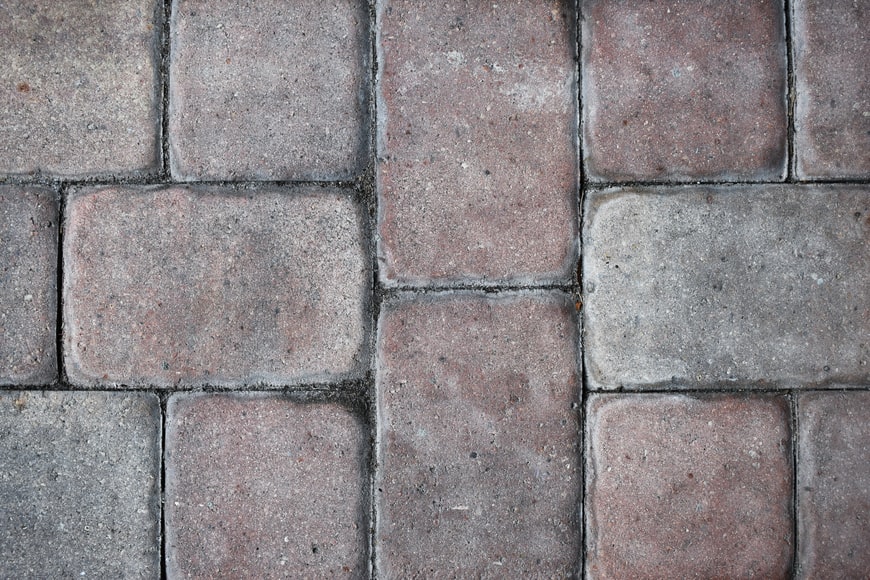
The first thing you need to consider is the paving material. While concrete comes in various options, it can be quite difficult for you to find a pre-fab material that perfectly matches your budget. Here are some of the most common materials used when upgrading driveways:

  • Asphalt pavement – This paving material tends to be less expensive than other types. However, asphalt can fill up with water rather easily, leading to drainage problems down the road. On the upside, asphalt pavements come in various textures and designs, allowing you to choose a layout that best fits your property.
  • Pea gravel – Though this option is slightly more expensive than asphalt pavements, it’s far more durable. However, it also tends to be less aesthetically appealing.
  • Concrete pavement – This paving material is typically the most expensive and durable choice for your driveway—especially since you can customize the layout and design as you like. On top of that, concrete comes in a wide range of textures and colors—so it’s easier to find something that perfectly matches your property.

Drainage solutions

If there are no major drainage issues on your property, then you’re all set to begin work on updating your driveway. However, before you start this process, it’s important that you first mark where each water outlet is located—such as drains and downspouts.

This step isn’t 100% necessary; however, it makes sense because it can help prevent any work from happening near these areas—which could ultimately cause damage to both outlets and the new surface of your driveway.

Also, note that if there’s stagnant water anywhere on your property after setting up temporary markers, then this means that there are some drainage issues on your property.

Lastly, if you’re experiencing major issues with water drainage on the property—such as pooling or puddles—after completing updating your driveway, then it may be time to get in contact with a professional who will help encourage the proper flow of water throughout your property.

Even though there are ways to fix these drainage problems on your own, it is best to leave these issues up to a professional. This is because they usually have more advanced tools at their disposal—which can make solving these types of problems much easier for them from the very beginning.

Sealer

Once you have marked the location of all necessary outlets, it’s time for you to mark off where new layers will be placed—which includes marking off where any new edges need to be placed around your driveway.

Also, you should use spray paint or chalk to draw out how much space is required between each layer—this step helps ensure that you don’t accidentally apply any materials on top of one another during this part of the process. Then after applying the sealer, it needs at least 24 hours to dry up before applying any additional layers of paint.

Add layers

driveway

As mentioned before, you should create some space between each layer as you apply them on top of your existing driveway. If anything overlaps, then this could cause issues with both texture and color—and may even lead to added expense if extra materials need to be purchased for re-applying the materials properly onto the surface of your driveway. This is the main reason why you must use a large enough tarp to ensure that all materials are applied at a safe distance from one another.

Once everything is dry or completely hardened, it’s time to add additional material around the edges of your property—this step helps ensure that water doesn’t run off the sides of your driveway when it rains.

To make this part of the process easier, you should use a garden hose to help draw out where the edges will be placed to learn how much materials are needed. Then once that’s finished, it needs at least 24 hours (ideally longer) for everything to completely dry up before applying any sealer.

There’s one more thing you need to know about updating your driveway. If there was ever a time when you experienced foundation damage on your property from natural elements—such as water, weeds, or vegetation—then get rid of all grass and weeds near the affected area before adding any new surface layers on top of paint on its own.

The reason being is that these things will probably grow out of control on top of your driveway, which can lead to additional maintenance problems.

Bottom Line

According to the Florida asphalt paving experts from ABC Paving, upgrading your driveway around summertime doesn’t always need to cost a lot of money. Sometimes, it can be as simple as making sure you use the proper materials for protecting your existing driveway before adding new layers on top.

Suppose there are any issues with drainage or standing water after doing so. In that case, getting in contact with a professional is usually the best solution—and this also applies regardless of whether you live in an urban area or rural location because everyone will benefit anyway.

Read Also:

Content Rally wrapped around an online publication where you can publish your own intellectuals. It is a publishing platform designed to make great stories by content creators. This is your era, your place to be online. So come forward share your views, thoughts and ideas via Content Rally.

View all posts

Leave a Reply

Your email address will not be published. Required fields are marked *

Related

Tiny Homes

5 Things You Should Know About Heating and Cooling Tiny Homes

Tiny homes are small-scale houses meant for simple living with a smaller carbon footprint. Tiny houses have special considerations because of limited space, especially concerning heating, ventilation, and air conditioning (HVAC). Here are some critical points for heating and cooling of a tiny home. Different Ways Your Tiny Homes Can Help You In Heating & Cooling    Make use of the tiny homes that can help you to achieve your heating and cooling in the correct order. Try to make use of the best Tiny homes that can help you in that.   How Much Heating and Cooling Is Needed? Heating a home of any size requires knowledge of heating systems. British Thermal Units (BTU) measures the energy it takes to raise the temperature of a pound of water by 1 degree Fahrenheit. It is used for heating and cooling, so calculate the BTUs of the home, and move on to heating and cooling options. Online calculators provide the BTU for your space, allowing you to make the best and most energy-efficient choice. Off the Grid or On? Another consideration for a tiny-home living is energy. Is the home tied to local utilities, or is it off the grid with its source of energy coming through solar or wind power? It's important to look at the needs and the amount of energy available in the house before looking at heating and cooling units. Heating Options Half splints are a solid choice for homes tied to the grid. These units provide both heating and cooling options and mount outside the home with professional installation. Consider the climate as these units struggle when temperatures drop under minus 5 degrees Fahrenheit. You don't want to service your unit in the dead of winter. Radiant floor mats are another option that saves space, warming the floor throughout the home. Electrical floor heaters are an affordable solution, allowing you to move the unit wherever it is needed. Homes off the grid may also use basic heating like wood stoves and propane heaters. Cooling Options Cooling options also include mini splints. These convenient HVAC units blend seamlessly into the home interior but do require professional installation. Roof-mounted AC units, like the ones seen on RVs, are another option. So long as the roof is flat, this option even allows minimal ductwork throughout the home. Packaged terminal air conditioners are those seen in hotel rooms, usually under the windows. This option is both more expensive and takes up prime real estate in a small home. Window AC units are budget-friendly and don't require professional installation. Depending on the heat extremes of the area, floor and desk fans are relatively inexpensive and adaptable. Ceiling fans are another choice, depending on the layout of the home, especially the height of the ceiling. Logistics for Temperature Management Weather extremes dictate the needs and options for heating, ventilation, and air conditioning (HVAC) of the home. A home in the Pacific Northwest can get away with a few desk fans during the summer, while in the desert of the Southwest, a house needs more powerful cooling. Owners of small homes usually look for highly efficient units to cool and heat the home with the least amount of energy necessary. Tiny homes allow minimal living, paring everything down to the bare essentials. Small-home living does not mean discomfort, as heating and cooling units create the perfect living space. Once you know the BTUs of the home, the climate of the area, and your utility considerations, deciding on which unit meets your needs is relatively simple. Read Also: 5 Features That Any Heating Service Should Have! Interiors To Reduce The Heat Build-Up In Your Homes 7 Specifications You Should Look For When Buying A Home Generator Don’t Get Caught In A Heatwave: 5 Signs That Your AC Is About To Go Out

READ MOREDetails
Types of Mattresses

Types of Mattresses: Which Best Suits Your Needs?

Size, materials used, and customization that fits their preferences are usually factors that buyers take into consideration when they are looking for a bed, and why made to measure beds have become so popular. Once you have determined these factors, you can now proceed with choosing what types of mattresses you will need. Different Types Of Mattresses You Can Buy   There are different types of mattresses you can buy from your end when you want to buy the best mattresses of your choices. Multiple types of mattresses you can buy from your end to make things happen in your favor. Innerspring An innerspring is a popular choice due to its affordability and availability on the market. The inside of the innerspring mattress contains a series of springs attached to a single unit, and the number of coils inside the mattress is equivalent to the quality of sleeping experience it can deliver. The drawback is the quick sagging, and the squeaky noises once the quality deteriorates over time. Natural fibre A mattress made of natural fibres is eco-friendly and comes with choices depending on your preference. Organic cotton. Sturdy enough to last for more than a decade. Organic Wool. Ideal for regulating the temperature. Hemp fibre. Uses vegan materials. Latex mattress. Makes use of fire-resistant material harvested from rubber trees. Memory foam It hugs every contour of the body, ensuring that the pressure points are safe and secured in place. Benefits of memory foam are as follows: Durable Supports proper spine alignment Can relieve and prevent body pain due to its characteristics of snuggling to the body. Doesn’t attract as much dust and mites, unlike other mattresses The gel as a comfort layer A recent innovation, it is the opposite of memory foam. It retracts to its original form every time the weight leaves its surface and lasts a long time without sagging and deformation. Waterbed If you’re interested in waterbeds and want to know if they are suitable for you, check the information below to see the pros and cons of this water-filled mattress. Pros: There’s an option for full, partial or no movement. Waterbeds have adjustable temperature and firmness. Cons: Regulating heat consumes electricity. The contents must be unloaded first before it is transported. Can be laborious when assembling for use. Pillow top Pillow top gives extra support and a level of comfort as it is placed on top of the mattress. It may be expensive but has the following known benefits: Cooling technology Washable Doesn’t suffer from deformation Poly foam Poly foam is the least expensive type of mattress that most customers prefer and buy. The pivotal component for sourcing quality poly foam is the density of the foam because it is the determining factor for durability. Due to the inorganic materials used for production, it won’t trigger allergic reactions which is a common problem with mattresses using organic products. Hybrids Hybrids are the combination of two types of mattress, which enhances the sleeping experience by giving the benefits of two cushions in one. The development aims to solve the underlying problems of both beds by combining them. A good mattress is a key to having a proper sleeping experience. Choose the one you are most comfortable with and pick the best quality to avoid constantly replacing it. Read Also: Best Mattress For Back Pain The Best Memory Foam Mattresses For Staying Cool This Summer

READ MOREDetails
Roofing- Pros and Cons

Close Look at Top 5 Roofing Materials – Pros and Cons

There’s no dearth of options for those mulling a new roof installation. Choosing the correct roof for your home is imperative to ensure that you get full functionality and lifespan. The final decision should be taken after considering different factors such as the owner’s location, the roof’s weight, and the cost, warranty, and lifetime of the product. This blog post discusses, five popular roofing options for homeowners taking time to look at their advantages and shortcomings: 1. Asphalt shingles Asphalt shingles are unarguably the most common roofing option for homeowners in US, all thanks to their affordable nature and ease of installation. Moreover, many roofers also follow the practice of reinforcing shingles with organic materials or fiberglass, which has a positive impact on their durability and moisture resistance. Pros Asphalt shingles come in different sizes, shapes, and colors. They are easily available and the most economical roofing option available on the market. Cons Asphalt has a short lifespan when compared to other materials, and also incapable of providing proper insulation. Best suited house styles: Traditional sub-urban houses Cost: The cost of installing asphalt shingles can be anywhere between $70 to $120/sq.ft. and they can last for 20-25 years with proper maintenance. 2. Clay and concrete tiles The use of clay adds to the roof’s texture and elegance, enhancing its aesthetic appeal. Clay and concrete tiles are heavy roofing materials and should be installed by professionals to avoid accidents and damage to property. Pros Clay and concrete tiles are highly durable and fire-resistant. They are also known for their energy efficiency. Installing a concrete roof can, therefore, help you lower energy costs. Cons Both clay and concrete are heavier than other roofing materials and usually require additional framing to function smoothly. The materials are also expensive and you may have to shell out a considerable amount of money to install clay/concrete tiles.  Best suited house styles: Mediterranean, Southwestern, and Spanish-style homes. Cost: Prices fluctuate in the range of $300-$500/sq.ft. Concrete tiles have a lifespan of 40-50 years provided you follow maintenance schedules without fail. 3. Metal roof Metal roofs are available in two types, panels, and shingles. Some of the common metals used by roofers who specialize in metal roofing are aluminum, copper, stainless steel, and zinc. If you’re considering a metal roof, it is advisable that you first consult your provider on the type of metal you should use after considering all the important factors. Read also: Avoid these 4 Mistakes during Multi Family Housing Renovation Pros Metal roofs are highly resistant to temperature fluctuations and also offer better protection against solar radiation. They are also long-lasting and recyclable. Cons Installing a metal roof can be a costly decision and you may have to shell out anywhere between $100-$800/sq.ft. to install a metal roof. Best suited house styles: bungalows, cabins, and contemporary and cottage-style homes. Effective life: With proper maintenance, metal roofs can last anywhere between 40-75 years. 4. Slate Opting for a slate roof is a prudent decision if you need to avail a variety of designing options. Slate roofing comes in different colors like black, green, grey, red, and purple. It lends a touch of style and elegance to your roofing. Pros Slate roofs are durable and equipped with fire-resistance properties. You can also recycle slate to reduce costs and save the environment. Cons Apart from being expensive, slate is also heavy, making any plans for a DIY approach strongly inadvisable. Moreover, the quality of the materials can vary if you plan to use imported slate. Cost: $600/sq.ft. And above. The effective life of slate roofs can extend up to 100 years and more. 5. Wood shingles and shake Wood shingles are handmade and available in attractive shades of gray. When opting for wood roofing make sure the material is class a certified and includes shingles with a fire-resistant coating. Pros The use of wood shingles lends a rough yet artistic look to your roof. The shingles are made from natural materials like cedar, and redwood and are environment-friendly. Cons There are high chances of the roof sustaining significant damage when exposed to moisture, high temperatures, and rainfall. Moreover, fire codes in some states may prohibit the use of these materials. Best suited house styles: Cape Cod, cottage, Craftsman and Tudor-style homes. Cost: $100-$150/ sq.ft. You can expect the roofing to last around 25-30 years. The blog discusses five popular roofing choices available to homeowners. You should, however, not limit yourself to these choices. Consider exploring other options before making a final decision. Consult your contractor and ask them to share their thoughts on your choice. You must also factor-in the maintenance costs and schedules associated with each option before you.

READ MOREDetails