5 Ways To Maintain And Decorate The Study Room For Kids

Published on: 04 December 2018 Last Updated on: 19 July 2019
Study Room

If your kid has lost interest in his studies then get his attention back to studies by making the study room comfortable and attractive. A well-organized study room can prove to be a sort of enthusiasm for your kid. It will encourage the kid to spend more of his time in studies. If the room is painted with his favorite color and themed with personalized artwork using some 3D effects then the study room will become the most desired place of your kid. There are a few ways that are quite economical and very creative in decorating a study room.

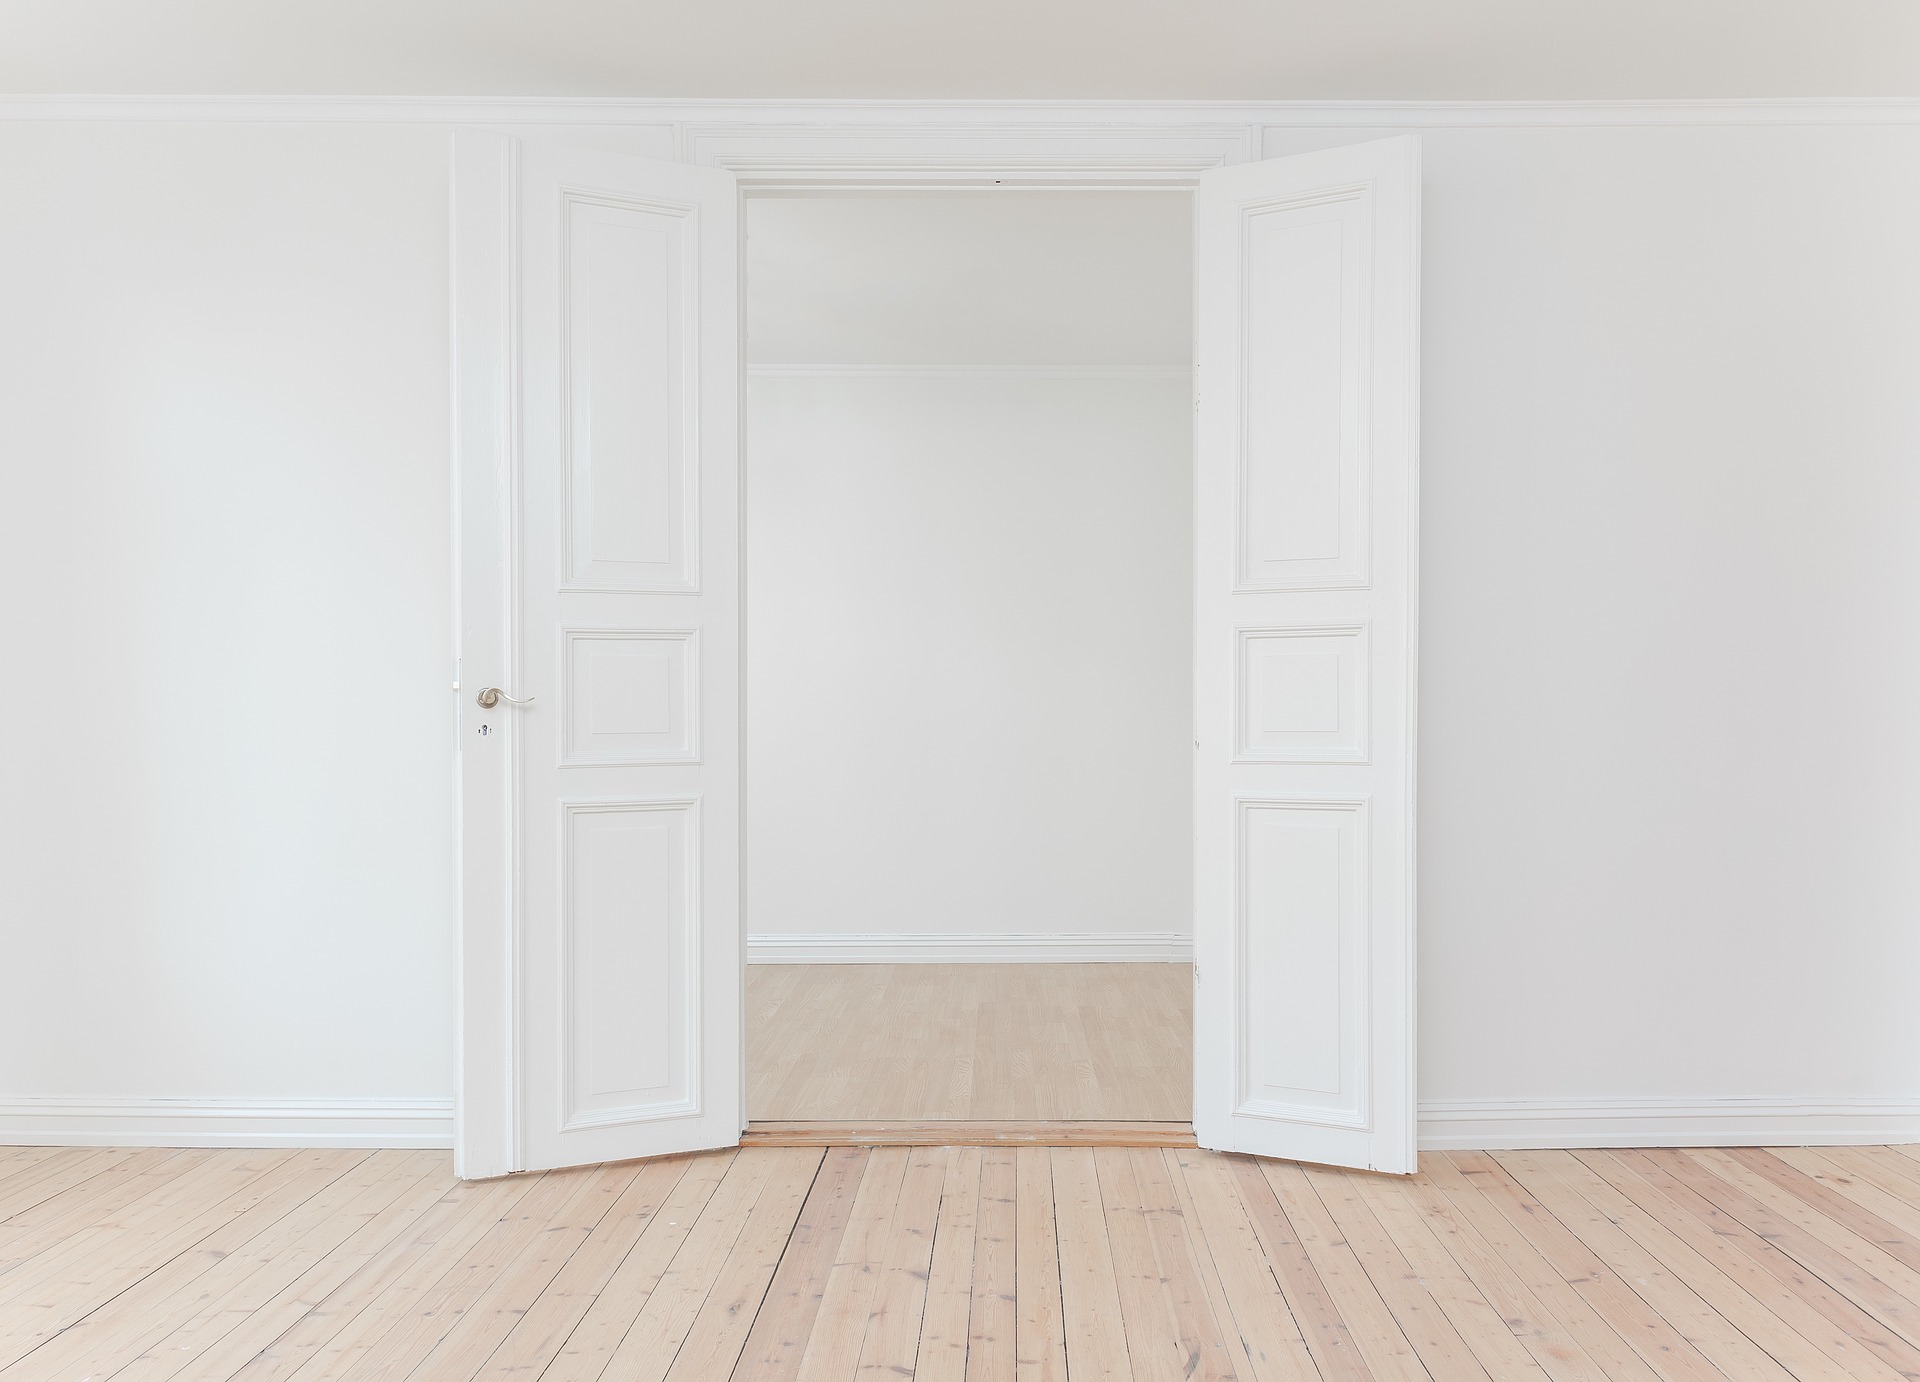
1. Choosing the Right Place to Study:

Right Place to Study

Select the right space in your house that can be used as a study place. A room should have a window for cozy feelings. Fresh air is really important to make the mind active. A room should be in a silent zone of the house, keeping all the distractions aside. It will prove to be very healthy for learning.

Our mind concentrates more in a calm atmosphere. So, be wise in selecting the study place for your kid. No matter how small space is, a good interactive change in managing the things properly will yield your effort. For small places, things are managed on the minimalist theme.

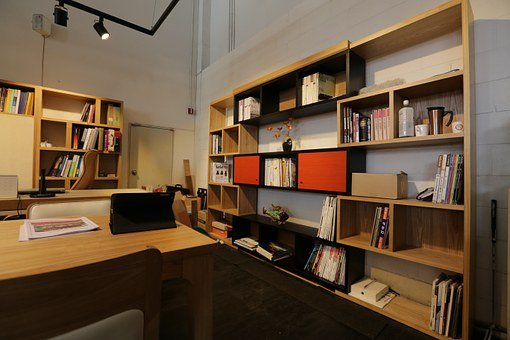
2. Organize the Furniture:

Organize the Furniture

Make the set of shelves in that room where you can organize the books on the shelves nicely. It will help in developing the habit of organizing the things in your kid’s nature. Maintaining the stationary and books is handy for your kid while studying.

Proper furniture like a chair and table gives a professional look to their study room. A comfortable chair and the perfect sized table will give some relaxing feel while you are working for hours on them. There are now study desks designed specifically to grow with the kids – check out these kid’s study tables (made in Singapore). They are comfortable, cheap, and artistically designed.

Manage things according to space. It will be more suitable if you put the things according to the size of that room.

Be wise in selecting the wall for bookshelves, then the number of bookshelves according to the size of the wall. Don’t make it seem flooded with shelves as space should be in view. Make it look spacious.

3. Prepare an Attractive Study Planner:

Make an attractive planner of their study routine, put that on the openers and change that planner accordingly.

Make the notes of motivational quotations on their desk. It will help motivate your kid even more. Put some inspirational words as bookmarks on their desk.

You can also make some attractive charts of inspirational thoughts and about the ambitions and goals of your kids. Like if he wants to become an astronaut, set the theme of galaxy and stars and put the words of achievers on their openers. This will help in getting your kid’s attention in his study room.

4. Plan Activities to Add to the Room:

Place a whiteboard on the wall. This will help your kid in assuming his room as a classroom where he can be a teacher for a while. This will inspire him to study more as a teacher of that imaginary class. Your kid can spend hours with this indoor activity of learning.

You can plan more creative activities to get him to inspire with studies. Learning should be fun; it will ease the process of converting a heavy workload into progressive learning. All you need is to grab their attention by using different sort of interactive things.

5. Add Creative Art Work:

Give the room a touch of personalized art according to your kid’s interest. The theme should be very enchanting. And set the room with proper lighting because experts suggest keeping the room bright if you want to be more energetic and active. Bright lights dodge your mind to stay active for more time.  You can also use some vibrant colors on the background wall. Colors are the activators if they are used wisely according to your kid’s choice.

Study room should depict the taste and interests of your kid as your home decor shows your personality. By adding simple innovative ideas, you can simply change the concept of boring study rooms. You will be surprised to see that your little efforts can works magic for them. Once you get done with the right setting, you will be surprised to see that your kid likes to spend hours in his study room. Study room will become his favorite place. Your little effort will help him a lot. And all of this will pay off when your kid will achieve his goals.

Read Also:

Content Rally wrapped around an online publication where you can publish your own intellectuals. It is a publishing platform designed to make great stories by content creators. This is your era, your place to be online. So come forward share your views, thoughts and ideas via Content Rally.

View all posts

Leave a Reply

Your email address will not be published. Required fields are marked *

Related

how to install faucets

How To Install Faucets And Sinks

Installing a new sink is an uncomplicated and quick task. The process is relatively easy, and you can do the installation part by yourself with a bit of experience. Then how to install faucets? Though some complicated kitchen faucets require professional installation, many of the kitchen fixtures can be installed easily.  Here is a guide on how to install faucets and sinks.  Materials Needed   In order to install the kitchen faucet and sink set, you will need the following list of things: a sink, a faucet or tap, a basin wrench, a strainer set, pump pliers, a screwdriver, a crescent wrench, a spatula, plumber's putty, silicone sealant, a bucket, a flashlight, and a set of towels.  How to install faucets, and this reason is nearby if you wish to enlarge the opening within the countertop. It is also necessary to know how to clean bathroom sinks to maintain hygiene.  Step By Step Guide To Install Faucets And Sinks If you are looking for durable, sturdy, and premium quality faucets, it is best to choose Oltsw taps.  Here, we have mentioned the steps to know how to install faucets and sinks.  Step 1: Measure and mark the layout of the kitchen’s sink Place the counter's back edge in the center of the sink within its cabinet. If the sink contains a template, align it along the mark on the counter. This is the first step of how to install faucets. Place the back edge one and a half inches parallel to the counter. Trace around it; proceed to the subsequent degree. If there is no template, use 2-inch tape to stipulate the sink location. Mark the middle of the sink on its back edge. Lay the sink inverted on the counter. Align the mark on the sink and the one on the counter together.  Step 2: Mark the cut lines on the counter The cut line marking is the second phase of how to install faucets. The employing a straightedge to attach the marks, you will find yourself with an oblong outline on the counter of the sink's hole. To approximate the radius of the corner of the sink, round off the corners by hand. Take a slightly wider bit than the jigsaw blade (½-inch bit is typically enough). Then, at each junction of the cut-out lines, make sure to drill a hole inside the radius.  Step 3: Use a jigsaw to cut the sink opening Place a jigsaw blade into a front hole and cut along the marked line to the back hole. Repeat on the opposite side. Lay a scrap of wood some inches longer than the cut-out across the sink area. Screw through the piece and into the cut-out waste to stop it from binding the saw blade or falling. Cut along the cut lines marked at the front and back and remove the cut-out piece. Make sure that the fit of the sink in the countertop is set. If it is necessary, trim the opening with the jigsaw.  Step 4: Install the kitchen faucet Set the sink the wrong way up on a padded sawhorse or counter. Then, feed the tap's supply tubing and tailpiece through the gasket, which helps seal the faucet to the sink. Screw the washers and mount them on the lower side sink deck. This is the pre-final step of how to install faucets. Just make sure that the tap can swing for a whole area across the sink deck before tightening mounting nuts.  Step 5: Attach The Strainer Over Applied Putty Put the sink up, apply a thick roll of the plumber putty under the strainer edge, and push it up through the sink's drain hole. Slip the housing (if your strainer has one), gasket, and washer onto the filter and against the lower side of the sink. Dab the pipe-joint compound and expose the opening threads.  Thread the locknut onto the strainer by hand, then tighten it with pliers while holding the filter in situ. Fit the gasket onto the tailpiece of the sink drain and attach it to the strainer through its slip nut. Tighten the nut using a hand while holding the filter.  Step 6: Set the sink and connect the water supply Remove the tape, and pull it toward the center of the hole. With the sink still, the wrong way up, press a bead of silicone tapping around the lower side of the sink's brim. Turn the sink upright and set it on the hole of the countertop.  Make sure that the front of the sink is parallel with the front fringe of the countertop. Adjust it, if necessary. Next, use the corn-head supply tubes or the braided stainless-steel hoses to connect the tap and shut off the valves. Now, attach the required sprayer hose to the faucet's threaded tailpiece.  Step 7: Connect The Drain Pipes Assemble the trap adapter on top of the sink-drain tailpiece. Cut and dry-fit the length of the PVC pipe and attach the trap adapter to the trap and the drain elbow to the waste line. Then slide the web on the tailpiece to finely tune the length and alignment of the pipe.  Take the drain pieces apart. Clean the cut ends with a utility knife. Use a PVC primer to coat it and its mating pieces. Let it dry and hold for 30 seconds. Now you are finishing the process of how to install faucets. Conclusion The essential features of kitchens and bathrooms are the sink and faucets. The sink and faucets need to be installed properly to avoid any damage and issues later on. Taking this into account, we have mentioned how to install faucets with significant steps to be followed while installing sinks and kitchen faucets. Additional reading: Small Kitchen Storage Ideas Know About The Type Of Kitchens According To Different Size Different Types of Conversions to Make the Most of Spare space  

READ MOREDetails
Featured-image

Mirror Decorating Ideas To Style Your Bathroom

Obviously, mirrors are a necessity in every modern bathroom, but that doesn’t mean you have to settle for the plain, unfashionable medicine cabinet mirror that probably came with your house. So get rid of that rinky-dink mirror collecting hard water stains, it’s time to design. Why You Should Use Mirrors To Decorate Mirrors are actually a great opportunity to add some personality and stylistic flair to any bathroom, and they’re not limited to just by your sink. Because mirrors are affordable and come in such a wide variety of designs, its easy to make your bathroom look like it was decorated by a professional interior designer at an incredibly low cost. The best thing about mirrors is that they make a room look twice as big. A large, bold mirror above a pedestal sink will make the entire bathroom look cleaner and brighter, and a mirror above the bathtub or inside the shower will give you convenient places to make sure you’re thoroughly clean. Then, placing a wide full-length mirror where most of the light comes from can make your bathroom look bigger. Home Mirror Bathroom Read also: How Activity Mirrors Add Value To Exercise Place! Convex Mirror – An Essential Thing For Your Daily Needs Some decorators have even taken the biggest plunge of all and made their entire bathroom ceiling one big mirror. Now, there’s no need to go that crazy, in fact, when it comes to mirrors less is more. A few simple guidelines is all you need to give your bathroom the personality you want. Design Elements of Bathroom Mirror Most of the design elements of a mirror aren’t directly on the mirror itself (it couldn’t be, otherwise it wouldn’t be a useful mirror). Rather, some or even all of the design will be on the shape of the mirror itself and the border that surrounds it. These two design elements are what you’ll be looking at when decorating your bathroom. First, think about what you want to express with your decoration. Do you want your bathroom to be elegant and sophisticate or breezy and carefree? What you want will depend entirely on your own tastes and personality so there’s no such thing as a wrong answer. Don’t be afraid to be bold, and remember that you’re the one that will be using this bathroom day in and day out, so above all else you are the one that has to like it the most. Read also: Using Feng Shui In Your Bathroom Design Next, consider existing design elements in your bathroom. What paint color is your bathroom walls? What tile patterns are there? What color are your cabinets and other fixtures? You’ll want to pick a mirror that complements these already existing elements, otherwise your mirror will look out of place. With that said, make sure you don’t do the opposite either. Don’t get a mirror that exactly matches a paint, tile, or cabinet color, or else your mirror will disappear into the background, becoming part of a boring and homogenous design. Bathroom Mirror For Your Own Style Keep the shapes visible in your bathroom in mind as well. If you have square tiles throughout your bathroom, an oval shaped mirror will clash, and your eyes won’t know where to focus on. For square and rectangular tiles, mirrors that are themselves square or rectangular are best. If you simply must have a circular mirror, then get a mirror that’s laid into a square or rectangular frame or border. If you’re looking for a more elegant, bold, and sophisticated book, then large, rectangular mirrors with sleek and simple borders made of metal would be best. The wider the border around the mirror the greater the impact. In fact, sometimes mirror borders are too big, and they accidentally become the center point of the entire bathroom. There nothing inherently wrong with that, so long as you intended for that to happen. Remember, accidental design is not design. It’s just happy coincidence. Of course if you happen to stumble upon the perfect design, then there’s no harm in taking all the credit. I won’t tell. If you’re looking for a more casual and breezy look, then instead of one large mirror, you would be better suited to two or three smaller mirrors . These mirrors can be rectangular, but don’t be afraid to experiment with circular and even triangular mirrors. As for borders, any material will do so long as it’s brightly colored. Light teals and blues are wonderful colors for creating an airy space. No matter what your design aesthetic is, fully embrace it. Don’t be afraid to come off a bit weird in your design. Designing and decorating are very personal and unique acts. No two people will design the same space identically.

READ MOREDetails
Home Office

Transform Your Garage into a Home Office

Working from home is becoming more and more popular and widely spread, and in the times of the global pandemic, for some, it is even becoming a necessity. If you live with your family – parents, partner, kids, pets – this can be a really challenging task, especially if you do not have a separate work and study room. However, you can turn to alternative ways and make your own working space. Experts say it is important to have different spaces in which you sleep, eat and work, so even if you could have the privacy of your bedroom during the day, it is better for your mental health and efficiency to have a separate room which would serve as a home office. Transforming your garage could be a perfect solution for you, and here is how to do it, as suggested to us by experts at Dlouhy Garage Doors of San Diego. Start from the Basics In its original condition, your garage is probably not suitable for living or working, and in general spending a lot of time there, especially not during all seasons. That is why it’s important to adjust is well to the new purpose. Start from the floor, which is in most cases bare concrete. Replace it with the wood floor or carpet tiles and make it warmer and more comfortable. Insulation might be one of the major issues, so make sure you focus on that. Walls and windows will need additional insulation so you can use your home office for the whole year. Make It Cozy and Practical Once you’ve got your floor and walls settled, you can actually start thinking about the furniture and all the things you are going to need. Start with the desk and chair, as well as the shelves and other storage space you will need for your office. Except for being practical, your new office should also be cozy and you should be comfortable working there. So, you might want to pay attention to the overall style of the place, as well as the colors you choose. It does not necessarily have to be all sleek and modern, you can also add some vintage style and add a touch of warmth to your new workplace. Go for the neutral colors and try not to clutter the office too much with decorations, but rather give it a neater and simpler look, as it will be easier for you to focus. Another important point in this transformation process is the garage door. Chances are that your garage door is not suited to the new purpose, so you might want to call in garage door installers to replace it. Even if you stop using it as an office at some point, it can still be used as a space for hanging out, so why not make it livable for the long term. Think of the Light and Safety Replacing the garage door may have more than one dimension and purpose. It will certainly have an impact on insulation, as well as safety, and lighting, too. You can replace the old garage door with a set of glass panels and a regular door and thus ensure natural lighting for your workplace. It is really great to have it in the office and it’s much better for your eyesight as well as for your mood. Of course, do not forget the artificial lights as well and make sure the place is overall well lit. You can also consider installing a glass slide door, and thus improve the overall ventilation in the room which is also very important. However, if you prefer privacy, consider putting a regular door and sandblasted glass which will prevent anyone from seeing inside, and also prevent you from being distracted by the activities going on in front of your new office. Read Also: Top tips for inspecting and maintaining your garage 10 Pro Tips To Minimize Commercial Door Repair & Maintenance Cost

READ MOREDetails