How To Install Faucets And Sinks

Published on: 03 January 2022 Last Updated on: 05 February 2025
how to install faucets

Installing a new sink is an uncomplicated and quick task. The process is relatively easy, and you can do the installation part by yourself with a bit of experience. Then how to install faucets? Though some complicated kitchen faucets require professional installation, many of the kitchen fixtures can be installed easily. 

Here is a guide on how to install faucets and sinks. 

Materials Needed

how to install faucets 

In order to install the kitchen faucet and sink set, you will need the following list of things:

a sink, a faucet or tap, a basin wrench, a strainer set, pump pliers, a screwdriver, a crescent wrench, a spatula, plumber’s putty, silicone sealant, a bucket, a flashlight, and a set of towels. 

How to install faucets, and this reason is nearby if you wish to enlarge the opening within the countertop. It is also necessary to know how to clean bathroom sinks to maintain hygiene

Step By Step Guide To Install Faucets And Sinks

how to install faucets

If you are looking for durable, sturdy, and premium quality faucets, it is best to choose Oltsw taps

Here, we have mentioned the steps to know how to install faucets and sinks. 

Step 1: Measure and mark the layout of the kitchen’s sink

Place the counter’s back edge in the center of the sink within its cabinet. If the sink contains a template, align it along the mark on the counter. This is the first step of how to install faucets. Place the back edge one and a half inches parallel to the counter. Trace around it; proceed to the subsequent degree.

If there is no template, use 2-inch tape to stipulate the sink location. Mark the middle of the sink on its back edge. Lay the sink inverted on the counter. Align the mark on the sink and the one on the counter together. 

Step 2: Mark the cut lines on the counter

The cut line marking is the second phase of how to install faucets. The employing a straightedge to attach the marks, you will find yourself with an oblong outline on the counter of the sink’s hole. To approximate the radius of the corner of the sink, round off the corners by hand.

Take a slightly wider bit than the jigsaw blade (½-inch bit is typically enough). Then, at each junction of the cut-out lines, make sure to drill a hole inside the radius. 

Step 3: Use a jigsaw to cut the sink opening

Place a jigsaw blade into a front hole and cut along the marked line to the back hole. Repeat on the opposite side. Lay a scrap of wood some inches longer than the cut-out across the sink area. Screw through the piece and into the cut-out waste to stop it from binding the saw blade or falling.

Cut along the cut lines marked at the front and back and remove the cut-out piece. Make sure that the fit of the sink in the countertop is set. If it is necessary, trim the opening with the jigsaw. 

Step 4: Install the kitchen faucet

Set the sink the wrong way up on a padded sawhorse or counter. Then, feed the tap’s supply tubing and tailpiece through the gasket, which helps seal the faucet to the sink. Screw the washers and mount them on the lower side sink deck. This is the pre-final step of how to install faucets.

Just make sure that the tap can swing for a whole area across the sink deck before tightening mounting nuts. 

Step 5: Attach The Strainer Over Applied Putty

Put the sink up, apply a thick roll of the plumber putty under the strainer edge, and push it up through the sink’s drain hole. Slip the housing (if your strainer has one), gasket, and washer onto the filter and against the lower side of the sink. Dab the pipe-joint compound and expose the opening threads. 

Thread the locknut onto the strainer by hand, then tighten it with pliers while holding the filter in situ. Fit the gasket onto the tailpiece of the sink drain and attach it to the strainer through its slip nut. Tighten the nut using a hand while holding the filter. 

Step 6: Set the sink and connect the water supply

how to install faucets

Remove the tape, and pull it toward the center of the hole. With the sink still, the wrong way up, press a bead of silicone tapping around the lower side of the sink’s brim. Turn the sink upright and set it on the hole of the countertop. 

Make sure that the front of the sink is parallel with the front fringe of the countertop. Adjust it, if necessary. Next, use the corn-head supply tubes or the braided stainless-steel hoses to connect the tap and shut off the valves. Now, attach the required sprayer hose to the faucet’s threaded tailpiece. 

Step 7: Connect The Drain Pipes

Assemble the trap adapter on top of the sink-drain tailpiece. Cut and dry-fit the length of the PVC pipe and attach the trap adapter to the trap and the drain elbow to the waste line. Then slide the web on the tailpiece to finely tune the length and alignment of the pipe. 

Take the drain pieces apart. Clean the cut ends with a utility knife. Use a PVC primer to coat it and its mating pieces. Let it dry and hold for 30 seconds. Now you are finishing the process of how to install faucets.

Conclusion

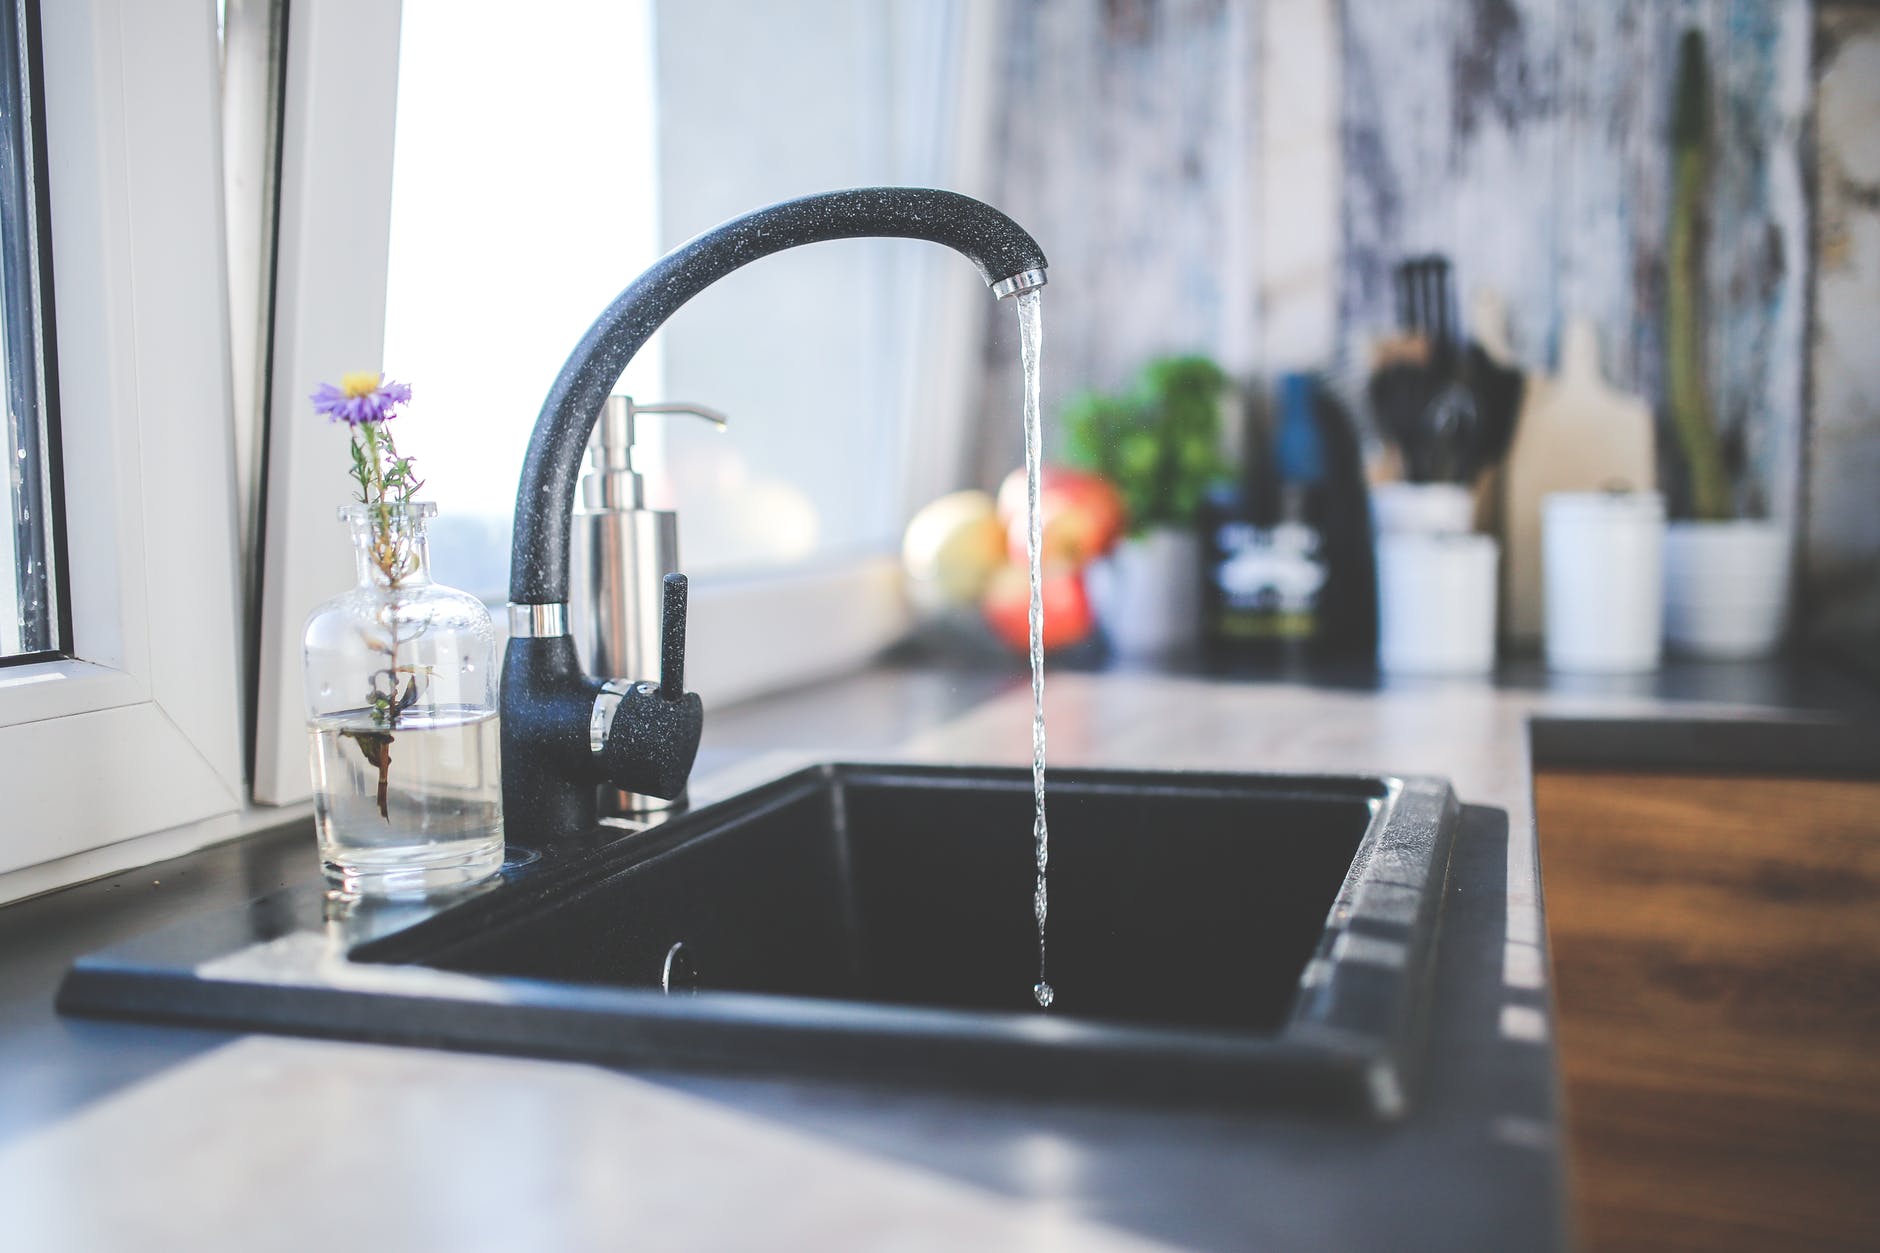
The essential features of kitchens and bathrooms are the sink and faucets. The sink and faucets need to be installed properly to avoid any damage and issues later on. Taking this into account, we have mentioned how to install faucets with significant steps to be followed while installing sinks and kitchen faucets.

Additional reading:


Content Rally wrapped around an online publication where you can publish your own intellectuals. It is a publishing platform designed to make great stories by content creators. This is your era, your place to be online. So come forward share your views, thoughts and ideas via Content Rally.

View all posts

Leave a Reply

Your email address will not be published. Required fields are marked *

Related

Furnace Room

Tips on Keeping Your Furnace Room Up-to-date

Whether you need to cool down your place during summer or warm it up to cozy up for winter, your furnace needs to work correctly. Your furnace has to operate efficiently throughout the air to cope with the outside weather conditions. Since your furnace is usually in the depths of the basement where no one wants to go, you might forget about its maintenance until the system stops working. Waiting until you encounter a problem might lead to costly repairs by professional HVAC technicians and impact the functionality of the Heating, Ventilation, and Air Conditioning (HVAC) system. Here are some things you can do to prepare your furnace room for every season. Upgrade Furnace System If your furnace has been around for a long time, it might be time for an upgrade. Luckily, furnace rental solutions help you get your hands on the latest and most efficient furnaces. The benefit of renting a furnace is that it is likely to cover maintenance, labor, and repairs. In addition, you can replace rental equipment easily too. Renting a furnace can save you from large bills. Perform Routine Maintenance Whether you own or rent your furnace, the system needs adequate care in both cases. Get the system checked by a professional at least once a year to ensure running correctly. Lack of maintenance can slow down the system, clog dirt, and lead to unexpected repair costs. In addition to staying updated with inspections, it is also necessary to clean the furnace to prevent breakdowns. You can perform the cleanup before summer or winter begins. If your furnace has already broken down due to lack of maintenance, then it's important to have it serviced immediately by reliable professionals like heating repair Henderson. Ventilate for Consistent Air Flow If the furnace doesn't get sufficient air to operate, it will consume oxygen in your home, reducing the oxygen levels of your family members. Lack of oxygen inside your home can harm all its residents, so it is important to ventilate your furnace room. You also have to ensure that nothing is blocking the airflow from your furnace. Keep the space tidy, and don't place anything around the furnace to avoid clutter. Remove any obstructions and open floor registers to keep air flowing throughout your home. Don't Forget to Change Filters It can be challenging to remember that you have to change the filters frequently. If you don't change the filters often, dirt will get clogged into them and damage the filters, causing breakdowns. Imagine having to put on a bunch of sweaters and curling up under multiple blankets in the winter because the heater stopped working! To avoid complications and ensure that your furnace works all year round, replace them every month or every alternative month. It is more important to change filters if you smoke in your home or own pets. Furnaces play a significant role in your home's air quality, so it is crucial to pay attention to its well-being. Being cautious beforehand can prevent an unexpected bill that could empty your wallet! Utilize the tips above to provide your family members with a safe environment all year round. Your Bonus: You don't need to face struggles anymore in searching for a proper HVAC contractor. Check out our exclusive guide to get rid yourself of. Read Also: Removing Air Conditioner Filters: A Guide 6 Unforgivable Heat Pump Installation Mistakes Everyone Should Avoid

READ MOREDetails
Home Insurance

5 Proven Ways to Reduce Your Home Insurance Rates

You can get your hands onto the best low-cost insurance policy that would insure your home. With the bit of investment of time and effort, you can search online for effective rates of premiums that can be easily availed. You can save your money with online home insurance. The following are 5 unique proven ways that would help you save money with online home insurance: 1. Maximizing your Deductibles  The amount that you are agreeing upon for funding is the deductible that would be the part of your settlement while you are filing for a claim. The insurer will also be settling your remaining amount for being the balance of your claim or an amount that has been agreed upon mutually once your claim is made successful. Based on the terms of the policy of a homeowner, the claims are being made. A huge amount of discounted rates is also being offered by the insurer and the reason behind it is the fact that clients who are subjected to higher limits of the deductible amount do not file a claim. Irrespective of the amount of deductible that you are choosing, you need to make sure that the amount is in the right hands and it is completely safe. You can always utilize the money when you are deciding upon a repair or a replacement. 2. Combine your car and home insurance policies  There are companies out there who are selling both car and home insurance together. This way they are offering you huge discounts when you combine both car and home insurance coverage as the organizations are looking forward to associating with you. While following this, you are not only gaining enough discounted rates but you are also becoming stress-free of making two separate bill payments. 3. Installation of home security devices With the benefit of home insurance, you can also go ahead to install security devices in your home. This way you are not only safeguarding your home from potential risks but also helping yourself to lower down the insurance premium. So, this is very important. Fire and burglar alarm systems with ISO fire rating, sprinkler system, and others are some of the home security devices that you can go ahead and install. 4. Disaster-proof your home When it comes to home improvements, you can do several things. This way you are possibly keeping disasters and vulnerabilities afar. Doing this will be allowing you to save money on home insurance as this is a form of saving for you. 5. Get best home insurance deals online Time is a very important factor prevailing in the lives of many. You can now avail free home insurance quotes online thereby saving both your time as well as money. You cannot just go through the mails, land onto nothing, and deliberately waste time. You can also get in touch with the agents out there through whom you can also get specific rates on insurance premiums. So, you are not only getting rates from several different companies together but will also be able to compare them landing on the cheapest one. Read Also: 5 Most Lucrative Home-Based Business Opportunities Your Buying Guide To Get Your Dream Luxury Home Important Things To Know Before Starting A Home Improvement Project        

READ MOREDetails
google bubble level

Best Ways To Complete Google Bubble Level In 2023!  

It is not always possible to carry a toolbox everywhere you go, and if you need to measure something quickly, I am here to help you. These days with the help of modern technology, there are a lot of tools available which help in performing such tasks. In this article, I will be talking about some of the best applications which also function as measuring tools and will be of much use to you. Keep reading till the end to find out more information about Google bubble level and other similar applications! What Is A Bubble Level?   A Bubble Level or a Spirit Level is an instrument that is designed to indicate whether a surface is vertical or horizontal or even vertical. There are different types of spirit levels that may be used by stonemasons, bricklayers, carpenters, millwrights, and also during some video graphics or photographic work. How To Use Google Bubble Level?   Google has many widgets known to appear on the "search results" page, like a measuring tool, Google search games, and even a metronome. As it turns out, a Google Widget is the easiest option for a bubble level. There is iphone level pre-installed on Apple devices – I would only be talking about accessing spirit level on Android. For accessing a bubble level or spiritual level, on Android devices, one simply needs to install the Google app on the phone and then search for "bubble level." A user searching for this tool can also try speaking into the mic after opening Google Assistant as well. Or a user might also just type in google bubble level and the search results would show up. Using of this tool would be like using an actual tool. Just align the phone against a plain surface vertically or even horizontally to see how the level actually is. To get help in measuring, one must see how many degrees are off from zero. One must also watch the plus icon to ensure everything stays flat. Tips: You do not need to install Level for iphone, as they already come pre-installed on Apple devices. Other Useful Tools   Here is a list of some of the other tools that can be used to utilize your phone as a toolbox: Measure   Utilizing of AR (augmented reality) to provide measurements of everyday normal objects is a very useful way of creating a digital tape measure, which is exactly what Google's Measure application does. It is one of Google's great applications. With this application's help, one can measure the length, distance, and height using their camera. This application is very simple to use, unlike other related apps. It is also a very user-friendly app as well. To get started with it, one would first need to scan the area with the application to detect the vertical or horizontal plane. Then one would need to select the measurement mode they want to use on their screen. One can even adjust the lines to the desired points, and the application would estimate the object's size. Smart Ruler   This is a very simple tool as well. The Smart Ruler is known to act as a ruler meant for taking only small measurements. A user needs to put any object of their choice for measuring on the screen of the Android device, then touch the corner for detecting the length and width. You are also bound to find a variety of applications available, but Smart Ruler is different because it has a very easy interface. Sound Meter   This application is known to measure the decibel values of the surrounding environmental noise. To help with guidance, the Sound Meter also provides various examples of similar noise levels for differentiation. For instance, the thirty-decibel range of sound is very similar to the volume of a whisper, while on the other hand, seventy two decibels is closer to very loud music. Laser Level   Laser Level is a leveling application that is a handy tool just like google bubble level that features an incredibly useful bubble level/spirit mode. This basically means that with the application, it is possible to measure angles and determine whether or not a surface is "level" in various ways. Even better, it includes a built-in clinometer for those who want to measure angles precisely. Metal Detector   My phone's metal Detector level performs exactly what it says it will. Based on the magnetic field, it utilizes the smartphone's sensors to find the presence of metals. This can really aid in finding all the metal studs in the wall or even help in searching all the possible pipes in the ground. CalcKit: All-In-One Calculator   Even though CalcKit is not a traditional tool like a hammer, it is still an incredibly helpful tool as a conversions and calculator app for artisans and contractors. This application is well renowned for containing a large range of conversion tools that make it extremely applicable to a huge range of professions. For quick computations on the fly, even those in science-related fields could benefit from using it. This application includes everything from mathematical equations to more complex and electronic calculations. It has lots of features and can even do fuel efficiency volume metric calculations. Tool Box   The tool Box application by Maxcom is a very lightweight and simple collection that consists of many related tools. This application includes features such as a decibel meter, leveler, barcode reader, protractor, and magnifier. If you want a manageable all-in-one toolbox application, then this application is the perfect choice. Its tools are pretty basic as well, but this essentially means that the app takes very less storage space on the phone. Smart Kit 360   The Smart Kit has a very appealing look, and that gives it a very sleek and modern look. It also has one of the most extensive collections of different tools amidst all of the other toolbox apps that are available for Android. It is also known to include tool replacements, such as a compass and a leveler. And It is also known to have a few modern tools, such as phone management and storage tools and a heart rate monitor. There are also a fair share of tools that one doesn't get to see often in other similar apps available out there. To Wrap It Up!   Of course, the bubble level google app cannot replace an actual tool. If you just want to check the alignment of your things at home for fun, you can surely try out the Google bubble level tool for measurement. Thank you for reading up till here. I hope you found the information useful. Let me know in the comments your thoughts on the same. More Resource: What Does Sound Dampening Mean? Pros And Cons Of Mini Splits For Cooling 3 Best Indoor Plants For The Dining Room

READ MOREDetails