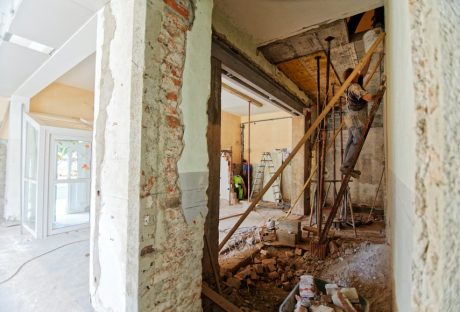
Cable installation is a complex process that requires a licensed contractor for successful completion. Doing it yourself is risky, as it may lead to faulty wiring. Proper planning will save you extra work, money, and time. Use the guide below to comfortably install cabling in your house.
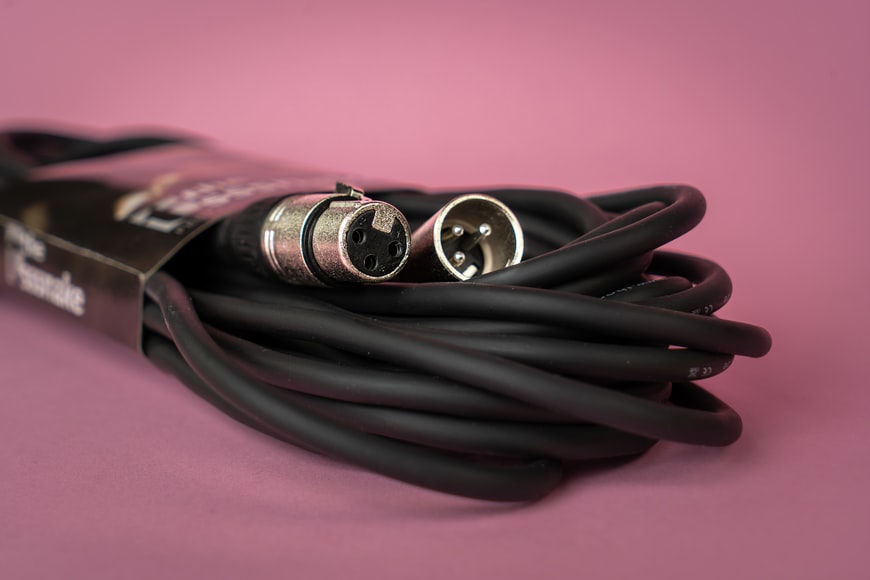
1. Prepare high-quality cable products
Before cable installation can commence, you need to source cable products. Currently, numerous companies make cables for sale. However, if you want the best quality cables, you need to consider Infinity Cable Products. These cable products are durable and contain more copper and material compared to others.
2. Contact a reliable company
When installing cables in your new house, efficiency is critical. Cables supply communication services and vital electrical power, hence requiring great attention and time from the contractor. Ensure you contact a highly reputable company that is well-equipped with the necessary tools for installation. This will increase the accuracy, reliability, and durability of the cables.
3. Draw a wiring diagram
It is crucial to have a plan for the cable installation process. Draw a wiring diagram that shows a clear and practical path of the cables to all outlets. The design will provide a reference point for the contractor as they work.
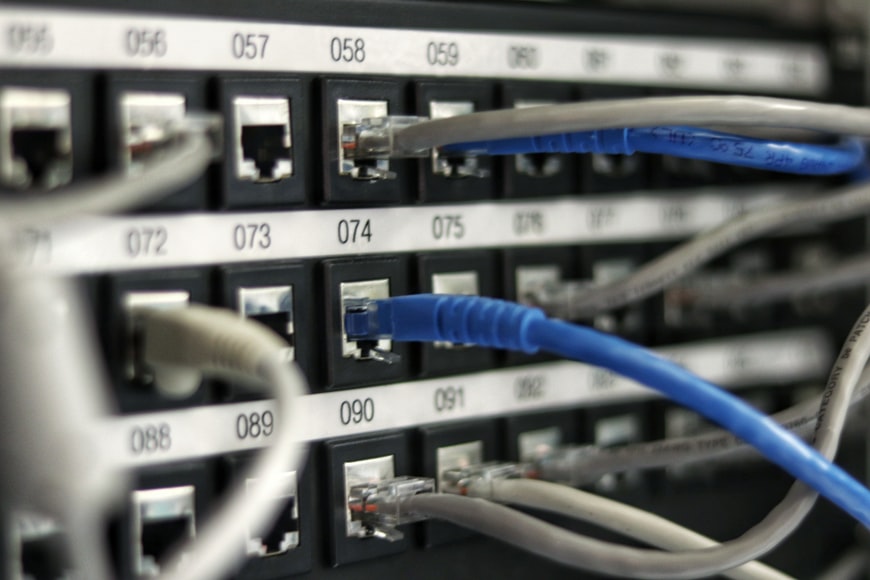
4. Install conduits
Be sure to have the contractor install cable conduits in every place that may require wires. Cable conduits will allow you to run video cable, speaker wire, and network cable in the house. The best way to avoid wasting conduits is by running the longest wires in the walls first even if you don’t expect to use them immediately.
Each wire should be set from upstairs and pulled through to the basement. This way you will avoid using a ladder to push the cables up between floors. An experienced contractor will know to leave at least a foot of extra wire to make it easier for you in case you want to change your house arrangement later.
5. Determine your outlet count
Identify how many switches and outlets will extend to each circuit. This will aid in purchasing sufficient Infinity cable products for your new home. It is advisable to have six outlets per 110-voltage circuit in the living area. However, the kitchen has appliances with more wattage; hence requires not more than two outlets per circuit.
6. Drill cable holes
Ensure you know what is on the other side before drilling through a wall to avoid damaging water pipes, ductwork, or more. The drilled holes provide a path that the cables will travel for connectivity throughout the house. Remember that more outlets provide for a safer home.
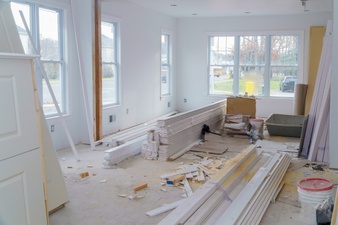
7. Pull the cables to the outlets
Once the holes are drilled pull the cables to the outlets in the house. When attaching wires to outlets, use wire strippers to cut out the outer plastic coating. Infinity cable products come with instructions to help make the process easier.
Are you prepared to install cabling in your new house?
Now that you have read through the guide on how best to install cables in your house, you can begin the process. Remember to have the job tested after completion of the installation to ensure it is done to perfection. We wish you well as you convert your house into a comfortable home.
Read Also: