The Importance Of Weed Elimination And The Ways To Kill Weed

Published on: 14 December 2022 Last Updated on: 20 February 2025
Weed

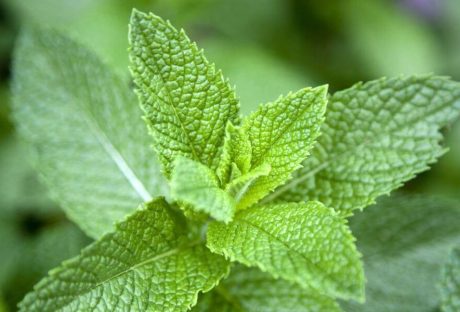
When you’re a homeowner, you have many things to do on the lawn.

Choosing which lawn maintenance duties are more crucial than others can be challenging. Maintaining lawn weed control is an essential aspect of home maintenance.

Here Are 5 Points On Why Weed Management Is Crucial

Weed Management

1- A weed infestation is unsightly

Weeds are unsightly, no matter where they are in your yard, but the view also turns deplorable. What others perceive of your house depends partly on how it looks from the outside. It is odd to consider that something as little as a few weeds may impact someone’s perception of you, yet it is a genuine possibility.

2- A lengthy process to rectify the weed situation

The best action is to take quick action if you experience a weed problem. You may choose a variety of do-it-yourself methods, such as manual weeding by choosing an appropriate weed wacker or weed killer safe for pets, or contact a weed control services provider. However, managing weeds on your own might take a lot of time, particularly if you don’t have enough time.

3- Your yard will continue to be invaded by weeds

Weeds will continue to try to infiltrate your garden, thus, it is crucial to maintain weed control measures. Weeds don’t require much to live since they may quickly outgrow their weak roots. Weeds may be stopped from returning by scheduling routine lawn maintenance – as a regular effort.

4- Cost-saving

While purchasing a weed killer at a home improvement store typically results in significant cost savings, although it may not be the best choice for your lawn.

You could have to spend a substantial sum of money having the weeds removed if they are not adequately managed or are allowed to grow unchecked. On the other hand, purchasing weed killers online can be more cost-effective as online vendors provide more discounts.

5- Effective weed management can ensure enduring results

Your lawn will progressively get rid of those troublesome weeds and develop a resistance to them with regular weed management and pre-emergent weed control treatments.

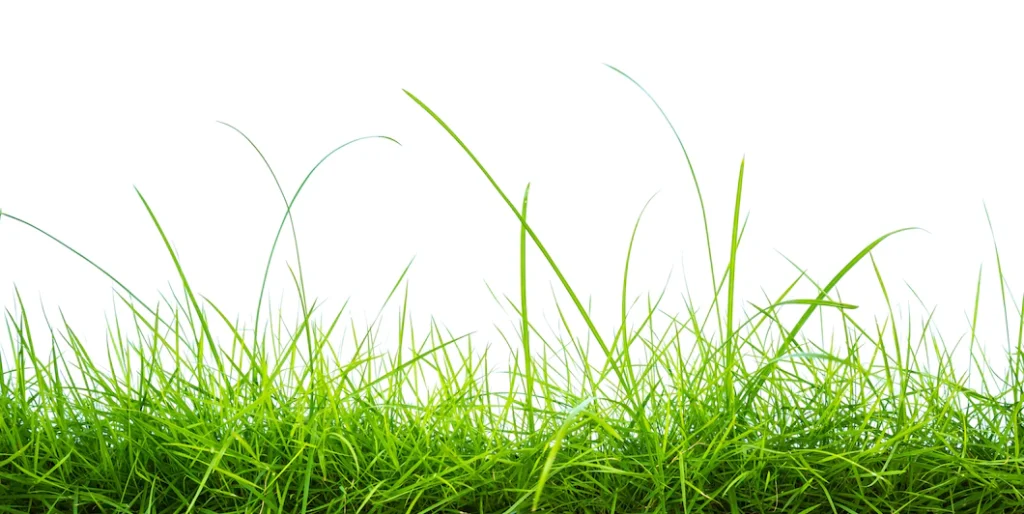
Different Weed Control Techniques

Weed Control Techniques

1- Preventive Weed Control Techniques

The key to successful weed management is prevention. An out-of-control weed infestation that has grown over time may call for more expensive treatment measures. Preventive weed control is any strategy to stop weeds from spreading across a farm or into a pasture.

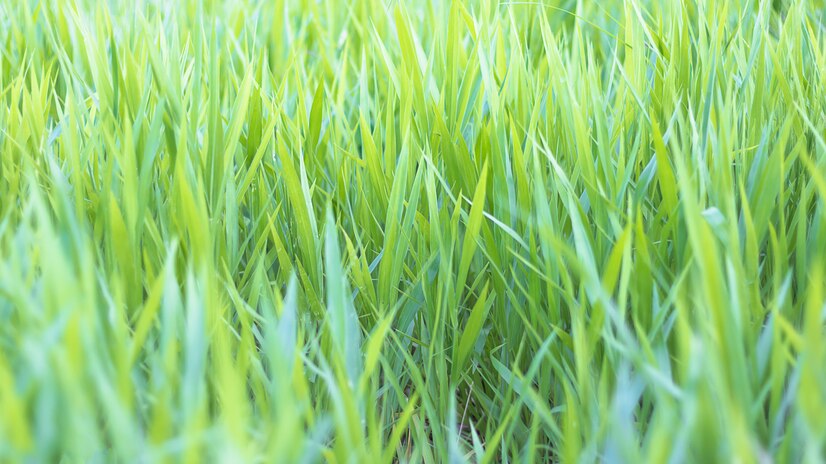
2- Traditional Techniques for Weed Growth Control

Weeds are opportunistic and invasive and can have several damaging effects. Therefore, cultural management or developing a competitive and desired vegetation aids in weed prevention or, at the very least, slows their growth. The treatment of weeds is thought to be very successful using cultural control.

3- Chemical Techniques for Controlling Weed Growth

Chemical weed control refers to using or applying chemicals (herbicides) to soil or weeds to control weed development. The most efficient and effective way to manage weeds is with herbicides.

Some herbicides are designed to prevent damage to the weed’s neighboring plants. Weeds can be effectively controlled by chemical means. For this control, there are several chemical products on the market at the moment.

4- Biological Techniques for Weed Growth Control

Biological weed management is any method using live organisms that naturally inhibit weed development. In addition to eliminating weeds, living agents are also utilized to inhibit the germination of their seeds, such as grazing animals, insects, fungi, or bacteria.

Quite often, insects are used in biological weed control; this strategy is sometimes referred to as insect bio-control or integrated pest management (IPM). A cinnabar moth, a tansy flea beetle, and a chrysolina beetle are just a few insects employed in IPM.

Read Also:

Arnab is a professional blogger, having an enormous interest in writing blogs and other jones of calligraphies. In terms of his professional commitments, He carries out sharing sentient blogs.

View all posts

Leave a Reply

Your email address will not be published. Required fields are marked *

Related

Pool in the Fall

8 Reasons to Build Your Pool in the Fall

When you start thinking about buying and installing a nice swimming pool, of course, you want to make sure that the installation process goes right. That means accounting for things like temperature and how busy the construction season is. Summer is pool season, so many homeowners opt to try for a spring installation. But our pool builders in south Florida would caution homeowners that fall is actually the best time for a pool install. 8 Reasons to Build Your Pool in the Fall You may be thinking that fall seems like an odd time to install a pool, but there are a few good reasons why it is a perfect time. Let’s take a look at 8 of them. 1. Construction Season Spring and summer are the busiest seasons for construction workers and contractors, including pool companies. By waiting until fall, you are likely to enjoy a much shorter install time. With fewer jobs to bounce between, your pool installers are more likely to be able to devote their full attention to your build. 2. Temperature Fall temperatures are mild and make it easier to work outside. This is especially true in places like Florida where summer temperatures can be scorching hot. In the fall, your pool construction team will be able to concentrate on the task at hand, rather than feeling overheated or worried about how long they have left in the day. 3. Landscaping Think about what sort of weather you want to be working outside in. Once your pool is installed, you will likely want to do some landscaping, maybe place some furniture, or do some planting. Why not take advantage of the cooler temperatures and enjoy fall in your backyard with your new pool? 4. Pricing At the end of the summer season – which is the height of pool season – you may be able to negotiate a better price on materials and labor. Often, pool companies have overstocked items or discontinued inventory that is less expensive. You may also be able to check out pre-owned items. 5. Weather Conditions Pool construction during spring is often thwarted by rapidly changing weather conditions. This can mean delays in your pool installation. If you are hoping to have your pool installed by a certain month or date, spring storms can be a very real concern. Related Reads: Swimming Pool Cleaning and Maintenance: Cheap Online Pool Supplies 6. Ready-made Summer Fun By installing your pool in the fall, you can start enjoying your pool as soon as the temperatures are warm enough for your liking. Or, any time of year if you opt for a heated pool. In Florida, temperatures start to warm up in early spring, and by having your pool installed the previous fall, you have more time to enjoy the warm weather and pool fun. 7. Why Not Add a Hot Tub? Have you considered adding a hot tub to your pool installation? If so, think about how much you will enjoy the cooler fall and winter evenings in your new hot tub with the view of your new pool. 8. Tax Considerations A pool is a major purchase and is considered a home improvement. It can also increase your property value. Home improvements like adding a pool can be claimed on your taxes. If you install your pool in the fall, you will be able to claim it on the taxes you file in early spring the following year. Imagine relaxing by your new pool enjoying the sun and the knowledge that you got tax benefits from your installation. Of course, not everyone wants to miss this pool season in order to do a fall pool install. But these eight considerations are certainly worth considering before you hire your pool contractors. The best way to decide when is the best time is to contact a pool builder in your area. Read Also: What is the Right Age to Start Swimming Lessons? All You Need to Know About Pool Maintenance Services Risks of Imbalanced Swimming Pool Chemistry

READ MOREDetails
clean bathroom

5 Hotel Housekeeping Tricks You Need To Clean Your Bathroom

Keeping your clean bathroom reduces the likelihood of bugs living in there and spreading between members of your family and visitors. Of course, it can be difficult to stay on top of the cleaning when you’re already working, looking after children, and completing a host of other activities. However, by learning a few tricks from hotel housekeeping you’ll be able to keep the bathroom at home, or in the hotel clean in a fraction of the time. 1. Use The Right Products Companies spend thousands of developing products for specific areas of your bathroom. To make your cleaning as easy as possible you should purchase a selection of the best products from a reputable supplier of hygiene services. It’s also a good idea to use the right appliances. The finish of your toilet can make a huge difference to how easy it is to keep clean. It is also important to read the product instructions. They will all say how long they should be left in situ to work effectively, make sure you leave enough time for each product to work. This will help to ensure all the bacteria are removed from the bathroom. 2. Open The Window Opening the window allows fresh air into the room, this will help to remove any unwanted smells and give you more natural light. Natural light and the interior lights can work nicely together to ensure you clean every surface properly, you’ll be able to identify dirty spots more easily if you have plenty of light. 3. Empty The Room The idea is to empty the room, giving you a blank slate. This is the approach most hotels adopt and it works! Simply take all the towels, bathmats, washing products and anything else you can find, place them outside your bathroom. You don’t want to throw them away every time you clean the bathroom! You will then be able to wipe all the surfaces thoroughly which will prevent you from missing spots and actually make your cleaning job much easier. Don’t forget, wiping around products will leave ring marks that can be very hard to remove in the future. 4. Sweep Before Mopping Sweeping is generally preferably to vacuuming but it is acceptable to choose either method. However, you should do one or the other before you mop the floor. If you don’t the process of mopping will simply be moving debris and bacteria around the floor. Sweeping first removes the dirt, allowing you to mop with a disinfectant spray and leave the floor properly clean. You could eat your dinner off it! 5. Use A Toothbrush There are plenty of nooks and crannies in a bathroom and the best too for cleaning them is actually a toothbrush. Ideally, this should be one you reserve for cleaning, not your other half’s toothbrush. Toothbrushes allow you to clean the screws around the toilets and close to the taps on the sink, just make sure the toothbrush is cleaned between uses to ensure you’re not simply transferring bacteria from one place to another. As a final tip, you should keep all your cleaning products together in a box or cart, this will ensure you have everything you need to hand. Read Also: Home Hacks: Stuff You Can Clean In One Hour Or Less Considerations When Choosing The Ceramic Tile Bathroom Mirror Decorating Ideas To Style Your Bathroom

READ MOREDetails
Mint

Planting & Harvesting Mint

Mint is a wonderful plant that practically cultivates itself. So fast is its growth that it can threaten to spread across and take over your entire yard or garden. One way to battle this is to confine its growth by planting it in a pot or a separate bed. However, once you have this plant, you will be glad, because it has properties that make it fruity and a great addition to tea and foods. As can be seen here, it is also quite useful in health remedies that can aid digestion and relieve headaches. We know you already feel enthralled by this herb and would like to know more. So, why don’t you read on and discover more amazing things about mint… What Mint is All About Mint is an herb that is perennial and has a very wonderful fragrance. Its leaves are toothed and may have tiny pink, white, or purple flowers. Mint has so many variants from crinkled or smooth, to fuzzy or shiny. However, one thing is constant despite what kind of variant it is; all mints have that wonderful fragrance. Hence, whenever you pick up any variant of this great herb and roll it in your fingers, you would get the same smell that will make you either think of sweet teas, candy, or mint juleps. Aside from being a wonderful kitchen companion, this herb is also used as ground covers, garden accents, herbal medicines, and air fresheners. Mints are functional as well as beautiful and can grow either in shades or under the sun.  However, as we already said, this plant is a vigorous spreader; therefore, unless you want to have too much than you need, you have to be very deliberate about planting it. Uses We have already stated several things that mints can be used for, but there are still so many more benefits of this wonderful herb. Below are some of these benefits: Can be used to make mint tea. To do this, simply put the leaves in a cup of hot water and then leave it to sit for some minutes. Make tasty ice cubes with it by freezing the leaves with raspberries and cranberries. Add it to a salad dressing, marinades, or fruit salad.  Use it to relieve headaches by applying It's oil to the temples.  It can also be used to relieve anxiety and stress. Yes, mints have many other health benefits, but though not a practical use, it is also used as a virtue symbol. Planting Mints If you decide to plant mints in your garden or yard, then below are some important things that you have to know: They flourish in light earth which has good drainage. Their original habitats are stream banks, so, the site you plant them should imitate stream bank soils. That is to say, ensure the soil you plant your mints is moist but also well-drained. Variegated mints should not be planted in direct sun as they require a bit of shade. Mints typically grow to become one to two feet tall. If you plant them in a container or pot, then you would need to topdress them with organic or compost fertilizer once in a few months. If you plant mints in your garden, ensure to plant them next to tomatoes or cabbages, this will help contain their spread and prevent them from stealing your crops’ nutrients. Care Mints do not require that much care; however, you should consider the following points when caring for them: If planted outdoor, use light mulch. You can visit https://www.thespruce.com/what-is-mulch-1402413 to read up more on mulch. The light mulch will ensure the soil remains moist and also help the leaves to stay clean. If planted indoors, then ensure you water them often to help the soil stay evenly moist. Mints should be picked and pruned regularly. Like we have stated many times already, these guys are fast spreaders, therefore, you would need a lot of pruning to stop them from taking over everything. This should not worry you since their roots are shallow making it quite easy to drag them out of the soil. The Propagating You do not need to do a lot to propagate mint. The perfect way to go about this is to find the plant which you like and then cut out of it. Ensure the cutting is at least 6 inches and has ample roots attached. Then plant them in the soil horizontally. You can always get a cutting from a gardening friend, so this is nothing to worry about. Harvesting and Storing To learn how to harvest mint is quite easy, it typically does not involve any special skill. You may either pick the leaves individually, or you may use shears to prune the plant and then take off the leaves from the stem you had cut off. Despite the harvesting process being relatively easy, you need to remember a few things when you harvest your mints: Frequent harvesting will keep the plant at its best. The younger leaves have a better flavor than the old ones. You can pluck the leaves whenever you need mints. If you need dry mints, then pluck the leaves before flowering and then save them in an airtight container. You can also store fresh mints that you do not immediately have use for. To do this, put water in a glass and then put the stems inside the water. The mint will stay fresh for 3 to 7 days this way. You may equally put the mints inside a rubber bag and then store them in your refrigerator. This should keep it fresh for at least a week. Conclusion Mint is an herb that would make a very great addition to your garden or yard. But, without proper knowledge about the plant, everything may spiral out of control. Therefore, you must have basic knowledge about planting, caring for, and harvesting this plant before you farm it.  Read Also: How to Maintain a Bright and Beautiful Garden During Winter How to Choose the Right Containers for Your Container Garden Grow these flowering plants in your home garden How To Grow Tomatoes From Seed  

READ MOREDetails