The Causes Why You Can’t Read Data in the External Hard Drive

Published on: 09 November 2018 Last Updated on: 19 July 2019
Hard Drive

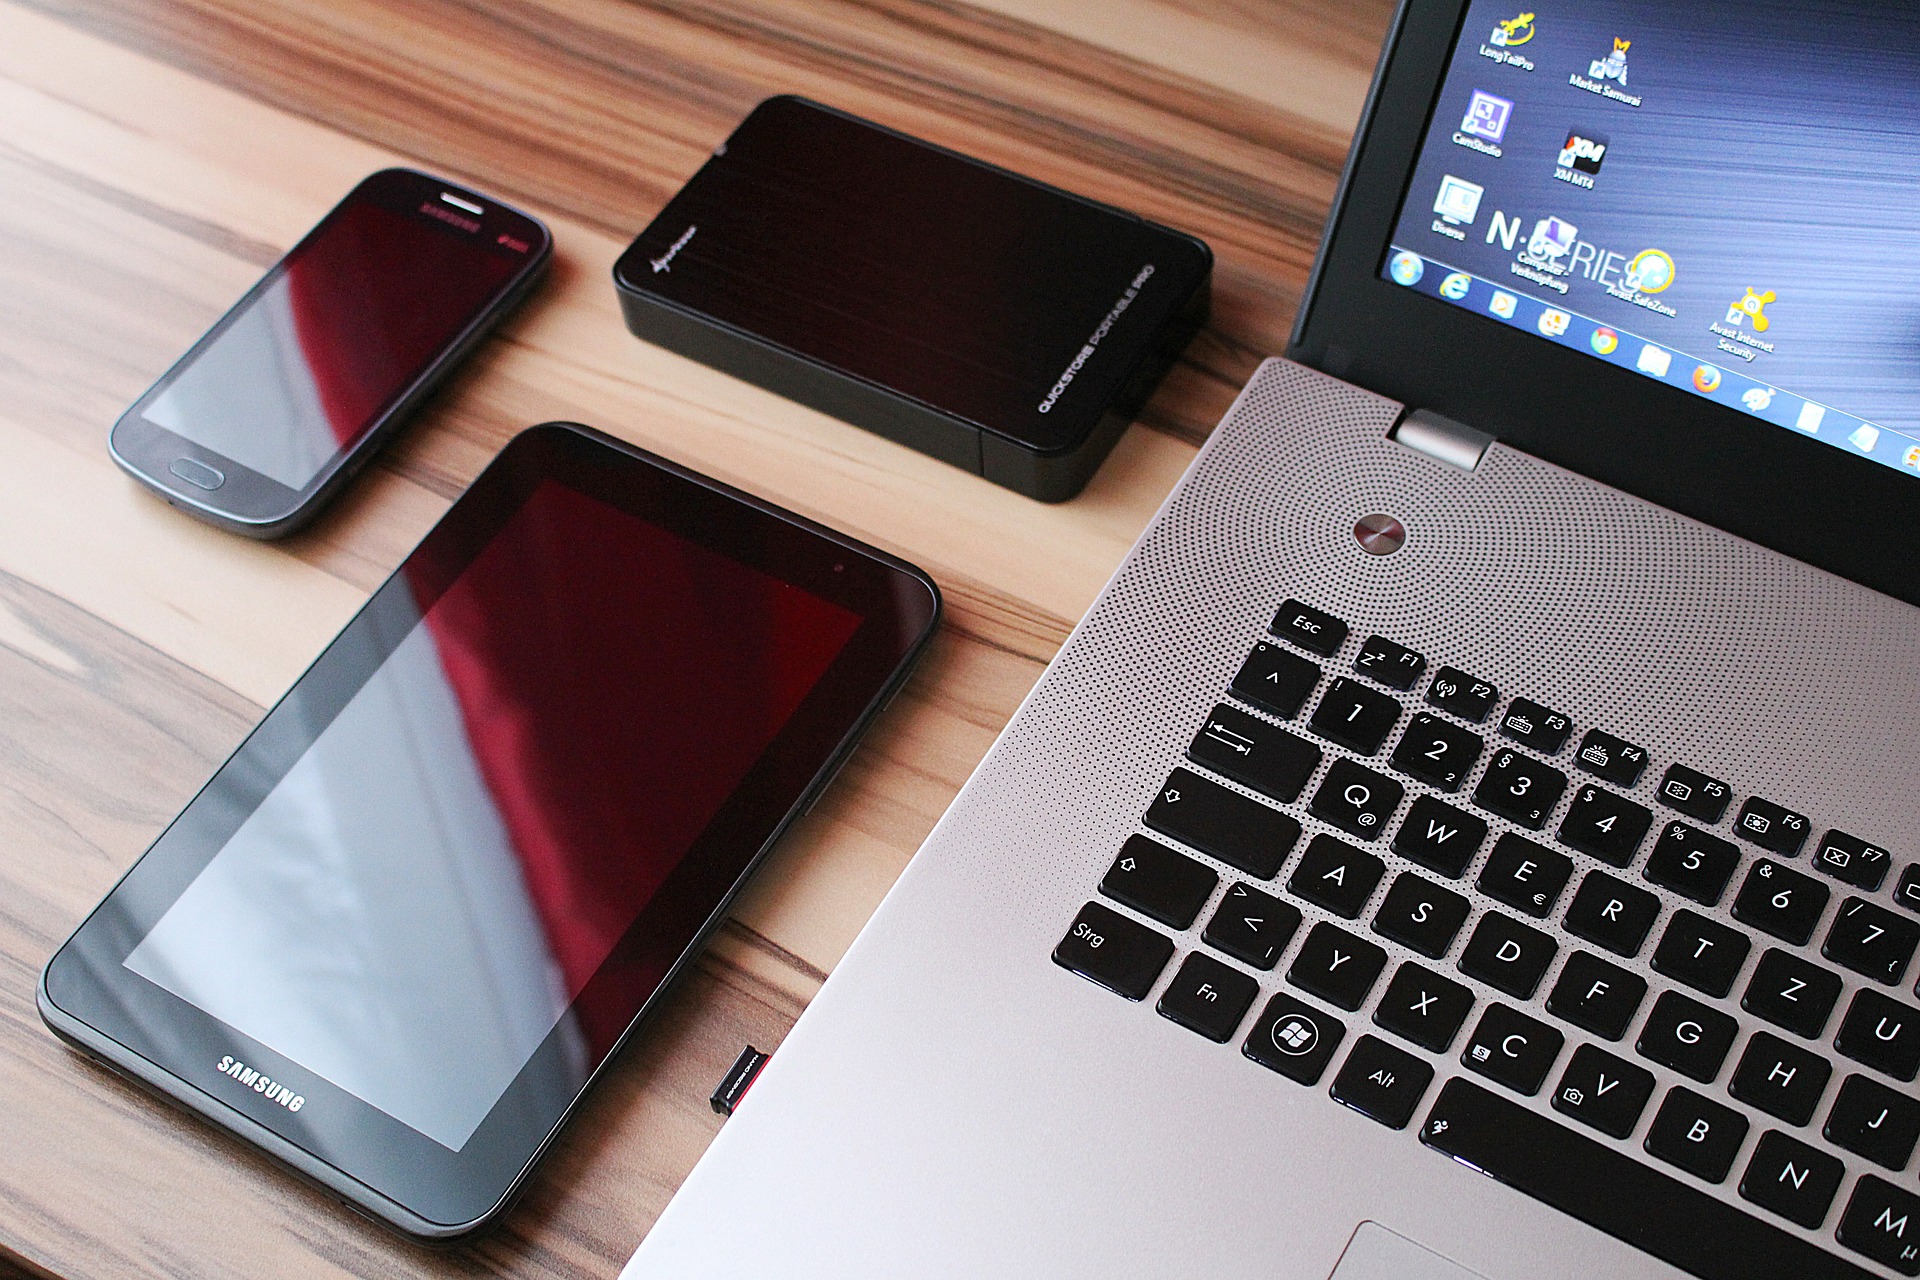
Saving important data in an external hard drive is claimed as the safest way. Actually, there is still a possibility that the data is gone. Let’s learn more about how the data can be lost from the external hard drive and how to recover data from the external hard drive.

Physical Damaged

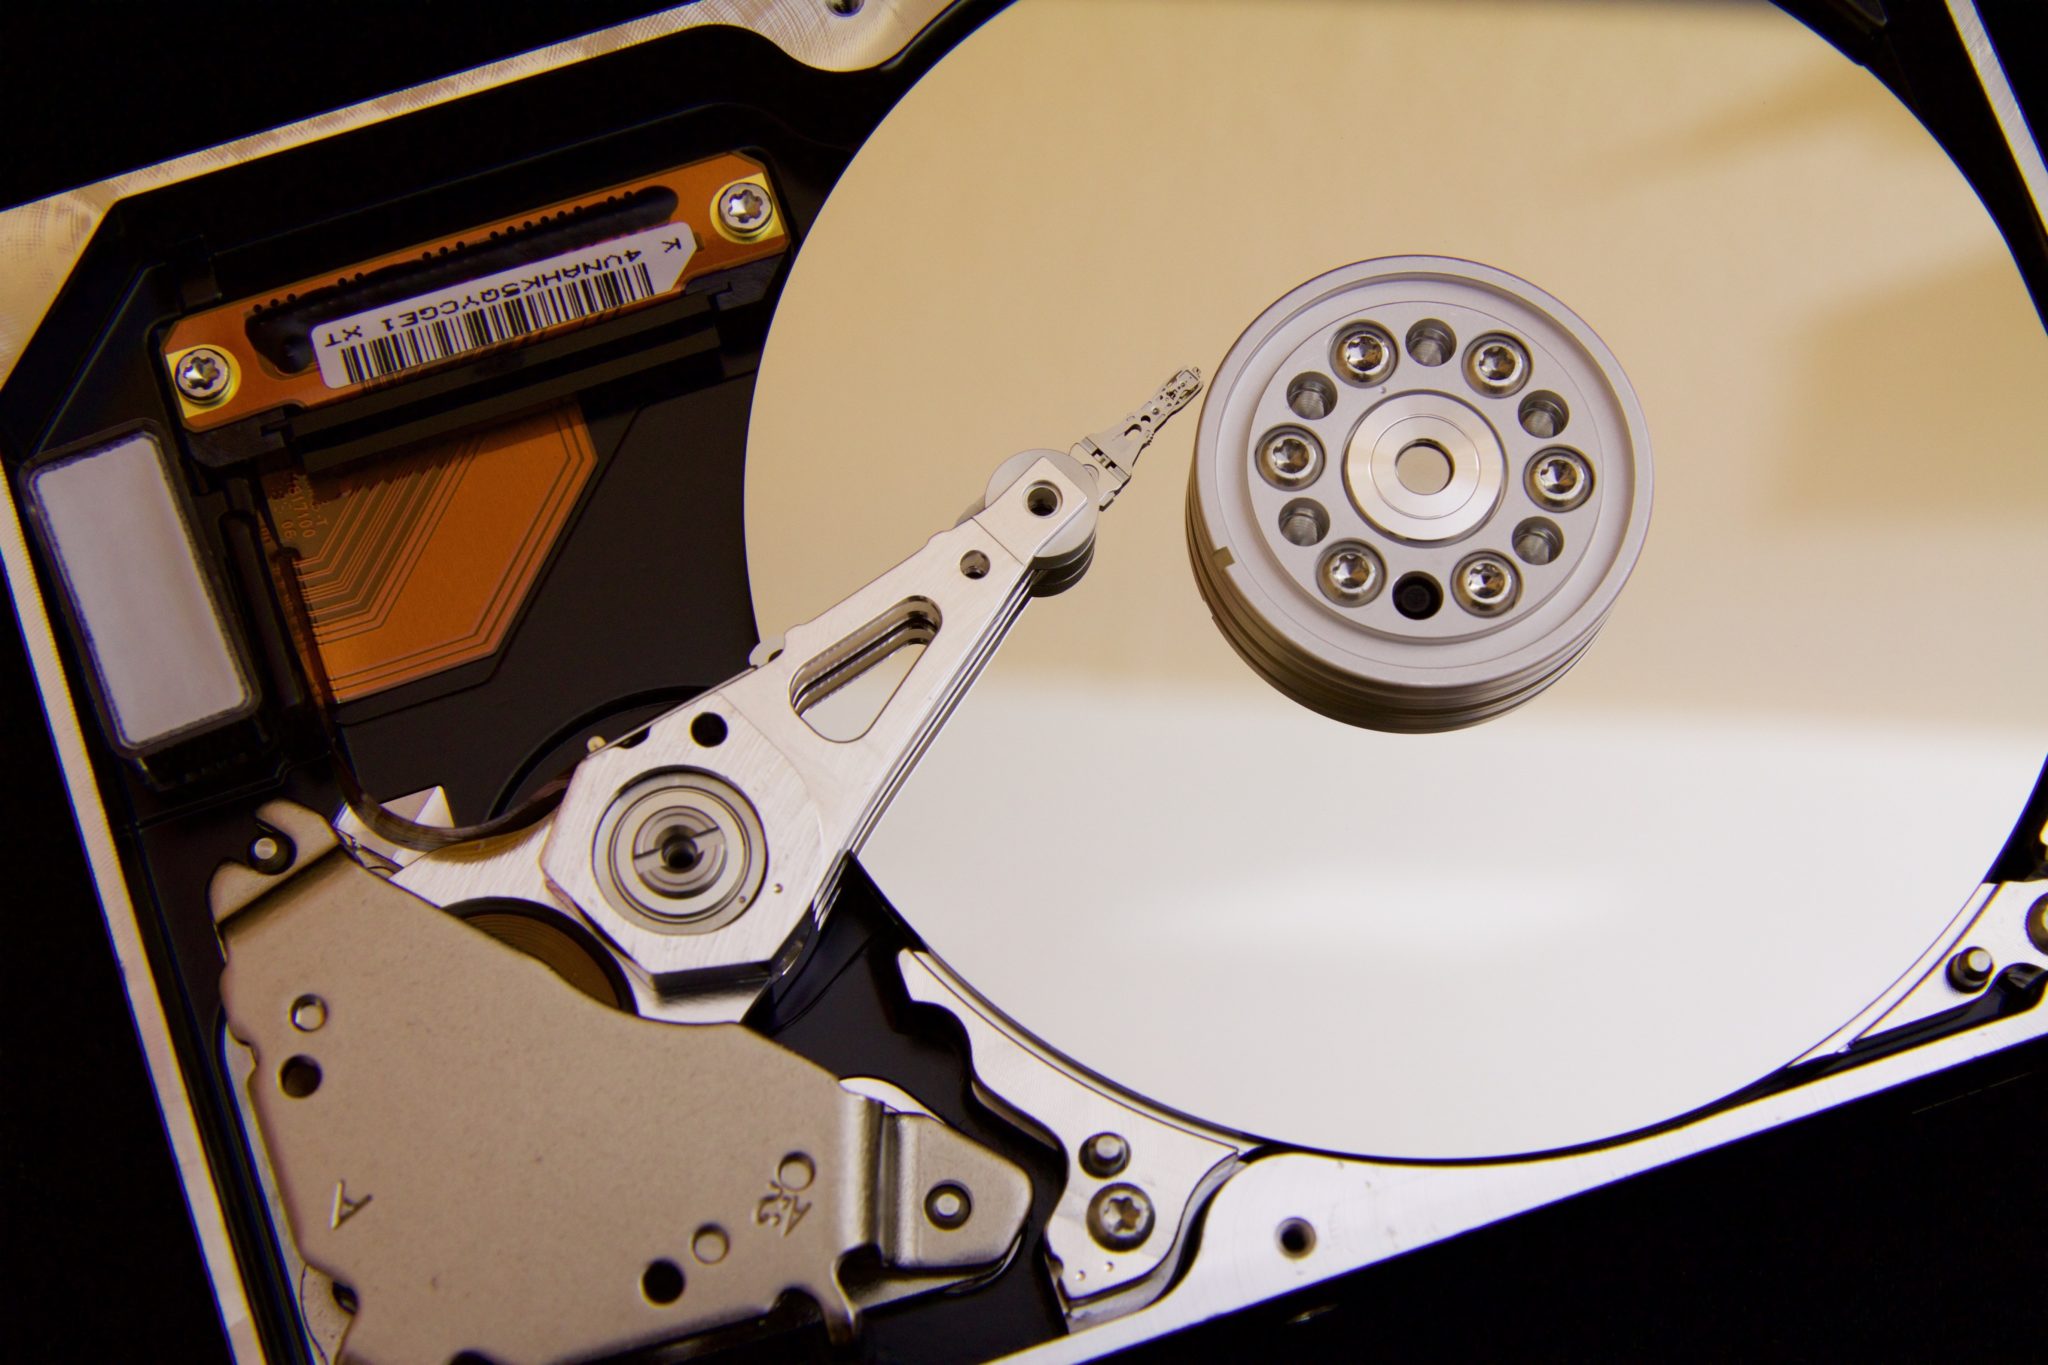
The main problem why you can’t detect the data in the external hard drive is because there is a problem with the external hard drive. Commonly, it is caused by the physical damaged because of improper treatment. There is a possibility that you ever dropped the external hard drive. The physical damage is also caused by high pressure. It might be okay in the first time but soon, it makes data not detected when you try to connect it to the other devices.

Overused

Using the external hard drive too long triggers problems. One of the impacts is that the data in the external hard drive is unable to detect. There is a possibility that the external hard drive is overused. When you use the hard drive, the driver will spin up while reading the data. If you use it too long it means the driver will spin up all the time and it triggers the hard drive to spin faster and doesn’t read the data completely.

Corrupted Drive System Files

Another reason why you can’t read the data in your external hard drive is that of the drive system files. The undetected data is because the drive system files are lost or corrupt. The system files have an important role in keeping the data or files work properly. Without a normal drive system file, the external hard drive can’t read your data.

The Problem in the Connector

Sometimes, the problem is not in the external hard drive but in its connector. It is better for you to check it by using a different type of USB port or cable. One of them has to connect the hard drive and the device. Hopefully, it doesn’t have any impact on the data in the hard drive. So, the solution is only finding the right USB port and cable and you can open the data.

System Termination

Just be careful when you connect the hard drive to the computer or the other devices. There is a case that by the time you connect it, the computer is suddenly terminated or hang without any specific reason. If it is happening to your external hard drive, there is a possibility that your data can’t be detected.

Power Surges

Another thing you need to worry is when you transfer data from the external hard drive to another device. Just make sure that the data is transferred successfully. If there is a problem during the transfer process such as power surges so the impact will be fatal for both devices. It might damage your external hard drive or computer. Indeed, you will lose the data in the external hard drive.

Virus or Malware Infection  

The common cause is also a virus or malware infection, especially if you tend to connect the hard drive to the devices which are not protected by antivirus or malware. The worse impact is you lost the data and the hard drive will be undetected.

The Way to Get Corrupted Data Back with Data Recovery Software

Luckily, there are some solutions to get the data in the external hard drive back. The best way to get the corrupted data back is by using data recovery software. You can find trusted data recovery software to help you take the lost data back and use it normally.

The process and the result depend on the software you choose. For example, there is software which doing the process slowly along with low accuracy. On the other hand, there is also software which can scan the lost data fast along with high-level of accuracy. Even, the software is supported by a deep scanning feature to scan the external hard drive deeper and get all the lost data.

The way to use the data recovery software is easy. You just need to download and install it first. Then, connect your external hard drive to the computer where you download the software.

Follow the instruction step by step and make sure that you do the steps right. After the scanning process, you are able to preview the lost data and click the recover button to recover those data.

Now, you know how to recover data from external hard disk. As long as the hard drive is detected, you can get the lost data with data recovery software.

Summary: There are some causes why you can’t read data in your external hard drive. This article shows about the causes and the way to solve it.

Read Also:

Content Rally wrapped around an online publication where you can publish your own intellectuals. It is a publishing platform designed to make great stories by content creators. This is your era, your place to be online. So come forward share your views, thoughts and ideas via Content Rally.

View all posts

Leave a Reply

Your email address will not be published. Required fields are marked *

Related

Metrology Tools

How Portable Metrology Tools Are Making Manufacturers More Flexible

So far, the 21st century has proven to be a period of intense change and rapid development in the world of manufacturing. As new technology has driven automation and given birth to Industry 4.0, North American manufacturing has become more financially viable, and a growing number of firms are taking advantage of the economic and political climate to re-imagine their supply lines and production models. Different Metrology Tools can work well for you. One area where this has had a particularly significant impact is in the tools and machinery manufacturers are using to meet their production needs.Metrology Tools can make things easier for you. For example, in order to find more flexible solutions to issues like quality assurance, many firms are turning to new tools like portable CMM equipment that help ensure their products meet the highest standards of quality, but which are versatile enough to serve a variety of different functions. Portable CMMs have quickly become one of the most popular metrology tools on the market, and are frequently used both to supplement more traditional, stationary CMM models like gantry or bridge CMMs, and as a replacement for them. Portable CMMs like ROMER Arms and laser scanners can offer a helpful supplement to standard manual-probe CMMs in part because they gather data much more quickly, which allows technicians to get quick, accurate measurements on parts that are still being produced for quality control purposes. But portable CMMs are also being put to other uses. In particular, portable CMMs have proven to reliable and useful tools for managing a wide range of metrology-related tasks, such as measuring existing parts to create CAD blueprints that can be used to reverse-engineer these parts. These functions have made portable CMMs indispensible for manufacturing companies who are exploring new products and building prototypes. At this vital stage, it is often necessary for designers to make manual changes to parts, and with portable CMMs, re-translating the new prototypes into CAD is easy. Because ROMER Arms, laser scanners, and white light scanners are mobile, they have become an indispensible way of gathering data from parts and products being built and designed off-site (in some cases, they are even seeing use in the construction industry, as a way of gathering precise, accurate data about structures that are still in the process of being built). The next six years are set to be a turbulent time in the manufacturing industry, and portable CMMs are precisely the kind of tool manufacturing businesses will need to adopt if they want to weather the uncertainty to come. While President Trump’s administration claims to be re-building the American manufacturing industry by bringing more manufacturing jobs back into North America, it is not yet clear what effect his much-vaunted tariffs will have. And with another presidential election only two years away, the industry may well see more upsets and sudden policy swings in the years to come. One thing is clear in all of this: the biggest winners will be those firms that are able to respond to the uncertainty of the times by becoming more flexible, versatile, and efficient. Read Also: 5 Ways Construction Businesses Can Gain New Clients Construction Plans In Australia

READ MOREDetails
audio renderer error

How To Fix Audio Renderer Error In Windows 10

Are you getting an “audio renderer error, please restart your computer” error message in your Windows 10 system? In case you still have not restarted your computer, then you can start by clearing your browser cache. And then restart your computer. If the audio renderer error on YouTube still persists, there are several other tactics or troubleshooting steps that you can try to eliminate this issue. Causes Of Audio Renderer Errors Here are different reasons why you might face audio renderer Errors – Driver Issues One of the reasons why you face audio renderer errors is because the driver is getting corrupted or outdated. When the drivers aren’t working properly, it can cause communication errors Between the hardware and the operating system. Most users report that updating the drivers or rolling them back often resolves the issue. Hardware Conflicts Hardware complex can also cause the audio devices to Trigger these errors. Got example would be when a computer has both the headphones and the speakers connected. This can cause a struggle within the computer to determine which device should deliver the output. In this case, it's best to disconnect one of the devices. Software Conflicts The software conflicts in the computer can also interfere with the audio playback. This happens when the web computer has installed different extensions or third-party audio and has enhancement tools. Sometimes, the system updates also in advertently affect the audio setting, causing conflict within the software and audio rendering processes. Updating Windows Operating System Sometimes, updating the Windows operating system can also disturb the existing audio on the favorite configuration, leading to audio issues. In many cases, it's best to check if the audio is working after major operating system updates. Corrupted Systems Corrupted system files can also lead to audio-rendered errors. It's best to run system file checks for or troubleshoot utilities to identify and solve these issues. Fixing Audio Renderer Error In Windows 10 Here are the ways to techniques that will help you fix the YouTube audio renderer error in Windows 10. If you are getting no sound on YouTube Windows 10, you should definitely try these steps and check whether the issue is solved or staying. 1. Replug Or Unplug The Sound Device In case you have any external wired audio device connected with your system, like a pair of earphones, headphones, or speakers, then unplug the device and start the youtube video. If the audio is playing, then connect the device again and check for the issue. Sometimes, when you connect too many external devices to your computer, this audio renderer error may occur. At that time, connect only the default audio device and disconnect the rest to solve the issue. If this error is still showing, try the next suggestion. 2. Close The Audio Mixing programs Audio mixing programs, like Mixcraft, often take exclusive control of your system’s audio drivers and prevent your browser from using them. In case you have a program like this, and it is running in the background before you start watching Youtube, completely exit the program. On the other hand, you also can prevent those programs from taking control of your audio devices. For example, let’s go through the steps for Mixcraft. Open File. Go to Preferences. Go to Sound Device. Search for Exclusive Mode. Now, uncheck the box or turn off the switch. 3. Disable And Enable Sound Devices While trying to fic audio renderer error in Windows 10, you can disable and then again enable sound devices to fix the issue. Here are the steps to do that.  Right-click on the Start Button. Now select the Device Manager. Expand the option Audio inputs and outputs. Now, right-click on your default audio device name. Suppose you are unable to figure out where to click, as there are a lot of options. Right-click on the volume icon. Choose Disable device. Select the Yes option to confirm. Again, right-click the Audio device. Now, Enable the device. 4. Run The Audio Troubleshooter Now you have done with the three fixing techniques, but the audio renderer error is still there. You can try to fix the issue by using the audio troubleshooter in your Windows 10 system. It will not only be able to detect the underlying problems but also help to fix the issue. Follow the below steps to do that. Open the Start menu. Now, type troubleshoot settings. Now select Open. Select the option named Additional Troubleshooters. Select Playing Audio. Now select Run the troubleshooter. Now follow the on-screen suggestions or instructions to solve the issue of the YouTube sound cutting out. 5. Rollback Audio Drivers Are you facing the audio renderer error just after updating any sound card or audio playback device-related driver? If yes, then try rolling them back. But in case there is no update, you can not try to roll back them. Audio Playback Device Right-click the Start button. Select Device Manager. Expand the option Audio inputs and outputs. Now, right-click on your default audio device name. Choose Properties. Switch to the tab named Driver. Now select Roll Back Driver. Audio Card Drivers Open the Device Manager. Expand the options for Sound, videos, and game controllers. Right-click on the Audio card driver. Now select Properties. Switch to the tab named Driver. Then Select Roll Back Driver. In case you are multiple audio drivers, repeat steps 2 to 4. 6. Update Audio Drivers What if you can not rollback your audio drivers to fix the audio renderer error issue? You can try updating them instead. Audio Playback Device Right-click the Start button. Select Device Manager. Expand the option Audio inputs and outputs. Right-click on the default output device. Choose the Update driver. Select the option named Search automatically for drivers. Now apply the last driver updates if you get the option. Audio Card Drivers Open Device Manager. Expand the option Sound, videos and game controllers. Right-click on the Sound card driver. Select the Update Driver. In case you see multiple devices, repeat the third and fourth steps.  7. Update Windows 10 An outdated system often becomes the reason for many technical glitches and abnormalities to crop up. Updating your Windows 10 may eliminate the audio renderer error. So, update it now. Open the Start menu. Now type there Windows Update. Hit Enter. Now select Check for updates. If any update is available, install it. Just below the Check for Updates option, there will be another option named Optional Updates. Select it in order to install any updates related to audio. Update Web Browser An outdated web browser can also be the main reason behind audio renderer errors. Though popular web browsers such as Firefox and Chrome are designed for automatic updates, there is no harm in double-checking. And if there is, any update is available. Install it. 8. Disable Hardware Acceleration Hardware acceleration is used by your browser in order to speed up things. But this feature also can cause audio renderer errors in Windows 10. So, you can disable hardware acceleration to avoid this issue. Google Chrome Open the Chrome menu. Select Settings. Expand Advanced. Choose System. Search for Use hardware acceleration when available. Turn the switch off. Mozilla Firefox Open the Firefox menu. Select Settings. Scroll the General tab down. Search for the Performance section. Search for Use hardware acceleration when available. Uncheck the box. Final Tips All the tactics that are mentioned above are more than enough to solve the audio renderer error in Windows 10. But if it persists, you also can update the bios and check whether the issue is solved or not. If you have any other technique to solve this issue, you can share that with our readers. Read Also: How Many Jobs Are Available In Real Estate Investment Trusts? 2021 How to Download Game Of Thrones Putlocker Online for Free? How to Plant Grass Seed on Hard Dirt? – Latest Update 2021  

READ MOREDetails
Smart House Technology

Smart House Technology for Saving Energy

From smart locks to futuristic thermostats, modern homes are living up to their name more every day. But these technologies aren't just convenient and innovative. Though they do make life easier, they can also put a huge dent in your utility bills and help you consume less energy at home. This is possible with a smart thermostat, for example, which monitors your lifestyle habits (i.e., when the house is empty or when everyone turns in for the night) and makes temperature changes to optimize your energy use. Smart House Technology for Saving Energy: Adjusting your thermostat by 7-10 degrees for eight hours can make a significant difference in your energy consumption, and smart technology makes it easy to do so without having to compromise your family's comfort at home. The device will simply make the temperature change when everyone is at work or school, for example. A similar but less talked about innovation is motorized window shades. These open and close at peak times throughout the day to help heat and cool your home naturally. These and other energy-saving smart technologies are outlined in greater detail in the infographic below. Modern technologies are certainly eye-catching, but plenty of less thrilling appliances, such as efficient stoves and dishwashers, are also being innovated to consume less energy. A professionally installed new HVAC system, for instance, will keep you comfortable while lowering your utility bills. This will ensure you can cool off and warm up with a quality system while also integrating energy-saving technologies and practices at home — all without compromising your comfort. Read Also: 5 Tips For Buying A Second Household Get The Best Assistive Technology: A Telecare Equipment

READ MOREDetails