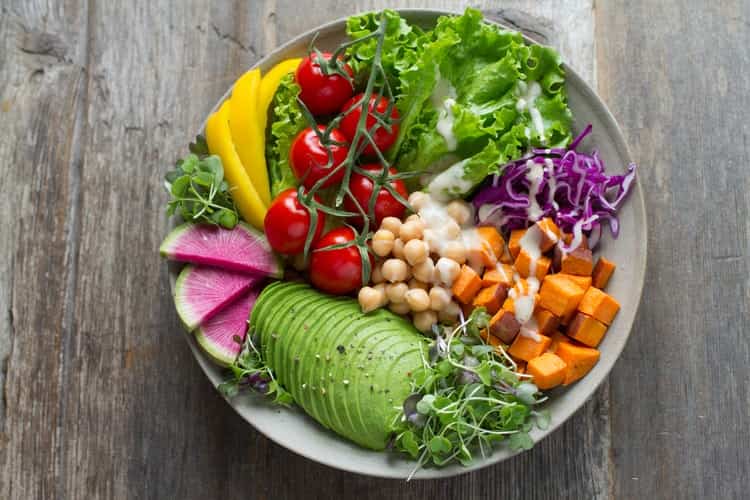
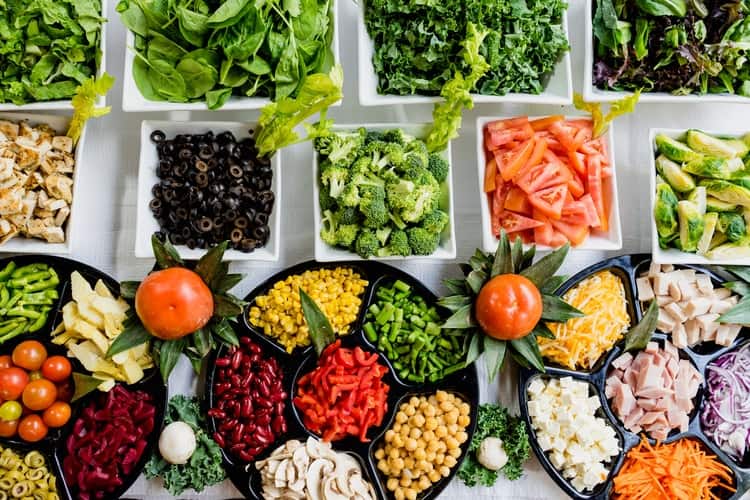
Vegans prepare salads as an important part of their staple diet putting greens, vegetables, beans, and fruit inside. After stirring the mixture, the question appears on what seasonings to use. The color and the fresh textures are the most fantastic attractions of the vegan’s salad platters.
Flavoring should be salubrious for providing the benefits of elements to the body in the complete form without increasing calories. People can buy easy vegan salad dressing, select ingredients independently, or order the ready useful products created by others.
The second variant saves time because that is not needed to search for fresh qualitative compounds everywhere and to process for further adding to food.
3 Key Benefits Of The Salad Dressings For Vegans
With the proper application of dressings, salads will be rich in fiber and nutrients. It is possible to use multiple bases such as olive oil, tofu cheese, Greek yogurt, lemon juice. Each named component has obvious benefits.
Here are three key benefits of well-balanced salad dressings for vegans.
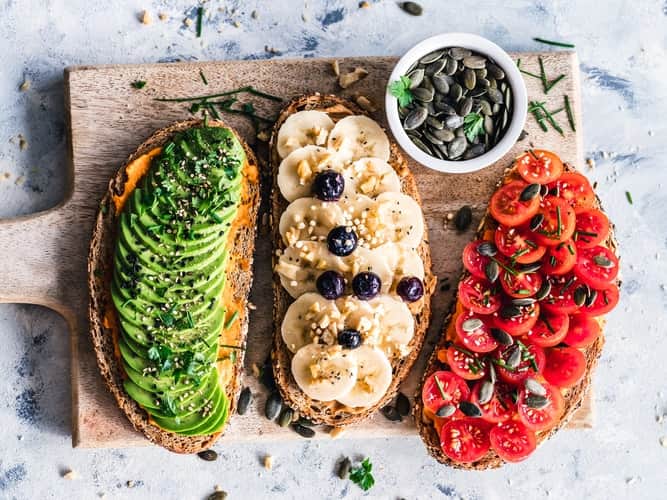
1. The Choice Of Natural Vegan Salad Dressing
It is a failure to think that all healthy vegan salad dressings are plain in their taste because there is a great variety of available products nowadays. The Vegans can feel the notes of spiciness, light tartness, and sourness.
However, the most impressive is the combinations of different relishes in one seasoning. Everything is plant-based and full of the goddess of earth and nature, from the seasoning to the dipping sauce.
Today the market offers are extended, and vegans can open new facilities for themselves. For instance, not every Australian knows what Laphet is. These are tea leaves that are popular in Myanmar, where they indicate the symbol of hospitality. Mimi’s Laphet provides healthy vegan salad dressings that also include other natural ingredients.
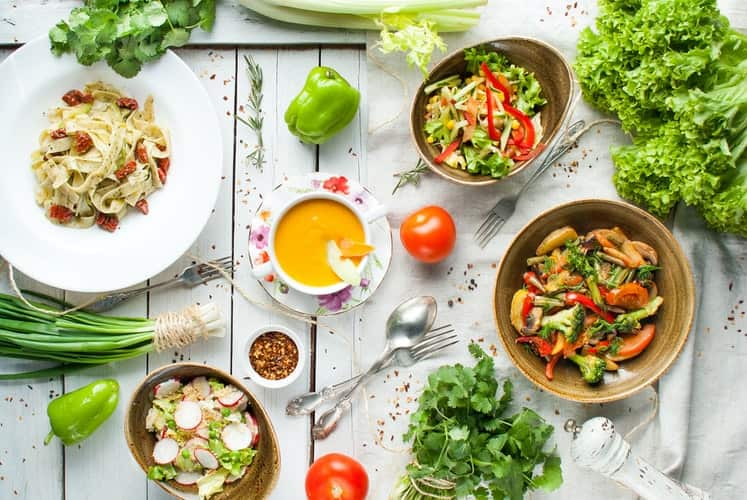
2.The Effectiveness Of Vegan Salad Dressings
The eye-pleasing colorful platter is the primary feature of the salad dressings for vegans. An easy vegan salad dressing positively influences the whole body. Eaters notice the changes over time of consuming the flavoring. They manifest both visually and physically.
When you want to beat the summer heat, the plant-based vegan salad is quite effectively keeping you cool. The salad for the vegans is not only looking delicate and gorgeous.
For beating the summer heat and when you want to preserve the glow of your face, the plant-based vegan salad is the ultimate choice. All ingredients of the vegan salads are edible and full of health benefits. So for the summer, do not forget to order some vegan salad to spice up your meal in Mimi’s Laphet.
3.Vegan Salad Full Of Goodness
Progressive seasonings are an alternative to vinegar, fat sour cream, and other substances. By selecting healthy food, you put well-being first place. Robustness is something people shouldn’t save on. Therefore, purchase your own jar of condiment to receive satisfaction by virtue of delicious relish and attractive texture.
Affirmative features lie in the following sighs:
- Reducing weight thanks to burning fat, vegans get the result of a quicker metabolism. Harmful elements are rapidly excreted from the stomach and intestines. Biotic components soften the work of the digestive system.
- Anti-inflammatory and antibacterial action. The presence of garlic eliminates viruses that threaten favorable microflora and cells and strengthens vegans’ body immunity and ability to fight irritants.
- The stopping temps of aging. Tea leaves affect the condition of the brain and nervous system. The brain controls all operations inside and stimulates the excellent work of organs. The decline of stress is an additional advantage too.
- Lowering the level of sugar inside helps prevent diabetes. The practical opposition to cancer and other oncology diseases because of the antioxidants. Sesame seeds with extra herbs contain protein supporting the development of muscles.
Conclusion:
The vegan salads are keeping your energy balance. A vegan dressing maintains the necessary saturation of the organism. People feel more lively after consuming a vegan salad. At the same time, heaviness in the stomach is not characteristic. It is able to increase powers on physical activity as well. These salads are keeping the vegans energetic and physically active by providing a balanced diet.
Read Also:
- 5 Best Vegetables You Should Try Growing In Your Garden
- Looking for a Gardener: 8 Questions to Ask Before Hiring a Professional
- DIY Ways to Control Pests in Your Garden