8 Plumbing Myths Busted

Published on: 08 August 2018 Last Updated on: 20 July 2024
8 Plumbing Myths Busted

Plumbing is an essential part of any home although it is something that most would pay attention to if something goes wrong. Ranging from leaks to busted garbage disposals, folks turn to temporary measures to address the problem and only call the professional plumbers once all else fails.

Aware of the multiple problems plumbing fixtures can cause, some household employ maintenance beliefs that have proven not to be entirely effective. Folks have been left under the impression that several of them actually improve their piping and fixtures but conversely cause more harm than good.

That said, below are some of the mythical stuff tied up to plumbing. Some may make sense although they do carry consequences that can be good or bad.

1. Placing bricks in the toilet to conserve water :

Placing bricks in the toilet to conserve water

Making sure that the toilet properly functions is a must to ensure that water is not wasted. This includes making sure that the stopper closes properly to avoid water from continuously flowing.

The amount of water that goes through it is key. So would having less stored water be equivalent to savings? Using logic, it does make a bit of sense although it alters the proper water stored in the tank. Also, a brick dilapidates over time. At some point, it could affect parts of a toilet and end up wasting more water and money.

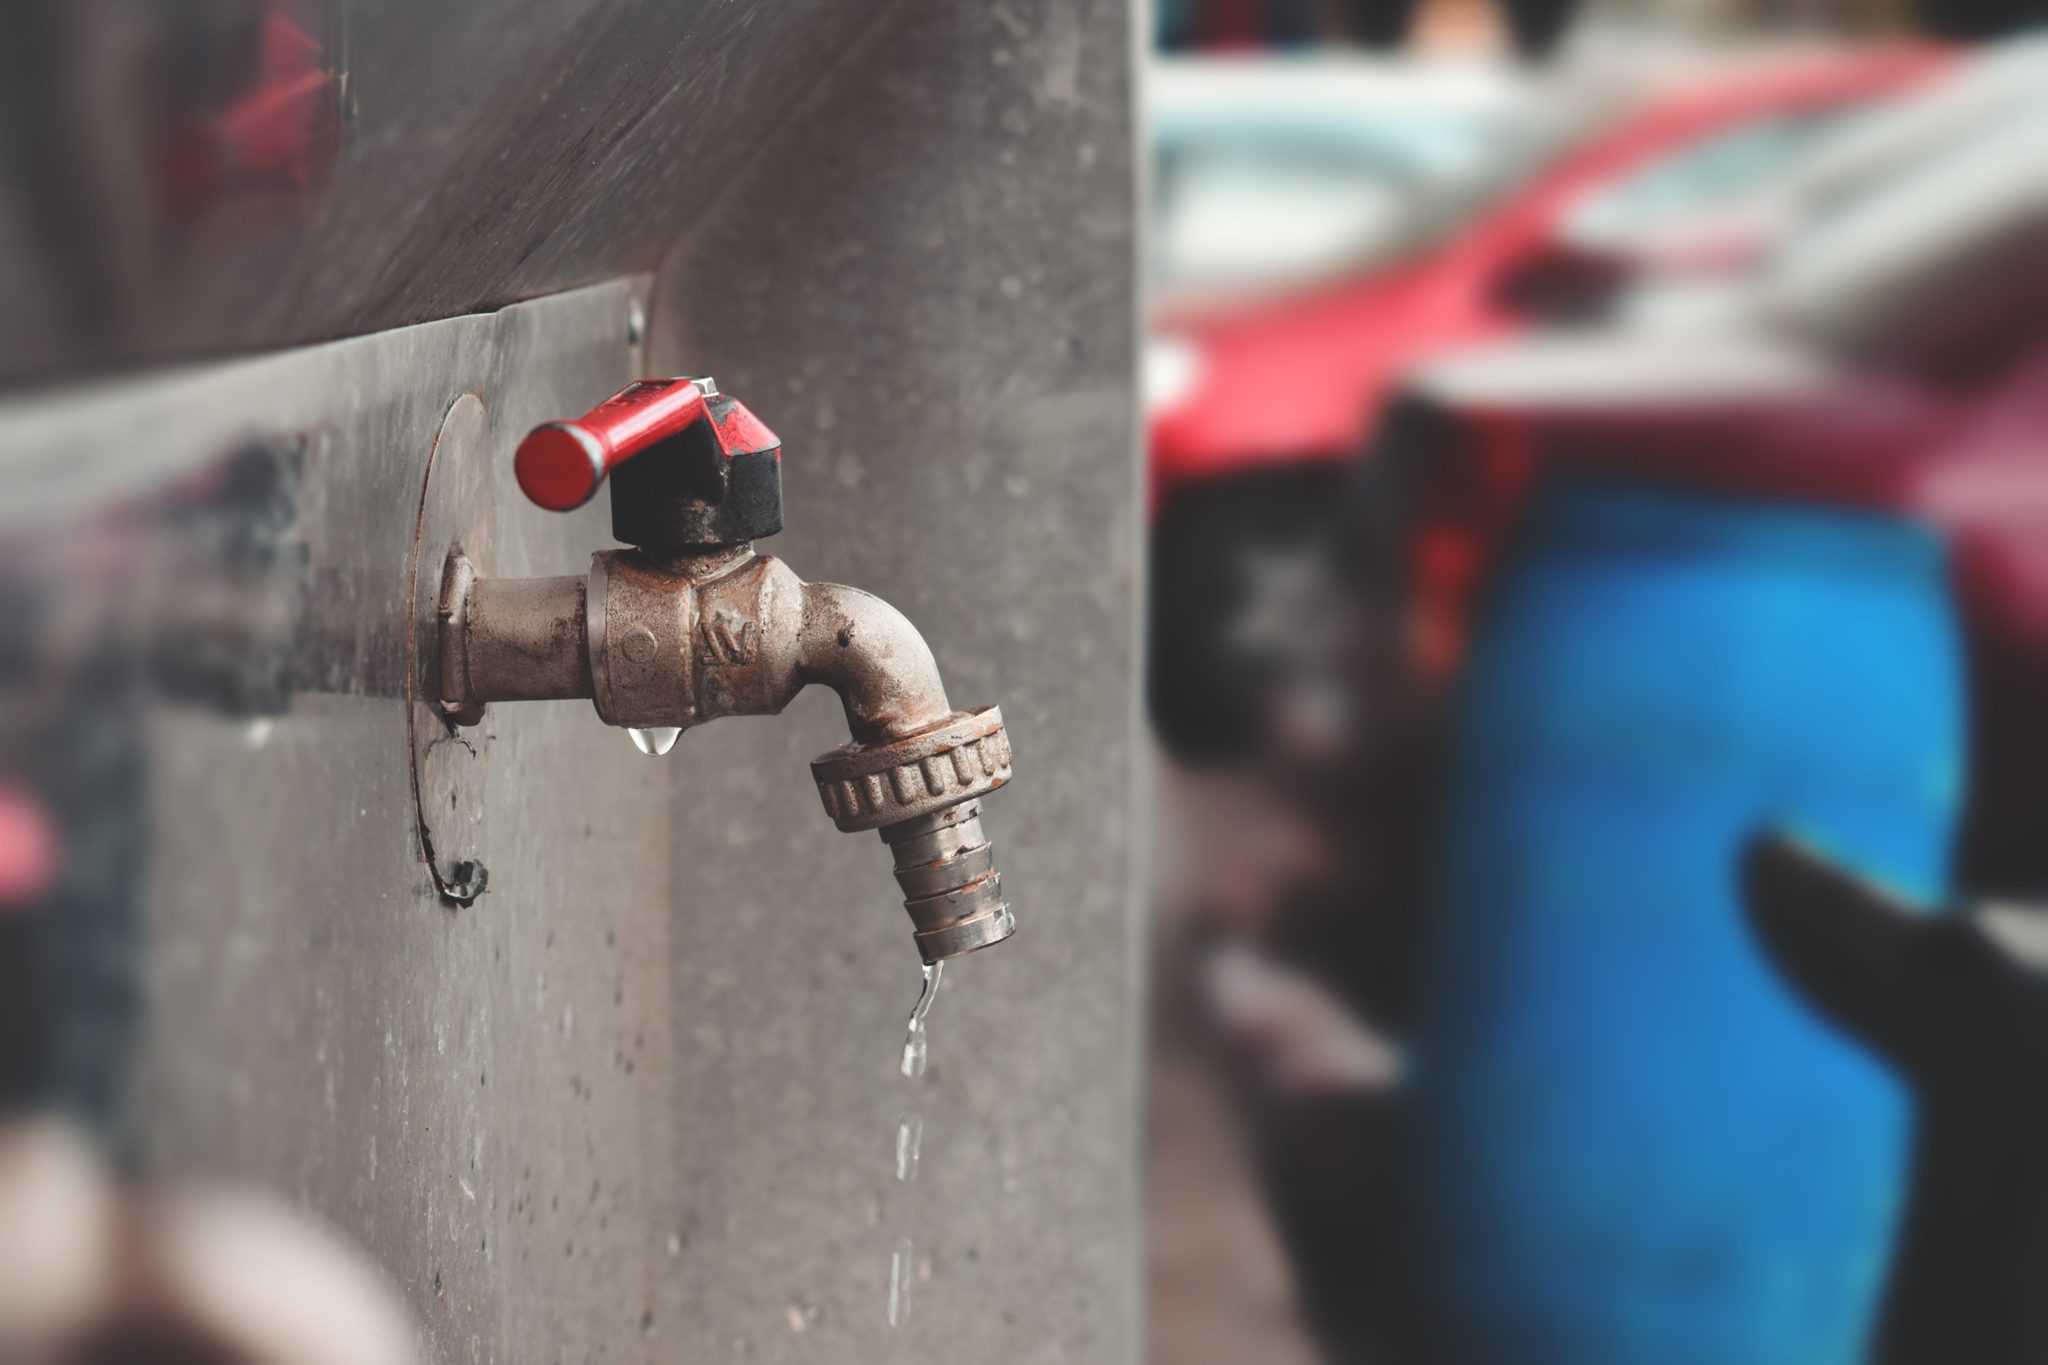
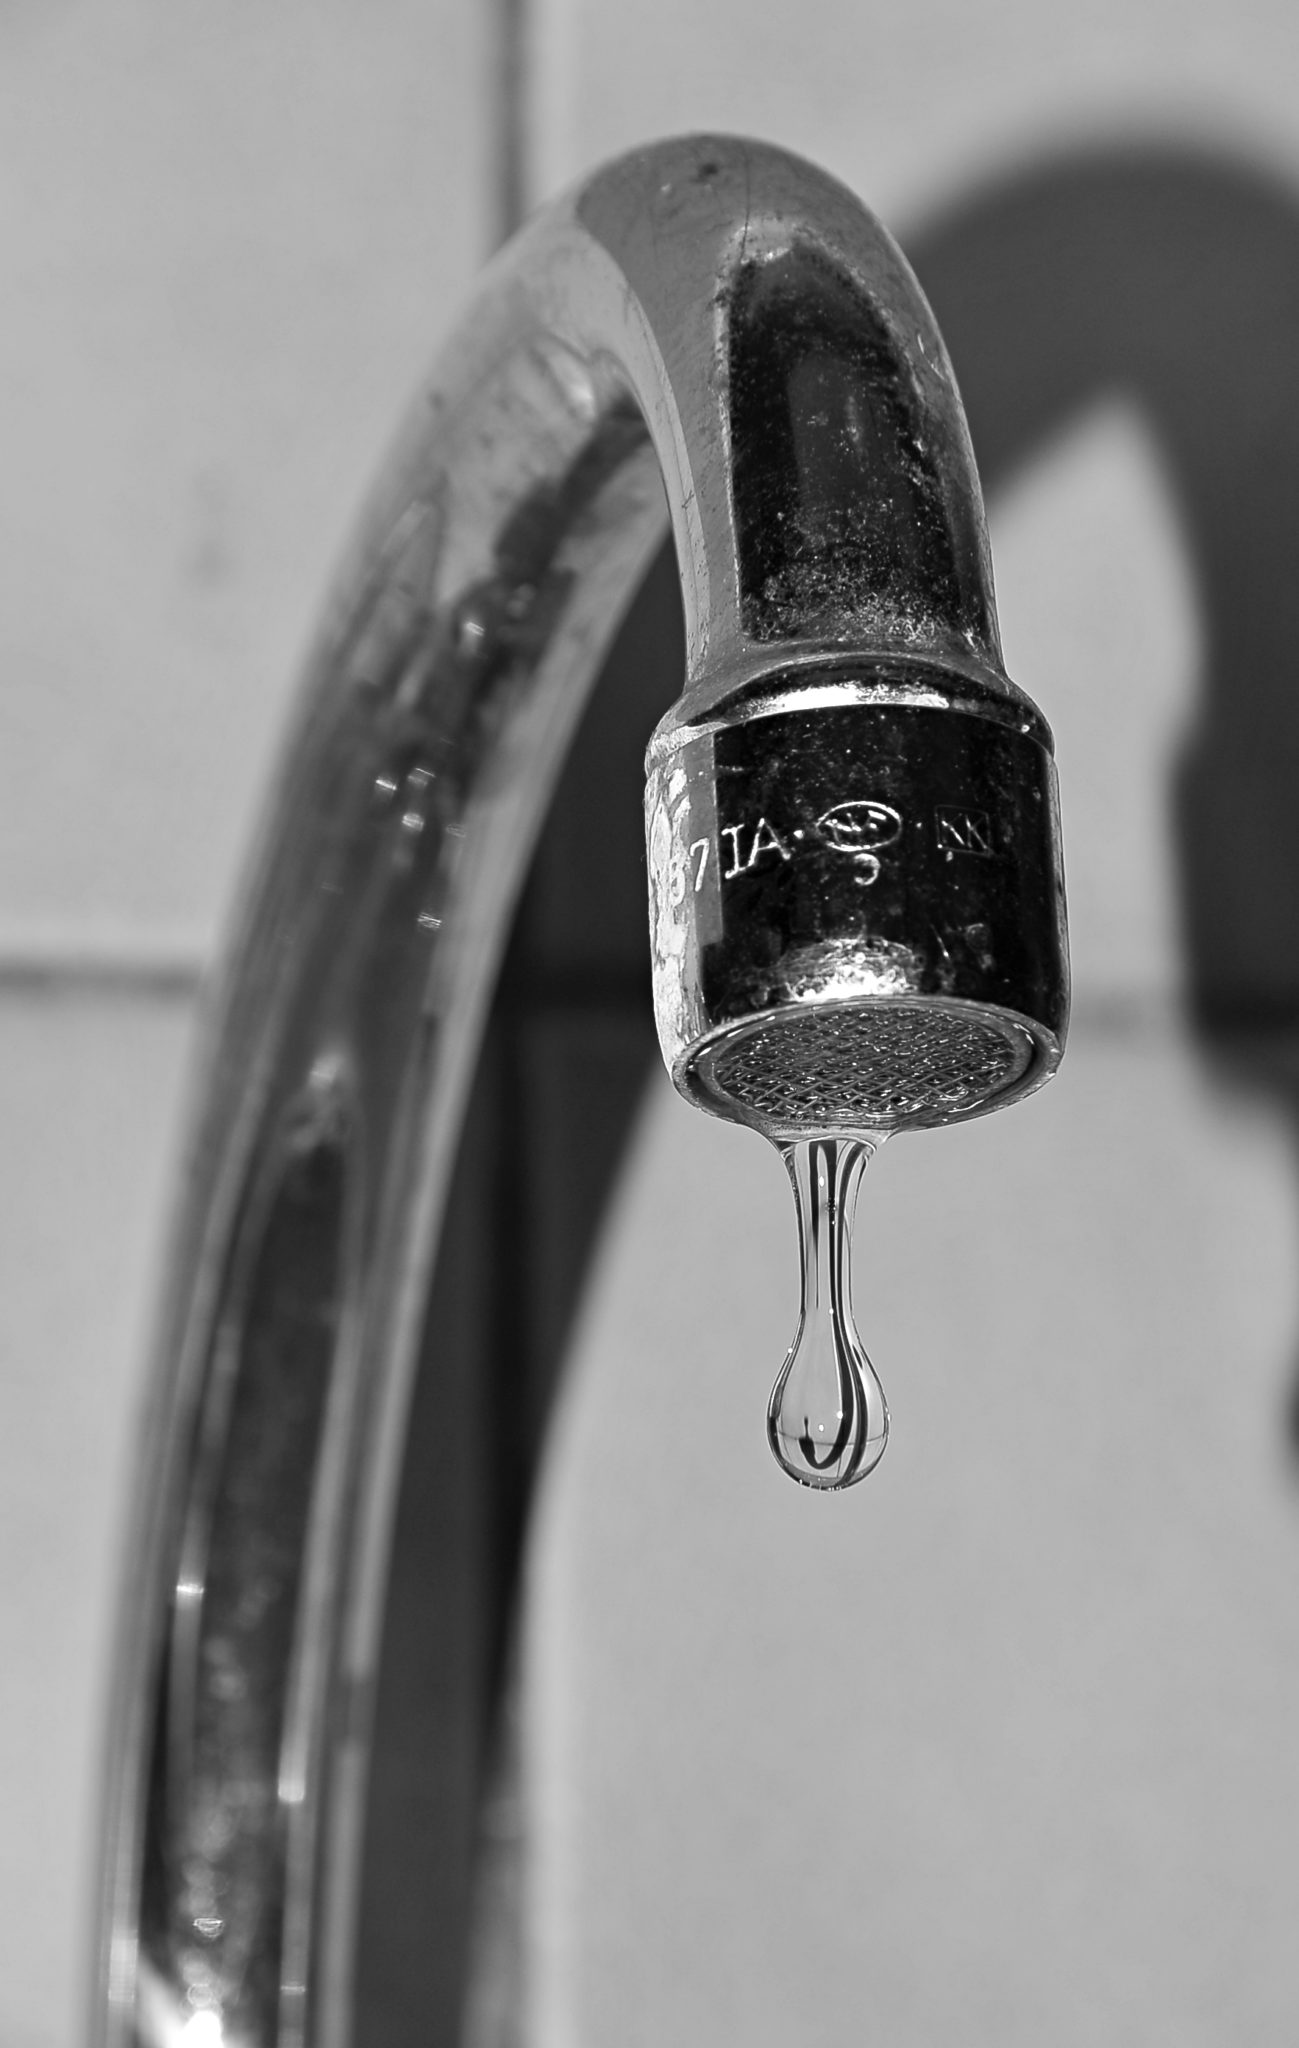
2. Limiting a dripping faucet prevents water bill from escalating :

Limiting a dripping faucet prevents water bill from escalating

A drip may not matter much but it does translate to unwanted expenses. Some have toyed with the notion that wrapping a piece of cloth or sticking a small piece of wood to somehow clog and lessen water that goes down could save some cents.

Small or not, such does not address the problem. The fact here is that unless a plumber actually stops the drip or leak, money is wasted.

3. Plumbing can be a simple DIY job :

. Plumbing can be a simple DIY job

Again, this belief is a temporary solution. Some could change faucets or pipes although some of the little things are overlooked. One example is the placement of Teflon to make sure that water does not seep through. Leaks may not show at first but eventually will due to continuous usage and fixture depreciation.

4. Flushable Wipes pose no threat :

Flushable Wipes pose no threat :

There are some who claim that wipes are flushable. But the fact here is that they are still solid. Some assume that being branded as septic-safe translates to them being biodegradable. The truth is that despite those claims, they cause clogging just the same. Hence, the best way is to dispose of them the traditional way – that is through the waste can and not down the drain.

5. Flushing dead goldfish is safe :

Flushing dead goldfish is safe

Folks who take care of pet fish often find themselves wondering how to dispose of them. The common way for most is to flush them down the toilet. However, this is provided that they are really dead. Flushing living fish down while they are alive could lead to dire consequences such as affecting the eco-system which could end up being contaminated by them.

6. Plungers may not always save the day :

Plungers may not always save the day

When clogs occur, the simple recourse is to use a plunger to free up the drain. It does resolve the problem at first but there is that chance that the blockage may get worse. Should recurring clogging happen, it would be best to seek the help of a professional plumber? Besides, it takes the stress and worries away once the actual reason for the clog is addressed right?

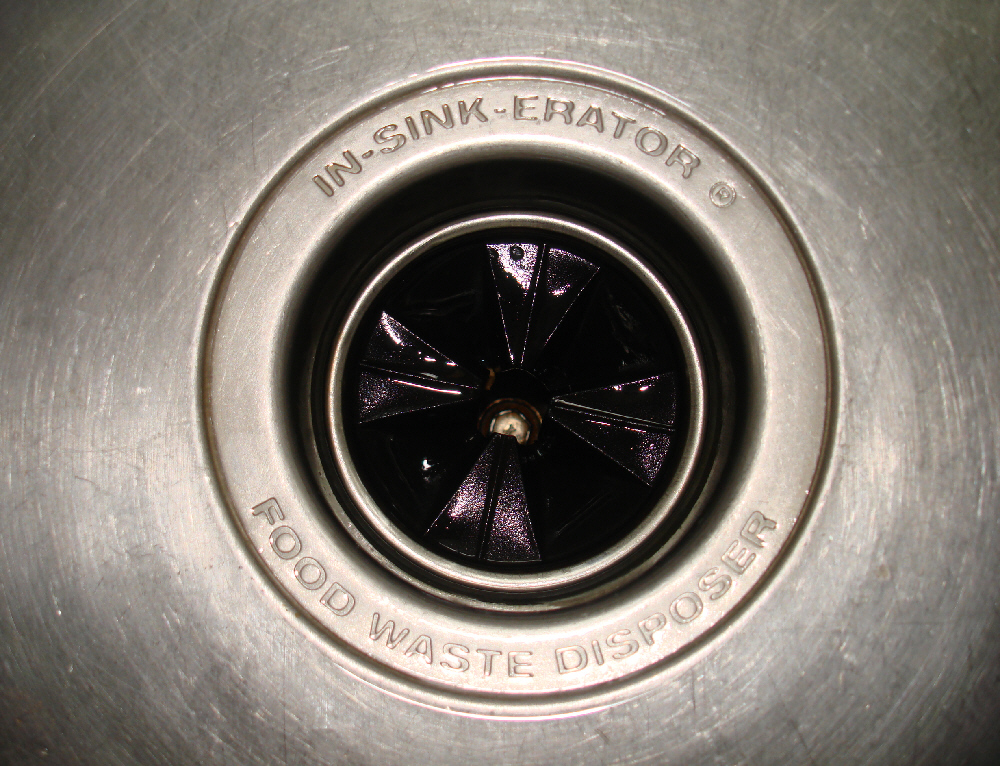
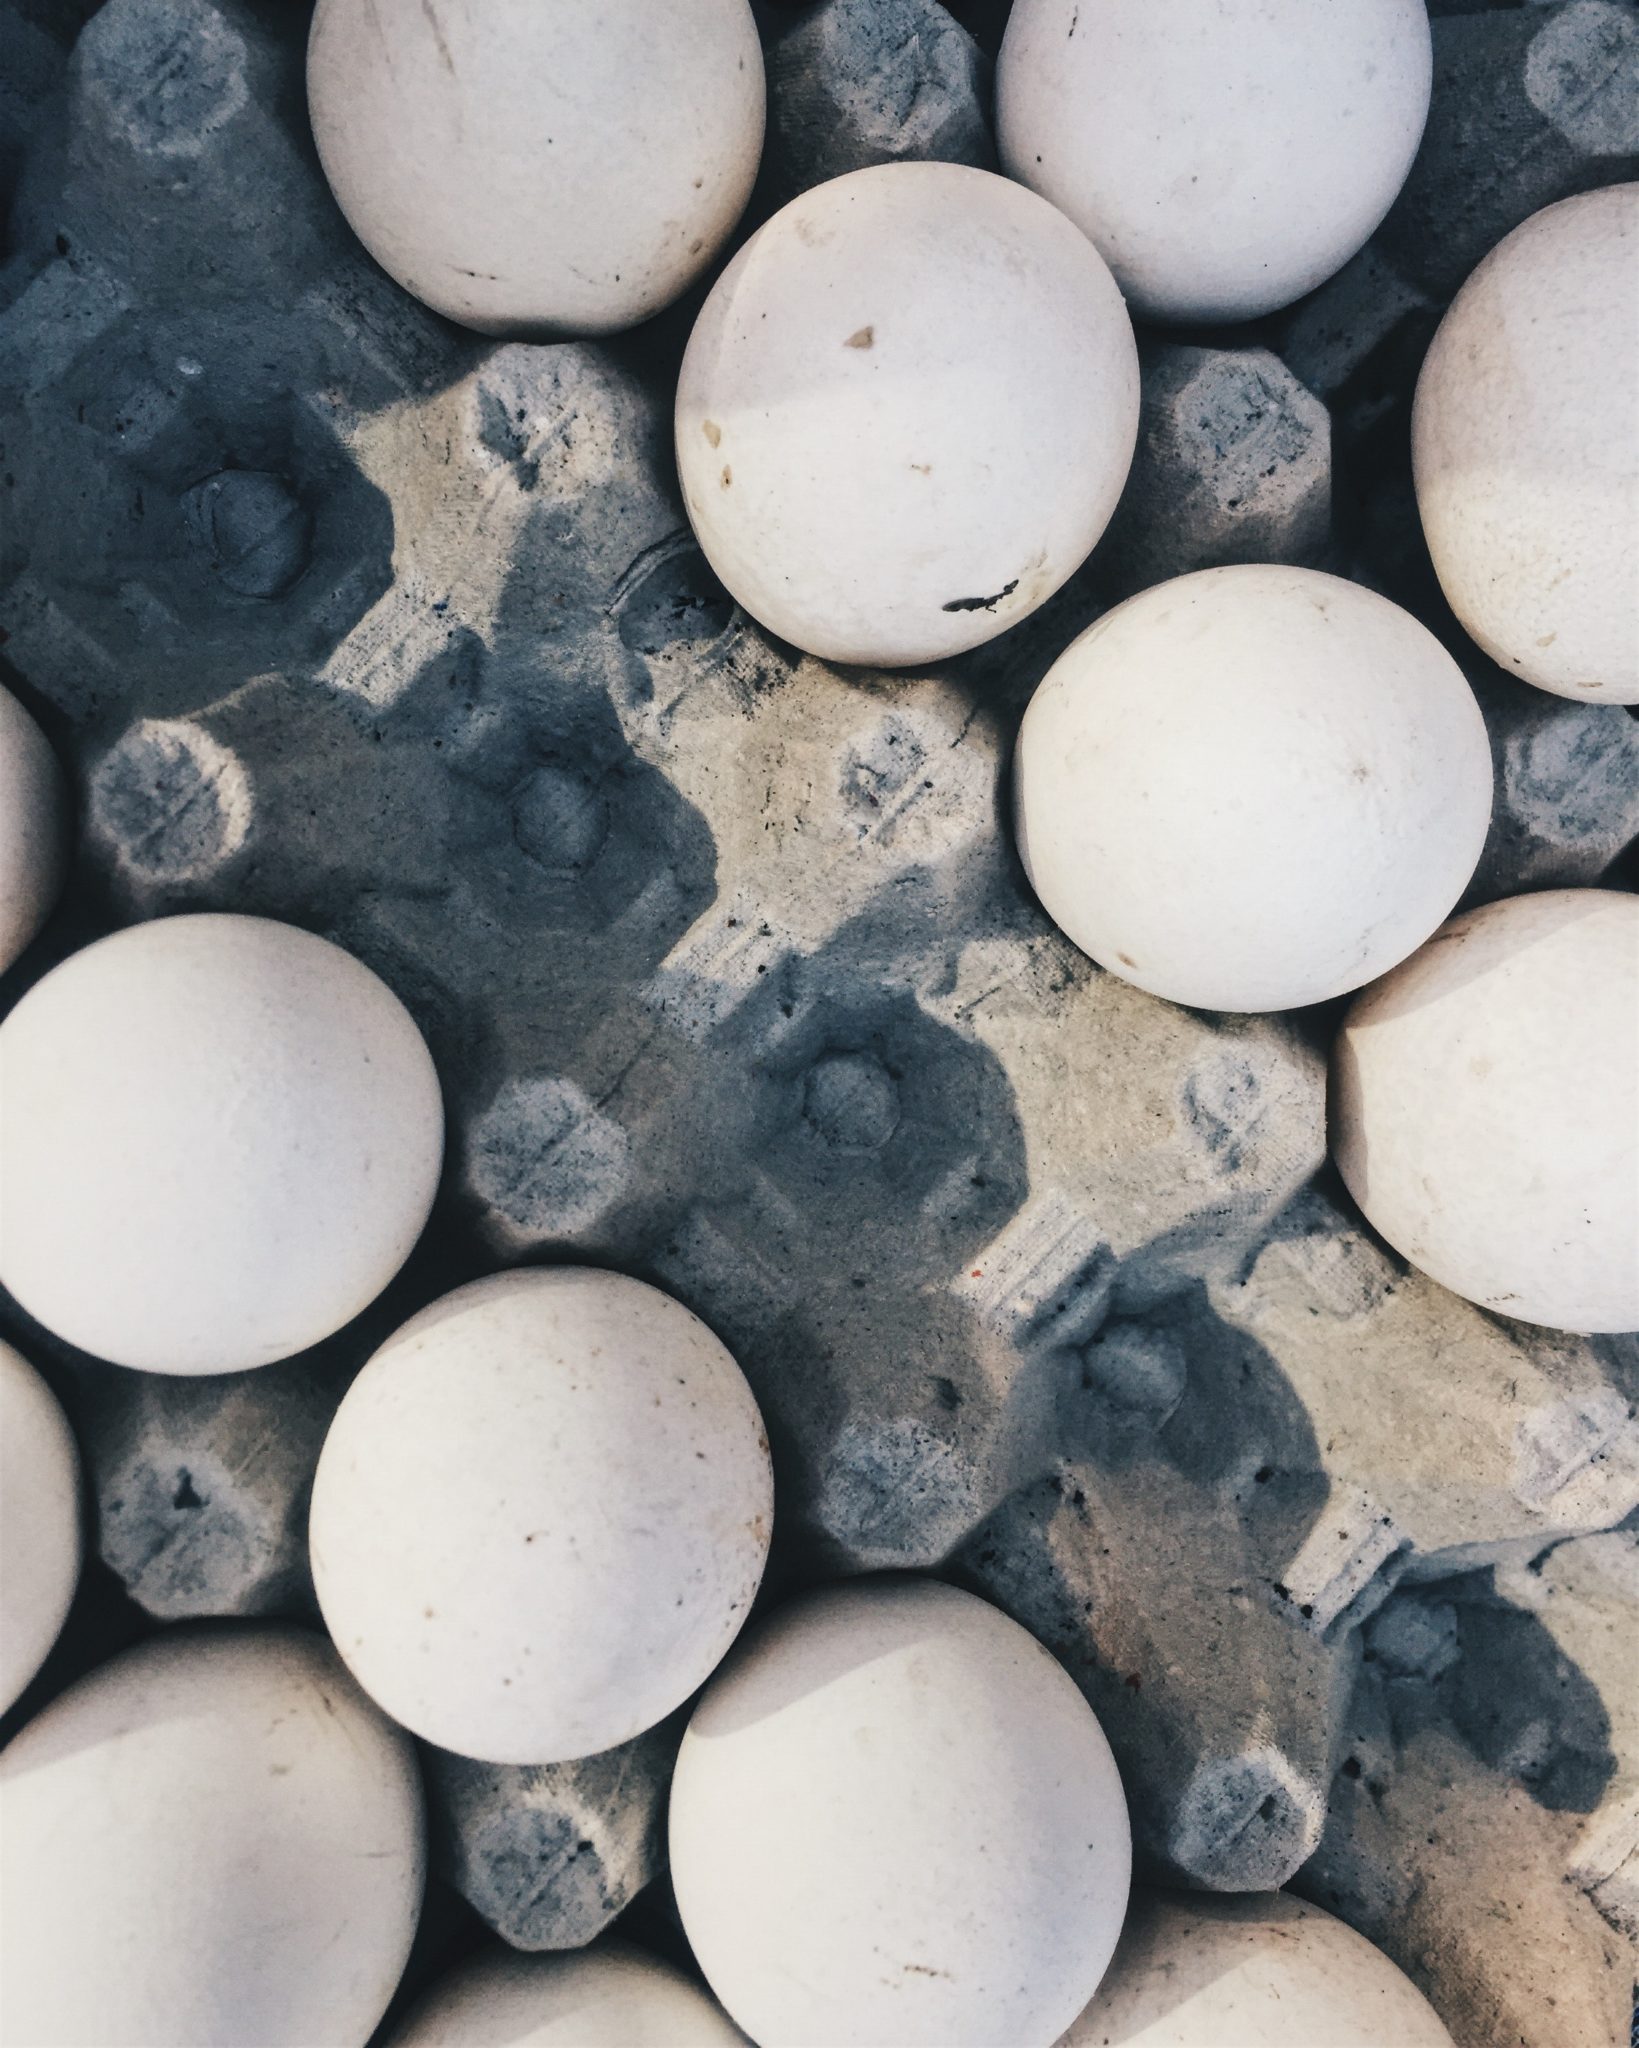
7. Egg shells or Ice cubes can sharpen garbage disposal blades :

Egg shells or Ice cubes can sharpen garbage disposal blades

Most believe that throwing down ice cubes or eggshells can benefit from a garbage disposal. However, this does not include sharpening them. Rather, ice cubes and/or eggshells can help resolve the bad odor garbage disposal may give out. But as far as sharpening the blades, this does not follow.

8. Pouring grease down the drain is helpful with boiling water :

Pouring grease down the drain is helpful with boiling water

There are certain forms of liquids that can be poured down the drain and some that should not. Grease or fats are one of the most common ones that are discouraged since they would end up clogging the pipes.

Although most are aware, adding some boiling water has led most to believe that clogged drains would be avoided. But the truth is that grease or any fat-containing liquid will compromise any sink. Boiling water does not really help meaning grease and other fatty substances should be disposed of using the trash bin and not through sinks.

There are plenty other plumbing myths going around such as a rumbling heater that could end up exploding or using lemon peels to freshen up stinky disposals. Like most of the enumerated ones above, they are either temporary measures or things that could lead to disaster, leaving most to possibly face higher repair costs than average.

When any plumbing related problem occurs, it would be best to call the pros for best (and reasonable) results. Some claim that they are never around when you need them, probably a reason why most should have their plumbing checked regularly – regardless if there are signs of issues or not.

Read Also :

Content Rally wrapped around an online publication where you can publish your own intellectuals. It is a publishing platform designed to make great stories by content creators. This is your era, your place to be online. So come forward share your views, thoughts and ideas via Content Rally.

View all posts

Leave a Reply

Your email address will not be published. Required fields are marked *

Related

Cream Color

How You Can Update Your Home with Cream Color

While doing the interior décor, you desire for everything to be perfect. Therefore, you pay proper attention even to the tiniest details. Colors have a significant role in making the home look vibrant and pleasing. So, selecting appropriate colors is a bit of a daunting task. However, you often choose a cream color as a safer option. When you can not decide on anything, the cream is the best color that goes well with almost all designs and colors. Moreover, it helps create a classy look and never makes you down. It goes well with almost all themes, including countryside, rustic, vintage, etc. So, use this color to upgrade the interiors of your home. You will get desired results. What Feelings Cream Color Evoke? The cream color evokes a serene and clean feel that is inviting and warm. Cream color always looks good on a matte finish. So, expect it to have a soft feel. Nothing creates timeless appeal like the cream color for spaces like the dining area and living room. Tips to Update the Home using Cream Color Here are some clever tips for updating interiors with cream color: Cream Color Works Well in Even the Smallest Spaces The cream color looks great on the walls as it invokes an airy and light feeling full of warmth and depth. So, paint all walls, ceilings, and corners cream. Go for different variations of cream hue for a cozy layered feel with subtle lighting. Get Artsy If you feel the cream-colored walls are boring and make the interiors dull, liven up the space with something interesting. You can add wall décor items like posters, cream canvas prints, photos, etc. So, go for an oversized artwork or group of small art pieces showcasing your interests or precious memories. To add interest, add these pieces in stylish or vintage frames and keep color schemes well-coordinated to achieve desired results. Play with Pattern You might want to mix and match the colorful patterns but are afraid of clashing cacophony. If you have cream walls in the background, there are fewer chances of design dissonance. So, you can freely experiment with different patterns. For best results, unify all patterns to a single share element, such as shape, color, or theme. Try an Eye-Catching Mural If you do not want to cover all the walls with cream color, create a focal point by hanging a mural. It is easy to remove décor items, and you can apply them simply like wallpaper. Some murals feature outdoor photos of forests, beaches, tropics, or mountains. It will instantly bring magic to the home. So, look for one that best suits your personality and complements well with the interiors. Dress Up the Walls to Add Visual Interest Cream color walls offer a perfect backdrop to install open shelves. You can display accessories, artworks, or books on them. You can also use them as a storage solution. Cream walls prevent the interiors from feeling overwhelmed by décor elements. Instead, it highlights the items and creates a beautiful visual display. Introduce Natural Pops of Colour Add some wow factor to the cream color scheme by introducing floral patterns. From delicate fabrics to live foliage, a cream space can offer a perfect backdrop to boost pops of color coming with stunning flowers. In bright lighting, colors of nature reflect on cream walls and add depth to the shade. Incorporate Warm Shades with Furniture Pieces Select a cream wall color with warm undertones to enhance the bold accent color using furniture items and accessories. For instance, the rustic orange color of an armchair can lift the cream living room. The armchair stands out more with a cream color in the background. Place Colorful Throw Pillows If you have a cream-colored sofa in the room, highlight it using colorful throw pillows. It will instantly add color to the space and highlight the couch. You can also add throw pillows with floral patterns for more impact. How to Add Color to the Cream Interiors? Furniture items and accessories are the simplest way to incorporate color into cream interiors. The serene environment created by cream walls provides freedom to introduce a pattern and design without overwhelming the original plan. So, stop being shy and start experimenting using the safest color. Read Also: Ideas for Modern Flooring Designs for Home Improvement Plans Fix Your Home up This Summer With These Core Hacks Transform Your Garage into a Home Office 4 Baptism Decoration Ideas That Even the Holy Spirit Will Love

READ MOREDetails
Clothes Dryer Maintenance

9 Clothes Dryer Maintenance Tips

Taking care of your appliances is the key to saving money, time, and effort. The clothes dryer maintenance is among essential major assistants in your household. While it works, you don’t notice it. When it breaks down, you face a disaster. The life expectancy of an average dryer is about 13 years. However, the majority of these appliances last much less. The reason is the lack of proper operation and maintenance. It’s not enough to plug the unit in and forget about it. If the only thing you do for your dryer is clean the lint filter, your appliance is likely to demand repair in just a few years. In this article, we’ll share top clothes dryer maintenance tips to keep your dryer working for as long as possible. Here are the 9 Clothes Dryer Maintenance Tips: 1. Run Full Loads Only The more you run your dryer the faster it will give out. It’s as easy as that. Since you are unlikely to limit the number of times you do laundry, you can at least add some efficiency to the process. By ensuring you only run full loads, you don’t just extend the lifespan of your clothes dryer, you save energy as well. Don’t rush to do laundry when you have free time. Wait until a full load is available. On the other hand, don’t overload the dryer. In the rush to finish laundry quicker, many homeowners overload washers and dryers. As a result, the motor strains, dryer becomes misbalanced and eventually stops functioning. 2. Opt for Professional Installation With numerous DIY videos overwhelming the Internet, homeowners often opt for DIY appliance installation to save money. Even though installing a dryer may appear straightforward, it’s not as easy as it sounds. You may not notice the mistakes you make during the process. They’ll become obvious after several uses. By that time, your dryer could already be damaged. Proper venting is highly important for a clothes dryer. You would need to select the right material and size for the venting tube and install it properly. Meanwhile, you should make sure the appliance is perfectly balanced. It’s especially important if you are placing it on top of the washer. 3. Clean the Dryer Vent The dryer vent is the most important part of your appliance. It needs regular maintenance. Ideally, you should hire professional technicians to check and clean the vent at least once a year. However, some owners do it on their own. Cleaning the vent involves disconnecting it from the dryer. After that, you would need to use a long-handled attachment to ensure penetrability. Special dryer vent cleaning brushes exist to remove clogs. Be careful about reinstalling the duct properly after the cleaning is done. If you fail to do it, the dryer won’t function. Consider hiring professional dryer vent cleaners to avoid mistakes. According to experts from Jacksonville appliance repair services, if ducts aren’t cleaned regularly, the dryer’s motor can burn out leading to costly repairs. 4. Limit the Number of Dryer Sheets While dryer sheets are an excellent way to keep your clothes static-free and soft, they aren’t harmless. These products have a wax layer that melts when the dryer heats up. If you use too many of them, the wax settles on the appliance’s interior walls and clogs the venting system and the lint trap. Removing this layer may be tough. No matter how many dryer sheets you use, it’s important to clean your dryer once a week even if you don’t see any dirt inside. Failure to clean the dryer regularly is the top cause of dryer-related fires in households. 5. Clear the Lint Trap Lint trap is one of the most important parts of your clothes dryer maintenance tips. Cleaning it regularly is the key to the appliance’s longevity. Wipe the lint filter clean after EACH load. Even if you are planning to do two loads in a row, clean the trap between them. At least once a week, remove the lint screen and vacuum the trap. You can use a brush to loosen the residue. Every one or two months, remove the lint filter and soak it in warm soapy water for about an hour or so. This can help remove wax, which appears after using dryer sheets and residue that settles after using a fabric softener. 6. Inspect the Appliance Weekly A visual inspection of the dryer can help prevent damages. Make sure no moisture is trapped around the door seal. If there is any, wipe it off gently. In fact, you can wipe the door after each load is done to prevent mold formation and bacteria growth. When checking the appliance, pay special attention to the doors seals. If they are cracked, ripped or damaged, the dryer is struggling to maintain the right temperatures. It may be straining the motor and overusing electricity. Replacing door seals is much easier and cheaper than repairing the motor. 7. Listen to it Work One of the first signs of dryer problems is the change in its operating noise. If you hear that something seems off, turn the appliance off immediately and check what’s happening inside. The reason for the change of sound could be overstuffing dryer with clothing or a sleeve caught up in an improperly installed lint trap. If everything seems to be in order, but the dryer continues to make strange noises, call professional technicians. 8. Check Exterior Vents Every month or so inspect the exterior vent of your dryer. While the appliance is working, go outside and check if the air is flowing freely through the vent. If something seems wrong, the pipe may be clogged. If you have a plastic vent, consider replacing it with a metal one. A plastic vent is a fire hazard. 9. Find a Professional Repair Service Some clothes dryer maintenance tasks require an expert’s assistance. Spend some time looking for a reliable repair service before anything breaks down. Knowing whom to call in case of an emergency could prevent further damage to your dryer. Start following the above clothes dryer maintenance tips today, and your dryer will serve you for at least a decade. Read Also: How to cut down your home decor costs? Read here Knowing Your Vehicle: 5 Maintenance Tips for Porsche Owners Tips on How to Avoid Hoarding and Get Rid of Clutter

READ MOREDetails
Home Improvement Project

Important Things to Know Before Starting a Home Improvement Project

When planning for a renovation project in your home, you may have a lot of small things to keep track of such as time, money, cost, fixtures and other details that need attention. Due to the number of things that you need to worry about you can easily lose focus. So here are some interesting tips that you can use during your home improvement project to avoid feeling overwhelmed. Essential Factors To Consider Before Going For  A Home Improvement Project There are several essential factors that you need to consider for your home improvement project are as follows:- Consider creating a long term plan: One of the most common mistakes that most homeowners make is lack of planning. Most people get too wrapped up with the idea of living in the present and have not considered planning for the future. To avoid this from happening, think about what your living conditions would be in the next five to ten years. There are things that you might not need today but will be essential in the future. If you have a party wall in your house, then renovation can be quite complicated. Before doing anything, it is best to seek advice from a professional party wall surveyor Cheshire offers regarding the next steps to take in fixing your wall. Besides, hiring an expert will also help you save money in renovation work. Work on a checklist: A checklist is essential in making sure that the renovation project goes smoothly as planned. It is vital to note everything in detail, so you will not miss out important things. Skipping steps can cost you more money and inconvenience in the future. Set a realistic timeline for the project: If you want to see amazing results after your home renovations, you need to understand that it takes more than just a day or two to fix things especially if you are thinking of having major work done on your kitchen, bathroom or bedroom. If you want to save money and do the manual labor all by yourself, then expect the project to take longer than expected. However, if you have the budget, then it is okay to hire a contractor to work on your requests promptly. Know the numbers: Home improvement projects can range from a few hundred to thousands of pounds depending on the type and amount of work that needs to be done. It is easy to make suggestions, but the real question is how much money can you afford to spend right now. If you are on a limited budget, then it is okay to start with small changes such as repainting, grouting and decluttering in the meantime. Once you have saved more than enough money, then it is time to think about bigger things. Do a background check of your contractor: Before finalizing renovation deals with a contractor make sure to do a full background check. Many homeowners have experienced dealing with horrible, unprofessional and overpriced contractors and you do not want to experience this kind of nightmare. Take time to check the business license, physical office, insurance and reputation of the contractor before closing the deal. Home renovation is not an easy thing to do, but it can be fulfilling once you start seeing the results of your project. Read Also: Basic Idea On Power Tools For Home Improvement 10 Tips To Pick The Best Table Saw For Home Improvement Projects Home Sweet Home Improvement: How To Find The Best Home Improvement Loans

READ MOREDetails