7 Tips for Getting Rid of Clutter in Your Home

Published on: 23 January 2019 Last Updated on: 24 February 2020
getting rid of clutter

Are you guilty of hanging on to items you don’t need anymore?

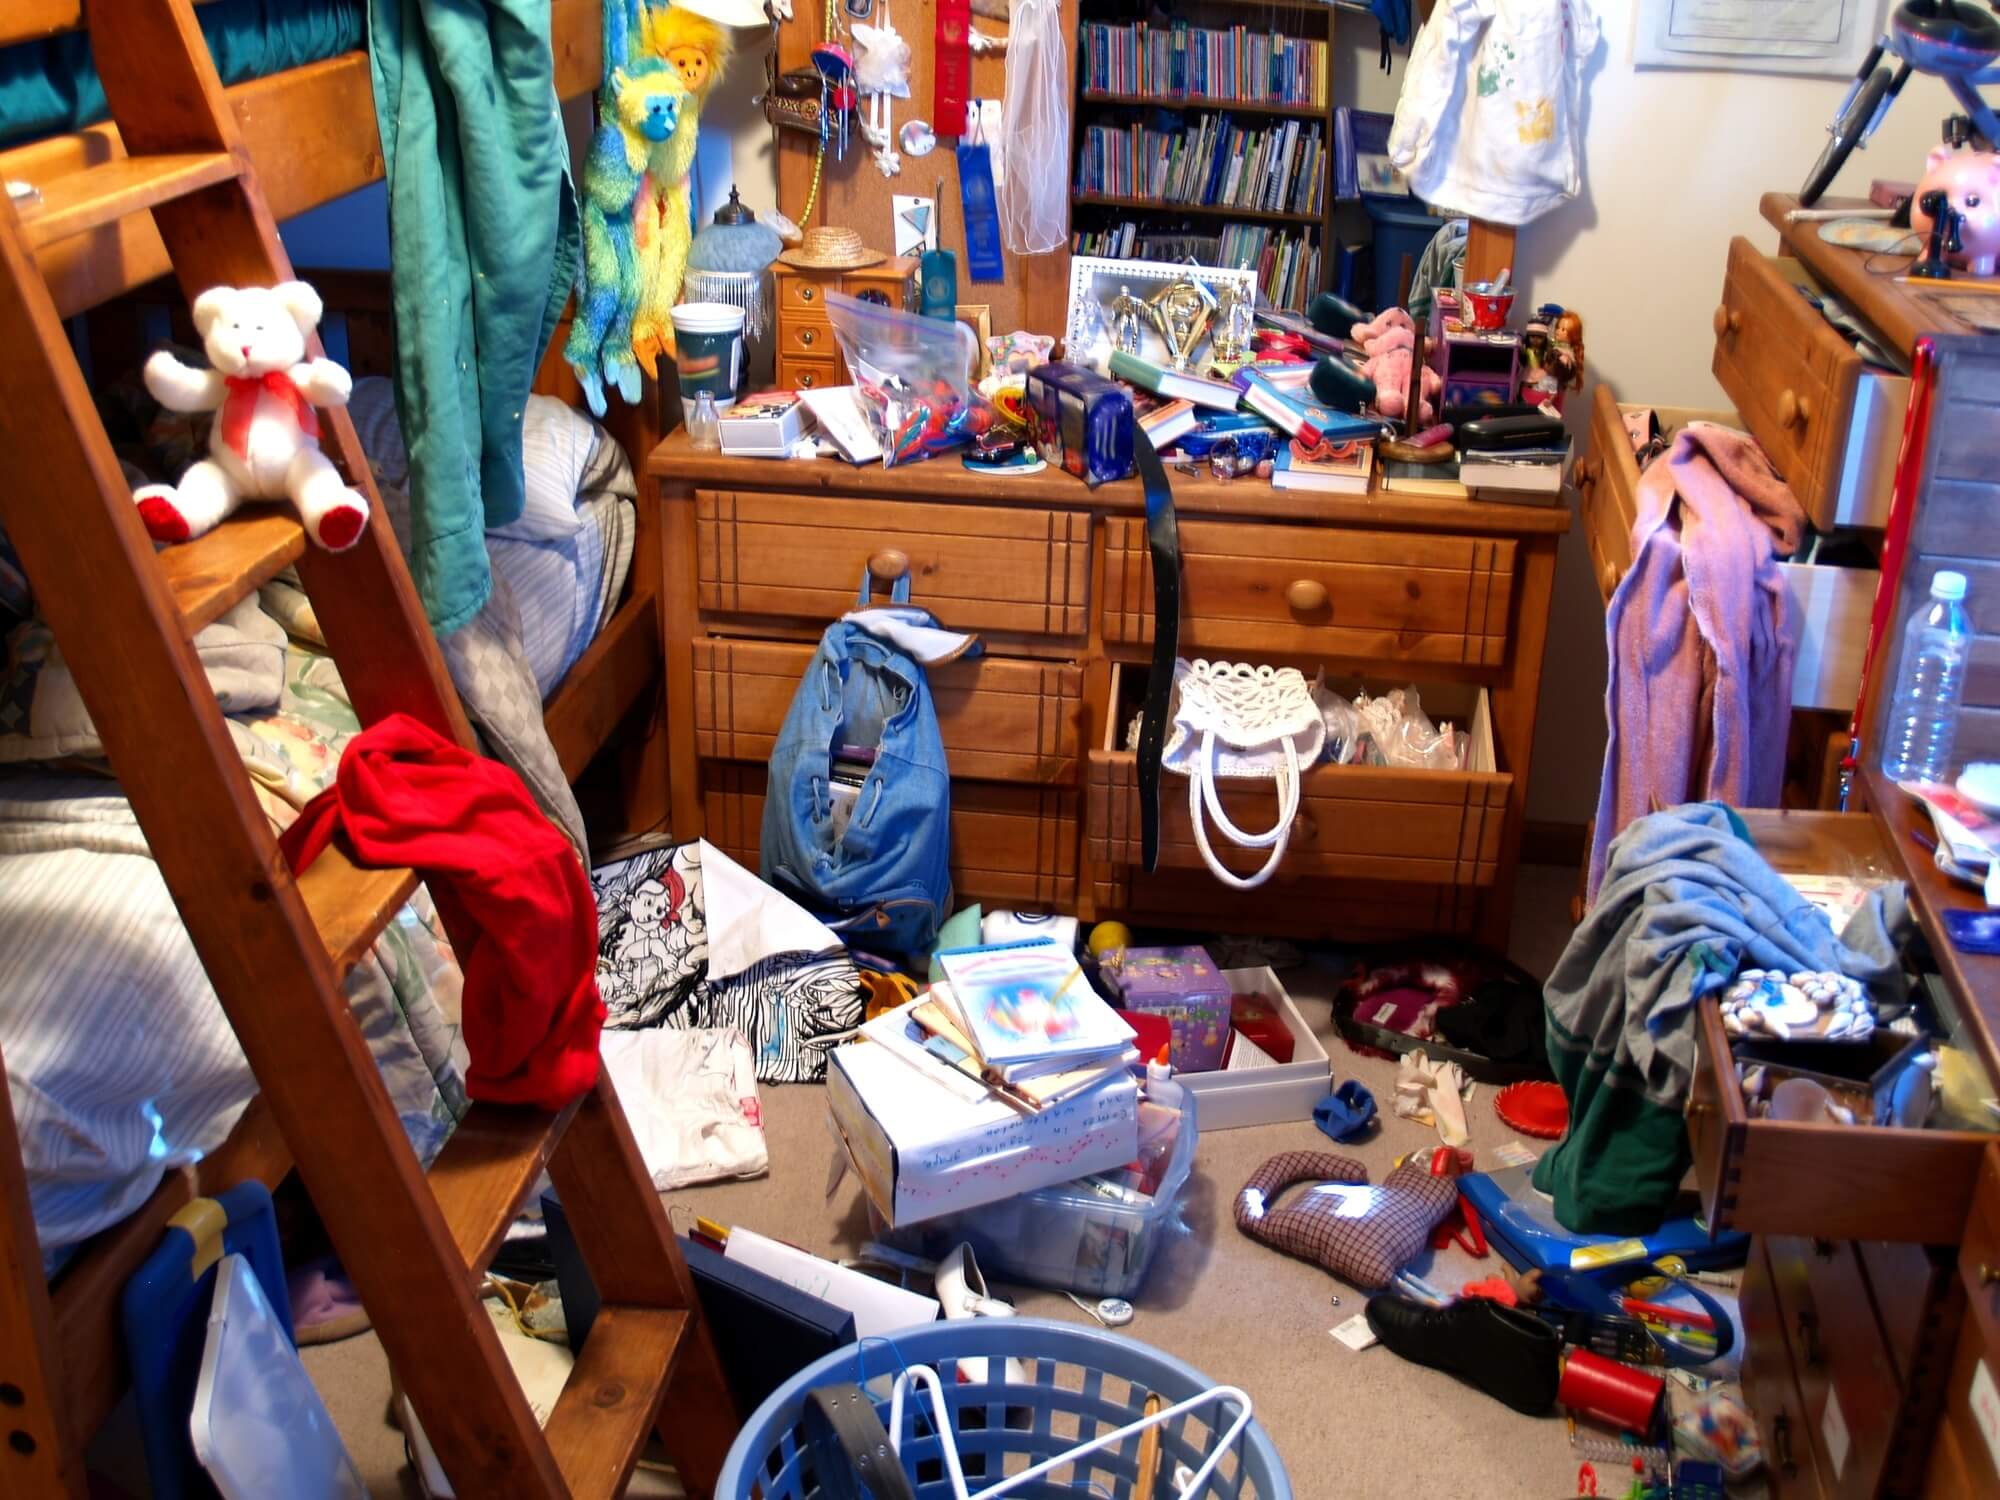
Is your home starting to look more like the dwellings of a pig than a person?

It can be easy to let clutter creep up on you. One minute all of your rooms seem spacious and empty, but the next you realize your entire floor is covered with items.

Getting rid of clutter is an important step in having peace of mind. This article will give you seven tips on eliminating clutter so you can start to think more clearly.

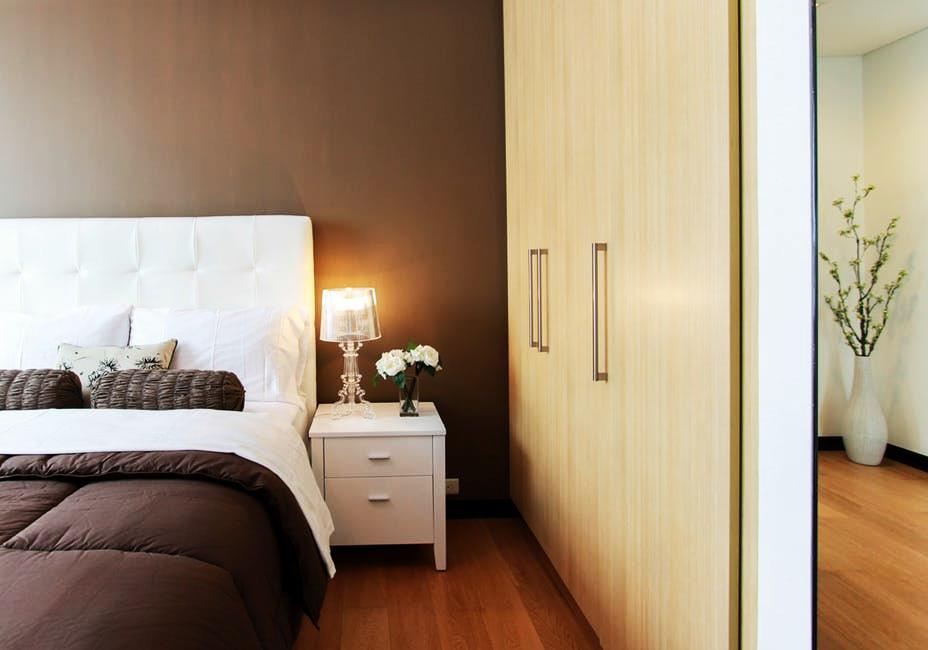
1. Begin With the Bedroom:

Bedroom

Your bedroom should be a sanctuary for you.

It should be the place you can go to relax and get away from the world. If your bedroom is full of junk, it’s not likely to be relaxing.

Start by putting all of your items in a pile. This will enable you to take inventory of what you have.

Get two giant trash bags, one for trash and one for donations. Put all the items you want to throw away in one bag and put the items you want to donate in the other.

Once you get rid of all the useless junk you don’t use anymore, you’ll be able to find places to store the items you really value.

Getting your bedroom tidied first will motivate you to fix the entire house.

2. Kill the Clutter in Your Kitchen:

Kitchen

Your kitchen is where you prepare your food, so you want to make sure it’s a clean environment.

Begin by throwing away any food that is expired. Look through your pantry and toss and spices or soups that may have been sitting there for decades.

Make room in your cabinets by throwing out extra Tupperware. Only keep the Tupperware that has a lid. Make sure every base has a matching lid.

Discard any old pots and pans that go unused.

Cleaning out your kitchen will ensure you don’t develop a pest problem. Rodents, roaches, and other insects won’t want to make a home in a clean kitchen.

3. Get the Family Involved:

Decluttering doesn’t have to be a one-man job.

Send in some recruits, aka your children and spouse, to help you.

Turn banishing clutter into a game for your kids. Set up trashcans like basketball hoops and see who can get the most useless items inside.

Give them incentives for donating old clothes and toys they don’t use anymore. Tell them they can’t have any new toys until they donate some.

Your children need to learn the art of letting go as much as you do. You can’t keep accumulating items into your home unless you take some out of it.

Otherwise, you might end up a hoarder and need serious hoarding help.

4. Put on Some Music:

home theater

Any task can be made easier with the right music.

Put on music that motivates you and watches as your body kicks into overdrive. Before you know it, your entire house will be clean.

Dance around as you clean to burn some extra calories and have a blast doing it.

5. Use the KonMarie Method:

Marie Kondo has become famous for her method of getting rid of clutter.

She says you must think carefully about each and every item in your home. Hold it up to your chest and ask yourself if it “sparks joy.”

If it does spark joy, you keep it. If it doesn’t make you feel happy, you should thank it for its time in your life and then discard it.

This method causes you to be more mindful of your belongings. It makes you think about what items you care about.

6. Don’t Get Overwhelmed:

The easiest way to give up on your de-cluttering journey is to try to do too much at once.

You can’t possibly tackle your entire house in one day and do a good job. Instead, focus on one room at a time.

Schedule in time to clean in your day so it doesn’t take away from other responsibilities.

If you schedule in 20 minutes a day for a week, you’ll notice big progress at the end of the week. You’re less likely to give up that way then if you tried to do several hours in one day.

Slow and steady wins the race and the clean house.

7. Keep it Clean:

If you don’t want to have to go through the stress of cleaning everything all over again, take steps to keep your home under control.

As soon as you’re done using an item, put it away in it’s designated storage place.

When you’re done eating, do the dishes. When your laundry is done, fold it. When the trash is full, take it out.

When you do these small chores every day, they won’t pile up on you. You must commit to the habit of tidying up after yourself. It will make you feel better and make your home look better for guests.

Start Getting Rid of Clutter Today:

The key to getting rid of clutter is commitment.

You have to want to eliminate clutter and set realistic goals to get there. Picture how great your house will look once you’ve cleaned out all the excess.

Close your eyes and envision how easy it will be to find something when everything has its own place. You’ll be able to save so much extra time in your day because you won’t be sifting through things for hours trying to find what you need.

Enjoy this article? Want to tell us some of your best tips for eliminating clutter? Please contact us here.

Read Also:

Content Rally wrapped around an online publication where you can publish your own intellectuals. It is a publishing platform designed to make great stories by content creators. This is your era, your place to be online. So come forward share your views, thoughts and ideas via Content Rally.

View all posts

Leave a Reply

Your email address will not be published. Required fields are marked *

Related

Artificial Grass

How To Install Artificial Grass In Your Garden – Installation Guide Step By Step

Artificial grass or fake grass is more popular than ever. The best part is you don’t have to hire a professional to install artificial grass in your garden. With the help of this article, you can do it by yourself with the help of your friends or family members.   With proper installation, you don’t have to maintain your artificial grass in the long run. You just have to keep it neat and clean with a spray. On the other hand, maintaining real grass seeds is very difficult and may not be possible for busy individuals who don’t get enough time to maintain the same. If you still love natural grasses and want to play games on grass, you can consider growing them that may give you a real feeling of natural grasses.  What Is Artificial Grass? Artificial grass is basically a material made up of artificial, human-made fibers that seem like real grass, but in reality, it is not! This saves you both money and time in the long run.  This fake grass was first installed in the multipurpose sports stadium. This grass has made leaps and looks real. On the other hand, this type of grass is designed for those individuals who don’t have enough time to plant grass seeds. Why Should You Consider Artificial Grass? Artificial grass may have various benefits for consumers. It saves you both time and money and is regarded as an excellent landscaping option.  The best part about artificial grass is that it does not require any water and includes less maintenance. You can also consider centipede grass seed for this because it also requires low maintenance and can grow in any condition.  Real grass can die, but artificial turf can last for more years. Moreover, you don’t have to buy any fertilizers or pesticides to maintain your fake grass. However, there are various pros and cons of artificial grass that you need to consider before buying. You can buy good quality artificial turf with the help of turf near me feature on EasyTurf to make it last for a longer time. How To Install Artificial Grass In Your Garden – Step By Step Guide Installing artificial turf is not as easy as it seems. To do this work, you need a good amount of time and hard work. Also, be prepared to get your hands dirty to install the fake grass on your lawn. Now, there are four elements to almost every installation that can reduce the cost of installing fake grass are: Tools used Seaming system Material waste Subbase material Here are the major steps to follow in order to install artificial grass in your garden in 2021. 1. Measure Your Area It is obvious that the area of the garden will differ for everyone. First, you need to measure the length and width of the area that you want to install with the artificial grass. Thus, measuring the area is an important factor that you need to consider at the earliest. 2. Gather Tools And Equipment The second step to install artificial grass in your garden is to gather vital tools and equipment for the same. You cannot complete the task without the use of a Stanley knife, geotextile weed killer, a turf cutter, and accessories such as tape and glue.   3. Remove The Existing Surface Now, it’s time to remove the existing surface with your hand if the area is small. However, you need to use a turf cutter if the lawn is very big. You can also plan this before removing the existing surface. 4. Compact The Ground Another step to install artificial turf in your garden is to compact the ground. You can take the help of a roller or a vibrating plate to meet your objectives. You need to follow this step again later.  5. Place Grass Edging Down Placing this is not mandatory but optional. If you have a desire to use timber or other edgings, you can follow this step. However, you need to ensure that your final grass line should not be smaller than edging. This is generally done to enable water to run off the turf.  6. Lay Your Sand Or Stone Base Another step to install fake grass in your backyard is to lay your sand or stone base, and this is one of the most vital factors that you need to consider. Place at least 40mm of compact sand and add more wet sand if the sand is dry. Then, you need to compact the ground again.  7. Roll Out Your Underlay And Grass Now, roll out your underlay grass first. By keeping in mind not to disturb the weed-killing underlay, roll out the artificial grass on top of that. In this step, you need to do it very carefully.  8. Let The Grass Settle One of the most vital things to do while installing your artificial turf is to let your grass settle after you have completed the above steps. This is generally done to stop the grass from creasing or wrinkling. 9. Trim The Edges After completing the above steps, you have successfully installed artificial grass. Trimming is the only thing left now. Trim and cut the artificial grass from the edges neatly. You can use a sharp Stanley knife for trimming. 10. Brush The Grass Up And Relax! Before brushing up the artificial grass, you need to pin it down using landscape pins. You need to brush up again to bring the fibers of the artificial turf upright. Now, it’s time to sit back and relax and enjoy the artificial grass in the garden.  The Final Thoughts The best part about artificial grass is that it saves you lots of time and effort that you can spend on other important projects. Once you lay your artificial grass in your garden, it will always be green without any maintenance. Isn’t this amazing? Let me know your views about this in the comment section below. Reference: https://www.buzzgrass.com/how-to-install-artificial-grass/ More Resources: 5 Best Vegetables You Should Try Growing In Your Garden 7 Secrets to keeping your Lawn Tidy and Green All You Need To Know About Resurrection Plant and its Facts

READ MOREDetails
tall house plants

10 Best Tall House Plants To Buy In 2022

In the present era, interior design has changed a lot compared to what it was a decade ago. Nowadays, most people are bold enough to experiment with anything and everything when it comes to having an alluring interior. In such a condition, you can find the tall house plants playing a prominent role in boosting the interior outlook of the house. So, if you also desire to keep them in the house interior, this article is for you.  The best you can do is go through the list below and choose the right plant to keep in your room. However, remember that the rare plants in this list can be expensive. So, it can be a good step to know about the plants at first and later invest money. So, take a look at the list for now. Read More: 10 Best Trailing Indoor Plants To Buy In 2022 Top Ten House Plants You Can Keep In 2022 Here is the list of the top ten house plants that you can keep in your place this year. One common factor in all these plants is that they have an aesthetic outlook. So, you can check all entries here. 1. Snake Plant The Snake Plant is scientifically known as Dracaena Trifaciata. The unique and alluring fact about this plant is the presence of fleshy leaves. This plant can grow up to 6 feet and thus, you can consider it as a tall tree to keep in the house. In case of buying tall indoor house plants anytime soon, you should always check the price. The best you can do is give water in intervals to allow a snake plant to grow. 2. Money Tree Money trees can grow up to 8 feet and you can keep them in your hall or drawing room area. The braided stem of this plant can ensure added aesthetics to your place. When buying a money tree, you should always check if it is mature. Expect the price of a money tree to be high but it would always come between $60 to $80. Make sure to give the plant, indirect light, and water every two weeks. 3. Mini Monstera If you are looking for a plant that has lush green leaves, the Mini Monstera can be the right plant for you. If you desire to keep this plant at your place, make sure to add a stick or robe to it. As a result, you can expect this plant to grow some 12 feet. The price of a small Mini Monstera Plant is $20 to $80 approximately. However, you can check an e-commerce site to know the exact price. The best you can do is buy this plant as a tall house plant real. Finally, the only thing you need to remember is to give the plant indirect lighting. This can always keep the plant healthy for a long time. 4. Majesty Palm The majesty palm is one of the greatest tall house plants of all time. It is famous due to its pet-friendliness. You would be amazed to know that the plant needs much less maintenance. In only a few months, the Majesty  Palm can grow up to 10 feet approximately. The only thing this plant need is indirect light.  Moreover, some humidity in your room can also be beneficial for this plant to grow. When searching for a Majesty Palm in the market, you should look for a matured plant. Expect its price to be at $30 to $90. 5. Elephant’s Ear The trade name of the Elephant’s Ear plant is Alocasia. It is an example of tall tropical house plants that can grow more than 10 feet in length. Now, this plant is a bit expensive because of the unique shape of the leaves. In the US. people to grow this tree in a medium-sized pot. Like all other plants in this list, this plant also needs indirect lighting. For an Alocasia, you might have to spend $100-200 for a matured plant. Make sure to check the breed of the plant when you buy it. 6. Fiddle Leaf Fig Ficus Lyrata is the scientific name of a Fiddle Leaf Fig. The plant has got such a name because its leaves look like a fiddle. This plant can also grow above 10 feet but the average height is from 5 ft to 10 ft. The only thing you need to keep in mind is to keep the plant in a sunny, watering area. So, it can quickly gain its height. 7. Rubber Plant If you have a room where you get bright light, try keeping a rubber plant. Rubber plants grow rapidly when they get bright light. So, you can expect this plant to grow some 8 to 10 feet. The only thing you need to remember is to apply fertilizers to the plant on a bi-weekly basis. 8. Bird Of Paradise When it comes to tall house plants in low light, you can count on Birds Of Paradise. This leafy plant can grow above 5 feet and you can give it some indirect headlight. The best you can do is attach some other plants with them in the same tub. Expect to get a healthy Bird Of Paradise Plant in some $50 on the leading e-commerce websites. You May Like To Read This: 5 Tips to Keeping Animals Away From Your Garden 9. Parlor Palm The Parlor Palm is yet another tall tree that you can keep in your house. The best thing about this palm tree is that it needs much low maintenance. This tree can grow up to 6 feet. You can get a matured plant for $60 to $90. 10. Draecana The last entry in the list of tall house plants is Draecana. It is different from the aforesaid variant as it has red leaves. It also grows tall in low light. So, you can keep it in your house. Look for a matured plant if you have a plan to purchase it soon. Frequently Asked Questions (FAQs): Q1. What Is The Plant Of 2022? The baby rubber plant and potted bamboo are two plants that you can buy in 2022. Q2. What Houseplants Grow The Tallest? The snake plant is among the best house plants that grow the tallest. Q3. What Is The Most Popular House Plant? The rubber plant and parlor palm are some famous house plants. Q4. What Plants Are Trending Now? The Island Pine and Areca Palm plants are trending in the current year. Final Words You might think that the tall plants might be difficult to keep in the houses but it is just a myth. The correct plants would always grow and remain healthy in your house. The best for you would be to choose a plant from this list. Most of the plants mentioned here are excellent when it comes to indirect light and low maintenance. However, you should remember watering them and applying fertilizers. Read More: Garden Edging for Beginners DIY Ways to Control Pests in Your Garden Best Material for Garden Sheds: A Guide for Everyone

READ MOREDetails
how to harvest asparagus-

Asparagus 101: When, How, And How Often To Harvest?

If you are a gardener like me, you must have thought about harvesting greens that you eat at restaurants at your house. One of these days, I was with my friends from my university, and we were discussing the importance of eating veggies for staying healthy. And they could not figure out the best ways to effectively do so. Reading my previous blog about cilantro, Laila asked me, “how to grow and harvest asparagus?” Well, surely asparagus is one of the most delicious and nutritious vegetables you can grow in your garden. But what a lot of people do not know is that it's also one of the easiest once you know how to harvest asparagus properly. In this article, I will cover everything you need to know about harvesting asparagus, from when to start, how to cut, and how often to do it. Additionally, I will also share some tips on how to store and freeze asparagus, as well as the benefits of eating this green wonder. So, keep on reading till the end to learn more...  How Does Asparagus Grow? Before I dive into the seemingly difficult process of how to harvest asparagus, let me help you grow it.  Asparagus is a perennial plant that grows from a crown of roots that can live for up to 20 years. The crown produces spears, which are the edible part of the plant, every spring. The spears grow rapidly, sometimes up to an inch per day, and can reach a height of 6 to 10 inches. The spears are harvested before they open into fern-like leaves, which are edible and tough. Asparagus grows best in well-drained, sandy soil with a pH of 6.5 to 7.5. It prefers full sun and moderate temperatures and needs regular watering and fertilizing. Asparagus can be grown from seeds or crowns, but crowns are easier and faster to establish. Crowns are planted in trenches about 12 to 18 inches apart and covered with 2 to 3 inches of soil. As the spears emerge, more soil is added until the trench is filled Benefits of Asparagus  https://giphy.com/gifs/food-asparagus-taylor-lee-nicholson-pejh5q5BBXxi2m4PgF Asparagus is not only tasty, but also healthy. It's low in calories and high in fiber, vitamins, minerals, and antioxidants just like spinach. It can help lower blood pressure, regulate blood sugar, support digestion, and prevent urinary tract infections. Asparagus also contains a compound called asparagine, which is a natural diuretic that helps flush out excess fluids and salts from the body. Asparagus is also a good source of folate, which is essential for pregnant women and fetal development When to Harvest Asparagus? The first year after planting, you should not harvest any asparagus spears, as they need to grow and strengthen the root system. The second year, you can harvest a few spears for a short period, about two to three weeks. The third year and beyond, you can harvest asparagus for a longer period, up to eight weeks, depending on the climate and the health of the plants. The best time to harvest asparagus is in the early morning when the spears are crisp and tender. You should harvest asparagus when the spears are about 6 to 10 inches tall, and before the tips start to open up. If you wait too long, the spears will become woody and bitter. How to Plant and Care for Asparagus? Asparagus is a long-term investment that can reward you with years of delicious harvests. However, it requires some planning and preparation before planting.   Here are some steps to follow to plant and care for asparagus:  Choose the Day  Choose a sunny and well-drained spot in your garden, preferably with sandy or loamy soil. Avoid areas where water tends to pool or where weeds are hard to control. Asparagus also needs plenty of space, so make sure you have at least 4 to 5 feet between rows and 12 to 18 inches between plants. Prepare the Soil  Prepare the soil by adding organic matter, such as compost or manure, and adjusting the pH to 6.5 to 7.5. You can use a soil test kit to check the pH and nutrient levels of your soil. You may also need to add some fertilizer, such as 10-10-10 or 10-20-10, to boost the phosphorus and potassium content. Dig it Deep Dig a trench about 8 to 12 inches deep and 12 to 18 inches wide. You can make the trench longer or shorter depending on how many asparagus crowns you have. Asparagus crowns are the dormant roots of the plant that you can buy from nurseries or online. They usually have one-year-old or two-year-old crowns, which are more reliable and productive than seeds. Fertilize Spread some fertilizer along the bottom of the trench, about 2 pounds per 100 square feet. Then, cover the fertilizer with 2 to 3 inches of soil, forming a ridge in the center of the trench. Placing the Plant Place the asparagus crowns on top of the ridge, about 12 to 18 inches apart, with the buds facing up. The crowns should be slightly below the soil surface, about 1 to 2 inches deep. Do not bury them too deep, as this will delay the emergence of the spears. Focus on the Crown Cover the crowns with another 2 to 3 inches of soil, and water well. As the spears grow, gradually fill in the trench with more soil, until it is level with the ground. This will help protect the crowns from frost and weeds. Add Mulch  Mulch the bed with straw, leaves, or wood chips, to conserve moisture and prevent weeds. You can also add some organic fertilizer, such as fish emulsion or seaweed extract, every few weeks during the growing season, to encourage healthy growth. Keep in Mind Do not harvest any asparagus spears in the first year, as they need to establish a strong root system. In the second year, you can harvest a few spears for a short period, about two to three weeks. In the third year and beyond, you can harvest asparagus for a longer period, up to eight weeks, depending on the climate and the health of the plants. How to Harvest Asparagus? Now, coming to the most important part that you wanted to know about. Let us talk about the ways to harvest asparagus! To harvest asparagus, you need a sharp knife or a pair of scissors. You should cut the spears at the base, about an inch below the soil surface. Be careful not to damage the crown or the emerging spears. You should also avoid cutting too many spears from one plant, as this will weaken the plant and reduce the yield. A good rule of thumb is to leave at least one-third of the spears on each plant. You should harvest asparagus every day or every other day, depending on how fast the spears grow. You should stop harvesting asparagus when the spears become thinner than a pencil, as this indicates that the plant is running out of energy. You should then let the spears grow into ferns, which will replenish the crown and prepare it for the next season. How to Store and Freeze Asparagus? Unlike lettuce, which you can store for more than a week, asparagus is best eaten fresh, as it loses its flavor and texture quickly. If you can't eat it right away, you should store it in the refrigerator for up to a week. To keep it fresh, you should trim the ends of the spears and stand them upright in a glass of water or wrap them in a damp paper towel and put them in a plastic bag. If you want to preserve asparagus for longer, you can freeze it. To freeze asparagus, you should first wash and trim the spears, and then blanch them in boiling water for two to three minutes, depending on the thickness.  Blanching is a process of briefly cooking and cooling the vegetables to stop the enzyme activity that causes them to spoil.  After blanching, you should drain and cool the spears, and then pack them in freezer bags or containers, leaving some space for expansion. You can freeze asparagus for up to a year, and use it in soups, casseroles, or stir-fries. How to Prevent and Treat Asparagus Pests and Diseases?  Asparagus is generally a hardy and resilient plant, but it can still suffer from some pests and diseases that can affect its growth and quality. Here are some of the most common problems that affect asparagus plants, and how to prevent or treat them: Asparagus beetles These are small, black or red beetles that feed on the spears and the ferns, causing them to wilt and turn brown. They can also lay eggs on the spears, which hatch into larvae that chew on the stems and leaves. To prevent asparagus beetles, you should keep the area around the plants clean and weed-free, and remove any old or damaged spears. To treat asparagus beetles, you can hand-pick them and their eggs, or spray them with insecticidal soap or neem oil. Fusarium wilt This is a fungal disease that infects the roots and the crowns of the plants, causing them to rot and die. It can also cause the spears to become yellow, twisted, and stunted. Fusarium wilt is more likely to occur in poorly drained, acidic, or infested soil.   To prevent fusarium wilt, you should plant disease-resistant varieties, rotate crops, and avoid overwatering or injuring the plants. To treat fusarium wilt, you should remove and destroy any infected plants, and apply fungicides to the soil. Rust This is another fungal disease that affects the ferns, causing them to develop orange or brown spots and pustules. Rust can reduce the vigor and yield of the plants, and make them more susceptible to other diseases. Rust is more likely to occur in humid, wet, or shady conditions.   To prevent rust, you should plant resistant varieties, space the plants well, and prune any excess or infected ferns. To treat rust, you should apply fungicides to the ferns, and avoid watering them from above. Crown rot This is a bacterial disease that causes the crowns and the bases of the spears to become soft, mushy, and foul-smelling. Crown rot can spread quickly and kill the plants. Crown rot is more likely to occur in wet, compacted, or poorly drained soil. To prevent crown rot, you should plant healthy crowns, improve the drainage and aeration of the soil, and avoid overwatering or injuring the plants. To treat crown rot, you should remove and destroy any infected plants, and disinfect the tools and the soil. Bonus: How to Cook and Enjoy Asparagus?  There are many ways to cook and enjoy asparagus, from steaming, boiling, roasting, grilling, to sautéing. The key is not to overcook it, as it will become mushy and lose its flavor. You should cook asparagus until it is bright green and crisp-tender, which usually takes about 5 to 10 minutes, depending on the method and the thickness of the spears. You can season asparagus with salt, pepper, butter, lemon juice, garlic, herbs, cheese, or any other condiments you like. You can also pair asparagus with eggs, bacon, ham, chicken, fish, pasta, rice, or salad. Asparagus is a versatile and delicious vegetable that can complement any meal. Wrapping It Up! Asparagus is a wonderful vegetable that you can grow and harvest in your own garden. It's easy to care for, once you know how to harvest asparagus properly. You should harvest asparagus when the spears are about 6 to 10 inches tall and before the tips start to open up. You should cut the spears at the base and leave some on the plant to grow into ferns. It would be best to store asparagus in the refrigerator for later use. And yes, you should also enjoy the many benefits and flavors of asparagus, by cooking it in various ways and pairing it with different dishes. Asparagus is a springtime delight that you don't want to miss. Learn More About: Planting & Harvesting Mint 7 Health Benefits of Black Seed Oil Spirulina: The Complete Plant Based Protein Source | Health Benefits

READ MOREDetails