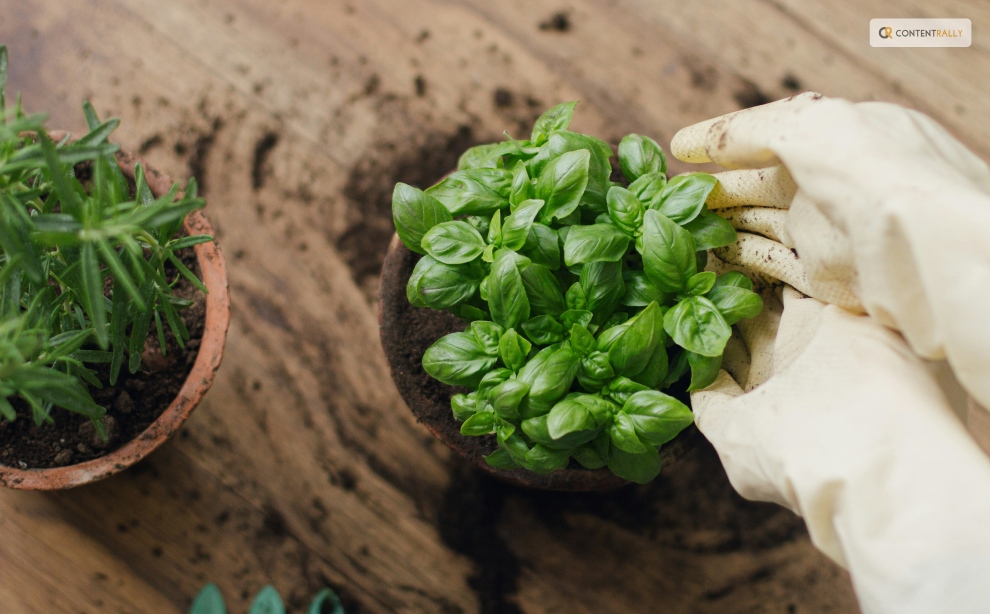
Everything You Need To Know About Harvesting Basil!

how to harvest basil

Basil is one of the most popular and versatile herbs you can grow in your garden or indoors. It has a fresh and aromatic flavor that can enhance any dish, from salads and soups to pizzas and pastas. Basil is also rich in vitamins, minerals, and antioxidants just like cilantro. It can benefit your health and well-being. But how do you harvest basil properly so that it keeps growing and producing more leaves?  

If these are some of the things you want to know, I have you covered! In this article, I will answer all these questions and more and give you everything you need to know about harvesting basil! So, keep on reading this blog till the end to learn more… 

How to Harvest Basil Leaves?
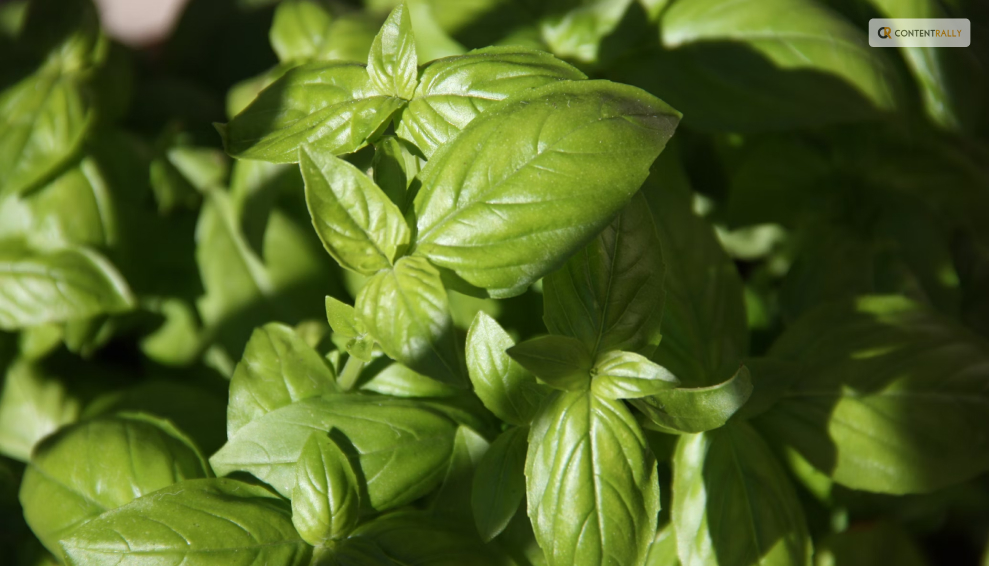
How to Harvest Basil Leaves

The first thing you need to know about harvesting basil is when to do it. The best time to harvest basil leaves is in the morning when the plant is still fresh and moist. Avoid harvesting basil in the afternoon or evening when the plant is dry and wilted. Also, avoid harvesting basil when it is raining or wet, as this can cause the leaves to rot or mold.

Steps to Harvest Basil Leaves
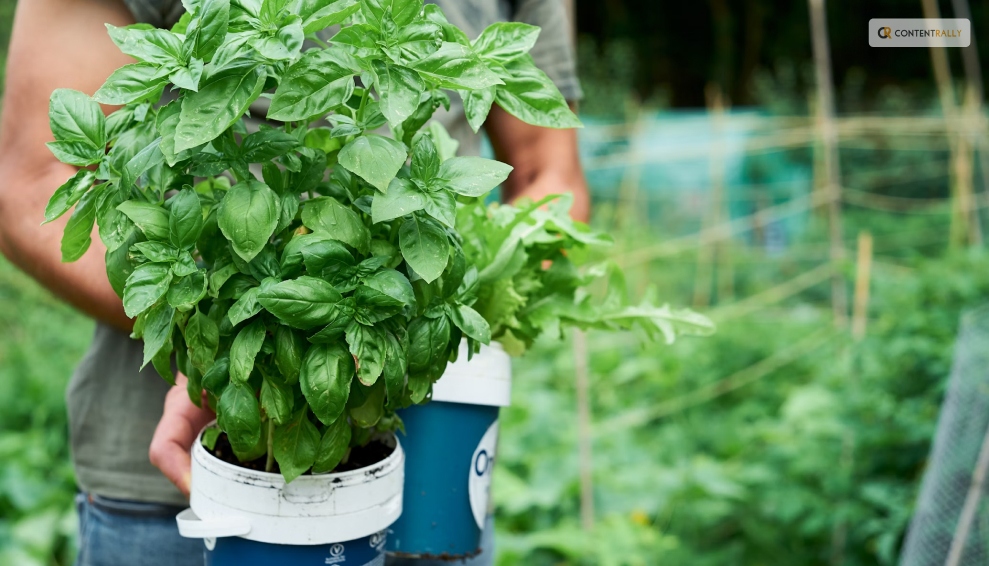
Steps to Harvest Basil Leaves

To harvest basil leaves, you will need a pair of scissors or a sharp knife and a basket or a bowl to collect the leaves. You can also use your fingers to pinch off the leaves, but be careful not to damage the stem or the plant. Here are the steps to follow:

  • Start from the top of the plant, and look for the stems with leaf clusters. These are called the terminal buds, and they are where the basil flowers will grow. You want to remove these buds, as they will make the plant stop producing new leaves and focus on flowering and seeding. This will reduce the flavor and quality of the basil leaves.
  • Cut or pinch off the stem just below the terminal bud, leaving about a quarter of an inch of stem above the next pair of leaves. This will encourage the plant to grow two new stems from the leaf nodes and produce more leaves. You can also cut or pinch off any other stems that are too long or leggy and leave about four to six pairs of leaves on each stem.
  • Repeat this process for all the stems that have terminal buds, and collect the leaves in your basket or bowl. You can also harvest some of the lower leaves but leave enough leaves on the plant to allow it to photosynthesize and grow. You should not harvest more than a third of the plant at a time, as this can stress the plant and reduce its growth and health.
  • After harvesting, rinse the leaves with water and pat them dry with a paper towel. You can use them fresh or store them for later use.

How to Harvest Basil So It Keeps Growing
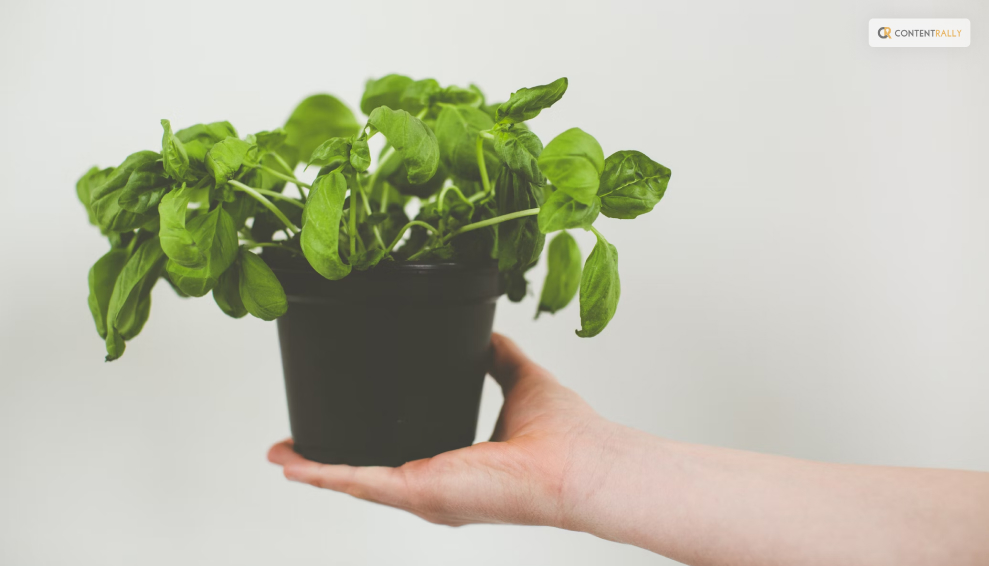
How to Harvest Basil So It Keeps Growing

One of the benefits of harvesting basil is that it stimulates the plant to grow more leaves and branches and prevents it from flowering and seeding.

However, you need to harvest basil regularly and correctly, so that it keeps growing and producing more leaves.

Here are some tips to follow. For instance, you must harvest basil:

  • At least once every two weeks, or more often if you see the terminal buds forming. This will keep the plant bushy and compact and prevent it from becoming woody and bitter.
  • From different parts of the plant, and not always from the same spot. This will ensure that the plant grows evenly and does not become lopsided or uneven.
  • Before it flowers. This is because the flowers will reduce the flavor and quality of the leaves. If you see any flowers forming, remove them as soon as possible. You can also pinch off the flowers and use them as edible garnishes or decorations, as they have a mild and sweet flavor.
  • Before the frost, as the cold weather will kill the plant. You can either harvest the whole plant and store it for later use, or bring it indoors and keep it in a sunny and warm spot. You can also propagate the plant by taking cuttings and rooting them in water or soil and grow new plants for the next season.

How to Harvest Basil Without Killing The Plant?
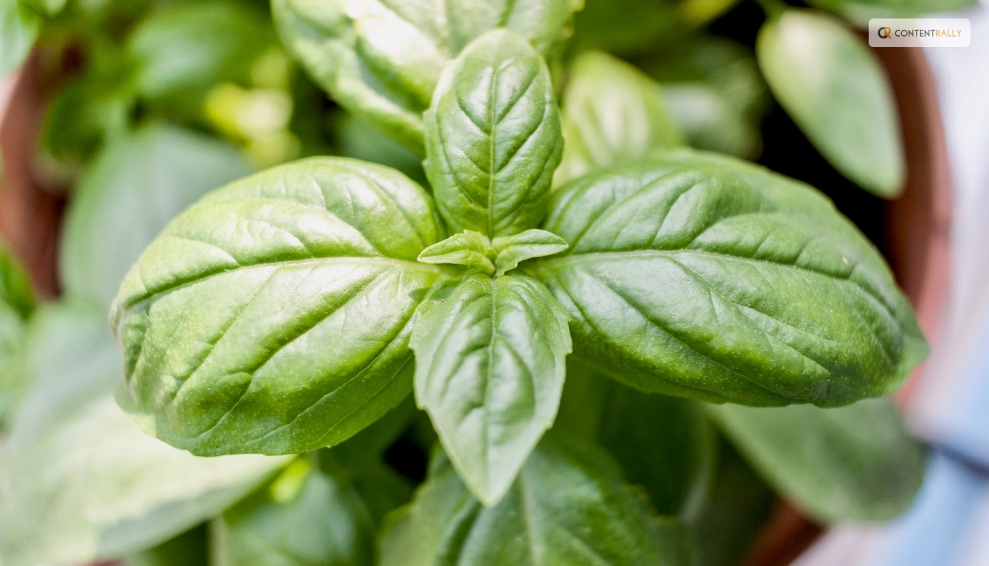
How to Harvest Basil Without Killing the Plant

Harvesting basil is different from harvesting lettuce or other plants. The process is good for the plant and you, as you can enjoy the fresh and aromatic leaves in your dishes.

However, you need to be careful not to harvest too much or too often, as this can harm and kill the plant.

Here are some dos and don’ts of harvesting basil without killing it:

  • Do harvest basil from the top of the plant, not the bottom or the middle. This will allow the plant to grow stems and leaves from the lower nodes and maintain its shape and structure.
  • Don’t harvest basil from the main stem or cut it too close to the ground. This will damage the plant and prevent it from growing new stems and leaves. Leave at least four to six pairs of leaves on each stem and about an inch of stem above the ground.
  • Do harvest basil gently and carefully, and not roughly or forcefully. This will avoid injuring the plant and exposing it to diseases or pests. Use a sharp and clean tool, such as scissors or a knife, and make clean and smooth cuts. You can also use your fingers to pinch off the leaves but be gentle and precise.
  • Don’t harvest basil when it is stressed or unhealthy, such as when it is wilting, yellowing, or diseased. This will weaken the plant and make it more susceptible to further damage. Wait until the plant recovers and looks healthy and green before harvesting. You can also water and fertilize the plant to help it grow and thrive.
  • Do harvest basil when it is young and tender, not old and tough. This will ensure the leaves are fresh, flavorful, and not bitter or woody. Harvest basil when the leaves are about two to three inches long before they curl or turn brown.

How to Pick Basil Leaves?
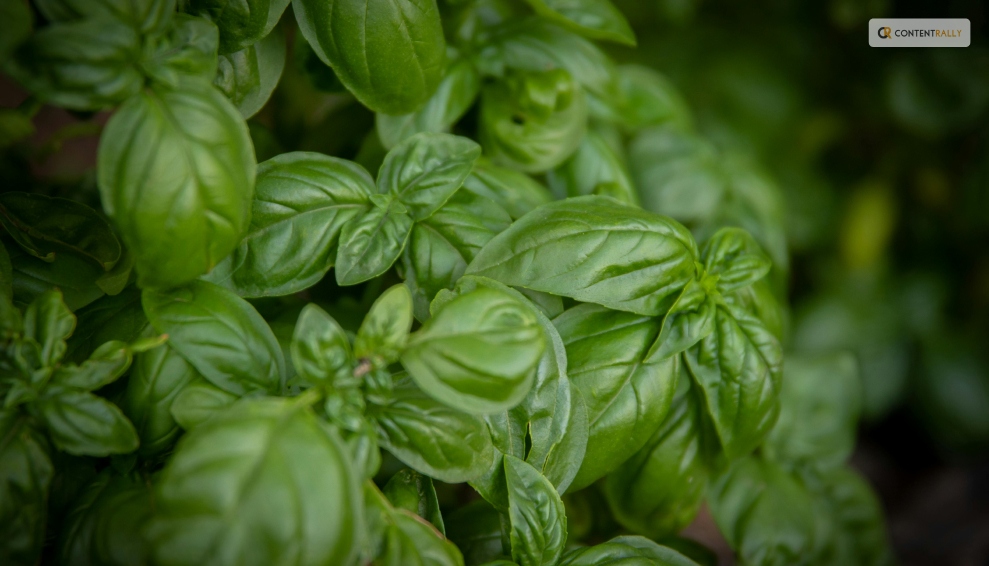
How to Pick Basil Leaves

Picking basil leaves is another way to harvest and use the leaves in your dishes. You can pick basil leaves with your fingers or with a pair of tweezers, depending on your preference and convenience. Here are some tips on how to pick basil leaves. For instance, you can pick it:

  • From the top of the plant, not the bottom or the middle. This will allow the plant to grow stems and leaves from the lower nodes and maintain its shape and structure.
  • From the stems that have terminal buds, not from those that have none. This will prevent the plant from flowering and seeding and producing more leaves. You can also pick some of the lower leaves but leave enough leaves on the plant to allow it to photosynthesize and grow.
  • Gently and carefully, and not roughly or forcefully. This will avoid injuring the plant and exposing it to diseases or pests. Use your fingers to pinch off the leaves or a pair of tweezers to pluck them off. Be gentle and precise, and do not pull or tug on the leaves or the stems.
  • When they are young and tender and not when they are old and tough, this will ensure the leaves are fresh, flavorful, and not bitter or woody. Pick basil when the leaves are about two to three inches long before they curl or turn brown.

How to Store Basil Leaves?
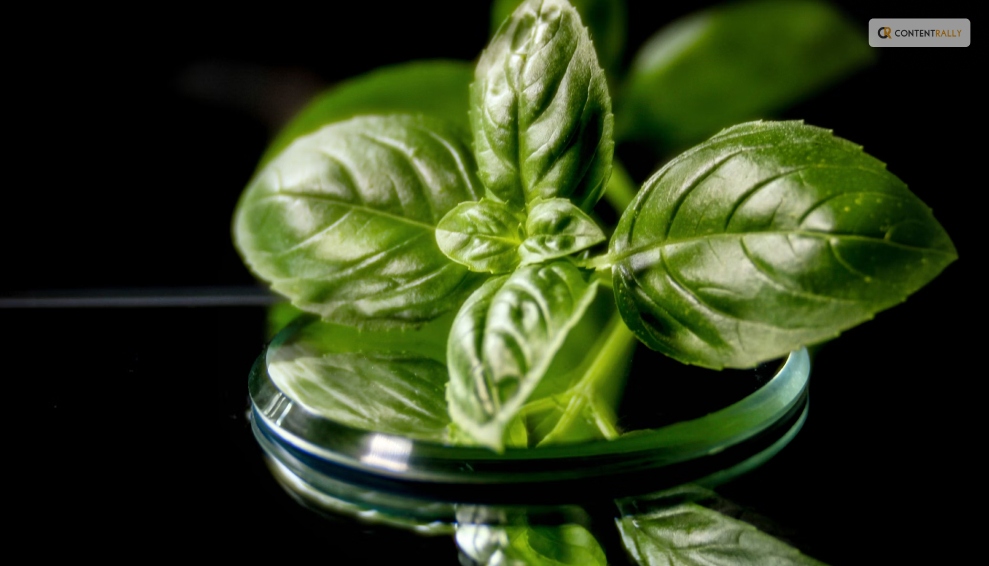
How to Store Basil Leaves

Storing basil leaves is a great way to preserve and enjoy them for later use. You can store basil leaves in different ways, depending on how long you want to keep them and how you want to use them. Here are some of the best ways to store basil leaves:

Refrigerate Them

You can refrigerate basil leaves for up to a week, by wrapping them in a damp paper towel and placing them in a resealable plastic bag or an airtight container. This will keep them moist and fresh, and prevent them from wilting or drying out. However, you should not wash them.

Freeze Them

You can freeze basil leaves for up to six months, by blanching them in boiling water for a few seconds, and then plunging them in ice water to stop the cooking process. This will preserve their color and flavor, and prevent them from browning or oxidizing. Then, pat them dry with a paper towel, and place them in a resealable plastic bag or an airtight container. You can also chop them and mix them with some olive oil, and freeze them in ice cube trays. This will make it easier to use them in soups, sauces, or dressings.

Dry Them

You can dry basil leaves for up to a year, by hanging them upside down in a warm and dry place, such as a closet or a pantry. This will dehydrate them and concentrate their flavor, and make them last longer. However, you should avoid drying them in direct sunlight, as this can bleach them and reduce their quality. You can also dry them in an oven or a microwave, but be careful not to burn them or overcook them. Once they are dry, you can store them in a glass jar or a spice container, and crush them or grind them before using them.

Make Pesto

You can make pesto with basil leaves, by blending them with some garlic, pine nuts, parmesan cheese, and olive oil. This will create a delicious and versatile sauce that you can use for pasta, sandwiches, salads, or dips. You can store pesto in the refrigerator for up to a week, or in the freezer for up to six months. You can also customize pesto by adding other herbs, nuts, cheeses, or spices, according to your taste and preference.

How to Cut Basil?
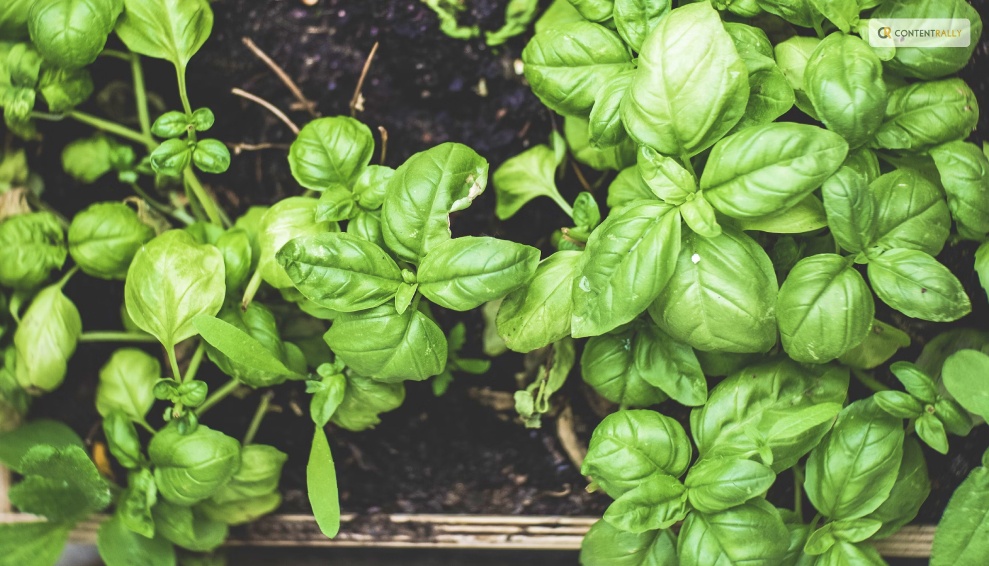
How to Cut Basil

Cutting basil is a simple and easy way to harvest and use the leaves in your dishes. You can cut basil with scissors, a knife, or your fingers, depending on your preference and convenience.

Here are some tips on how to cut basil:

  • Wash and dry the basil leaves before cutting them to remove any dirt or insects. You can rinse them under running water or soak them in a water bowl with a few drops of vinegar. Then, pat them dry with a paper towel or spin them in a salad spinner.
  • Cut the basil leaves just before using them, to preserve their flavor and aroma. If you cut them too early, they will lose their freshness and wilt. You can also bruise or damage the leaves if you cut them too roughly or with a dull tool.
  • Cut the basil leaves according to the size and shape that you need for your recipe. You can either leave them whole or chop them finely or coarsely. You can also cut them into ribbons or strips, by stacking several leaves together, rolling them up, and slicing them thinly. This is called the chiffonade technique, and it creates a beautiful and elegant garnish.
  • Cut the basil leaves with a sharp and clean tool, such as scissors or a knife, and not with a blender or a food processor. This will avoid bruising or crushing the leaves and releasing their oils and juices. You can also use your fingers to tear or pinch off the leaves but be gentle and careful.

How to Use Basil Leaves?
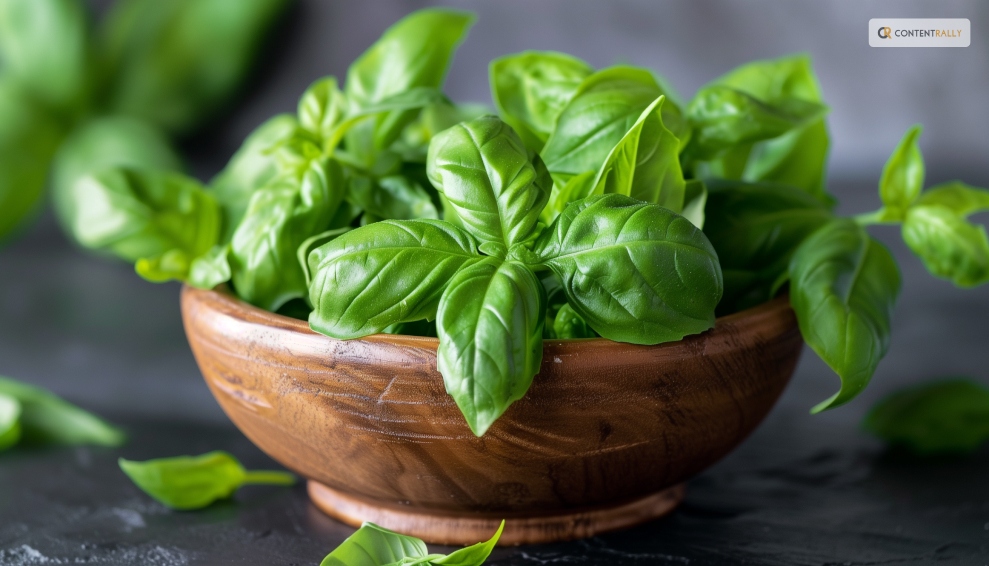
How to Use Basil Leaves

Using basil leaves is a fun and easy way to add flavor and aroma to your dishes. You can use basil leaves in different ways, depending on your mood and occasion. Here are some of the best ways to use basil leaves:

Fresh

You can use fresh basil leaves to garnish and enhance your dishes, such as salads, soups, pizzas, and pastas. Also you can use fresh basil leaves to make salads, such as caprese salad with tomatoes, mozzarella cheese, and basil, or Greek salad with cucumbers, feta cheese, and basil. You can also use fresh basil leaves to make drinks, such as lemonade, tea, or cocktails, with basil, lemon, sugar, and water.

Cooked

You can use cooked basil leaves to flavor and season your dishes, such as sauces, stews, curries, and casseroles. Also you can use cooked basil leaves to make dishes, such as tomato sauce with basil, garlic, and onion, or chicken with basil, cream, and mushrooms. You can also use cooked basil leaves to make breads, such as focaccia with basil, olive oil, and salt, or muffins with basil, cheese, and eggs.

Preserved

You can use preserved basil leaves to store and enjoy them for later use, such as freezing, drying, or making pesto. Also you can use preserved basil leaves to make dishes, such as pesto pasta with basil, garlic, pine nuts, and parmesan cheese, or roasted vegetables with basil, olive oil, and salt. You can also use preserved basil leaves to make snacks, such as crackers with basil, cheese, and honey, or popcorn with basil, butter, and salt.

Wrapping It Up!

Basil is a wonderful herb that you can grow and harvest in your garden or indoors. It has a fresh and aromatic flavor that can enhance any dish, and a rich and nutritious profile that can benefit your health and well-being. By following the tips and tricks in this article, you can learn how to harvest basil properly, so that it keeps growing and producing more leaves, how to cut basil, pick basil leaves, and store them for later use, and how to use basil leaves in different and delicious ways.

Read Also:

Ankita Tripathy loves to write about food and the Hallyu Wave in particular. During her free time, she enjoys looking at the sky or reading books while sipping a cup of hot coffee. Her favourite niches are food, music, lifestyle, travel, and Korean Pop music and drama.

View all posts

Leave a Reply

Your email address will not be published. Required fields are marked *

All Comments

I love your take on this topic. Your post is both original and insightful.

Related

Restaurant Chair

Restaurant Chair Trends: Classic And Contemporary Styles

Have you ever been to a restaurant and noticed the chairs? Not only are they comfortable, but they can also speak volumes about the establishment. From classic styles to contemporary designs, restaurant chairs come in many different shapes and forms. Restaurant chair design has come a long way since its inception. Today’s chairs offer more than just comfort; they lend their own unique character to an eatery’s atmosphere. Whether you’re looking for something classic or contemporary, there are numerous options on the market for both interior and outdoor seating. Let’s take a look at some of today’s popular trends in restaurant chair design. From sleek leather designs to rustic wood creations, there is no shortage of styles available for restaurants looking to set the tone with their seating choices. Customers can choose from traditional wooden chairs with intricate carvings or opt for a more modern vibe with curved metal frames that provide both form and function. With so many restaurant chairs for sale, it's easy to create the perfect look for any dining space. 1. Understanding Restaurant Chair Styles When it comes to furnishing a restaurant, chair selection is essential. Choosing the right style can make all the difference in creating an inviting atmosphere for guests. In this article, we'll explore the two main styles of restaurant chairs: classic and contemporary. Classic restaurant chairs are characterized by elegant designs with intricate detailing and sturdy construction. These types of chairs typically feature rich fabrics, ornate carvings, and beautiful colors that will add warmth to any dining space. Plus, they often come with built-in cushioning for increased comfort. On the other hand, contemporary chairs offer a more modern look with sleek lines and sharp angles. They usually have metal or plastic frames and may be upholstered in bold colors or patterns that draw attention to the space. Both classic and contemporary styles of restaurant chairs offer unique benefits, making either one a great choice depending on your individual needs and preferences. For instance, classic chairs provide a timeless elegance while contemporary ones bring an up-to-date vibe to any setting. Ultimately, it's important to consider carefully what type of design you're looking for when selecting restaurant chairs—as they can make or break your overall aesthetic! 2. Classic Restaurant Chair Styles The first step to understanding restaurant chair trends is to understand the classic styles. Classic chairs are timeless designs that have been in existence for centuries, and they remain popular in restaurants. These chairs feature elegant curves and subtle lines, often crafted from wood or metal. They come in a variety of colors, finishes, and fabrics that can be customized to suit any decor scheme. Classic chairs are known for their comfort and durability, making them an ideal choice for busy restaurants. They also provide guests with a sense of luxury and sophistication; many classic designs even incorporate carved details or decorative embellishments that add character to the space. Plus, these chairs won’t break your budget; classic designs tend to be more affordable than their modern counterparts. From traditional dining areas to contemporary spaces, classic restaurant chairs offer timeless style and comfort that will last for years. With so many options available, you’re sure to find a design that perfectly complements your restaurant’s look and feel. Whether you choose an ornate design or something more modest and understated, these classic features will instantly elevate your space – without sacrificing quality or durability. 3. Contemporary Restaurant Chair Styles When it comes to contemporary restaurant chair styles, the options are endless. With modern designs and materials, these chairs can often stand out from classic ones. There's something for every aesthetic and budget, so it's worth taking the time to explore all the possibilities. One popular option is metal chairs. These sleek pieces of furniture often have a minimalist design with thin frames and curved or straight legs. They also come in various colors and finishes, such as brushed gold or chrome. Metal chairs are perfect for creating an industrial look in any restaurant space. Wooden chairs are another great choice for a contemporary style. Whether they're made from light-colored woods like maple or darker woods like teak, wooden chairs can add warmth to a space while still maintaining a modern feel. Additionally, wooden chairs can be easily customized with paint or upholstery if desired. No matter what type of chair you choose, it's important to make sure that it's comfortable as well as stylish. It should fit within your existing decor while providing guests with a place to relax during their meal. Taking these factors into consideration will ensure that your restaurant has the perfect seating for any occasion. 4. Practical Considerations For Restaurant Chairs When it comes to selecting restaurant chairs, there are a few practical considerations to keep in mind. It's important to think about the size of the space, as well as the number of customers that will be dining.It's also crucial to consider how much wear and tear the chairs will experience — especially if you're looking at more delicate designs. The material is another factor when it comes to practicality. Hardwood chairs may look beautiful but require regular maintenance, while metal or plastic chairs can be cheaper but may not have the same longevity. Comfort is obviously an important consideration too; after all, what good is a stylish chair if your guests won't want to sit in it? Finally, the budget should also be taken into account. When it comes to furnishings for restaurants, there's usually a trade-off between style and cost. Ultimately, finding the right balance between these two factors is key to creating an inviting atmosphere that won't break the bank. Related: The Basics of Restaurant Equipment Financing 5. Popular Materials For Restaurant Chairs When it comes to restaurant chairs, materials play an important role in style, comfort, and durability. While there's no one-size-fits-all material for restaurant chairs, there are a few popular options that you can consider when selecting the perfect chairs for your space. Let's take a closer look at some of the most popular materials for restaurant chairs. Wood is often the first material people think of when shopping for furniture, and it's no surprise why—wooden chairs are timelessly stylish and easy to customize. They come in both classic and contemporary styles, allowing you to pick something that fits your design aesthetic. Plus, wood is a durable material that won't chip or dent easily and will last for years with proper maintenance. Metal is another great option for restaurant chairs—it comes in many different colors and styles and will give your space an industrial feel. Metal is also lightweight yet strong enough to stand up to the wear and tear of daily use in busy restaurants. What's more, metal requires very little maintenance compared to other materials like wood or fabric. No matter what type of restaurant chair you're looking for, there's sure to be a material that meets your needs and style preferences. From classic wooden designs to modern metallic looks, there are plenty of options available when it comes time to choose furniture for your dining room or patio area. Conclusion Restaurant chairs come in a variety of classic and contemporary styles, with the average cost depending on the style you choose. They're expected to have a long lifespan, and many are available in custom sizes. Additionally, many restaurant chairs are suitable for both indoor and outdoor use and can be easily cleaned and maintained. When choosing restaurant chairs, it's important to consider your needs. Think about the space you have available, the type of clientele you serve, and how often they will be used. You'll also want to make sure the chairs are comfortable, as well as durable enough to withstand high-traffic areas. Choosing the right chair for your restaurant is an important decision that can affect both its look and function. With a little research, you'll be able to find the perfect match for your space, whether it's a classic or contemporary style, and create a stylish atmosphere that customers will enjoy. Read Also: Reasons Put Bean Bag Chairs in Your Classroom How Do You Match Sofas With Accent Chairs? 7 Tips to Choose Ergonomic Office Chair

READ MOREDetails
Repairing Your Roof

Repairing Your Roof – How Should You Get Started?

Your house's roof is its ultimate defense against harsh weather, pesky creatures, and infestations.  If your roof is not in top condition, your entire house is at risk. It's crucial to schedule roof repair as soon as you notice a leak, even if it's small, as it can cause significant damage.  Repairing your roof is more cost-effective than replacing it entirely and is vital to maintain its integrity.  Left unaddressed, roof leaks can cost you tens of thousands of dollars.  This article will discuss the basics of roof repair, what you need, and how to do it. Ensuring your roof is in top condition is essential to protect your home from the elements and ensure its longevity. Steps For Repairing Your Roof Given below are the steps that will guide you in the process of roof repairing at your home— 1. Examine The Damage Following a systematic approach is vital when searching for a leak in your roof. Begin by surveying the visible damage to your roof, including shingles, gutters, and roof edges.  It's essential to start with the most obvious issues and progress to less apparent ones. Once you've assessed the exterior, examine the interior for signs of water damage.  Look for indications of water stains, dripping water, sagging, pooled water, and dampness. Inspect during rainy weather, as some leaks are intermittent and only occur when there is enough rain.  Access the attic using a flashlight to locate the water source through the roof deck. Check around all rafters for indications of water.  Water can travel through the roof decking and rafters due to the force of gravity, which may result in dripping in different areas. If you observe water dripping, trace it back to its origin. 2. Find A Reliable Contractor After a thorough inspection of your roofing system by a professional roofing consultant, you will receive an accurate and detailed bid or estimate.  The estimate will be based on the materials you choose for your roofing projects. Moreover, you must consider the unique measurements of your roof.  The roofing consultant will also consider any special conditions that may affect the cost. This can include the complexity of the roof design or any existing damage that needs repairing. Once you receive the bid or estimate, your roofing contractor should provide a written contract outlining the details.  This contract should include a comprehensive breakdown of the costs, the expected timeline for completion, and any warranties or guarantees included.  Therefore, you must carefully review and understand the contract before agreeing to any work to ensure everything is clear and fair for both parties. 3. Select The Suitable Material  It's crucial to have a complete set of roofing tools when undertaking any repair project. These hand tools have various uses throughout the house. They include the following: Roofing hammer. Pry bar. Nail puller. Utility knife. Shears. Tin snips. Handbrake. Tape measure. Chalk box. Roofing nails (also known as roofers). Speed squares. A pencil for notes or markings. A 10 oz clay gun. Choosing the right roofing sealant depends on the roofer's needs, but any kind will suffice.  While shingles are optional, matching them is optional. For flashing work, it's recommended to use aluminum coil stock, which is available in various colors at most box stores. A tape measure is recommended for all measurements and layout work, and a chalk box is ideal for snapping reference lines and general layout work.  Roofing nails, or "roofers," are recommended for their durability. The materials used for the roofing sealant, shingles, and aluminum coil stock are also essential. 4. Ensure That All Cracks Are Sealed Using an uncomplicated roofing sealant is important to seal any cracks on your roof.  To apply a sealant, you must pierce a thin aluminum membrane with the tube, allowing the sealant to flow.  Next, load the sealant into a caulk gun and aim it at the crack or hole to seal it.  The sealant will dry in a few hours and be set entirely in 24 hours without intervention.  Finally, you can cover the hole with shingles or flashing and move on to other projects. Ensuring that the roof sealant is compatible with your caulk gun is crucial. This is because some construction materials come in 28-ounce tubes that won't fit a standard 10-ounce gun. 5. Ensure The roof Is Insulated When planning to replace your roof, it's also a good opportunity to consider upgrading your insulation.  However, if you opt for new blown-in insulation, your roofing contractor will install it while they remove the decking.  This insulation process requires running a hose through the exposed roof and into your attic. It allows the insulation to be installed quickly and easily without causing any damage to your walls or ceilings.  Therefore, with the new insulation, you can enjoy improved energy efficiency and a more comfortable indoor environment. 6. Leave It Clean After the roofing crew installs your new roof, they should clean up any debris around your home. This includes loose shingles and nails and leaves them in their original condition.  They should also haul away old roofing materials for proper disposal. Additionally, you must ensure not to dispose of in landfills, which can contribute to pollution. The roofing expert must inspect the final product to ensure it meets all industry standards and building codes.  They should also check for potential leaks or damage and address any concerns. It is important to address any concerns and take steps to correct any issues. Therefore, ensure you’re completely satisfied with the new roof and its reliable protection for years. Can You Repair Your Roof Yourself? Understandably, as a homeowner, you may want to save money. Therefore, taking care of some home maintenance tasks can help you save a lot.  However, it is important to know your limits when it comes to your roof.  You may be capable of handling minor tasks such as replacing caulking or cleaning gutters. On the other hand, leaving any roofing projects to the professionals is highly recommended.  Moreover, roofing maintenance requires specific skills, knowledge, and equipment that only experienced and trained professionals possess.  Even a seeming DIY project can quickly spiral into a much bigger roof repair if something goes wrong.  Therefore, it's always wise to prioritize the safety of your home and family. Look for an efficient roofing service provider and explain the damage. You can get your roof cost-effectively repaired under expert supervision! Read Also: How Often Do You Need A Roof Inspection? Elevate Your Roof’s Health With Aerial Roof Inspections Choosing A Siding And Roofing Companies In Delaware

READ MOREDetails
Kinds of Toilets

The Different Kinds of Toilets

One of the efficient and convenient offerings of civilization is having the convenience to simply sit down or squat and answer the call of nature without worrying about modesty or potentially dangerous creatures slithering on the ground. The invention of the toilet was a mark of progress for mankind. Some may think that there is only one kind of toilet. But the market has an abundance of toilets in any shape and form that it can be a headache to choose which one will suit one’s needs best. Technology makes it possible to equip something as simple as a toilet with innovative functions like automatic flushing and bidets—a fascinating change from what humans were used to centuries ago. For families and homeowners who are planning to do a bathroom upgrade or thinking of one to add to their new homes, picking the most suitable toilet for their needs is not only a priority but also a sensible step before going through with the installation. Here are the different toilets one can choose from. Different Kinds of Toilets: 1. The Two-Piece Toilet: The toilet and the ceramic tank are created separately and only connected with bolts during installation. It is mounted on the floor, making it ideal for adults because of its suitable height. It can also be easily transported because the tank and the bowl are separate. The two-piece toilet is probably the most commonly used type of toilet in US households. 2. The One-Piece Toilet: Unlike the former, one-piece toilets have an integrated tank and bowl, giving it a seamless, functional look. It is also slightly heavier; thus, it is not advisable if one is looking for a wall-hung model. Because of the absence of a gap between the tank and the body, the one-piece toilet is more manageable to clean and maintain. 3. Eco-Friendly Toilet: For those are who are concerned about the environment, eco-friendly toilets are the trend. There are toilets that minimize the use of water for flushing. One example is the Sanicompact toilet, a self-contained system that includes a china toilet bowl and macerator pump built into one compact unit. It can save water since it only requires a smaller amount than most toilets do in order to function. Others, like the composting toilets, break down waste into nutrient-rich soil. It is powered by electricity or batteries. 4. The Smart Toilet: Some toilets are made for comfort but without compromising their functionality. Intelligent upgrades include heated seats, automatic flushers, self-cleaning wands, and deodorizing seats. Some are equipped with sensors that automatically open the toilet seat when someone approaches. This type of toilet allows homeowners to keep up with the trend while attending to their needs. 5. The Squat Toilet: Prevalent in the Middle East, this toilet type is made of a pan on the floor level that requires one to squat when doing the business. It may be equipped with a water cistern for flushing, or it can also make use of a bucket of water. There Are Lots Out There: There are many more toilet types that can fascinate and expand one’s knowledge of toilet evolution. Some have intriguing histories, like the portable toilet developed during World War II by shipbuilders who wanted to make the most of their employees’ services by cutting down their need for toilet trek from the ships to the docks. Others are a reflection of the culture where they were birthed. People can learn a lot just by following the evolution of toilets. There are many more toilet types that can fascinate and expand one’s knowledge of toilet evolution. Some have intriguing histories, like the portable toilet for construction sites developed during World War II by shipbuilders who wanted to make the most of their employees’ services by cutting down their need for toilet trek from the ships to the docks. Others are a reflection of the culture where they were birthed. People can learn a lot just by following the evolution of toilets. Read More : 1. Pack And Move Without The Hassle 2. Using Feng Shui In Your Bathroom Design 3. Home Hacks: Stuff You Can Clean In One Hour Or Less

READ MOREDetails