How to Harvest and Preserve Dill for Year-Round Use?

Published on: 12 March 2024 Last Updated on: 05 September 2024
how to harvest dill

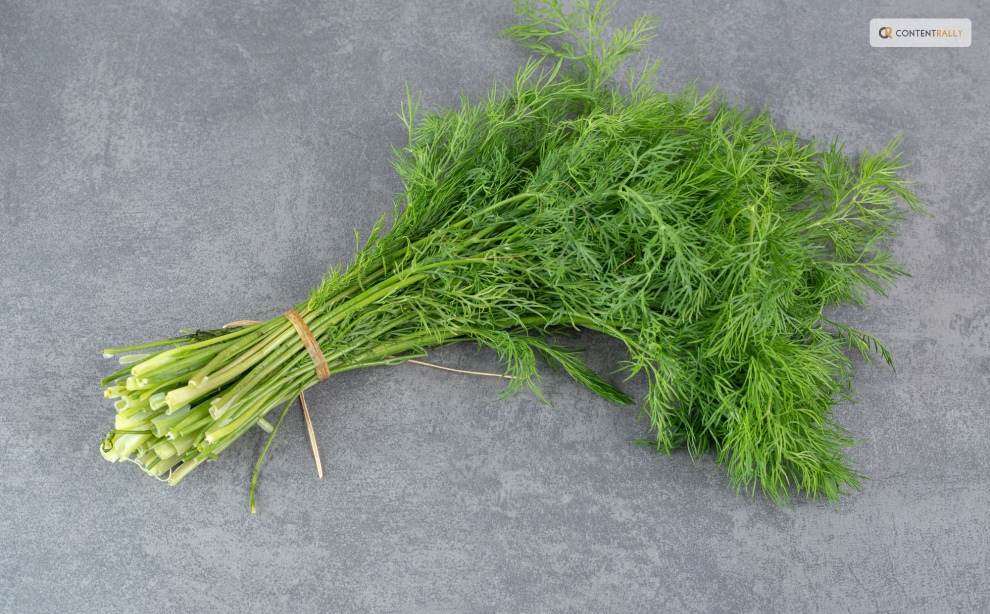
The tender, fern-like leaves of dill almost beg to be touched. If you want to cook them, trim the fresh dill foliage and gather the seeds for pickling. Or you can chop the feathery leaves and yellow umbels for attractive bouquets of homegrown flowers.

In addition, black swallowtail caterpillars love to feed on it. Its tiny yellow blooms are great at drawing in a wide range of pollinators. Dill grows as an annual for summer harvests in USDA Hardiness Zones 2–8. In other parts, it may self-seed and is hardy in the winter in Zones 9–11.

Here is everything you need to know about how to harvest dill. Keep reading for a comprehensive guide.

How to Harvest Dill?
Harvesting Dill

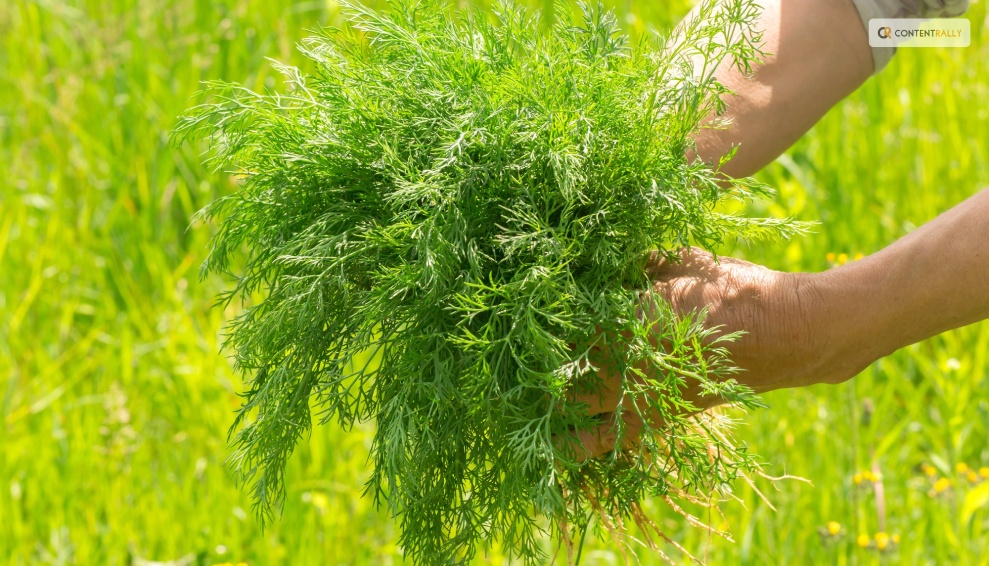
Fresh dill clips easily, but it soon starts to droop. Sounds familiar to Cilantro, right? Its flower umbels may look lovely in a mixed bouquet, but after a few hours, don’t be shocked if they start to wilt. When harvesting dill for recipes, use it as soon as possible because its flavor starts to fade after a few days.

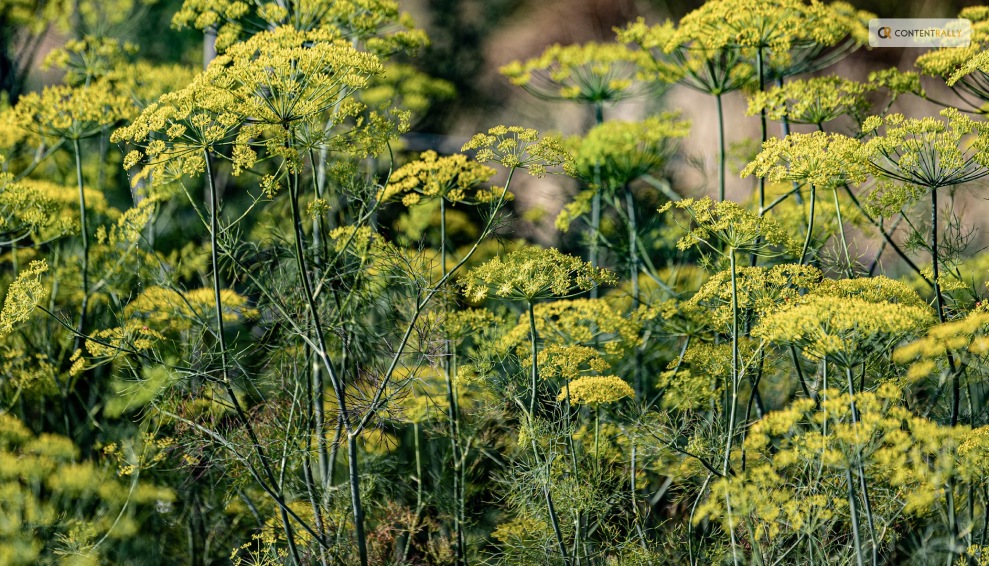
Cut off the flower stalks of dill after the yellow blooms have faded but before the seeds start to ripen and come away from the umbel. Cover the entire flower head with a small paper bag that has a few tiny holes for ventilation.

Hang the plant upside down in a cool, dry place. Watch for the seeds to fall and collect them in the bag’s bottom. The seeds should be kept in a cool, dry, and dark area in an airtight glass container.

When and How to Plant Dill?
When and How to Plant Dill

Dill grows best outside and is simple to start from seed. Plant the seeds directly into the ground, 1/4 inch deep and spaced 1 to 2 inches apart, in the springtime following the last frost. If you want the dill plants to be able to self-sow, plant the seeds in tufts so the seeds can fall and sprout the following year.

Or you can plant them in rows spaced about 6 inches apart. You might want to think about succession planting if you want a reliable supply of dill. During the growing season, start by planting a small number of seeds from the packet at a time and then a few more every week.

Typically, seeds take 7 to 14 days to germinate. Also, dill can be grown from transplants grown in nurseries planted in the ground or in containers in spring. You can plant dill outside a few weeks before the last predicted spring frost because it can withstand light frost.

To achieve lush growth and stop crowded seedlings from producing seed heads, which stops the production of foliage, thinning is essential. Every 12 to 24 inches, reduce the number of seedlings to just the strongest one once they reach 3 or 4 inches in height.

As they get bigger, some start to flop. Plants can be kept upright by placing a stake or a sturdy twig in the ground close to the plant’s base. To loosely secure the plant to the stake, use garden twine.

You can start the dill seeds indoors four to six weeks prior to the last frost. And you can move the seedlings to the ground once the risk of frost has passed. Transplanting mature dill does not work well, so plant your seedlings where they will be able to grow and thrive.

Where To Plant Dill?

Where To Plant Dill

Dill should be planted in a spot with well-drained soil and at least 6 to 8 hours of daily full, direct sunlight. Particularly for cottage gardens, the delicate foliage gives garden beds and borders textural interest. Choose a location for your dill that will shield it from the wind if possible.

Just like spinach, high winds can easily damage its stalks if you do not stake the dill. You can plant dill’s fragrant foliage in perennial garden container plantings. Or you can plant them alongside other herbs or vegetables in a traditional kitchen garden.

In an edible garden, cruciferous vegetables such as Brussels sprouts, collard greens, broccoli, and cabbage are good companion plants for dill. Dill draws beneficial insects like ladybugs and bees and drives away common brassica pests like loopers and cabbage worms.

But avoid planting dill close to carrots. Carrots can be stunted by dill, and because they are closely related, dill can cross-pollinate with carrots to produce inferior hybrid plants. Planting dill close to tomatoes is also not recommended.

Mature dill will probably stunt your tomatoes’ growth, even though some studies have indicated that tomatoes and dill can be beneficial companions when they are young.

How to Propagate Dill?
How to Propagate Dill

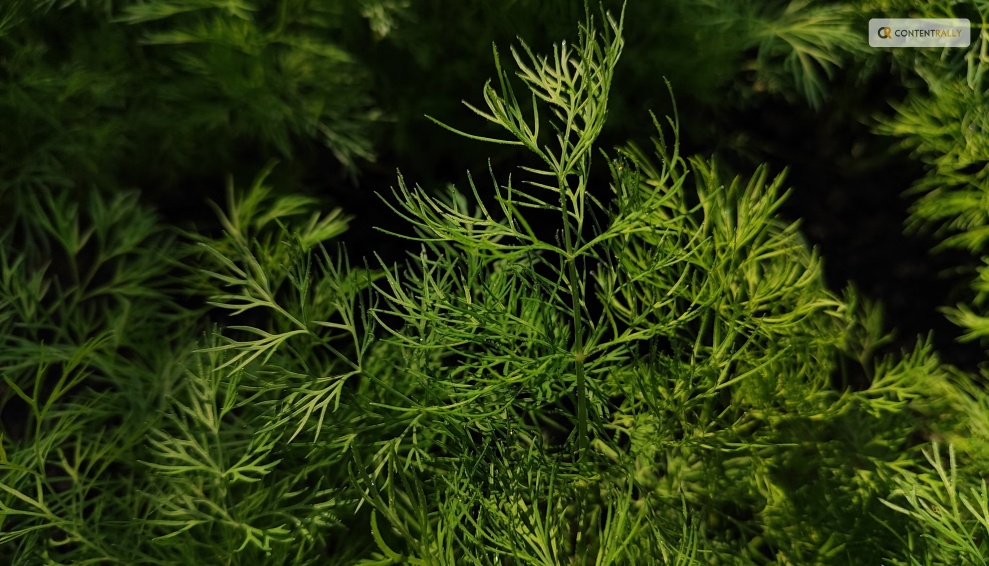
Seed is the most effective method of dill propagation. Cuttings can also propagate Dill, though this isn’t as dependable.

Seed: Direct sow the dill seeds in early spring at a depth of 1/4 inch in a prepared garden bed. Dill does not tolerate transplanting well. Thin the seedlings so they are 12–24 inches apart when they are 3–4 inches tall.

Cuttings: Using shears or scissors, cut off the stem with at least 3 to 4 inches of new growth to take a dill cutting. Place the cutting in a water-filled container, making sure to remove any leaves below the water’s surface, and allow the roots to grow for two to three weeks.

Fertilizer and rooting hormones are not required. Plant the dill in a container or on the ground once the roots are 2 to 3 inches long.

Is Dill a Type of Weed?

No, I am not talking about WEED weed (read: marijuana). Although dill isn’t technically a weed, some individuals and spice companies call the plant dill weed, possibly due to its feathery leaves. Dill weed is a dried or fresh foliage plant. Flower umbels are yellow and used to make dill seeds.

How Should Dill Be Stored for Optimal Quality?
How Should Dill Be Stored for Optimal Quality

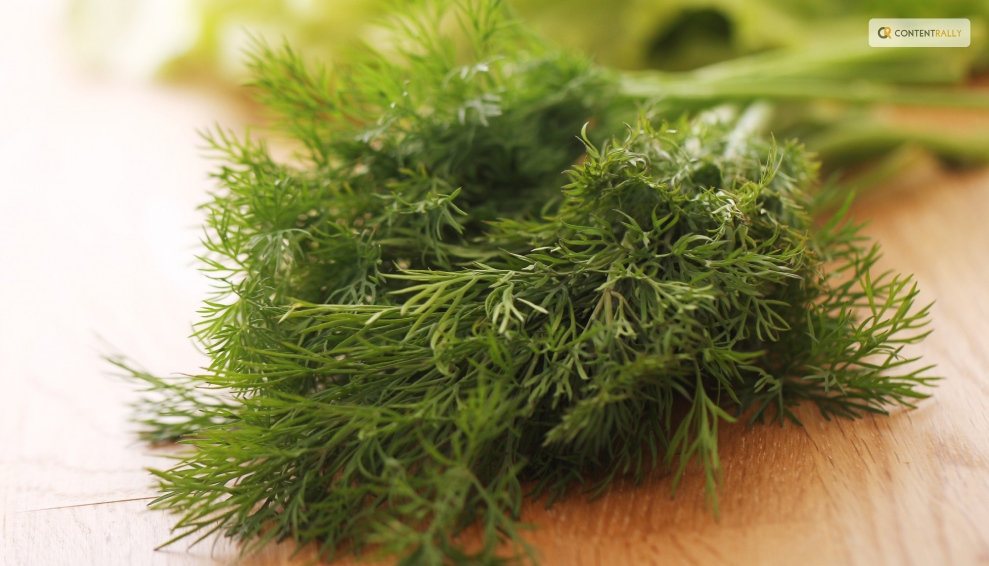
You can keep fresh dill in the fridge by wrapping its leaves in a moist paper towel. Or you can tuck its stems into a container of water. Fresh dill can be frozen by submerging it in water in ice cube trays. Place the cubes in cooked dishes that have enough moisture to withstand them.

Dill seeds and leaves can also be easily dried for later use, though the flavor is a lot more muted.

Water and Soil

Sow dill in soil that is moist but well-drained. If there is a lot of clay in your soil, add organic matter to the top few inches to aid in drainage. If you have trouble with poor soil drainage, plant this herb in raised beds or containers. Growing dill requires proper irrigation.

As the seeds germinate, keep the soil evenly moist. Dill plants require one to two inches of rain or extra water each week once they begin to grow.

Humidity and Temperature

Dill tolerates temperatures as low as 25ºF, but 70ºF is the ideal temperature for it. Dill often bolts, sending up flower stalks to set seeds when temperatures rise. This annual herb dies after it flowers and produces seeds. Get rid of the flowers to prolong the plant’s growing season.

Apply Fertilizer

While most herbs, including dill, don’t require extra fertilizer, you can give them once or twice during the growing season by applying a balanced 10-10-10 fertilizer. When planting, either mix a liquid fertilizer with water or etch a time-release fertilizer into the soil.

Refer to the product label for instructions on how much to use.

Trimming

Dill should be pruned early in the growing season to prevent limb bending. Cut off the top leaves of the plant to promote more growth of the lower leaves. Food preparation and cooking can be done with anything that has been pruned.

Repotting and Potting

You can grow dill in pots on a sunny balcony or deck, even if you don’t have an outdoor garden. Due to the deep taproot that dill plants have, choose a container that is at least 12 inches deep. Because clay and terracotta pots don’t retain as much moisture as plastic or glazed ceramic pots.

They are ideal for growing dill. Make sure the container you select has good drainage and is big enough to allow you to space your plants 12 to 24 inches apart. It is best to start over in a new, larger container. Especially if your dill plant outgrows its current one because it does not take well to transplant.

If the temperature where you are planting is not too high, you can keep planting seeds into the summer.

Types of Dill
Types of Dill

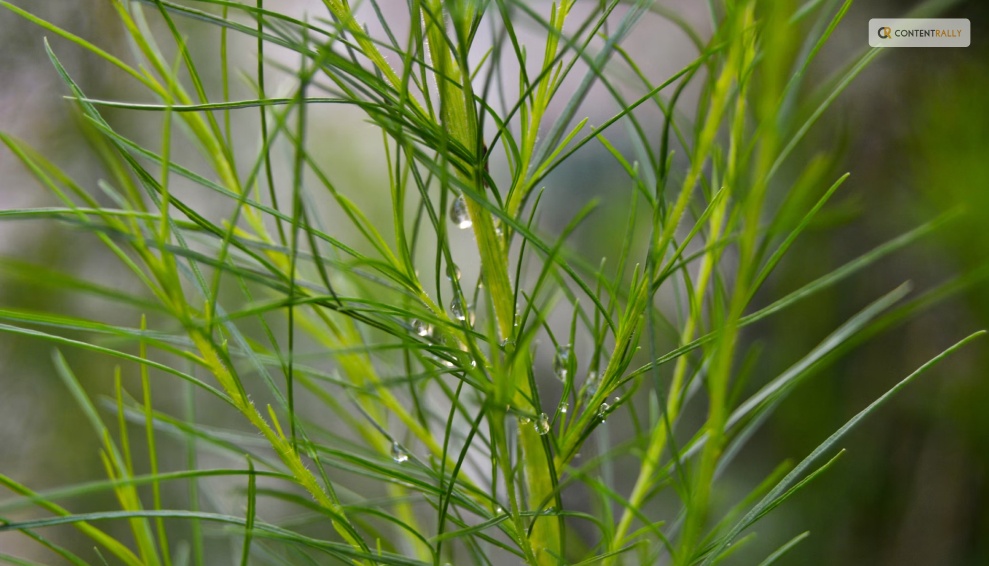
Dills can be of many types with each of their distinct looks and flavors. Here are the three different types of dill you can grow in your kitchen or backyard.

Long Island Mammoth

Also known as Long Island Mammoth this one is an old-time favorite. Its fern-like leaves can be dried and stored for a long time, or they can be harvested fresh. It produces big clusters of yellow flowers with flat tops. They turn into brown seed heads, and they can reach a height of five feet.

Fernleaf

Grown to a height of only 18 inches, Anethum graveolens, or Fernleaf, is a highly productive dwarf variety. It works well in container gardens or small in-ground beds. Its feathery, delicate foliage has a great flavor of dill. From midsummer into fall, it blossoms.

Bouquet

The ‘Bouquet’ cultivar produces plants up to thirty inches tall with fine bluish-green foliage. The enormous, six-inch-diameter yellow flower heads are ideal for drying, creating an enduring arrangement. Or you could chop them for fresh floral arrangements.

How to Keep New Dill Fresh?
How to Keep New Dill Fresh

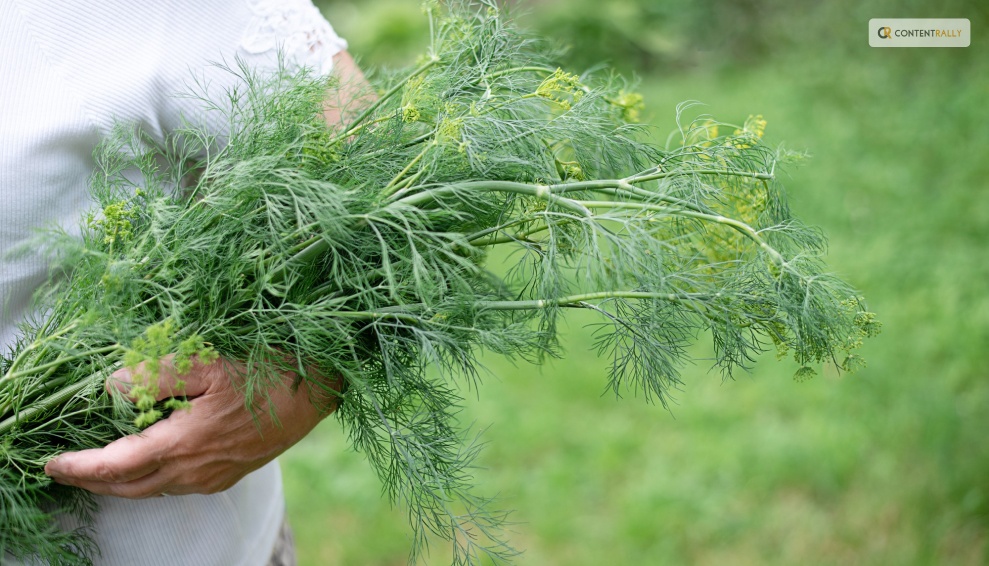
Dill weed quickly wilts after harvesting and gradually loses its distinctive flavor and aroma. If you know how to store your freshly harvested dill, this shouldn’t be a problem. Here are two straightforward techniques that you can use:

Put It in the Crisper Drawer of the Refrigerator

Loosely wrap the recently cut and cleaned leaves in damp kitchen towels before putting them in a container or sealed bag. Put the container in the crisper drawer of the refrigerator, which has a lower humidity than the other sections of the appliance.

Utilize the herbs before they begin to wilt and dry out, which should happen in a few days.

Put It in Water

To make this method function, when harvesting the herb, you must cut off the entire stem. After gathering the stems, put them in a glass of water and seal the opening with a plastic bag. Every day, change the water. Unlike potatoes, dill leaves can remain fresh for up to a week when stored in this manner.

How to Freeze Fresh Dill?
How to Freeze Fresh Dill

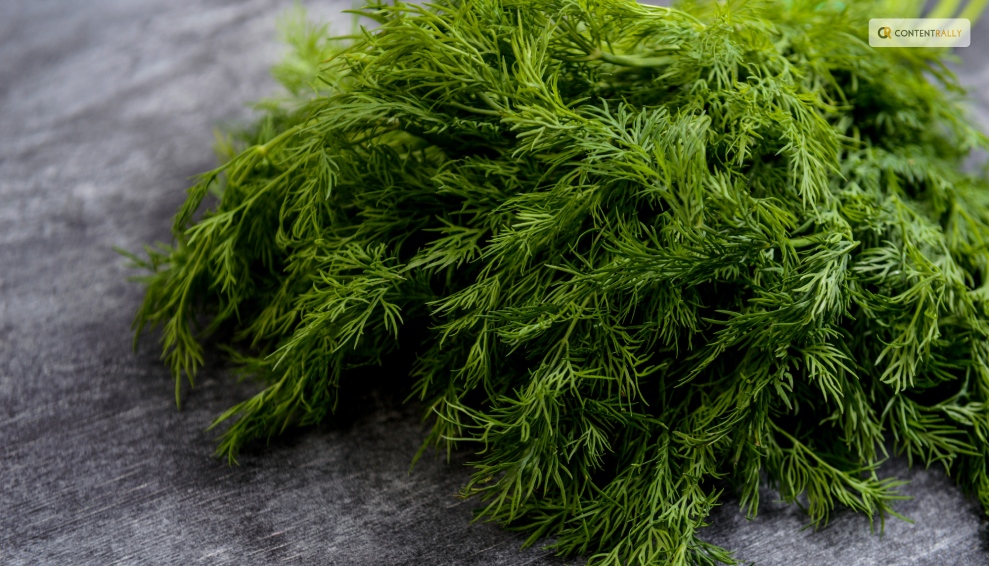
Freezing is the best way to preserve extra dill for later use if you’ve harvested more than you can use at once or in a few days. Dill freezes most effectively when chopped into smaller pieces and added to ice cube trays with just enough water to cover the freshly minced dill.

This allows the herbs to be kept for four months or longer. This will ensure you always have dill on hand for when a recipe calls for it.

How to Dry Fresh Dill?
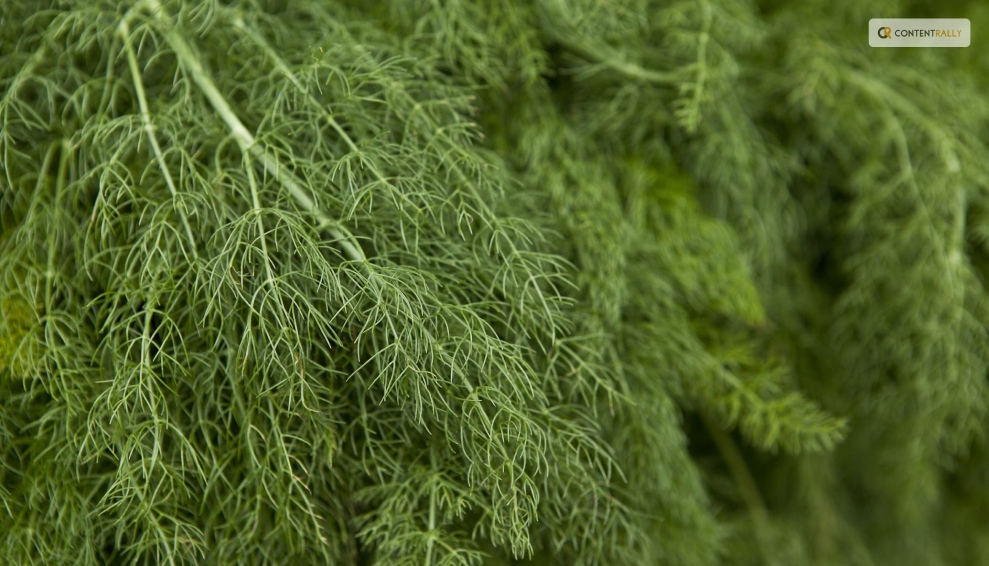
How to Dry Fresh Dill

Dried fresh dill is a popular method if you’re searching for another way to store dill for a long time. The herb has many uses, even though it won’t have as much flavor as when it’s fresh or frozen. All year long, you can use it as a herb in cooked dishes or to make tea.

Stick to hang-drying if you don’t want much of the flavor to be lost. This is a very easy method to use. All you must do is gather a few dill leaves and then bind them with a string. Later, place them in an area with adequate ventilation upside down.

 Place them in an airtight container once they’re crumbling and dry. Even though fresh dill is always preferable, make sure to save some for later use. Particularly if you don’t have a year-round indoor herb and spice garden.

Wrapping Up

Growing dill is a great way to add flavor to fish and seafood dishes. A little goes a long way because fresh dill leaves have a strong licorice flavor. It is best that you add dill toward the end of cooking, in salads, or as a garnish for soups. Because once cooked, it tends to lose its flavor.

If you have thoughts to share or questions to ask about how to harvest dill, please leave a comment below. We would love to hear from you!

Read Also:

Ankita Tripathy loves to write about food and the Hallyu Wave in particular. During her free time, she enjoys looking at the sky or reading books while sipping a cup of hot coffee. Her favourite niches are food, music, lifestyle, travel, and Korean Pop music and drama.

View all posts

Leave a Reply

Your email address will not be published. Required fields are marked *

All Comments

Wow, this article is pleasant, my sister is analyzing such things, therefore I am going to let know her.

Related

Condo Interior

Top Expert Tips for a Stunning Condo Interior!

With industrialization taking the spotlight in many cities, it’s easy to understand why there are a lot of people who choose to find a temporary or permanent residence in the rural areas near their workplace. Condo unit in Cebu is among the most popular picks both for locals and non-locals who wish to have an accessible property within the central city. Given the huge number of real estate companies that now have a lot of units offered, it shouldn’t be much of a problem to find a place that fits your preference and needs well. For those who already purchased their units, the next challenge comes with the need to beautify and enhance the looks of the current unit they own. Condominiums tend to have synonymous designs on all their units so it’s in the hand of the unit owner to personalize the space however he or she wants. Take a look at the following expert tips that can help you achieve that stunning look you hope for. Plan every detail: There is no substitute for planning in interior design. Even professional designers spend time creating a blueprint on how they would beautify an interior. You must do the same. By planning, you get to identify the specific areas of your home in need of enhancements as well as those that can do well without the current furniture you’ve placed on them. If you want to move your furniture around the condo, you need to ensure that you do not end up damaging the same or scraping the new and expensive floor. One great way that you can manage this is by using furniture wheels. This will allow you to move your chairs, sofa sets, and other items without worrying about the need that you will damage them. The more detailed you are in the planning, the better. This also saves you time from having to decide while working. Maximize the use of graphic images on doors or walls: Condo units have vacant spaces that look dull in the absence of accessories. A lot of homeowners use paintings or huge, laminated photos to hang on those vacant spaces, but your option is not just limited to such. You can go for customized printed glasses or wallpapers to add color to those spaces. By personalizing the prints, you’re also adding a hint of identity to your unit. Place accessories such as tables and drapes in front of a full-length window: Full-length windows are attractive because they give you an awesome view of the outside landscape. However, they may not look that attractive when it comes to the overall quality of your interior design. They can look intimidating and may give the illusion of dullness especially if you don’t have much furniture inside. Read also: Experts Recommend: Top Interior Design Trends For 2017 A good way to remedy this would be to put tables directly in front of the window or set up drapes to help provide the frame. Pick bright, minor accessories: Choosing the right accessories can be tricky as they need to highlight the main aspect of your interior without stealing the spotlight from it. Experts suggest that you pick small accessories like vases, flower pots, candles, and pen holders in brighter shades. Achieve balance in the interior. Darker furniture may look great in your personal office space. Balance is a necessary element in interior design. Experts found that using darker furniture makes the available space look bigger. Plus, they can blend well in just about any area within your condo unit. Read also: Interiors to Reduce the Heat Build-up in Your Homes The brighter accessories will do great on these items too. Don’t overcrowd: One common mistake a lot of homeowners do is to place too many items inside their place. While the idea of buying many pieces of furniture may seem like a good thing, it’s not necessarily a strategic thing to do especially when you have a small unit. If any, this would only make the place look smaller and will most certainly impede mobility. You can decorate without having to buy too much. A good rule of thumb would be to settle for the item you need most. There is no use in buying tools which you will not be using. The looks of your personal condo unit are dependent on how well you design it. The tips we mentioned are guidelines on how to make the place look appealing, but at the end of the day, the decision lies in your hands. If you can’t decide where to start your redesign, a good way to be motivated is to look at images online and see how other people improved the looks of their units. Be inspired and start decorating your own place!  

READ MOREDetails
carpet cleaning

10 tips for preserving your carpet’s design

When carpets are new, they stand out because every fiber is clean and flawless. However, as people walk on carpeting, the condition of its fibers changes, and this makes the pile less appealing. Carpet cleaning  Environmental elements can affect a carpet's beauty as well by covering various fibers with microscope contaminants. If you want to keep your carpet in optimum condition in order to maintain its beauty, you'll need to follow 10 steps. 1. Vacuum: Dust and dirt gradually build up on carpet material. If a dirt or dust layer is very thick, it will make a carpet dull. To extract dust and dirt, clean your carpet with a powerful vacuum twice a month. While vacuuming, push the vacuum horizontally. Then, position the unit so that you can clean the carpet again vertically. The number of passes will vary depending on the carpet's condition. Select the best carpet cleaning technique can make things easier for you. 2. Prevent Mud and Dirt Stains: Most shoes have grooves that produce mud stains. If mud dries underneath a pair of shoes, it turns into dirt, and these particles can ruin your beautiful carpets. This is why you must place a mat that has stiff fibers near the front door. If everyone brushes their shoes against the bristles before entering your home, the carpets will stay clean. The dense bristles on the mat will wipe away any mud or dirt that lingers on everyone's shoe soles. 3. Clean Spills Quickly: When someone spills a beverage on your carpet, clean up the liquid fast. If you wait until the beverage dries, you'll have problems removing the stain. To clean up a spilled beverage, grab a paper towel, and dab it on the carpet fibers. Don't rub the towel on the carpet because you'll push the liquid down into nooks and crannies around threads. Whenever you need help eliminating a tough stain, treat the spot with soapy water. Then, dab a clean paper towel on the stain. 4. Keep Pets Off Delicate Carpets: Pets that spend a lot of time outdoors shouldn't relax on your carpeting until they take a bath. The big problem is that pets have fur that holds dust and dirt. If contaminated fur touches tall carpet fibers, dirt will transfer onto the carpeting, and some particles may reach the bottom of the pile if a pet rolls or sleeps on the material. 5. Change the Furniture Layout Occasionally: Furniture that's very heavy can damage delicate carpeting. Typically, the degree of damage is influenced by the length of time that a piece of furniture stays in one spot. The legs on hefty furniture can cause severe damage; they usually create crevices that make carpeting unappealing. In order to keep the fibers springy, simply change the layout of your furniture twice a year. If you can't move your furniture because space is limited, invest in rugs with patterns that compliment your main carpeting. Place these rugs underneath the heaviest furniture to give your carpet a layer of protection. 6. Pull the Fibers: Over time, as heavy furniture is pushed around a space, some areas of a carpet will buckle. If a carpet is very weak, ripples will also develop in isolated zones. These problems won't go away until someone pulls the fibers. Whenever you find rippling or buckling, implement procedures to correct the problems before creasing occurs. Creases can make the most attractive carpets less appealing because they create elevated zones that are tacky. To get rid of buckles and ripples quickly, let a seasoned carpet technician tackle the job. A professional can stretch out the carpet safely and efficiently without damaging the material. 7. Paint Interior Zones Strategically: Paint can ruin a carpet if it drops on its fibers. You'll have to deal with bigger problems if you accidentally smear paint on the fibers or step on a layer of spilled paint. Once pressure is applied to paint, it will adhere to the fibers more efficiently, and the process of cleaning it up will be very challenging. Whenever you're going to paint the interior walls around your home, you must prepare the space for the job. Place your paint cans and trays on a high counter or shelf so that no one will accidentally spill paint on your carpeting. While painting elevated areas, never coat your brushes or rollers will excessive paint. This strategy will prevent splattering as you apply coats on the high ceilings and walls. 8. Lease Carpet Cleaning Equipment: Deep cleaning is an essential cleaning job. The equipment makes a carpet beautiful by washing soiled areas with a soapy formula. As the water soaks the fibers with rich soapy water, a brush loosens the dirt by spinning against the carpet material. After a carpet is deep cleaned, no dirt lingers on its surfaces because a deep cleaning unit extracts the dirty water into a convenient tank. 9. Replace Air Filters: Air conditioning equipment uses ducts that can direct pollution into a home. However, all air duct systems are able to block contaminants before they enter a home using filters. When a filter is dirty, it must be replaced in a timely manner. If you replace your air filter regularly, thin layers of dust won't generate on your carpeting. Filters are the best carpet cleaning technique to make proper use of it. Carpet cleaning can make things easier for you to achieve your objectives. 10. Hang Blinds: The sun produces very harsh UV rays that can damage delicate carpeting. If a carpet is a light color, intense heat from the sun can create noticeable spots on the carpet. By hanging blinds on multiple windows, you'll shield sunlight and protect your carpeting. Car cleaning can make your ambiance more aesthetic than before. Read Also: Run Cleaning In Dallas: Why A Professional Cleaner Is Better Five Ways To Improve The Air Quality Inside Your Home Benefits Of Having A Cordless Vacuum Cleaner At Home

READ MOREDetails
Tree Grates

How to Expand Tree Grates

Trees are an essential component of any great urban landscape. They not only add a touch of beauty to a property but also help urban dwellers by providing cleaner air, cool down buildings and their surroundings, and providing a natural carbon sink. Trees can affect both the micro and the microclimates of an urban area, making them an integral part of any city’s transformational plan. If you want to transform your urban property into an enduring beauty, it’s time to start planting the best trees. However, while trees will work great for your landscape, they have to endure a harsh environment that can cause lasting damage. Trees have to withstand car accidents and vandalism, increasing microclimate temperatures, paved surroundings, exposure to de-icing salt, wind, and the reflecting glare from buildings. This is where tree grates come in handy. If you have an urban area or property you would like to landscape, this article explores the role of tree grating, types of grates, and how to expand these installations. Introducing Tree Grating in Urban Landscaping A tree grate is a ubiquitous feature in most cities but most people don’t give these landscaping features a lot of thought. This is despite the fact these installations play a critical role in protecting trees from abrasion caused by bustling urban life. The landscaping installation protects roots that would otherwise become exposed and vulnerable to damage. The grating provides an ideal pit where roots can thrive without any dangers from pedestrians, exposure to glare, de-icing salt, and other harmful materials. Tree grilles create a greater surface area for natural or supplemental irrigation. These root coverings also facilitate better air circulation within the covered space. Tree grating protects the soil, the rooting system, and sometimes the trunk. If trees are left to grow without this physical protection, they might not withstand the harsh urban environment. While most people enjoy the beautiful landscaping, they don’t make any efforts to protect these trees. Other reasons to install tree gratings include: Enhanced aesthetics: You can choose a tree grate that increases the visual appeal of your landscape. Most of the products on the market are visually appealing and are designed to improve curb appeal. These installations are easy to customize to suit your landscaping needs. Improving safety: Grates also protect pedestrians against injuries that would be caused by exposed roots. Landscaping maintenance: Maintaining a green landscape is not easy due to litter build-up from trees. However, grates help by preventing weed build-up around the tree and also make it easier to maintain the area around the trees. Diverse styling options: You can choose grates in multiple sizes, shapes, materials, and designs. This makes it easier to find that perfect grating system that suits your landscape. Flexibility: The best grates for your trees should accommodate the tree’s growth. Expanding the tree grates is an important step in maintaining your green landscape. This gives room to your trees to thrive at their different stages of growth. You can choose grates for your trees from different materials including cast iron tree grates, natural stone, steel, recycled plastic, concrete tree grates, and other materials. When choosing any tree grilles, consider: The durability of the material Theft and vandal-resistance ADA (Americans with disabilities act) compliance Ease of customization Eco-friendly materials Ease of installation and expansion The versatility of the tree grills for different tree species. Steps to Expand a Tree Grate When designing and installing a tree grate, it’s important to appreciate that the tree will continue growing. This necessitates changes to the tree grille to accommodate such growth. If a tree grate is not expandable, it might cause more harm than good to the tree. For this reason, always assess how expandable any tree grille is before you buy it. The best tree grills are easy to expand by removing the inner center rings. This means you can continue expanding the grates as the tree continues to grow. When shopping for a grate, look for one designed for expansion. Here are the steps for expanding a tree grate: Check the rate of the tree’s growth and identify the grate rings you should cut.  Depending on the material, use a portable hard wheel grinder with an abrasive wheel (aluminum oxide) to cut off the marked rings.  Cut through with the wheel on thin areas of the grate casting For thicker areas of the grating, (including casting edges or areas with heavy support ribs) cut halfway through the casting with the grinder. Use a heavy hammer to remove the marked areas and they should break at the core line. Before applying the sharp blow, ensure there’s sufficient support behind the casting.  Continue the process for all the grates and leave enough room for the tree trunk to grow. Final Thoughts Using trees for landscaping has both functional and aesthetical purposes. Tree grates are crucial for green landscaping as they protect your trees against physical damage. These installations fuse aesthetics with function to add visual appeal to an area while also protecting tree roots, managing floodwater and maintaining beautiful, neat and safe sidewalks. With time, you should expand these grates to allow more room for tree trunks’ growth. Read Also: How to Safely Prune Your Trees Create A Stunning Outdoor Space With These Residential Landscape Lighting Tips 5 Essential Tips to Designing a Beautiful Front Yard Garden

READ MOREDetails