How to Harvest and Preserve Dill for Year-Round Use?

Published on: 12 March 2024 Last Updated on: 05 September 2024
how to harvest dill

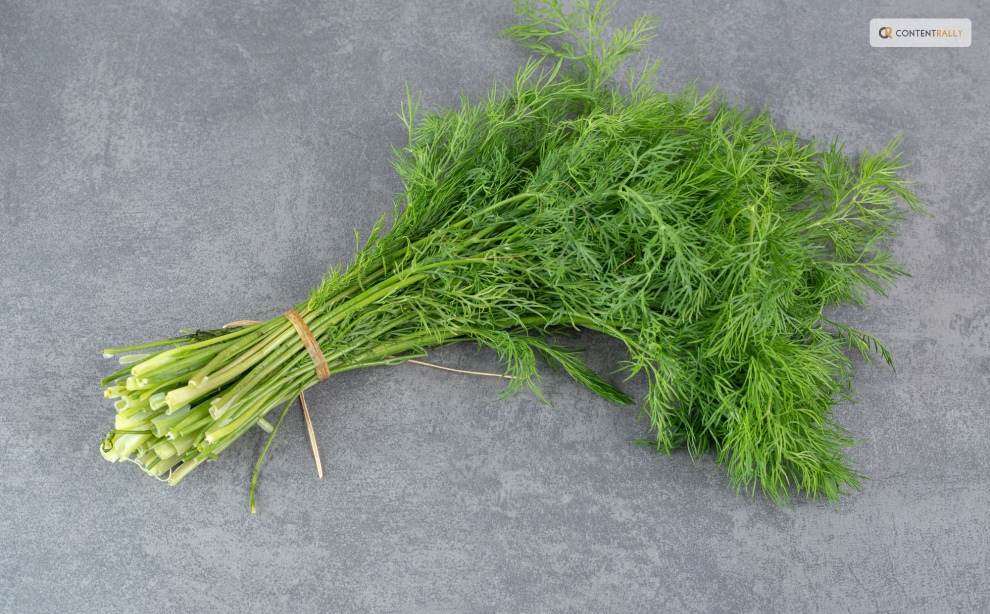
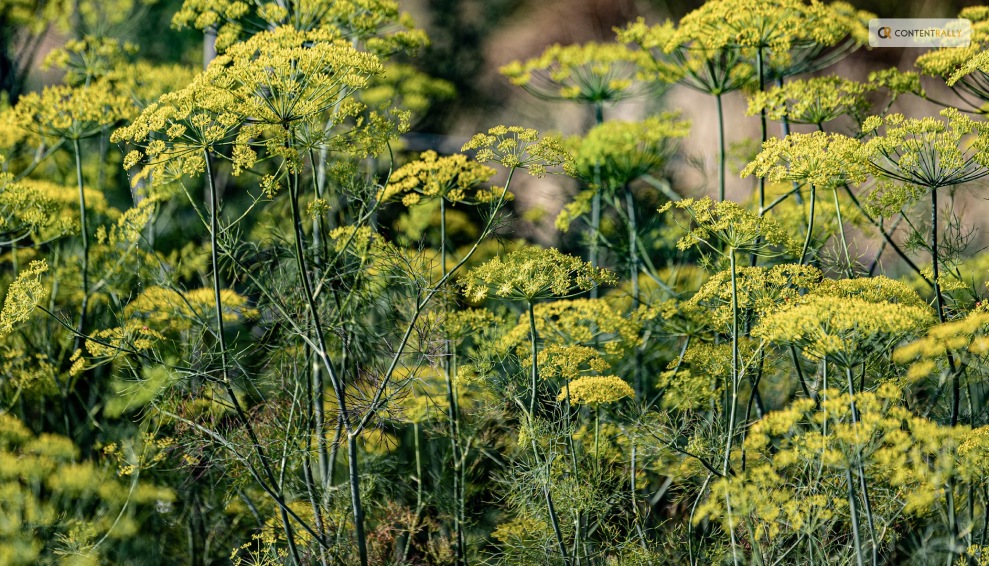
The tender, fern-like leaves of dill almost beg to be touched. If you want to cook them, trim the fresh dill foliage and gather the seeds for pickling. Or you can chop the feathery leaves and yellow umbels for attractive bouquets of homegrown flowers.

In addition, black swallowtail caterpillars love to feed on it. Its tiny yellow blooms are great at drawing in a wide range of pollinators. Dill grows as an annual for summer harvests in USDA Hardiness Zones 2–8. In other parts, it may self-seed and is hardy in the winter in Zones 9–11.

Here is everything you need to know about how to harvest dill. Keep reading for a comprehensive guide.

How to Harvest Dill?
Harvesting Dill

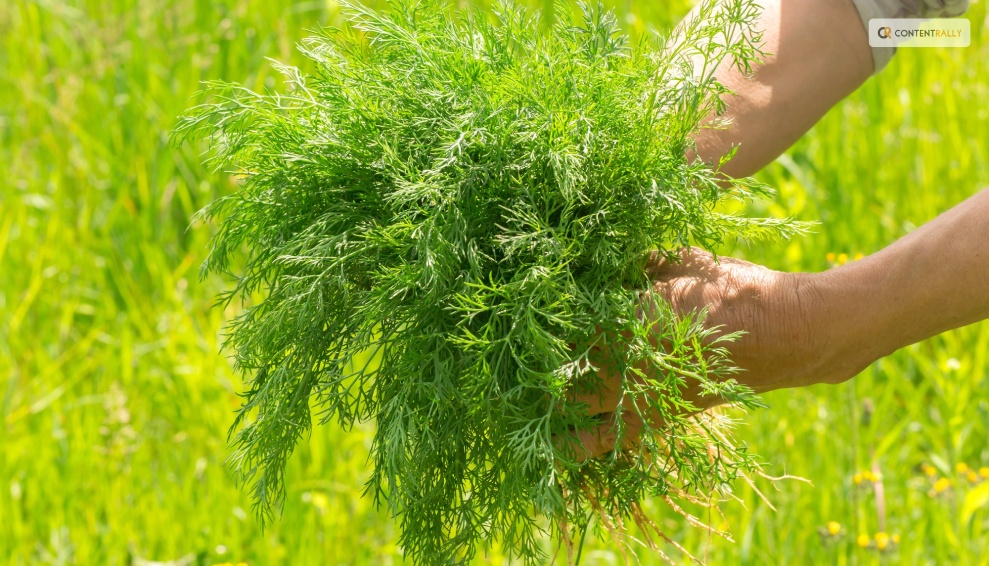
Fresh dill clips easily, but it soon starts to droop. Sounds familiar to Cilantro, right? Its flower umbels may look lovely in a mixed bouquet, but after a few hours, don’t be shocked if they start to wilt. When harvesting dill for recipes, use it as soon as possible because its flavor starts to fade after a few days.

Cut off the flower stalks of dill after the yellow blooms have faded but before the seeds start to ripen and come away from the umbel. Cover the entire flower head with a small paper bag that has a few tiny holes for ventilation.

Hang the plant upside down in a cool, dry place. Watch for the seeds to fall and collect them in the bag’s bottom. The seeds should be kept in a cool, dry, and dark area in an airtight glass container.

When and How to Plant Dill?
When and How to Plant Dill

Dill grows best outside and is simple to start from seed. Plant the seeds directly into the ground, 1/4 inch deep and spaced 1 to 2 inches apart, in the springtime following the last frost. If you want the dill plants to be able to self-sow, plant the seeds in tufts so the seeds can fall and sprout the following year.

Or you can plant them in rows spaced about 6 inches apart. You might want to think about succession planting if you want a reliable supply of dill. During the growing season, start by planting a small number of seeds from the packet at a time and then a few more every week.

Typically, seeds take 7 to 14 days to germinate. Also, dill can be grown from transplants grown in nurseries planted in the ground or in containers in spring. You can plant dill outside a few weeks before the last predicted spring frost because it can withstand light frost.

To achieve lush growth and stop crowded seedlings from producing seed heads, which stops the production of foliage, thinning is essential. Every 12 to 24 inches, reduce the number of seedlings to just the strongest one once they reach 3 or 4 inches in height.

As they get bigger, some start to flop. Plants can be kept upright by placing a stake or a sturdy twig in the ground close to the plant’s base. To loosely secure the plant to the stake, use garden twine.

You can start the dill seeds indoors four to six weeks prior to the last frost. And you can move the seedlings to the ground once the risk of frost has passed. Transplanting mature dill does not work well, so plant your seedlings where they will be able to grow and thrive.

Where To Plant Dill?

Where To Plant Dill

Dill should be planted in a spot with well-drained soil and at least 6 to 8 hours of daily full, direct sunlight. Particularly for cottage gardens, the delicate foliage gives garden beds and borders textural interest. Choose a location for your dill that will shield it from the wind if possible.

Just like spinach, high winds can easily damage its stalks if you do not stake the dill. You can plant dill’s fragrant foliage in perennial garden container plantings. Or you can plant them alongside other herbs or vegetables in a traditional kitchen garden.

In an edible garden, cruciferous vegetables such as Brussels sprouts, collard greens, broccoli, and cabbage are good companion plants for dill. Dill draws beneficial insects like ladybugs and bees and drives away common brassica pests like loopers and cabbage worms.

But avoid planting dill close to carrots. Carrots can be stunted by dill, and because they are closely related, dill can cross-pollinate with carrots to produce inferior hybrid plants. Planting dill close to tomatoes is also not recommended.

Mature dill will probably stunt your tomatoes’ growth, even though some studies have indicated that tomatoes and dill can be beneficial companions when they are young.

How to Propagate Dill?
How to Propagate Dill

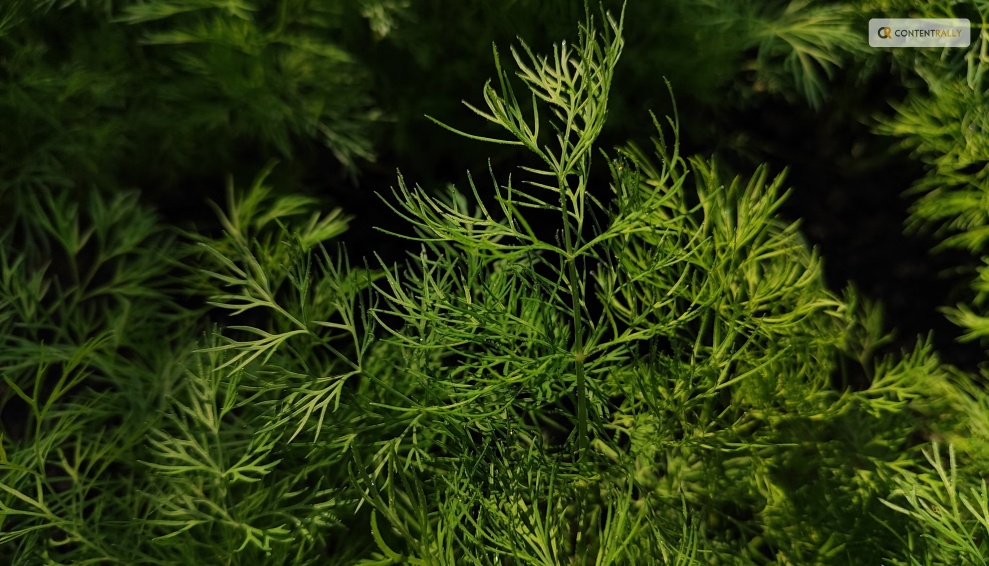
Seed is the most effective method of dill propagation. Cuttings can also propagate Dill, though this isn’t as dependable.

Seed: Direct sow the dill seeds in early spring at a depth of 1/4 inch in a prepared garden bed. Dill does not tolerate transplanting well. Thin the seedlings so they are 12–24 inches apart when they are 3–4 inches tall.

Cuttings: Using shears or scissors, cut off the stem with at least 3 to 4 inches of new growth to take a dill cutting. Place the cutting in a water-filled container, making sure to remove any leaves below the water’s surface, and allow the roots to grow for two to three weeks.

Fertilizer and rooting hormones are not required. Plant the dill in a container or on the ground once the roots are 2 to 3 inches long.

Is Dill a Type of Weed?

No, I am not talking about WEED weed (read: marijuana). Although dill isn’t technically a weed, some individuals and spice companies call the plant dill weed, possibly due to its feathery leaves. Dill weed is a dried or fresh foliage plant. Flower umbels are yellow and used to make dill seeds.

How Should Dill Be Stored for Optimal Quality?
How Should Dill Be Stored for Optimal Quality

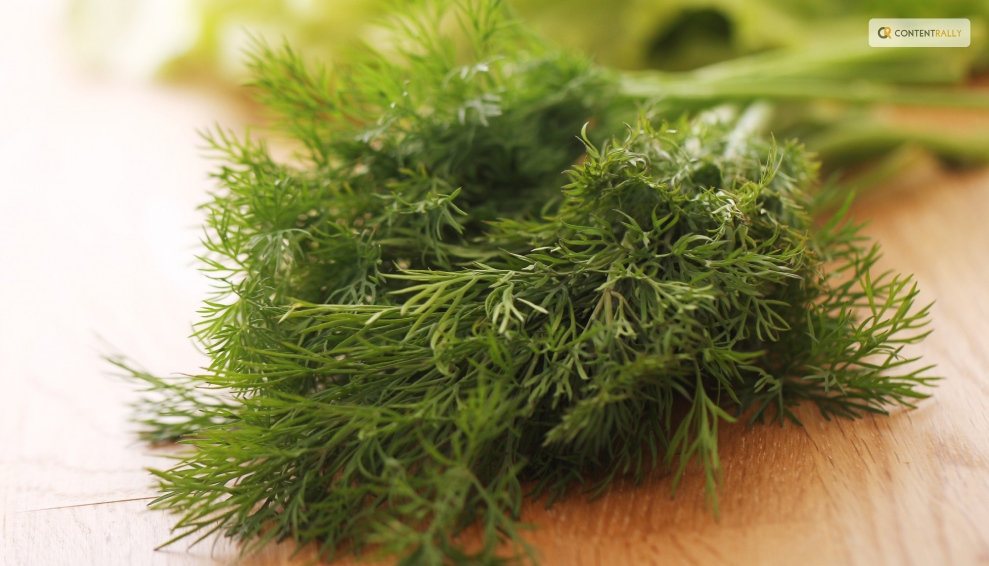
You can keep fresh dill in the fridge by wrapping its leaves in a moist paper towel. Or you can tuck its stems into a container of water. Fresh dill can be frozen by submerging it in water in ice cube trays. Place the cubes in cooked dishes that have enough moisture to withstand them.

Dill seeds and leaves can also be easily dried for later use, though the flavor is a lot more muted.

Water and Soil

Sow dill in soil that is moist but well-drained. If there is a lot of clay in your soil, add organic matter to the top few inches to aid in drainage. If you have trouble with poor soil drainage, plant this herb in raised beds or containers. Growing dill requires proper irrigation.

As the seeds germinate, keep the soil evenly moist. Dill plants require one to two inches of rain or extra water each week once they begin to grow.

Humidity and Temperature

Dill tolerates temperatures as low as 25ºF, but 70ºF is the ideal temperature for it. Dill often bolts, sending up flower stalks to set seeds when temperatures rise. This annual herb dies after it flowers and produces seeds. Get rid of the flowers to prolong the plant’s growing season.

Apply Fertilizer

While most herbs, including dill, don’t require extra fertilizer, you can give them once or twice during the growing season by applying a balanced 10-10-10 fertilizer. When planting, either mix a liquid fertilizer with water or etch a time-release fertilizer into the soil.

Refer to the product label for instructions on how much to use.

Trimming

Dill should be pruned early in the growing season to prevent limb bending. Cut off the top leaves of the plant to promote more growth of the lower leaves. Food preparation and cooking can be done with anything that has been pruned.

Repotting and Potting

You can grow dill in pots on a sunny balcony or deck, even if you don’t have an outdoor garden. Due to the deep taproot that dill plants have, choose a container that is at least 12 inches deep. Because clay and terracotta pots don’t retain as much moisture as plastic or glazed ceramic pots.

They are ideal for growing dill. Make sure the container you select has good drainage and is big enough to allow you to space your plants 12 to 24 inches apart. It is best to start over in a new, larger container. Especially if your dill plant outgrows its current one because it does not take well to transplant.

If the temperature where you are planting is not too high, you can keep planting seeds into the summer.

Types of Dill
Types of Dill

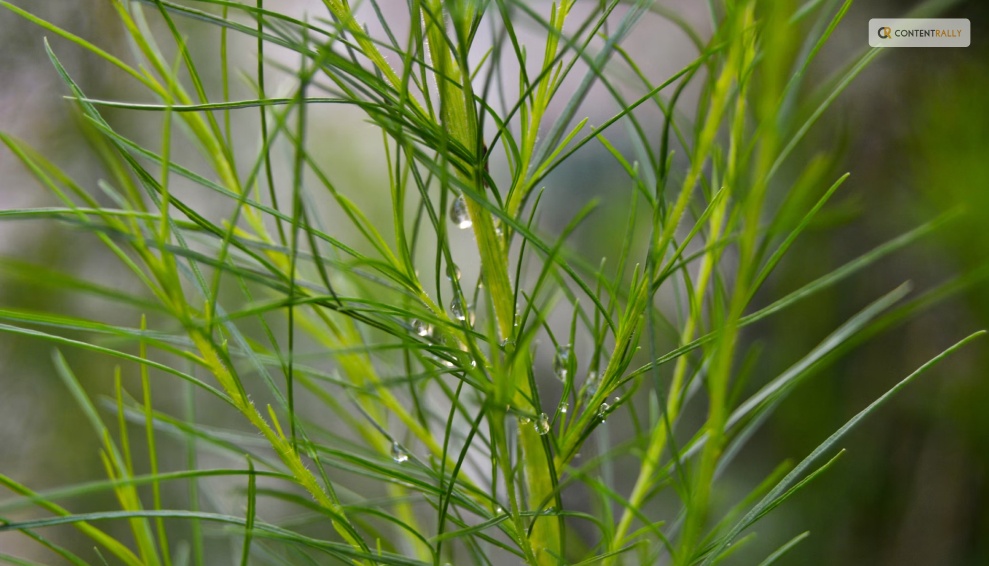
Dills can be of many types with each of their distinct looks and flavors. Here are the three different types of dill you can grow in your kitchen or backyard.

Long Island Mammoth

Also known as Long Island Mammoth this one is an old-time favorite. Its fern-like leaves can be dried and stored for a long time, or they can be harvested fresh. It produces big clusters of yellow flowers with flat tops. They turn into brown seed heads, and they can reach a height of five feet.

Fernleaf

Grown to a height of only 18 inches, Anethum graveolens, or Fernleaf, is a highly productive dwarf variety. It works well in container gardens or small in-ground beds. Its feathery, delicate foliage has a great flavor of dill. From midsummer into fall, it blossoms.

Bouquet

The ‘Bouquet’ cultivar produces plants up to thirty inches tall with fine bluish-green foliage. The enormous, six-inch-diameter yellow flower heads are ideal for drying, creating an enduring arrangement. Or you could chop them for fresh floral arrangements.

How to Keep New Dill Fresh?

How to Keep New Dill Fresh

Dill weed quickly wilts after harvesting and gradually loses its distinctive flavor and aroma. If you know how to store your freshly harvested dill, this shouldn’t be a problem. Here are two straightforward techniques that you can use:

Put It in the Crisper Drawer of the Refrigerator

Loosely wrap the recently cut and cleaned leaves in damp kitchen towels before putting them in a container or sealed bag. Put the container in the crisper drawer of the refrigerator, which has a lower humidity than the other sections of the appliance.

Utilize the herbs before they begin to wilt and dry out, which should happen in a few days.

Put It in Water

To make this method function, when harvesting the herb, you must cut off the entire stem. After gathering the stems, put them in a glass of water and seal the opening with a plastic bag. Every day, change the water. Unlike potatoes, dill leaves can remain fresh for up to a week when stored in this manner.

How to Freeze Fresh Dill?
How to Freeze Fresh Dill

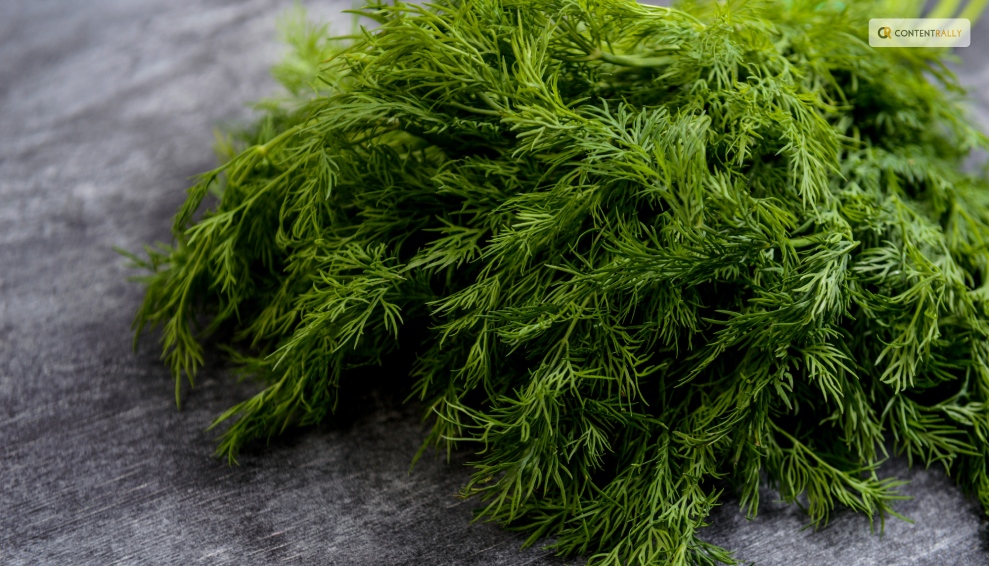
Freezing is the best way to preserve extra dill for later use if you’ve harvested more than you can use at once or in a few days. Dill freezes most effectively when chopped into smaller pieces and added to ice cube trays with just enough water to cover the freshly minced dill.

This allows the herbs to be kept for four months or longer. This will ensure you always have dill on hand for when a recipe calls for it.

How to Dry Fresh Dill?

How to Dry Fresh Dill

Dried fresh dill is a popular method if you’re searching for another way to store dill for a long time. The herb has many uses, even though it won’t have as much flavor as when it’s fresh or frozen. All year long, you can use it as a herb in cooked dishes or to make tea.

Stick to hang-drying if you don’t want much of the flavor to be lost. This is a very easy method to use. All you must do is gather a few dill leaves and then bind them with a string. Later, place them in an area with adequate ventilation upside down.

 Place them in an airtight container once they’re crumbling and dry. Even though fresh dill is always preferable, make sure to save some for later use. Particularly if you don’t have a year-round indoor herb and spice garden.

Wrapping Up

Growing dill is a great way to add flavor to fish and seafood dishes. A little goes a long way because fresh dill leaves have a strong licorice flavor. It is best that you add dill toward the end of cooking, in salads, or as a garnish for soups. Because once cooked, it tends to lose its flavor.

If you have thoughts to share or questions to ask about how to harvest dill, please leave a comment below. We would love to hear from you!

Read Also:

Ankita Tripathy loves to write about food and the Hallyu Wave in particular. During her free time, she enjoys looking at the sky or reading books while sipping a cup of hot coffee. Her favourite niches are food, music, lifestyle, travel, and Korean Pop music and drama.

View all posts

Leave a Reply

Your email address will not be published. Required fields are marked *

All Comments

Wow, this article is pleasant, my sister is analyzing such things, therefore I am going to let know her.

Related

Settle

Are You Ready to Settle Down?

There comes a time in the life of every adult when they start asking themselves big questions. Are you in the right job? Do you want to move to? Are you ready to commit? Like every big decision, it usually takes a lot of thinking and contemplating. But what if you can't decide? After a year, or maybe two, is it time for you and your partner to settle down with each other? Read on to see if you’re ready to take the leap into a lifelong commitment. Are You Ready to Settle Down: Sharing a Home: If you've been together for some time now, it’s reasonable to start thinking about living together. It’s believed that this prepares you for the possibility of marriage in the future. When you spend all of your free time in the same place, you get to know your partner in ways you didn't even imagine. Are you ready for that? If the answer is yes, the first thing to do is find a home for both of you. Try to have an honest talk with your partner about what your home should be like. Is it big or small? City or suburbs? When making a choice about the big stuff, you can pop over to these guys and do some research to get some help deciding. But don't wait too long! If you contemplate too much, your dream home might be gone! Do You Have A Pet? Let's say you have already been living together for a while. You pay the bills, buy groceries, and of course, binge-watch your favorite TV show together. Now, take a look around your place. Do you see a plant? If your answer is yes, congratulations! You are halfway on becoming a serious, grown-up couple. How about we take it a step further, by getting a pet together? It could be a cat, a dog or, hey, even a fish. Have you already made this step? If not, would you want to do that? People say that having a pet is similar to having a baby. You have to walk it, feed it, and take care of it. This can take up a lot of time. If you and your special someone feel ready for this step, that is a good sign for your relationship. It means you are moving forward and growing up as a couple. Still Not Sure? Listen, making such a huge decision can be overwhelming for some. This is one of those things you don’t want to rush. It’s okay to take your time and figure everything out. The worst thing you can do is hurry onto things and regret it after a few months. So make a list. Write down the pros and cons regarding your partner and things you see working in the future. We know it sounds silly, but trust us, it works. Sometimes answering the smallest questions can show you what you really want. See which list is longer and try to be fair and honest with yourself. Otherwise, it may not work out for the best. Result: If you feel ready after reading this, congratulations! You are prepared for a long and happy life together. You can start planning your life as a couple and share the ups and downs together. If not, no worries. Every person is different, and we all have unique ways of making big decisions. So don't beat yourself up. The most important thing is that you find that special someone in your life. When the right time comes, you will know. Read Also: The Need To Settle End Of Tenancy Issues Before Leaving Motivational Tips To Kick Start Your Packing Process For The House Move

READ MOREDetails
Student Apartments

Seven Considerations To Make When Choosing Student Apartments

The decision to pursue further education is a significant milestone for young adults, signaling a transition toward independence and self-exploration. Among the various accommodation options available, student apartments have gained popularity due to their appeal.  They share a mix of freedom, convenience, and community, enhancing the academic journey in diverse ways compared to traditional dorms or off-campus housing. Benefits of Staying in a Student Apartment As a student, you probably have two places to live — on-campus and off-campus. Now, most people tend to choose the first option due to the security it offers. However, if you ask me, I’d always choose the latter for five specific reasons. Here’s what you need to know about them. 1: A Haven of Independence Student apartments serve as sanctuaries of independence.  Unlike traditional dorms, these living spaces offer a heightened sense of autonomy, providing students with the freedom to curate their environment according to their preferences.  From choosing roommates to decorating the space, the core ability to personalize their living quarters fosters a sense of ownership and responsibility. Besides, it will also help you nurture essential life skills that transcend the academic sphere. 2: Communal Dynamics Living in a student apartment is more than just securing a roof overhead; it's about building a vibrant community. Most of these spaces often house a diverse mix of individuals, fostering an environment ripe for cultural exchange and forging lifelong friendships.  The shared experiences, collaborative study sessions, and impromptu gatherings create an enriching social tapestry that contributes significantly to a student's holistic growth. 3: Enhanced Amenities and Facilities Student apartments frequently come equipped with an array of amenities designed to cater to the modern student's needs.  From well-appointed study lounges and fitness centers to recreational areas and communal kitchens, these facilities are tailored to support students — Academically,  Physically, and  Socially Such conveniences augment the overall living experience, promoting both productivity and relaxation within arm's reach. 4: Proximity to Campus Location plays a pivotal role in a student's life, and student apartments often boast strategic proximity to campus grounds. The convenience of being just a stone's throw away from lecture halls, libraries, and other academic facilities — Not only save precious commuting time  But also fosters a stronger sense of connection to the university community. 5: Financial Prudence While the prospect of independent living might seem financially daunting, student apartments often offer cost-effective solutions compared to other housing options.  Shared living arrangements and split rental expenses among roommates can also significantly alleviate the financial burden.  Moreover, some apartment complexes provide inclusive utilities or amenities, streamlining expenses and offering a more predictable budget for students. How to Choose the Right Student Apartment? Picking the right type of student accommodation as a new college student can greatly impact your university experience. Unlike standard rentals, student housing offers access to a lot of student-focused amenities, support systems, and opportunities to connect with peers.  Additionally, it tends to be a more budget-friendly choice. But, the question is — how do you choose the best option amongst everything that’s available out there? Let’s find out.  1. Location Matters Location is paramount when selecting a student apartment. So, be sure to consider its proximity to your campus, amenities, and other essential facilities.  Living closer to campus can save time and money on commuting, allowing you to attend classes, access resources, and engage in campus activities more conveniently.  Additionally, a location with easy access to grocery stores, restaurants, and public transportation can enhance your overall convenience and comfort. 2. Budget Wisely Establish a realistic budget before apartment hunting. Consider not only the monthly rent but also additional expenses like utilities, internet, and groceries.  Ensure your budget allows for these costs while also leaving room for unexpected expenses. It's advisable to prioritize affordability without compromising on safety and comfort. 3. Roommates and Space Choosing the right roommates can significantly impact your living experience.  Discuss preferences, habits, and responsibilities beforehand to ensure compatibility. Additionally, consider the space offered by the apartment.  Ensure it provides enough room for privacy, studying, and relaxation. 4. Safety and Security Prioritize safety and security when selecting a student apartment.  Look for various well-lit areas, and secure locks, and consider the neighborhood's safety track record. Research the building's security measures, like CCTV cameras, secure entrances, and emergency protocols, to ensure your peace of mind. 5. Amenities and Facilities Evaluate the amenities and facilities offered by the apartment complex.  Look for features that align with your needs and preferences, such as laundry facilities, gym access, study rooms, and communal spaces. These can enhance your living experience and provide opportunities for socializing and relaxation. 6. Lease Terms and Flexibility Review the lease terms thoroughly before signing any agreements.  Understand the duration of the lease, policies on subletting, maintenance responsibilities, and any additional fees. Ensure the lease terms are flexible enough to accommodate any changes in your academic or personal circumstances. 7. Visit and Inspect Schedule visits to potential apartments before making a decision. Inspect the condition of the apartment, checking for any damages or maintenance issues.  Also, do pay attention to details like water pressure, heating, and cooling systems, as these can significantly impact your comfort. 8. Research the Landlord or Management Company Gather information about the landlord or management company managing the property.  Read reviews and seek opinions from current or previous tenants to understand their reputation regarding responsiveness to maintenance requests, fairness in dealing with tenants, and overall professionalism. 9. Transportation and Parking If you own a vehicle or rely on transportation, consider parking availability and transportation options near the apartment. Evaluate parking fees, accessibility to public transportation, and bicycle storage if relevant to your needs. 10. Trust Your Instincts Ultimately, trust your instincts when choosing a student apartment. If something doesn't feel right or if you have lingering doubts, explore other options. Your living space should feel comfortable, safe, and conducive to your academic success and well-being. Final Thoughts The allure of student apartment living lies not just in the physical space but in the myriad of experiences and opportunities it affords.  Beyond mere accommodation, these spaces serve as incubators for personal growth, fostering independence, community, and responsibility.  By offering a mix of convenience, affordability, and flexibility, student apartments seamlessly complement the academic journey Embracing this specific lifestyle choice can prove to be a transformative and rewarding chapter in a student's educational odyssey. Read Also: Wooden Modern Desk: A Complete Guide Brunswick Apartments For Sale: 4 Inspection Tips For Buyers Real Estate Agents In Dubai: Your Gateway To The Luxurious Property Market

READ MOREDetails
Home Safe

Here Is How I Stay SAFE! Top 10 Effective Tips to Keep Your Home Safe

A burglary occurs every 18 seconds in the United States. These statistics are scary! Even safe neighborhoods experience crime from time to time, so you need to be prepared. The good news is that there are several ways you can go about making your home safe. Some may require that you purchase equipment while others may not. The more you can thwart a burglar's plans the safer your home will be. Tips that will Help you to Keep your >H>ome >Safe</span&gt;  When thinking about improving overall safety, do not forget to follow the following tips.  1. Change Your Locks: Did you just buy a new home?  Don’t be so excited to get the keys that you forget to change all the locks. No matter how wholesome the previous homeowners may seem, you never know who is unscrupulous and who isn’t.  You also never know who they may have given a key to in the past. It could have been a distant relative, a nanny, a house cleaner, or a handyman, to name a few.   The point is, you don’t know if a shady character doesn’t have a copy of the keys to your new home. The best thing to do is to hire a locksmith to change the locks.  2. Get An Alarm System: Sure, you may not want your home to feel like a high-security vault, but it is never a bad idea to be prepared for the worst.   There are literally dozens of safety systems you can choose from. This makes it more likely that you will find something that is within your budget.  There are also some security systems that you can install yourself. However, if you do get a high-tech security system the security company will have to install it for you.  Once you have installed your security system, put a security sign in your front yard or place security signs on your windows to deter criminals.  If you think that an advanced security system is something you will not be able to afford, you can always go for robust roller shutters.   Roller Shutter People are leading installers in Sydney that states that installing these on windows and doors can be a simple, yet time-tested and effective way to keep burglars out of your house and maintain safety.  3. Vacation Wisely: Criminals like to target homes when people go on vacation. Protect your home when you are away by setting timers on your television and your lights.  These timers make it easy for you to have your lights and your television on at specific times. When criminals think someone is home, they are deterred from committing crimes.  4. Get Smart: These days you can monitor your home from anywhere using smart security cameras. Some of these cameras are so tiny the average person might miss them, and you can control them from your smartphone or tablet.  Smart lights should also be a major part of your security plan because you can turn them on or off whether you are just down the road or in another country.  5. Exercise Mail Control To Keep Your Home Safe:&lt;/strong&gt; If you are going to be away for a while, then it is usually a good idea to get a friend or neighbor to take your mail and any delivered packages off your front porch at least once per day.   If your front porch or doorway is flooded with mail, it is a dead giveaway to criminals that no one is home.  You can also go to your local post office in Gainesville FL and explain that you will be away for a while and ask them to hold all your mail.  6. Rethink Your Landscape : Did you know that the landscape edging of your home can either deter or attract criminals?  Overgrown bushes and untrimmed hedges can provide places for thieves to hide so that neighbors and passersby cannot spot them.  Trim bushes and hedges to at least three feet in height. Plant thorny bushes near your windows with gravel nearby so that it is easier to hear footsteps.   The more you can make it difficult for criminals to gain entry, the more secure your home will be.  7. Motion Detector Lighting: Motion detector lighting shines the spotlight brightly on anyone who may try to get onto your premises. As soon as an intruder moves so does the light.  You should install motion detector lights at the back and the front of your home, for added protection you can add them to the sides as well.   One of the many benefits of this kind of lighting is that it saves energy since it is only activated when it detects motion.  8. Get A Video Doorbell: You can get a video doorbell to keep your home secure. A video doorbell will let you see who is at your door before you open it.  Astonishingly enough, many thieves ring your doorbell to get a feel for who is home or not before attempting a burglary. A doorbell camera will give you the upper hand should a thief decide to rob you.  Installing Rodann door chimes is also another security feature you can use. The chimes will alert you when anyone is within a certain distance from your door.  9. Get A Dog: With all the high-tech security systems mentioned so far, getting a dog may seem like a low-tech way to safeguard your home from intruders. However, if you can get a dog then do so, since burglars tend to avoid homes with dogs.  When a thief wants to rob a home, they want to be in and out as quickly as possible, and a barking dog attracts too much attention and is an unnecessary complication.  10. Watch What You Post On Social Media: Social media has become a place where you can share the daily happenings of your life with family, friends, and neighbors.   However, if you go on vacation or are away for a weekend, it is not a good idea to announce your absence from home on social media.  This is especially true if you don’t know everyone in your network. Announcing you are away and posting pictures of your getaway is an announcement for anyone with bad intentions.  Literally telling them that you will be far away , and they should break into your home.  Top Safety Measures in a Rented Place  New job, and new rented house!  Everything is exciting about such a prospect, but how to ensure the utmost safety in a new place & home.  Moving into a new rented apartment can be an exciting time with new opportunities and a fresh start in life.   While you are excitedly packing and planning, taking stock of your security is essential when moving into another person’s property.   Here are seven safety tips to keep you safe during this transition.  Locks Don’t forget to lock all the doors on your first day of entering your new home or apartment. Additionally, never assume that previous tenants have returned all sets of keys.   So, if needed, get the locks changed upon consulting with your landlord.  Smoke Detectors Next, test the smoke detectors. You might assume they work, but never leave this to chance.   Press the test button on each detector to ensure they function properly. If you don’t hear a sound, replace the batteries or request your landlord to do so. Safety from fire hazards is non-negotiable.  Carbon Monoxide Detectors While you’re at it, check for carbon monoxide detectors, too. Not all places have them installed, but they’re lifesavers—literally.   Carbon monoxide is a silent killer, and having a detector can alert you to any dangerous leaks. Consider purchasing a portable unit if your new home doesn’t have one.  Check Windows Another important thing to do is to check the windows. They should open and close easily. You will also want to ensure that they have locks on them as well.   In case of an emergency, such as a fire, you will need a quick and easy way out of your apartment. If you live on the ground floor, being able to lock your windows is important for safety reasons.  Lighting your Outside You should also make sure that everything outside the apartment is well-lit. If something seems too dim or amiss, then tell your landlord about this right away.   If there are any lights outside, ask your landlord to replace them or put in some more lights. These include spotlights upon entrances or even motion sensor lights around corners.  Know your Area Finally, get to know your surroundings. Spend some time walking around, getting acclimated with the neighborhood, and pinpointing any places that might not seem safe, specifically at night.   Get to know your neighbors, as they can give you the lowdown on both the area and potential safety issues.  By doing these in the process of moving, your new rental will truly be a sweet home right off the bat. So you’ll feel better about unpacking those piles of boxes.  Hopefully these tips will help you feel more secure in your new place!  If you would like more lifestyle tips, please visit our website. You are sure to find helpful tips for making your life better. Read Also : 5 Tips To Safeguard Your Home From Intruders 5 Ways A Home Maintenance Plan Can Prevent Disaster Relax In Style In The Comfort Of Your Homes

READ MOREDetails