Top Fixer-Upper Improvement Ideas That Make A Huge Impact

by

13 February 2023

Home Improvement

Fixer-Upper Improvement Ideas

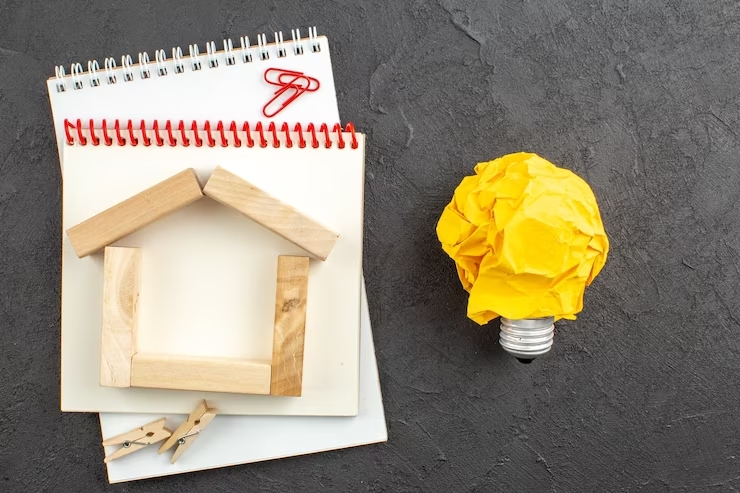
Real estate investors understand that fixer-upper properties carry huge potential.

Yes, they may look bad initially, but their property value will steadily increase with the right improvements and renovations. Buyers know this and take advantage by acquiring such properties for less and investing enough in the renovations to increase the value. 

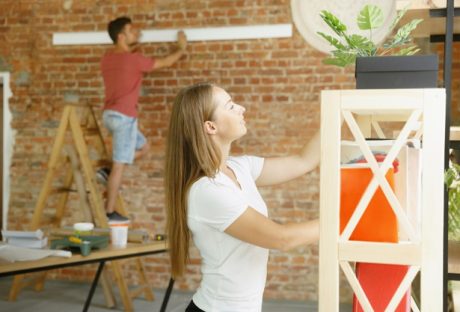
Renovating a fixer-upper is a huge financial endeavor. It’s labor-intensive, and it might take some time before things look good as envisioned.

Homeowners who want to improve their fixer-uppers must work with a reputable and experienced contractor to address issues that may crop up during the project.

They must also look for a good skip-hire company to help eliminate the waste produced by the project. If you’re looking for such a company, you can check out betaskips.co.uk to determine how they can assist you. They can provide adequate-sized skips at reasonable rates, so you wouldn’t have to worry about waste disposal

Checkout Top Six Fixer-Upper Improvement Ideas That Make A Huge Impact

Here are some home improvement ideas that can make a huge impact.

1. Replace the front door

Replace the front door

If your front door isn’t stable and the door frame isn’t secure enough, it’s time to replace them. A good front door will help you save energy costs and improve security and kerb appeal. You can also repaint the door with a suitable colored paint that will reflect your personality. 

2. Paint the exterior

Chipped, peeling, or faded exterior paint doesn’t look good and will greatly affect the property value. Potential buyers look into such details and will be discerning when it comes to that. It will be best to paint the exterior walls with good weather-proof paint to ensure durability and better kerb appeal. It will take a bit of change to finish the job, but it will be worth it. 

3. Light up the property

lighting fixtures

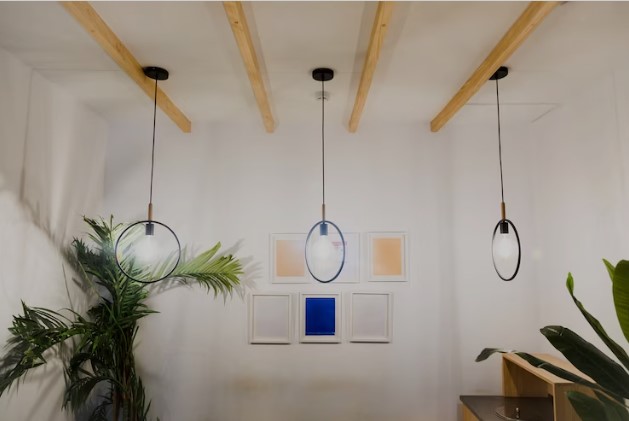
One of the best ways to improve a fixer-upper is to ensure that it has adequate lighting fixtures inside and outside the house. For example, you can use strings of LED lights or strips for the front and back yard. You can also use solar-powered lamps to illuminate pathways. Inside the house, make sure that you have enough lighting fixtures in every room to guarantee safety.

4. Repaint the cabinets

If your budget doesn’t accommodate new cabinetry, you can repaint the existing ones with a color scheme that would make them pop. It will help improve the design cohesion and will also define the area. Bright-colored paint will brighten up the space and energize people. 

5. Install a backsplash 

 Install a backsplash 

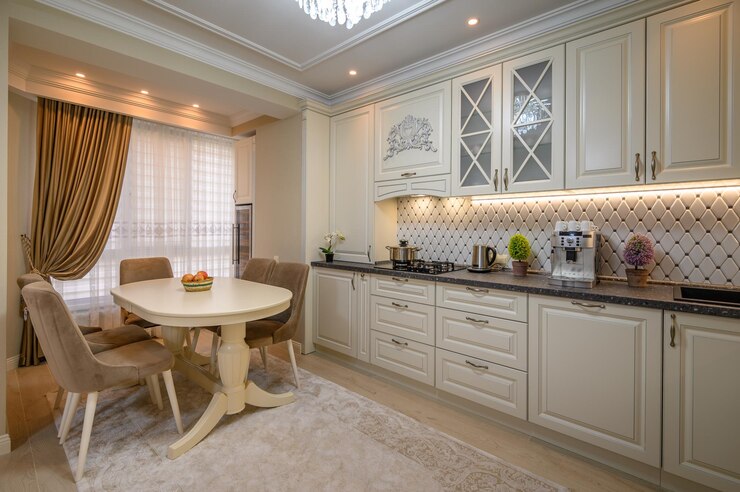
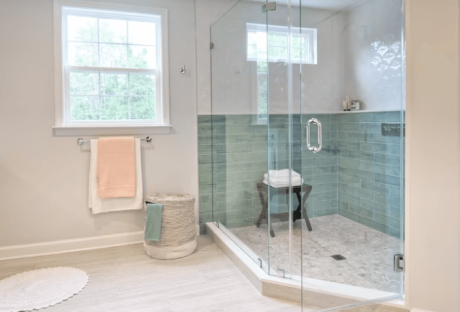
Backsplashes may be a minor installation, but they can help make the kitchen area look better. When cooking, these backsplashes will also protect the walls from messy and greasy splashes. Install ones that complement the countertops or tiles for design unity. 

6. Install better windows

Another way to improve property valuation is to install more secure windows. Typically windows in fixer-uppers have rotted frames and aren’t properly secured from theft, so it would be better if you had a professional window installer replace them with newer ones.

Endnotes

If you buy a fixer-upper house, you will spend some money getting them into shape. You might spend a lot, but the results will be worth it in the long run. 

Read Also:

Arnab is a professional blogger, having an enormous interest in writing blogs and other jones of calligraphies. In terms of his professional commitments, He carries out sharing sentient blogs.

View all posts

Leave a Reply

Your email address will not be published. Required fields are marked *

Related

Move Out Cleaning

How to Handle the Move-Out Cleaning

Changing home is a stressful and demanding endeavor itself, you have to think about so many things – packing, organizing transport, and of course, cleaning. You need to clean your new place unless someone was kind enough to do it for you, but still, a second-round might come useful. And of course, you need to clean your old home and leave it in decent condition for the new tenants.  Otherwise, you may not get your deposit back. In case you are selling your own place, it is also an important criterion which will make your former home much more attractive to the potential buyers. Unless you hire professional help, cleaning your old place is definitely not going to be easy, but there are a few things that can make the experience a bit less stressful and burdensome as recommended by move out cleaning professionals. Start from the Top A common mistake many of us make while cleaning is to start from the floors, as they usually do represent the biggest item on the list. However, if you start from the floors, and then move up to walls, corners, and surfaces, guess what – you will have to clean the floors all over again. So, be wiser than that and start this excruciating business from the top. This will save you a lot of time and energy. Also, when talking about directions, always start the cleaning from the back, that is from a wall towards the door, so you don’t end up stuck in one small uncleaned place, like on an island, having to cross all the wiped space to go back, and potentially soil it all over. It sounds funny, but this has certainly already happened to some of you, and you will definitely want to avoid it this time. Change the Approach When cleaning, everyone mostly likes to do the job room by room. However, this usually takes way more time than actually cleaning segment by segment, which is task by task. For instance, if you are wiping floors, it is better to do it in the whole house while you are at it, instead of moving to a different segment in the same room. This approach is much more efficient so take it into consideration once you start you moving out clean up. Have Everything at Hand In situations where time is really precious and you don’t have the liberty to take too long because a lot of other things are waiting, good organization is everything. You will definitely need different cleaning chemicals such as glass cleaners, disinfectants, baking soda, vinegar, and others, as well as cleaning equipment like cloths, vacuum cleaners, brooms, dustpans, brushes, and others. The first important step is not to pack any of these along with the rest of your stuff. The second is to actually know where they are and to organize them as much as possible so you don’t have to lose too much time searching for them. As professional home cleaners at Maid Easy say that good organizational skills can shorten the time it takes to clean the whole house significantly. “Dry” Cleaning First Make sure you first do the “dry” cleaning such as swiping, dusting, and vacuuming to remove all the dust and other dirt in that way. If you apply wet cloth or a brush, you will just make bog, rather than clean something. The best option is to dust all the corners and surfaces first, swipe any bigger mess, and then finally vacuum to give it the final touch. After this, you may proceed with “wet” cleaning activities. Once you are done with the old place, you can apply all these tips to your new home. Even if the previous tenants or owners have cleaned it, you will probably want to make sure it is spotless. Of course, if repeating the same process all over again is just too much for you, you can always ask the professionals for help, at least for one of these cleaning actions. Read Also: How Cleaning Helps Us Feel Better and Why We Don’t Do It 7 Advantages of Hiring a Residential Cleaner What You Need to Look for When Hiring House Cleaning Service

READ MOREDetails
Drywall

Elevate Your Home With Unique Ceiling Textures

Drywalls are those construction materials that are used to create walls and ceilings in your home. Not all that, but drywalls also come in handy if you want to create design features like eaves, arches, or any mind-blowing architectural requirements!!! Do you know the best part about drywalls? These are super easy to install, highly durable, and only require simple repairs when damaged. So, drywall is a flat component composed of calcium sulfate dihydrate, typically between thick sheets of backer paper, and facer, used to construct interior ceilings. Let’s talk about the ceiling textures and the drywall options you can choose for your home!!! The Ceiling Textures And Your Drywall Options Decorating your home can be a real challenge for many !!! Therefore, choosing the right drywall finish or texture can prove to be a hard nut to crack. And it’s very natural to get in a state of indecision if you are handpicking it for your new home or renovation project. There are so many options that it feels like you are “searching for a pearl in an ocean.” Making up your mind about whether or not to go texturing your ceiling can be a tough job. And even if you choose to texture your ceilings, there are chances you’ll be confused about which one to go for!!!! And remember, getting the drywall right is the first step of tiling projects?”. But No Need to Worry!! This article will guide you in choosing the perfect texture and drywall option for your ceilings to look more elegant than ever!! 1. Sheetrock Texture: Old Is Gold Sheetrock ceiling texture is a drywall ceiling texture that has been famous since 1917. The reason this drywall texture is so awesomely renowned is because of the artistic look that it gives to your ceiling And the best part is you don’t need to use any sort of spray paint in this case. You can achieve this texture by using your artistic hand technique and without using any special brushes. This texture is perfect for any room. There are no restrictions on the use of this ceiling texture. 2. Stipple Brush Texture: A Test Of Your Skill This texture is not as easy as it seems. You need skills to create this texture. To create this texture, you need a roller and slap brush. The fascinating fact about this texture is it can cover the bumps and holes on your ceiling. And if you have the skills, then this texture can surely make your ceiling look gorgeous than ever!! 3. Swirl Texture: Creativity Taken To A New Level To achieve this texture, you need either a roller or sprayer. You can also do this by using a technique called “the basic swirl” method. But one thing that you need to keep in mind is while creating this texture, you’ll need a lot of patience to get the best result. And the difficult part is you need to create the pattern before the mud dries. So, make sure to have a helping hand by your side. Overall, the texture can really give that awesome look on your ceilings if you do it in the right way!!! 4. Orange Peel Texture: A Color Of Choice The name suggests all the colors of orange skin, but sometimes it’s also called “an eggshell” ceiling texture. If you really love this color, then this can be on the top of your favorite lists. To create this texture, you need to apply thin mud to the ceiling using a spray gun set at very high pressure. The more artistic mind you have, the more artistic look it has got!!!! 5. Smooth Textures: Choice Of Many If you are someone who wants the best at a cheap cost, then this texture is just the right choice for you. Moreover, you don’t need to have many skills to create this texture design. The look of this texture is just mind-blowing, and if you are someone who likes things to be consistently gorgeous, then this is the texture you can have for your ceiling. This texture is effortless to remove and is also perfectly suited for any room. 6. Tree Bark Texture: Beauty Of Nature If you are someone who loves nature and wants to bring the reflection of nature inside your home, then this textured style is just the option you can have. This ceiling has the look of a tree. You can create this texture just by using a heavy roller. The texture might look simply, but it’s very artistic and can surely catch the eyes of many. If you have a farmhouse, then this texture will double the beauty!!!!! 7. Slap Brush Texture: Slap The Beauty Out Artistic, gorgeous, beautiful, and elegant are the nicknames you can give to this texture. A complete package of beauty!!!! To get this texture, you’ll need a brush with very stiff bristles and thin mud. Firstly, you have to cover your ceiling with mud using a roller, then take the brush and slap the ceiling from the edge. This can be a hard nut to crack because if you don’t get it right on the first shot, the whole ceiling might end up looking messy. 8. Popcorn Texture: Cottage Cheese This texture, also known as the “cottage cheese” or “acoustic” ceiling texture, is probably one of the most famous ceiling textures ever!!! If you look closely, you’ll see it’s kind of a look-alike of “popcorn.” That’s why it’s called “popcorn texture.” To achieve the correct texture, you need to use a sprayer to apply to your ceiling. This contains Styrofoam with mud which gives that puffy effect. But it will require you to have a lot of skill to achieve this effect. That’s because the “popcorn texture” is both challenging to apply and remove. I hope this article will help you to know about the needs of ceiling textures and drywall options. And now I believe you’ll be able to get yourself the perfect texture for your ceilings. How Can I Remove Old Ceiling Textures Safely? Removing old ceiling textures can be a big job, but it doesn’t have to be intimidating! If you want to update your ceiling and get rid of that outdated texture, I’m here to help. No matter if you have popcorn, stipple, or another type of texture, this process takes a little bit of care, but don’t worry! Here’s a step-by-step guide on how to remove an old ceiling texture without breaking your back or the bank. Step 1: Test For Asbestos Before you get out any tools…safety first!  Remember, many older ceilings (especially those with popcorn texture installed prior to 1980) contain asbestos. Before doing anything else, have your ceiling tested for asbestos. You can hire a pro to test the ceiling or buy a self-test kit. If asbestos is present, halt all work and consult pros immediately. Asbestos removal is not a do-it-yourself job because it poses serious health risks if mishandled. Step 2: Clear The Room If there’s no asbestos present, it’s time to get the room ready. Cover all the furniture. You’d be amazed at how far a fine mist of water, compound, and paint can travel! Also, plastic should be removed from the floors, and tape should be around any ceiling fans or lights that are not being removed. I can personally tell you we didn’t do this. We found dried white dust on our bedspread when we were stripping the wallpaper in our bedroom, and we had to clean up all the residual dust a little too late. It was wild! Step 3: Soften The Texture For Better Finish Here’s where the fun starts! To make that texture easier to remove, you’ll need to soften it. Fill a spray bottle with warm water and mist the ceiling. You don’t want to drench it. If you put too much water on the ceiling, it could end up damaging the drywall underneath. Allow the water to sit for about 15–20 minutes or so, giving it time to penetrate and loosen up that texture material. Don’t rush this step. It’ll only cause more work for you in the long run. Step 4: Clean Your Work Grab a wide putty knife or scraper and start scraping off the texture. Do small sections at a time, and scrape at a shallow angle so that you don’t gouge the drywall underneath. If it’s not coming off well, spray some more with the water bottle and let it sit for a little longer. This step can be kind of messy and time-consuming, but have patience because, in the end, you will have a nice smooth ceiling. Step 5: Patch & Sand Once the texture is gone, you may notice a few dings or dents in the ceiling. Don’t worry! Just fill them with some joint compound, sand it smooth, wipe away any dust and you’re ready for a new ceiling. And that’s it! A fresh, smooth ceiling in no time! Read Also: Here’s How to Turn Your Garage into a Bedroom on a Budget! Turn your attic into a living space

READ MOREDetails
Carpet Cleaning

How to find Affordable Carpet Cleaning

If you have made a decision with regard to the need to clean your carpet, then it is essential to get the right people to do it at an affordable price. It is always best to get an experienced Affordable carpet cleaning company to do the job for you but the exact price will be dependent upon the kind of carpet you have as well as its age and the level of stains. The use of the right chemicals and equipment during the carpet cleaning process is of the utmost importance regardless of whether it is nylon, olefin, acrylic, or wool. Types There are different types of carpet cleaning, these include the following: Hot water extraction/ steam cleaning Dry cleaning Hot water extraction is considered to be the most effective technique with regard to carpet cleaning. Opt for affordable carpet cleaning services that use this technique together with some gentle detergent solutions. However, some people prefer dry cleaning because of the duration various types of carpets take to dry. Dry cleaning is favorable in this regard. There are other kinds of advanced carpet cleaning techniques such as encapsulation which is also quite inexpensive due to the minimal amount of equipment that is required. The affordable technique used to clean carpets is not very crucial so long as the companies providing the service are competent in their delivery. How to find affordable carpet cleaning? There are numerous ways through which homeowners can find affordable carpet cleaning services in their area: Search on the web – This is the first place to look for affordable carpet cleaning. There are local listings that will list a range of carpet cleaning companies. Usually, local listings for any carpet cleaning company in your area tend to appear at the very top of search results. This always comes with the name of the company, their website URL and their phone number. Give them call – Once you found 3 or 4 companies, you can proceed to give each company a phone call so as to schedule an appointment with them. This will allow you to get a rough estimate of their carpet cleaning services. Compare prices – You can compare the various rates offered by the various carpet cleaning companies. In addition, compare the various cleaning techniques that are used by companies. This will allow you to compare the most preferable and effective procedures before you make a decision. Selecting the most affordable carpet cleaning supplier is an important decision, especially for those who are on a budget. However, it is important to get proficient cleaning services who will do a thorough job that will last for many months. This goes a long way in saving you money indirectly. Conclusion The above insightful information clearly outlines a few tips that consumers can apply when looking for affordable carpet cleaning services. It is important to know the various techniques used by cleaning professionals, so you can weigh that up when deciding on who to use. It is clear that you can get good carpet cleaning services at affordable rates, unlike the false notion most people have concerning prices and quality. Read Also: The Need For End Of Tenancy Cleaning How Cleaning Helps Us Feel Better And Why We Don’t Do It Five Easy Steps When Cleaning Your Mattress

READ MOREDetails