Have you been caged in your house for a long-time? Do you need a break this Christmas? Well, the best activity, you can think of is his home décor. The best thing about decorating your home on Christmas is that it gives you this inner happiness.
You get this sense of fulfillment. However, what is essential is that you need to keep your budget into consideration. You do not want to stress your bills later on. After defining your budget, think of décor ideas that fit your concept.
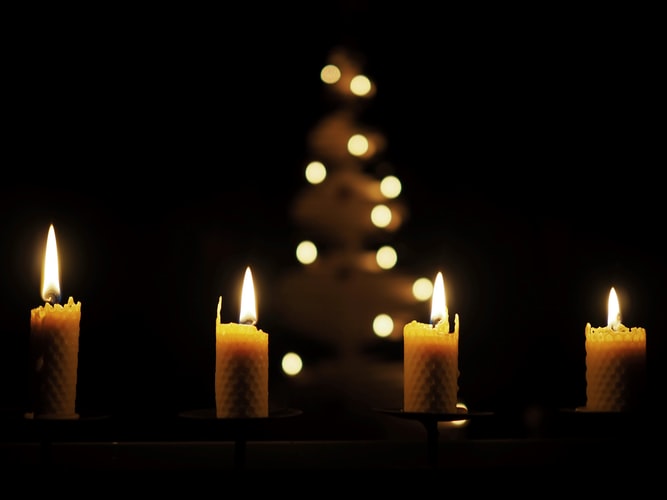
Decorating your home this Christmas
1. Choosing the best Christmas lights
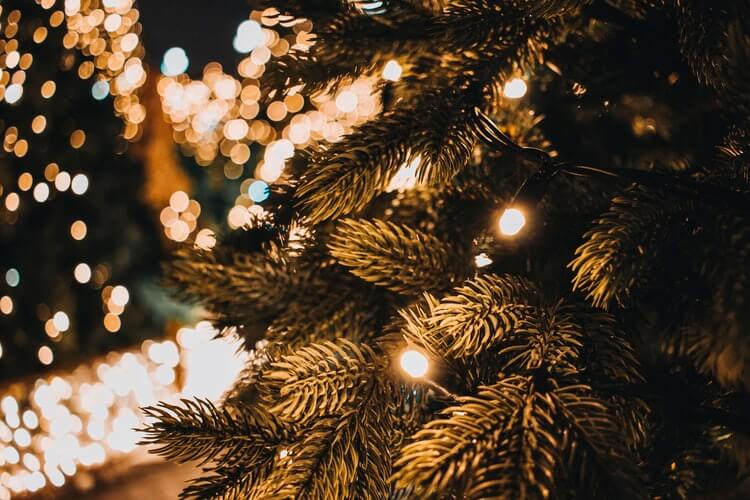
When you think of décor, then the first thing that comes to your mind is lights. You cannot miss out on the Christmas lights at all. If you want to get hold of the best Christmas lights, then consider searching Christmas lights in Melbourne.
There is no denying the fact that light adds life to your home. It looks charismatic and gives life to the room. Now, most people worry about the bills when opting for lights. Well, you need not worry at all.
The reason is that there is a way out of the problem. You can go for an LED lighting system. When you go for LED bulbs, then they are cost-efficient. Plus, they can last for up to 50,000 hours. If you want to go for some other fancy lights, then there is one important rule to follow.
The lights should be able to withstand the climate.
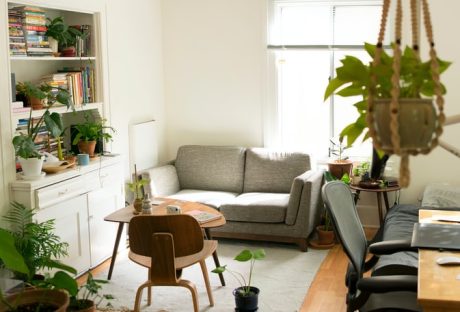
2. Decorate your home with few items
When decorating the house, most people tend to clutter their homes. It is a wrong approach which you should not follow. The best strategy will be to decorate your home with few items. There is no denying the fact that few items tend to have a strong presence.
3. Avoid using too many colors for home decor
Sometimes you end up using too much color when decorating the house. Well, it will also not be a smart strategy on your part. What you need to do keep in mind is that too many colors will start to give a chaotic look to your house.
You will not want this to happen at the end of the day. Your Christmas tree is your central décor point. What you need to do is use a single color for your Christmas tree. The best thing about using a single color for the Christmas tree is that it helps in giving a calm look.
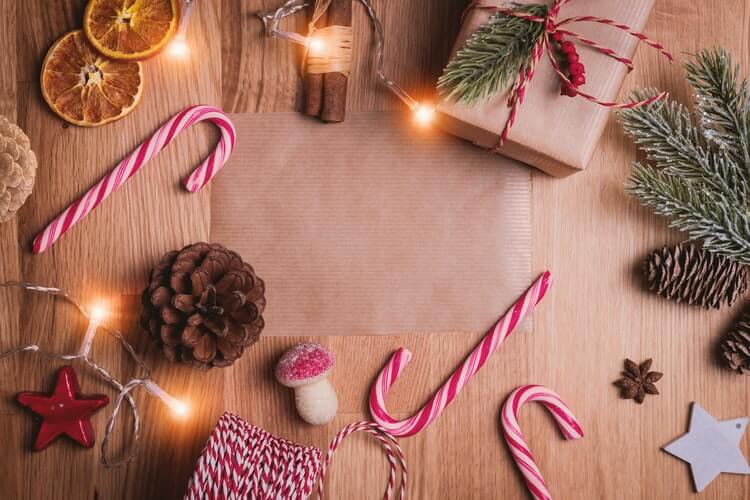
4. Create your own décor items
You do not always have to opt for expensive items. You can even have your own individual décor items. What you can do is cut pieces of paper and decorate them.
If you have dark interiors, then consider decorating your home with metallic items. The best thing is that it helps to give harmony to your home.
Never underestimate the significance of simple décor items. For example, you can also use flowers for home décor.
Try out all these décor ideas and you will not be disappointed. Your house is bound to look out of a catalog.
Read Also:
- Mirrors For Sale – Finding a Perfect Home Decorative Item
- How to cut down your home decor costs? Read here