Published on: 29 January 2019
Last Updated on: 08 August 2019
Your wedding is the ultimate opportunity to celebrate the love you have for your spouse-to-be as well as the love and friendship you share with your guests. It’s the chance to get creative with your plans and show your guests how much you want them to have a good time and how much you appreciate them.
How do you give your guests a delicious meal without breaking the bank? Simply team up with an expert caterer and they can walk you through the best options for your wedding so you can showcase your personality and satisfy the stomachs of your guests. Want to know what you should skip and what you shouldn’t miss for your wedding food? Read on.
Don’t Miss It: Local Food Options:
Statistically speaking, your wedding is going to generate a decent amount of waste. Even if you only consider the food waste that comes out of preparing multiple meals as well as the plastic and glass that collects from the bar, that’s a sizeable amount of resources. Then if you think about the gas your guests will have used to arrive at the venue and the electricity that goes into powering your wedding, your nuptials will create an impact.
If you’re green-focused then you will have likely already considered sourcing your wedding food and drinks from local outlets. And even if the environmental impact of your wedding isn’t at the top of your list priorities, local options offer the promise of fresh food and unique types of drinks that your guests might not have had elsewhere.
Skip It: the Boring Buffet:
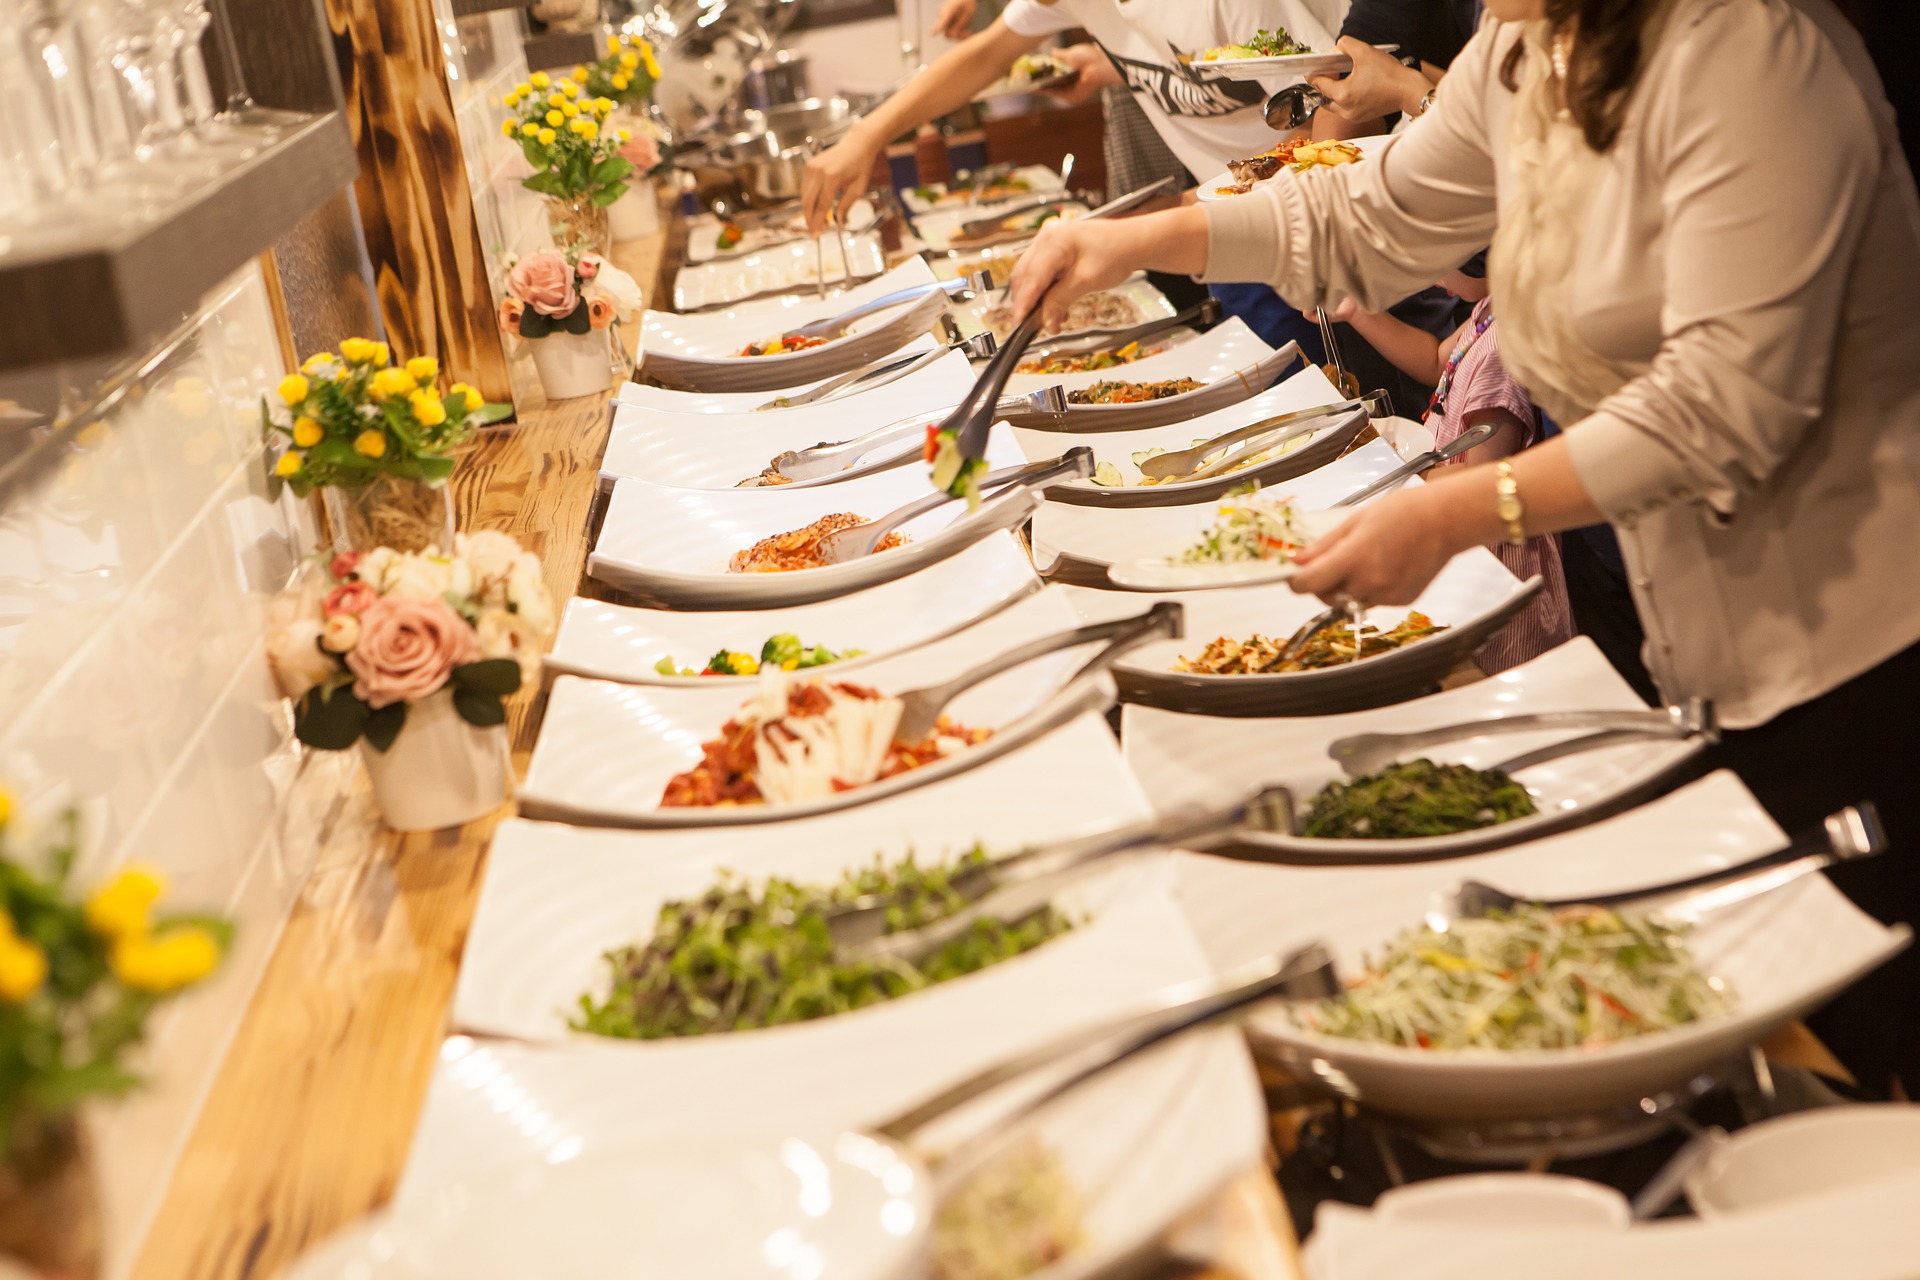
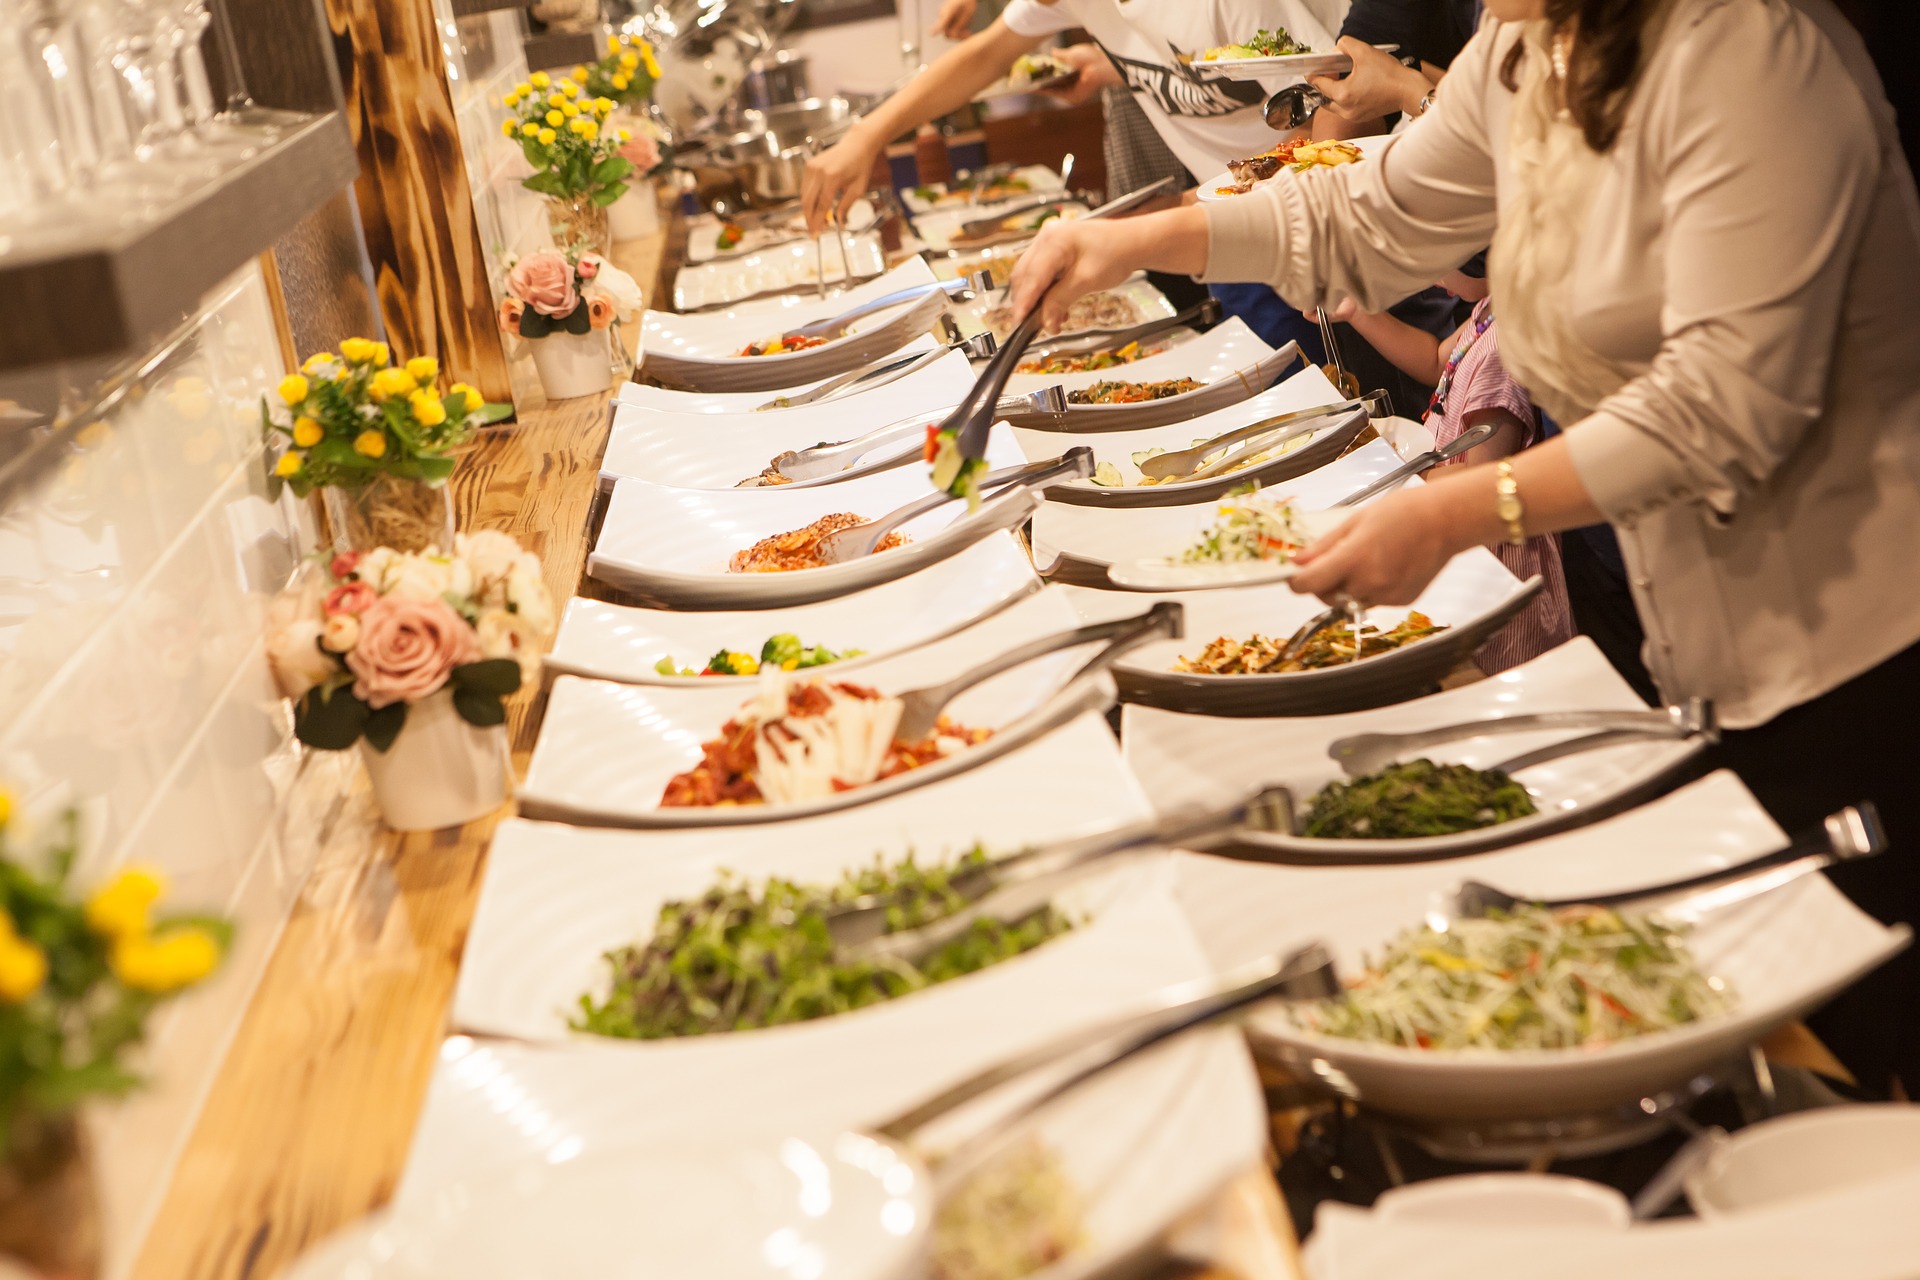
No one needs another boring buffet with rubbery chicken, flavourless iceberg lettuce, and too-oily roast potatoes. When the food comes out at your wedding, that’s the chance to brighten the faces of your guests with something exciting. Whether you serve your food buffet style or sit-down style, the meal options of your event venue can be spiced up with the help of an event caterer.
Don’t Miss It: A Unique Cake:
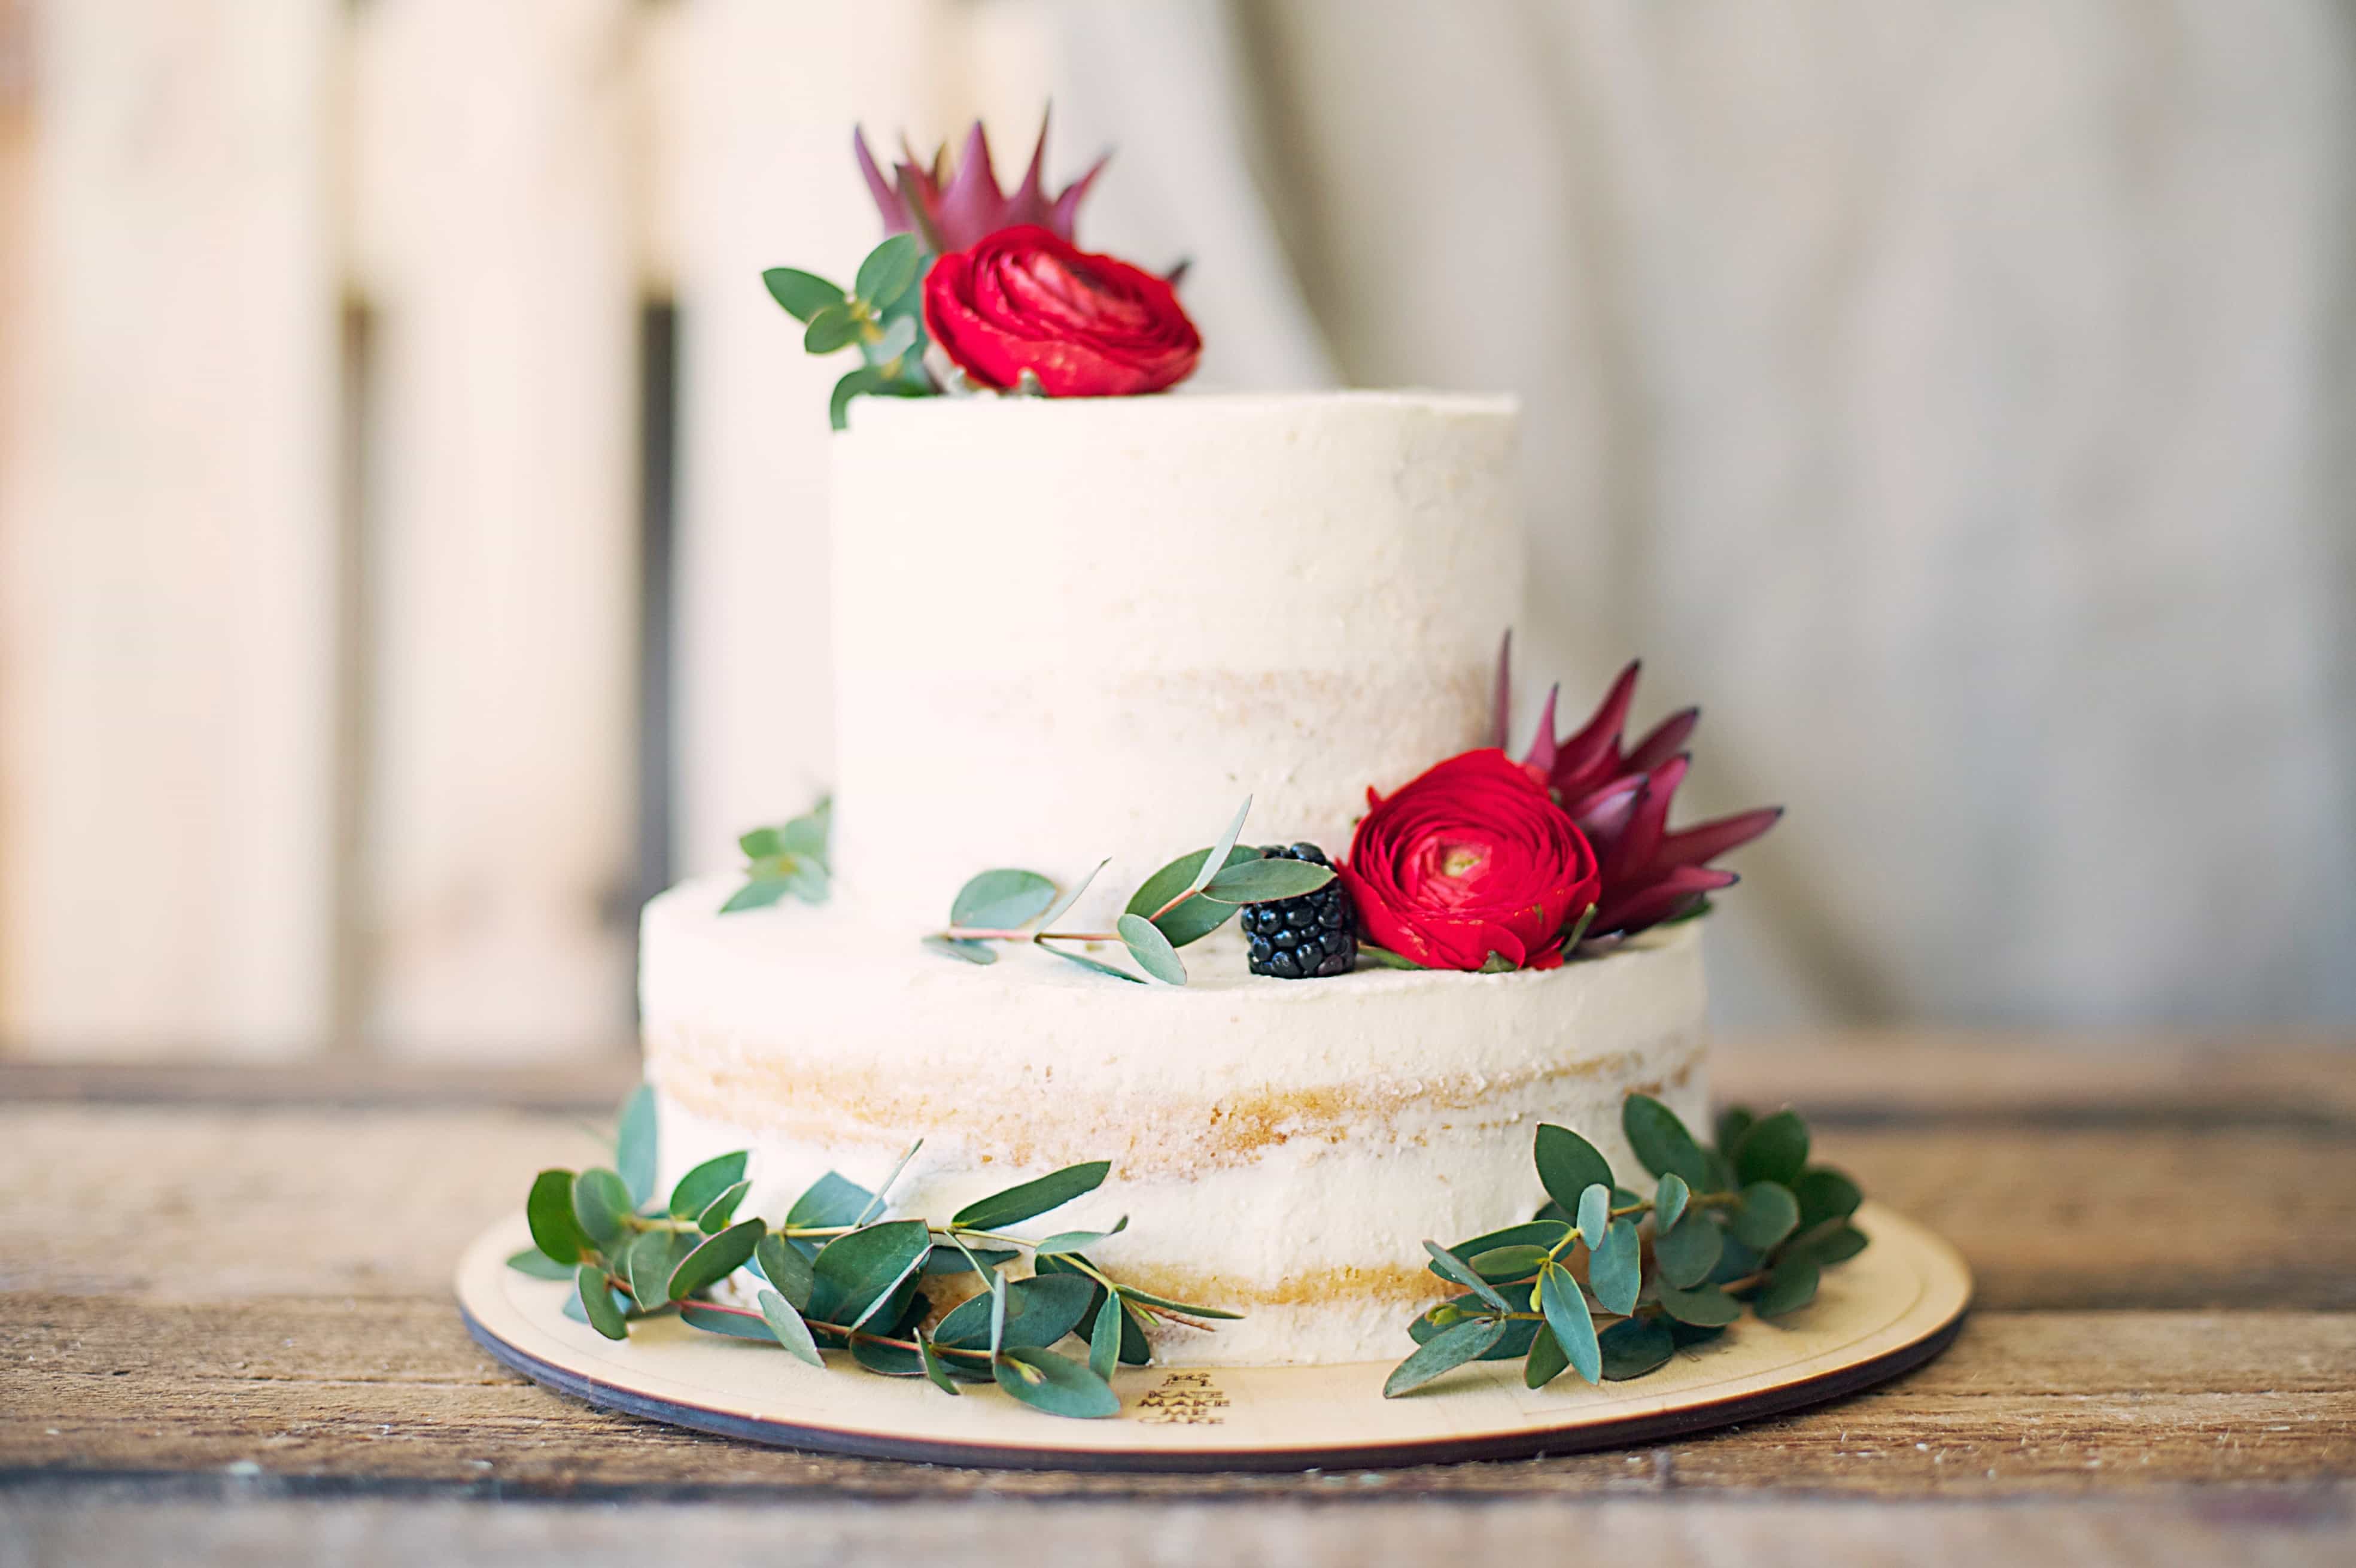
Are you going for a traditional, white wedding cake? Have you thought of what else you can serve? One way to impress your guests with something unexpected is through the dessert. You’ve gone so far as to customize every other aspect of your wedding, why stop at the cake? Maybe your love for donuts means you’d like to have a gourmet donut station in place of cake. Maybe you’d like to create a tower of pretty-looking cupcakes that anyone can come up to and eat as they like. Don’t limit yourself!
Skip It: Sugary Snacks:
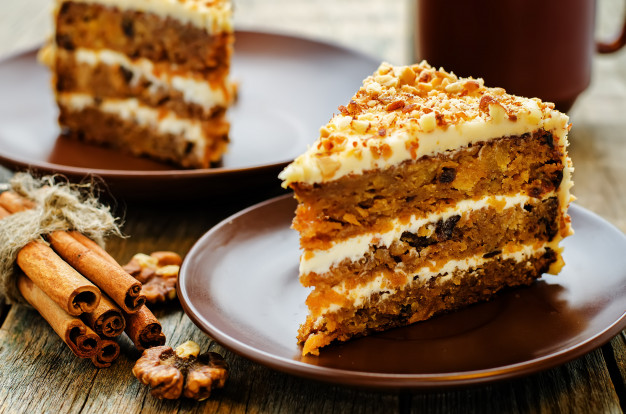
When your guests arrive at the reception, they’re probably hungry in anticipation of the main meal. Don’t make the mistake of serving only overly sugary snacks like brownies and cookies. This type of food will just give your guests a sugar rush followed by an unpleasant crash. And for your guests without a sweet tooth, you can opt for a savoury-sweet dessert option like cheese and fruit that will still end the meal on a nice note without overdoing the sugar.
With all this in mind and an open-minded attitude to unique culinary options from skilled caterers like The Food Dudes, you can ensure your wedding meal and snacks will reflect your style and impress your guests.
Content Rally wrapped around an online publication where you can publish your own intellectuals. It is a publishing platform designed to make great stories by content creators. This is your era, your place to be online. So come forward share your views, thoughts and ideas via Content Rally.
It always feels good to see a hummingbird in your garden. To see more of them in your garden, you can keep hummingbird nectar/food in a jar in your garden.
In fact, with a simple hummingbird food recipe, you can make their lives easier. All you need is a few simple ingredients.
In this article, you will learn how to make hummingbird food with simple ingredients. Apart from that, this article also discusses hummingbird nutrition and the steps you can take to set up your bird feeder.
Finally, you will learn how to attract more hummingbirds to your garden. Hence, to learn more, read on to the end of the article.
Understanding Hummingbird Nutrition
There are a variety of food options a hummingbird needs to meet its nutrition. Although they are one of the smallest birds in the world, they burn a lot of their calories by fluttering their tiny wings. Generally, a hummingbird flutters its wings 90 beats per second to maintain its momentum.
Hence, you can see that hummingbirds need to eat a lot. In fact, to satisfy their daily calorie requirements, these birds even consume half of their body weight. Basically, they feed on bugs and nectar every 10-15 minutes. Also, they visit 1000-2000 flowers per day.
The following are the things that hummingbirds feed on:
1. Nectar: This is the primary food source of hummingbirds. Basically, it consists of 20% sugar and 80% water. Generally, hummingbirds get their nectar from cardinal flowers, bee balm, salvia, and petunias.
2. Insects: For their protein needs, hummingbirds feed on insects. This is also a source of fat and salt for hummingbirds. In fact, nectar does not provide those nutrients. Basically, hummingbirds hunt insects by finding them from flowers, leaves, or tree bark. Sometimes, they also attack insects midair or pluck them from sticky saps.
3. Spiders: Generally, hummingbirds also feed on spiders for protein. However, they are generally small spiders.
4. Tree Sap: When the amount of nectar is low, hummingbirds drink tree sap from tree bark. Generally, woodpeckers drill wells on tree barks to get tree saps.
Hummingbird Food Recipe
Basically, by offering hummingbird nectar, you can help them with their post-workout meal.
Hence, follow the below hummingbird food recipe to make nectar:
Ingredients
The following are the ingredients you need to make hummingbird nectar:
Filtered Water: 4 Cups
Regular White Sugar: 1 Cup (If possible, use organic sugar for the recipe)
Procedure
Here are the steps you must follow to make hummingbird nectar:
1. Get four cups of water in a saucepan and bring it to a boil.
2. Once the water reaches the boiling point, take the water off the heat. Add sugar to the boiling water.
3. Stir the mixture until the sugar completely dissolves in the water.
4. The nectar is ready. Now, you must let the nectar cool completely.
5. Get a hummingbird feeder and place the mixture inside the feeder. Make sure to hang the hummingbird feeder outside (in your garden) to attract hummingbirds.
Essential Factors To Consider
The following are some of the major factors you must consider before you start making nectar with the hummingbird food recipe:
Make sure to change the nectar every four days with a new nectar. This will ensure that the nectar is fresh. Also, remember not to use food coloring in the nectar. Let it be as natural as you can.
Regularly check the bird feeder every time you change the nectar inside it. Look whether there is a gray mold inside the feeder base or not. Also, check whether any ant has crawled inside the feeder to consume sugar water.
If you check any dirt or ants inside the hummingbird feeder, throw the bird food away. Basically, it is not good for the birds to drink dirty nectar. In fact, there is a high chance that the birds will not feed on the nectar anyway.
To clean the feeder, rinse it with warm water. Then, put some bleach into the water inside. This will allow you to clean the feeder with a brush easily.
Once you clean the feeder, rinse it thoroughly with fresh water. Moreover, allow the water to dry.
After that, please fill up the feeder with food and place it outside.
Enhancing The Hummingbird Experience
Enhancing the hummingbird experience, you can attract more hummingbirds to your garden/balcony/porch.
The following are some of the steps you must follow if you want to enhance the hummingbird experience:
1. Change The Food Regularly
Make sure to change the food every 3-4 days. This is because nectar spoils quite fast, especially when the weather is hot. In fact, if the weather is above 30 degrees Celsius, make sure to change the nectar regularly. Also, make sure to keep the feeder in the shade. This will prevent the sugar from fermenting.
2. Use The Right Amount Of Ingredient
You can make hummingbird nectar with just water and sugar. However, you must ensure the water-to-sugar ratio is 4:1. Then, boil the water and add the sugar. After that, mix them until the mixture is perfect. After that, you must let the mixture cool before you add it to the feeder.
3. Avoid Honey
Generally, honey can ferment fast and becomes a great place for mold to grow quickly. Moreover, they can be sticky and get on the feathers of hummingbirds. Hence, it is better to avoid honey.
4. Add Another Feeder
Although hummingbirds are small and cute, they can be incredibly aggressive and territorial when confronting other hummingbirds. Hence, to avoid conflict among hummingbirds, it is better to add a second feeder if you want to ensure every hummingbird gets the opportunity to have the nectar.
5. Clean The Feeders
Make sure to clean the feeders every week. Moreover, if you have hot weather around, clean the feeders twice every week. While you clean, ensure the vinegar-to-water ratio is 1:4. Also, rinse the feeders well before you refill. Furthermore, while rinsing, do not use dish soap. This is because they can leave harmful residue on the feeders.
Setting Up Your Hummingbird Feeder
The following are the steps you must take to set up your hummingbird feeder:
Make the nectar by checking the hummingbird food recipe in the previous section.
Hang the feeder in your garden at the start of spring. Generally, hummingbirds migrate through your area in the spring. Also, leave the feeder up after the hummingbirds migrate in the fall.
Hang the feeder in a place where it is visible for hummingbirds to see. Also, make sure to place the feeder in an area where you can have a good look.
Clean the nectar every 3-4 days and clean the feeder thoroughly each time you change the nectar. This way, you can prevent dust and mold from getting into the feeder.
Sugar water is safe and helpful for hummingbirds. Basically, it is quite similar to the natural nectar that hummingbirds find in flowers.
If you want to make your own feeder, use an old spice container, bottle, mason jar, or wine bottle.
Attracting More Hummingbirds
Here are some of the major ways you can attract hummingbirds to your garden:
1. Offer Hummingbird Food/Nectar: If you make sugar water and keep it in a feeder in your garden, you can attract many hummingbirds in your area. To make this item, you can see the hummingbird food recipe above.
2. Keep Water: Generally, hummingbirds also like to bathe. Hence, you can keep some water in a pot/jar to allow hummingbirds to access water for bathing and drinking.
3. Perch Area: You can leave small branches and sticks on your trees and plants. This will allow hummingbirds to perch on.
4. Plant Flowers: There is no alternative to pure nectar that flowers have. Hence, this attracts hummingbirds a lot. For instance, you can use hummingbird sage, honeysuckle, bee balm, and more. Also, you can add other types of flowers to your garden.
5. Keep Other Animals Out: If you have a pet cat/dog in your home, keep them inside. This is because they can bother hummingbirds or even end up killing them.
6. Avoid Pesticides: Pesticides are repellants for hummingbirds as well as insects. Hence, make sure not to use them or use them minimally.
Make Your Hummingbird Food Now
Now, you can make hummingbird nectar with the help of the hummingbird food recipe in the article. However, make sure to change the food every 3-4 days. Also, ensure to clean the jar every time you change the food. This way, you can ensure clean food for hummingbirds.
Do you have more suggestions on how to make hummingbird food? Please share your ideas and opinions in the comments section below.
Additional Resources:
Is Indian Food Healthy? – Major Nutritional Benefits of Indian Cuisine
15 Healthy Mexican Food Items With Immense Health Benefits
The Importance Of Proper Cutting When Preparing Meals
From the first time they smile to their first tooth, everything that happens to your baby should be documented as a milestone. Getting your baby off exclusive breastfeeding, and started on solids is a feat that you should get right at the first go.
The fact is solid food is not breast-milk. It has to contain all the elements that will make it nutritious, delicious and palatable for your baby. Another thing you need to know is if your baby is ready for it.
While doctors recommend that you feed your baby breast-milk for six months, some babies are ready to take solids sooner than that. So, how do you know when your baby is ready? There are some tell-tale signs that will give you an incline whether to start solid foods or not.
Some Signs your Baby is Ready
Good head and neck control
When the baby is able to sit up in a chair
They reach out for food
When they weigh twice their birth weight
Normally, when babies are not ready for solids, they do not have the ability to swallow. At this point, you see them push the baby cereal back with their tongues. When your baby is ready for solids, they gradually start to lose this tongue-thrusting reflex.
The moment you see these signs, you should know that your baby is ready for more than breast-milk.
How do you start?
One thing you need to remember is your baby’s health and nutrition are the priority. You can start out with iron-rich baby cereal. It is best you feed your baby the cereal with a baby spoon, rather than in a bottle.
No matter what, solid foods, or, cereal, should be fed after you breastfeed your baby. This way your baby still enjoys the goodies of breast-milk and at the same time, can get acquainted with solids.
You may be tempted to introduce veggies and other foods immediately after the first success. But, you need to wait and give these foods gradually. Sometimes your baby may be allergic to these new foods, and giving them all at once will not help you identify the allergen.
Another thing about giving your baby solid foods is you may need to serve it in small forms. There are a lot of great and nutritious recipes for your baby you can try. You may be itching to ask if you can give your baby fresh fruit juices.
Fruit juices are an absolute big no for babies. The reason is that they pose to be more harmful than good. Juices add extra calories and sugars without giving your baby the needed balanced nutrition.
In addition, drinking too much will cause diarrhea in babies, lead to tooth decay, and excess weight.
It’s That Simple
Breastfeeding your baby, although very beneficial, is tiring, especially if your baby nurses a lot at short intervals. If your baby is between 4-6 months, and 6 months to 1 year, giving solids is only meant to supplement breast-milk, not replace it.
Read Also:
You Need To Avoid These Foods For Breakfast
7 Surprising Benefits Of Alkaline Foods
Eating Good Quality Foods For Diet
How to freeze dry food? - To freeze-dry your food, you need first to freeze your food and then dry it under pressure to remove water content. This process is called lyophilization.
In fact, it is one of the best methods to use if you want to dry your food. Actually, it is a common practice in both the pharmaceutical and food industries.
In this article, you will learn how to freeze dry food at home with simple methods. However, before that, you will also understand the freeze-drying process and the types of food you can freeze-dry.
Moreover, you will also learn the benefits of freeze-drying and essential tips to freeze-dry your food successfully.
Hence, to learn more, read on to the end of the article.
Understanding Freeze Drying
Freeze drying is a process where you remove water from a food material by freezing it. Then, you turn the ice into vapor by putting the item under pressure. Hence, you can see that this process is a dehydration technique where you sublimate the water in a product.
It means that the water content in your product changes from a solid state to a gaseous state (sublimation). Here, the water does not turn into liquid.
Generally, this method is helpful when you want to preserve any perishable materials. Here, the goal is to extend the shelf life of the material. In this case, you freeze the material and reduce the pressure. Then, you add heat to allow the frozen water in the food (material) to change directly to vapor.
How Does Freeze Drying Work?
Freeze drying consists of three stages: freezing, sublimation, and desorption.
Here is an explanation of the three stages:
1. Freezing
This process involves freezing the food at a very low temperature. Generally, you have to freeze to -30 to -50°F.
2. Sublimation (Primary Drying)
In this stage, you have to pass mild heat over the frozen material while the material is under vacuum. Hence, the ice crystals vaporize into water vapor. After that, you remove the water vapor with the help of a vacuum pump.
3. Desorption
This is the second stage of drying. Here, you have to remove all the remaining moisture from the surface of the food.
Benefits Of Freeze Drying Food
The following are the major advantages of freeze-drying that will benefit you a lot:
Generally, the foods that you freeze-dry retain up to 97% of their nutritional value. For instance, the food retains vitamins, minerals, and antioxidants.
Those foods have a long shelf life. Moreover, you do not need to store it in cold chains.
Once you freeze-dry your food, you will end up removing 98% of its water content. Hence, you will reduce its weight by 90%. Thereby, it will be easy for you to carry that food on camping and backpacking trips.
Freeze-dried food is easy to prepare. This is because you just have to add water to rehydrate them. Moreover, the shape and size of the food remains intact. Also, freeze-drying helps in preventing the growth of pathogenic organisms.
You can preserve a wide range of foods with freeze-drying. This includes meat, fish, fruits, vegetables, eggs, ice cream, and more.
When you freeze-dry food, it does not get brown or caramelize. However, this is quite common when you dry food traditionally.
How To Freeze Dry Food At Home?
Here are the steps you must follow to freeze dry food at home:
Wash your food items that you want to freeze-dry. Also, remove dirt and residues from the food. This way, you can ensure food safety.
Cut your food into small pieces. This way, you can make the freeze-drying process faster.
Place your food on a flat tray. Moreover, make sure to spread the food evenly. Basically, if you spread your food properly, you can freeze the food evenly.
Place your food in your freezer, and set the temperature correctly. Then, place the food in your freezer for two weeks. Actually, you need this time to remove the moisture in the food.
After the completion of two weeks, remove the trays from the freezer. After that, quickly place the food items in airtight bags. Make sure to take out one tray at a time to ensure that the food does not rehydrate.
Make sure to place the food bags in the freezer, and also in a cool, dark spot.
Check the food after a couple of days. This way, you ensure whether all the food is dried-up or not.
Tips For Successful Freeze Drying
The following are some essential tips by following which you can successfully freeze dry your food:
1. Preparing the Food
Harvest the food produced when it is ripe. Then, wash the food, remove the damaged parts, and prepare it as desired. This is because if you cut your food into small pieces, it will dry faster.
2. Arrange the Food
Place your food on a tray and arrange it into pieces. Also, make sure to place those pieces in such a way that they do not touch each other.
3. Use A Freeze Dryer
With the help of a freeze dryer, you can automatically lower the temperature. Moreover, a freeze dryer also helps you to create a vacuum.
4. Store The Food
Once you freeze-dry your food, store it in an airtight container. Also, you can store it in a bag which you can vacuum-seal it.
5. Cook Raw Foods:
One of the drawbacks of freeze-drying is that it does not kill harmful bacteria. Hence, you must cook freeze-dried foods thoroughly before consumption.
Related: The Importance Of Proper Cutting When Preparing Meals
Common Uses For Freeze-Dried Ingredients
The following are some of the common uses of freeze-dried foods:
Works as essential food supplies at times of emergencies.
They have a long shelf-life and you can use it to maintain food quality.
You can use freeze-dried food in stews, soups, baked goods, etc.
You can eat freeze-dried food as a healthy snack any time.
If you freeze-dry your seasonings, you can retain the flavor and freshness for years.
Wrapping Up
You now know how to freeze dry food. Generally, in manufacturing, food companies and manufacturers prefer freeze-dried food over regular food.
This is because they are easy to prepare and are portable and lightweight. Also, such food removes the moisture from the food to make it compact.
Do you have more suggestions for freeze-drying to offer? Please share your ideas and opinions in the comments section below.
Additional Readings:
How to Thicken Chili – Tried and Tested
What To Look For And What To Avoid In Healthy Dog Treats
The Difference Between Bacterial Amylase and Fungal Amylase