With so many different styles of kitchen cabinets to choose from, it can be hard for a homeowner to narrow down their options. Inevitably, the decision will come down to the individual desires of the homeowner. By taking the time to learn more about the following areas of concern, a homeowner is able to come to a decision far more easily than they would have otherwise:
What Color Cabinets Never Go Out of Style?
Since kitchen cabinets must be chosen in a way that allows for maximum durability and long-term aesthetic appeal, it is important to know which color cabinets will never go out of style. The experts recommend leaning towards neutral color schemes for this reason. This allows the homeowner to update their kitchen with various accents, as the neutral colors provide a simplistic backdrop.
Homeowners who are looking to sell the home will also tend to choose neutral color kitchen cabinets because they give potential buyers the chance to make the necessary changes more easily. Instead of being hemmed into one particular motif, homeowners have the chance to add pop colors throughout the kitchen as well.
Rugs and artwork can be swapped in and out at the homeowner’s leisure, making life much easier. Trends come and go but the kitchen cabinets offer a sense of normalcy.
Are Wood Cabinets Better Than Laminate?
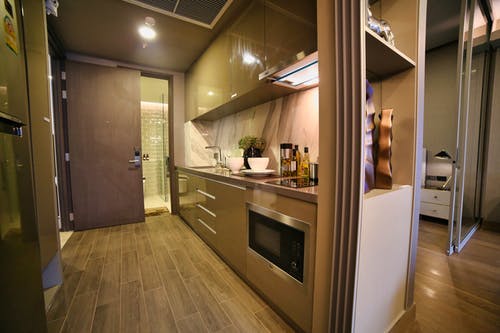
Once it comes time to make a decision, the wood vs laminate battle is sure to be an interesting one, as there are experts who land on both sides of this topic. Each of them come with their own pros and cons. At the end of the day, the homeowner will have a few specific factors to take into consideration. Laminate cabinets are typically chosen by homeowners that are looking for certain reassurances.
These cabinets give homeowners the chance to split the difference, giving them a modern, high gloss look that is very easy to maintain. Laminate cabinets come with a plastic coating that allows for a much easier cleaning process. For homeowners who are not looking to put in a sizable amount of time and effort when it comes to keeping their kitchen clean, this is a major bonus.
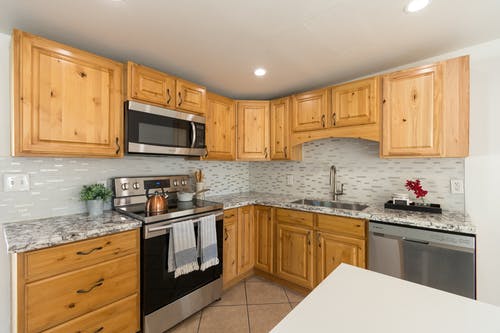
On the other hand, wood cabinets will hold up much better from a durability standpoint. These cabinets are also chosen by homeowners who value a more rustic look. Neither cabinet is necessarily ‘better’ than the other so homeowners must base their decisions on what they value most.
What are Veneer Cabinets?
Veneer cabinets are not always considered by homeowners who have bought into the old horror stories. Wood veneer cabinets used to be avoided at all costs by the average homeowner because their reputation preceded them. These cabinets were a durability nightmare, as the wood would slowly peel away due to long-term exposure. The wear and tear were too much for them to handle.
Now, things have changed significantly. They are similar to laminate cabinets because a manufactured interior level adheres to the thin wood, providing a stable and sturdy final product that functions in the same manner as real wood. These cabinets are more cost-effective than solid wood and are resistant to long-term warping. The easy maintenance appeals to a wide range of homeowners as well.
In addition to these benefits, there is a sizable amount of versatility to be enjoyed when it comes to various aspects of the selection process. The homeowner can choose between various types of wood, door styles, finishes, stains, and paints. The process of matching veneer cabinets with specific features has never been simpler.
Do Floors Have to Match Countertops?
The answer to this one should be an absolute no-brainer for all parties involved. Of course, the kitchen should be designed in the most cohesive way possible. Starting with the countertops is the best choice that can be made in these instances. The floors and cabinets will be easier to match to the countertops when it is handled this way. Homeowners who attempt to match these items in reverse are sure to struggle.
That’s why it is important for homeowners to thoroughly consider the materials and colors that they wish to include in their countertops. This is not a one size fits all proposition, as design and lifestyle preferences need to be taken into account. For best results, think of the kitchen in terms of three different colors.
Two dominant colors need to be selected, colors that are able to accent one another. From there, a third color is chosen to serve as a backdrop to the first two selections. Dominant colors are typically simplistic, while the third color is more vibrant. It should add a level of interest to the kitchen without potentially overpowering the dominant colors of the room.
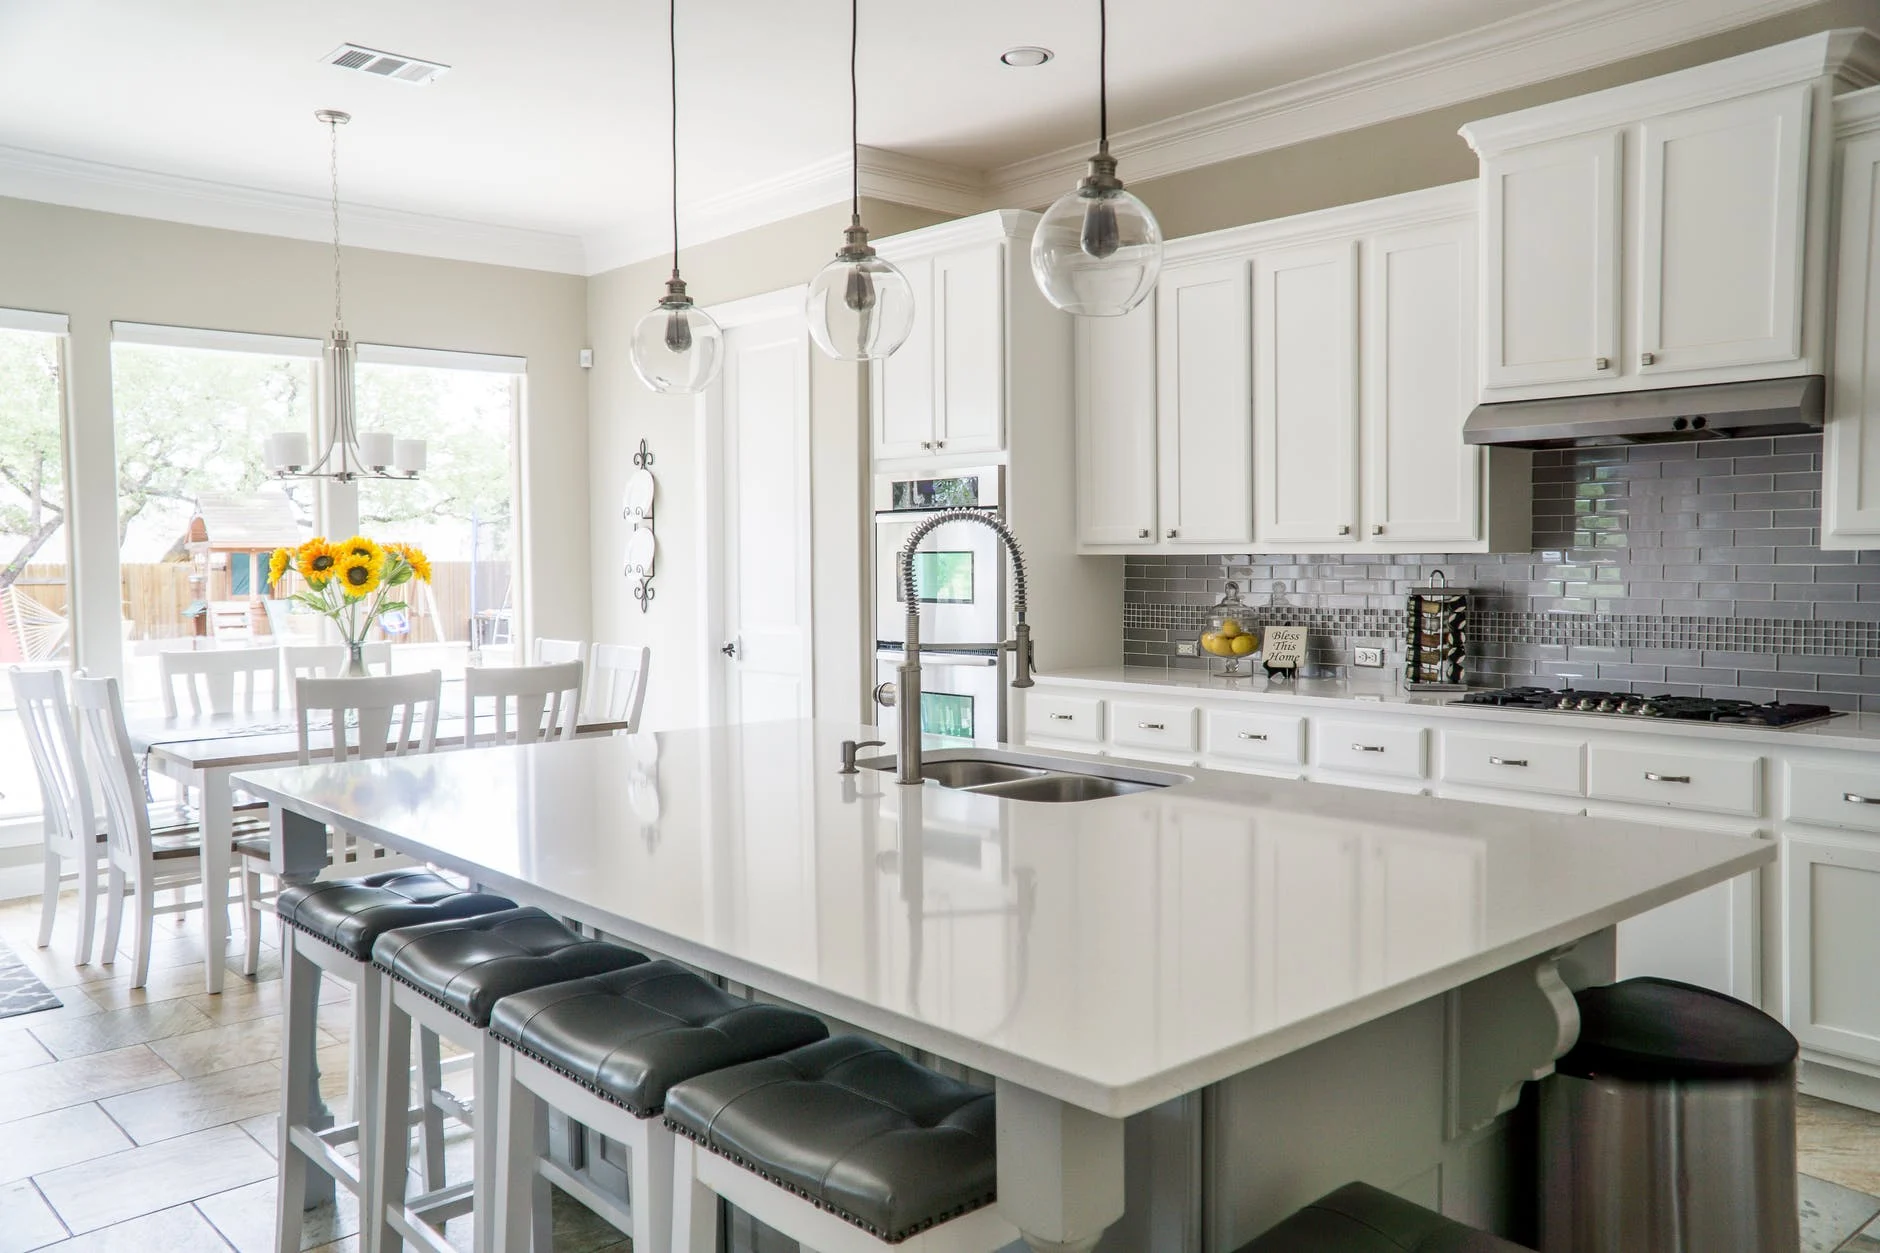
What Makes a Kitchen Look Expensive?
While the different styles of kitchen cabinets can make a kitchen look more expensive, there are other factors that come into play here. Those who are investing in their kitchen will want to make sure that they do it right and it has never been easier to make a kitchen look like a million dollars. By taking the time to invest in high-quality fixtures and materials, a homeowner is able to create a room that is every bit as elegant as the rest of the home.
High-quality materials and fixtures are able to pass the test of time far more easily, keeping the kitchen looking like new for a longer period of time than ever before. Yes, the homeowner may be tempted to choose lesser materials as a means of keeping costs down. This is not advisable in most instances, though.
In addition to the unsightly wear and tear that is caused by cheaper materials, the homeowner is also placing themselves at increased risk of having to shell out for costly repairs and replacements. Saving money in the short term is great but these savings tend to come at a far greater long-term cost.
Read Also: