8 Effective Natural Stain Remover

Published on: 02 February 2021 Last Updated on: 24 December 2024
Natural Stain Remover

As daunting as laundry maybe, it’s more challenging for you to do it when your clothes have stubborn stains. Some stains will not even budge with the usual stain remover you use, and it is not the best way to use laundry detergents with harsh chemicals.

What about natural ingredients for removing stains? Are they an effective method?

You need to be patient in removing stains with natural ingredients. It takes time than using a one-size-fits-all stain remover. If you use the natural ingredients correctly, it will be a highly effective method.

As we go further, remember, always treat stains from the back and avoid rubbing the stain.

Your cupboards or cabinets are filled with these natural ingredients. Start removing tough and stubborn stains with natural and environmentally-friendly stain removers. Keep them in your green laundry routine.

Here are some of the commonly available effective natural stain remover for daily usage:
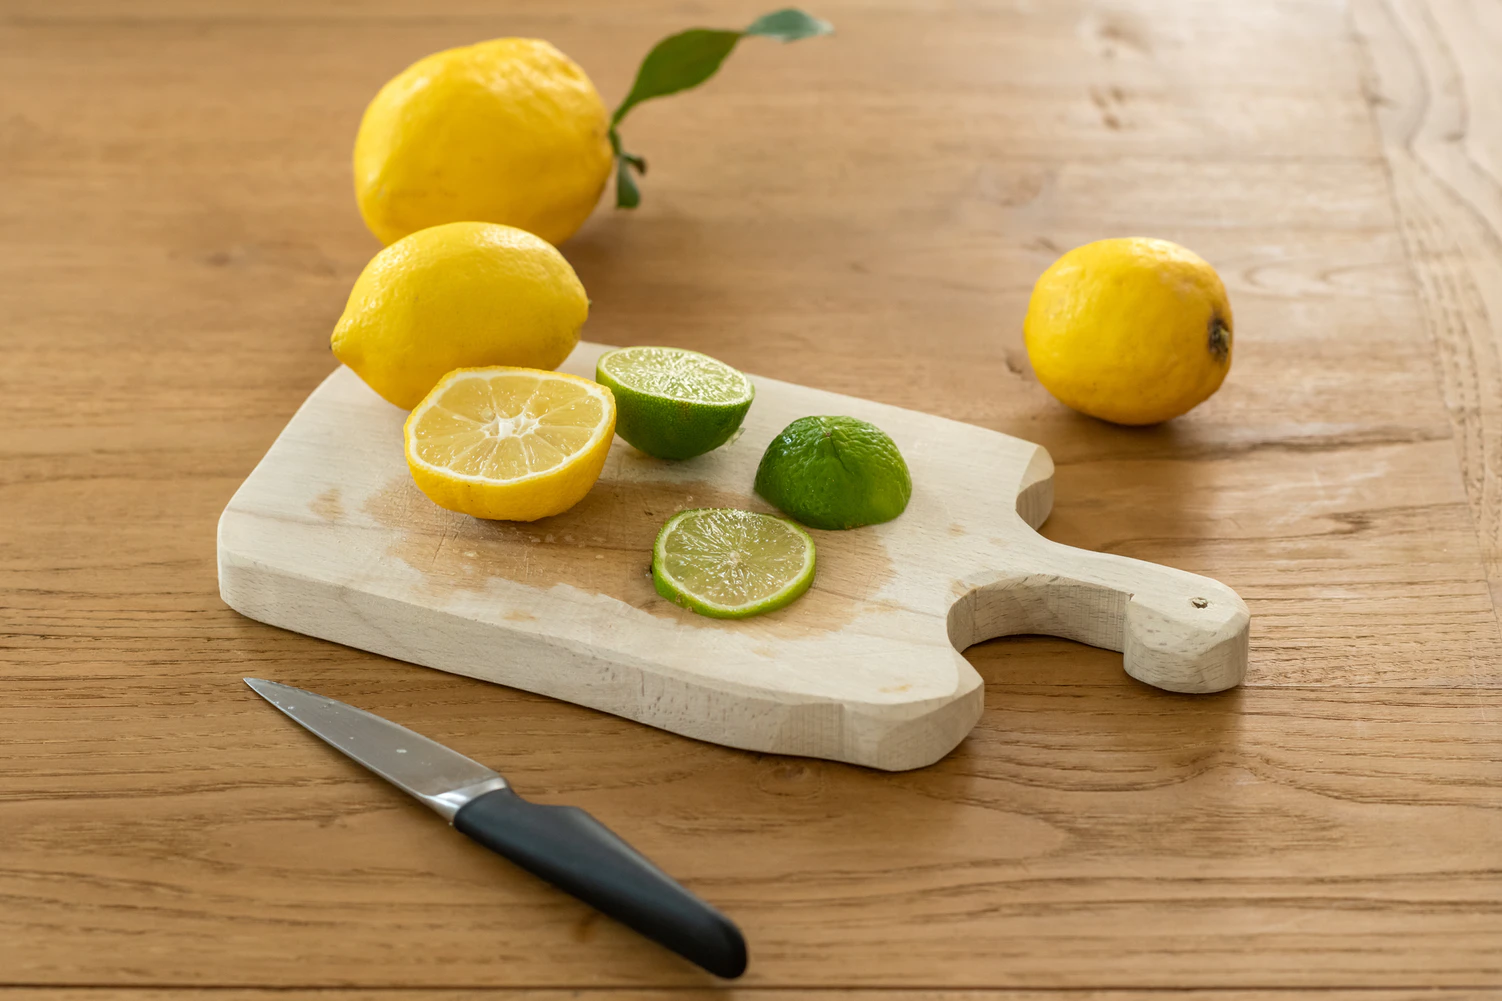
1. Lemon Juice:

Lemon Juice

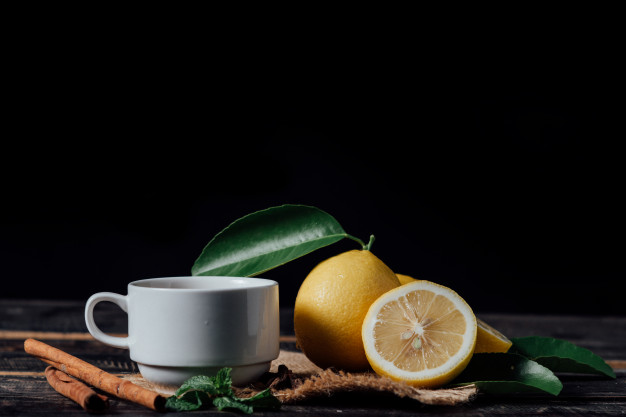
Lemon juice has similar properties to bleach. That’s why you should be careful and handle it properly as you may damage your clothes. You can best use lemon juice to remove food stains on white clothes.

Simply cut a lemon in half, wet the cloth, and squeeze it on the stained area. Let the lemon juice settle on the fabric for 30 minutes or more, depending on the stain. Rinse the clothes before you launder the clothes. The lemon extract provides a refreshing scent making it one of the best natural deodorizing agents.

2. Baking Soda:

Baking Soda

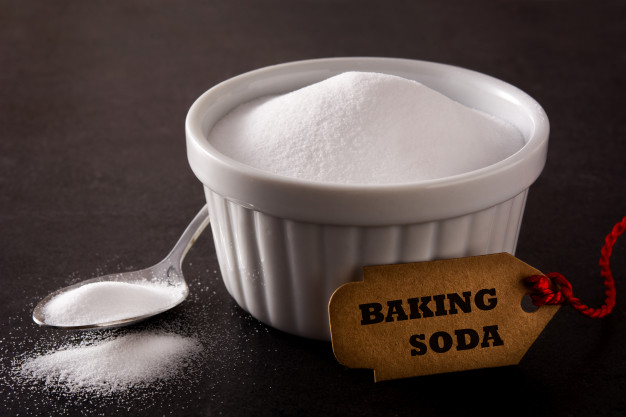
Baking soda has several purposes, and it is an excellent option to remove tough stains. Since it is a mild alkaline, it can sip through the fabric and remove the strong stains.

There are two ways to apply baking soda on stained clothes. You can add the baking soda into the water of a laundry load, or you can create a paste out of it. Creating a baking soda paste only requires you a small amount of water. If you opt for the paste method, apply it to the stained area. You can scrub it gently to prevent damaging the fabric.

3. Borax:

Borax

It’s silly to think about the misconception about borax. Some thought it is a harsh chemical because it is associated with the 20 Mule Team. However, borax is a naturally occurring mineral made of oxygen, water, sodium, and boron. Although it has no toxic fumes and is environmental-friendly, it can cause skin irritation and not ingest it.

If you have hard water, it is best to add borax to the laundry load to soften the water, boost the detergent’s performance, and control the odor.

You can see borax in the ingredients of most homemade laundry detergent.

4. Dishwashing Liquide:Dishwashing Liquid


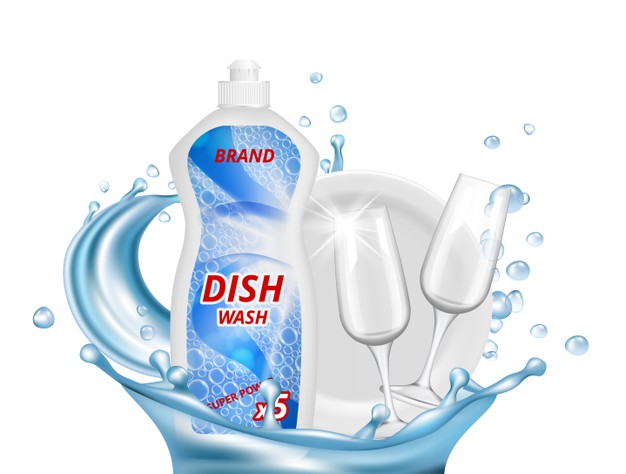
Although it is unlikely for some to use dishwashing liquid as stain removers, it is an effective one. It can break down grease and stubborn stains. Stains that are made from greasy foods can break down the oil. If you are fond of gardening, dishwashing liquid and hydrogen mixture can effectively remove grass stains.

It’s easy to use the dishwashing liquid, squirt enough amount of soap on the stained portion. Scrub the dish soap gently and rinse. Launder the clothes in the usual manner. You can also soak your clothes in soapy water for hours, then rinse and launder them the usual way.

5. Distilled White Vinegar:

Distilled White Vinegar

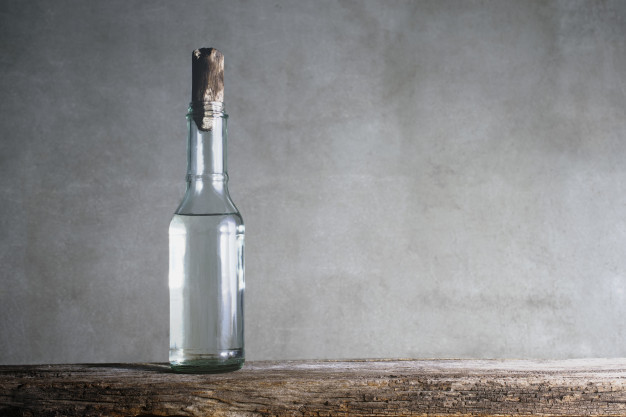
Another effective natural ingredient to remove stubborn stains is white vinegar. It’s the perfect alternative for chemical-based products. But since it is an acid-based ingredient, you have to handle your clothes with care.

Mix the white vinegar with water to make it less acidic. Treating stains with vinegar needs the help of dishwasher detergent to scrub off stubborn stains. Wet the stained part of your cloth, place enough dishwasher soap, and gently rub it with an ice cube. The tough stains will come off. There will be leftover stains, applying the distilled white vinegar to cut through the stain. Rinse the cloth and launder it in the usual way.

6. Salt:

Salt

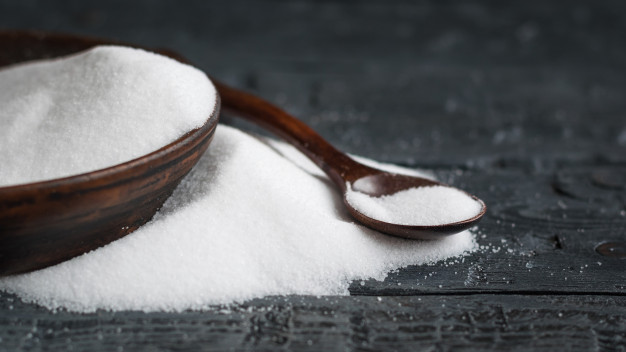
The most accessible natural ingredients for stain removal is salt. You can have it almost anywhere. If you are out for a lovely dinner and a sauce spilled on your favorite dress, you only have to ask the waiter for a salt.

Let’s say a tomato sauce dripped on your dress, remove the sauce with a tissue and place a pinch of salt on the stain. The fresh stain will disappear after 15 minutes. If there are still residues on the cloth, damp a napkin and gently tap on the stain.

Moreover, salt is not only an excellent stain remover. It can also brighten the color of your clothes. You can wash your regular clothes with a saltwater solution to bring life to your faded wardrobe items.

7. Hydrogen Peroxide:

Hydrogen Peroxide

Remember the bubbly oxidizing agent in your medicine cabinet? Hydrogen peroxide is an excellent alternative to chlorine bleach. You do not have to use a harsh chemical to whiten your clothes.

Since hydrogen peroxide is an oxidizing agent, it can break down water and oxygen, making it safer for the environment. If you are having trouble with yellowish discoloration in the underarm and stains from curry, red wine, or nail polish, hydrogen peroxide is the best solution.
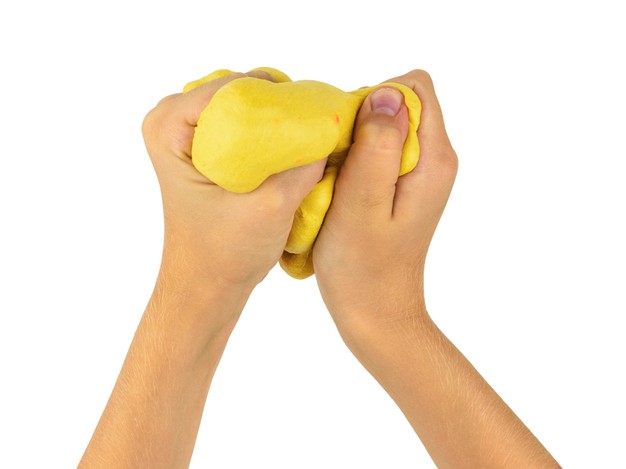
8. Meat Tenderiser:

Meat Tenderizer

If you do not know, your meat tenderizer in the kitchen is an effective stain remover! It works best for protein-based stains. Did your baby vomit on her bib? You only have to wet the stained clothing and sprinkle the meat tenderizer on it. Let it settle for half an hour before your launder it in the usual manner.

Meat tenderizers break down meat proteins to make them tender and more comfortable to chew. Thus, stains from body fluids such as vomit or blood are easily broken down because of their protein components.

There you go! 8 natural ingredients to effectively remove the stubborn stains you are dealing with without using harmful and harsh chemicals. Single-handedly remove the stains.

However, if the stains happened in delicate fabrics, it is best to bring your clothes to dry cleaning.

Read Also:

Content Rally wrapped around an online publication where you can publish your own intellectuals. It is a publishing platform designed to make great stories by content creators. This is your era, your place to be online. So come forward share your views, thoughts and ideas via Content Rally.

View all posts

Leave a Reply

Your email address will not be published. Required fields are marked *

Related

Classy Makeup

Simple But Classy Look Make-up

If you're looking for a simple but classy makeup look, there are a few steps to follow that will help you achieve just that. Whether you want to adopt a basic and elegant look for a special occasion, such as an engagement, wedding, reunion, or another occasion, there are certain guidelines that will help you achieve a sophisticated look for almost any event. Here are some basics to get you started. In the following section, we speak to leading experts at the Paris Lash Academy and ask them about the best simple and classy make-up looks that you can opt for. Paris Lash Academy offers various eyelash extensions that can complement your looks. Simple But Classy Makeup Look: Makeup Brushes: Before you get started on your simple but classy makeup routine, be sure and gather a set of quality makeup brushes to speed up the process. You'll likely need foundation, blush, eyelid, powder, and contouring brushes. You might also want to think about including a few beauty blenders, particularly for foundation, blush, and contour application. You want a smooth application and the right brushes and blenders can provide that. Prepping Skin: In order for makeup to blend as it should, cleanse your skin to create a slight exfoliating effect before any makeup is applied. Once cleansed, moisturize the face and apply a face and eyelid primer. Primer applications should smooth and preserve any makeup that is applied to those areas. Evening out Skin Tone: If the skin is blotchy or uneven, the application of a sheer tinted moisturizer will help to smooth and even out skin tone. Tinted moisturizers can also add warmth to the complexion. You don't have to go for an exact skin match with a sheer tint as you can still bring an added intensity or glow to the skin. If your skin is extremely oily, you'll probably want to skip the tinted moisturizer step to avoid oil buildup. Concealing Under-Eye Circles and Blemishes: Evening out skin tone also means including and using a good concealer that is rich in pigment and staying power. You want to cover dark under-eye circles and other blemishes. Using too much will accentuate problems, so simply use a short swiping motion under the eye. When dispensing the concealer, place it in a triangular shape under the eye. Blend the area with your finger or a beauty blender. For blemishes, dab the actual spot and blend. Continue to do the same action if added coverage is necessary. You want the concealer to be at least one to two shades lighter than your skin tone. Other spots to highlight include going up the bridge of the nose and on up to the forehead. Foundation: The right foundation is the piece de resistance of any makeup routine. You want to find a shade that is closest to your actual skin tone and decide whether a liquid or cream is suitable for your skin type. For a more flawless look, use a beauty blender to apply the foundation. It will definitely deliver a smoother and more complete coverage. Blend the foundation on the face and continue down onto the neck area. If necessary, use your concealer again to cover any blemishes or dark areas, or to add further accents. Contouring/Highlighting: Once the foundation phase is complete, use a contour brush to apply contour powder or cream under the apple areas of the cheeks. Also, apply that same contour to the forehead area and both sides of the jaw. In order to add more warmth, apply a bronzer to those same areas. Blush Color and Highlighter: For added color, choose a blush color for a simple but classy makeup look. You want to think about using cream blushes in warm peaches and pinks so that skin is given a natural and subtle look. Forego cool pinks as they add too much drama. Natural cheek colors can convey a blushing bride kind of appearance that can enhance just about any luvbridal wedding ensemble as well as any other special occasion or event. Use a blender or brush to apply blush to the apples of the cheeks. For more cheek and face enhancement, add a non-sparkly highlighter to the tip of the nose and cheek areas and anywhere else where the sun would normally hit. Again, use a beauty blender to smooth out both the blush and highlighter to create a more subtle and simple effect. Eye Shadow, Liner, Mascara, and Eye Pencils: Soft browns are the best eyeshadow colors to use to enhance the eye area and its shape. Select a shade that is a bit darker than your skin. Brush and blend the shadow into the creases of the eye as well as on the lower lashes. Keep it soft with no hard lines. Add a neutral creamy color shadow at the inner corners of the eyes as well as at the center of the lids, and on the brow bones. At the outer corners of the eyes, use a darker shade to bring a further dimension to the eyes. Liner - Apply a dark brown or black liner to the eyelids. Liquid and gel liners give a longer, starker and lasting effect while pencils usually bring a softer and smoother look. Mascara - provides a finishing touch to the eye area. Apply several coats to the top lashes. For lighter lashes uses brown mascara and if you have darker lashes, use brown or black. Avoid mascara products that produce spidery lengths to lashes, as they can detract from a more natural look. Mascara can also be used on your bottom lashes by applying a bit of mascara from the wand and placing it right at the roots of the bottom lashes using a small eye brush to dot in the mascara. Eyebrow pencil/gel - color choices should be one or two shades on the darker side for blonde or light brown hair, while one or two shades lighter for dark or black hair. You want your brows to be natural but you also want them to be defined. Use an eyebrow template if you are not sure of how to color in your brows or simply need a guideline for correct color placement. Think soft and subtle, yet defined. Lips: You want to enhance your lips with a pretty lasting tint rather than an outlandish and garish color. Choose a shade that actually matches your true lip color and pat or press the color into the lips. Go to the center of the lips first and blend the color in an outward motion. Darker berry colors and reds are flattering in a matte tint as they do bring emphasis to the lips without exaggerating them. Powder: Maybe you don't require powder to finish your look but if your skin has a tendency to get oily and produces shiny spots, you might want to think about an oil-absorbing powder. Powders that are pressed, silk, airbrushed, translucent, and hydrating are great for completing any look, whether your skin is oily or otherwise. These powders are easy to use as you can just sweep a powder brush across them and buff the skin to create a perfect look, which includes powdering the under-eye area as well. Pores and blemishes are also reduced with the use of this kind of powder, and touch-ups are easy as the buildup is almost nonexistent. Setting or Fixing Spray: Once your makeup is completely done, use a setting or fixing spray to hold your work of art in place. Whether you choose it in spray, powder, or mist form, it is designed to maintain your makeup for a number of hours to all day. It helps you avoid those frequent powder room touch-ups that are annoying and a hassle. There are specific types to use for both oily and dry skin. Creating a simple but classy makeup look can be fun and enhancing and if you have a few steps to follow, the process isn't then difficult. Take a look at the steps here and give yourself a simple but classy makeup makeover. Just remember not to overdo it. A Simple Professional Makeup Routine for Everyday   Sometimes all we need is simple classy makeup to put yourself together before your office.  Creating a polished look for the office doesn’t have to be time-consuming. With a few straightforward steps, you can achieve a clean and classy makeup look that’s ideal for work.  Start with a Clean Slate  Your face is the canvas, and a clean slate is the beginning step of a well-set makeup.  Therefore, begin by thoroughly cleansing your face to remove any impurities.   Apply a lightweight moisturizer to hydrate your skin, followed by a primer to ensure your makeup lasts throughout the day.  Achieve an Even Complexion  The second step is getting an even complexion. This will be the base of your minimal makeup. Half of the time, getting an even tone can already make you feel put together.  Select a light foundation or BB cream (if you do not want something heavy like foundation) that closely matches your skin tone.   Blend it evenly across your face using a beauty blender or brush, focusing on areas that need extra coverage. For blemishes or dark circles, gently apply concealer and blend it in seamlessly.  Enhance Your Natural Glow  Too much bold makeup can make you stand out in all the wrong ways when you are in the office.  So, if you are in love with the heavy sun-kissed look, it is time to keep that overwhelming rouge down.  Rather, choose a soft pink or peach blush to add a subtle pop of color to your cheeks.   Lightly contour under your cheekbones and along your hairline with a matte bronzer. Finish by applying a touch of highlighter to the high points of your face, such as the tops of your cheeks and the bridge of your nose.  Subtly Define Your Eyes  Again, do not go for a bold eye look. Reserve them for the evenings. But here is how you can define them with the help of counting.  Go for neutral eyeshadow shades like soft browns or taupe. Apply a lighter shade across your lids and blend a slightly darker shade into the crease for depth. Use brown or black eyeliner to line your upper lash line and finish with a coat of mascara.  Perfect Your Brows  Sometimes, all you need is a well-set brow, and your makeup and your face have an automatic symmetry.  Fill in any sparse areas of your brows with a brow pencil or powder, maintaining a natural look. Follow the natural shape of your brows without making them too bold.  Finish with a Soft Lip Shade  Finally, it is time to seal the makeup with lips.  For a natural and professional look, you can opt for a simple lip gloss or balm. Try not to go overboard with the clear gloss, as it can cheapen your look at times.  Select a lip color that enhances your natural lip tone, such as a nude, pink, or soft berry shade.   Apply it evenly, and if you like, add a layer of gloss for a polished finish.  Read Also: 7 Tips For People With Hypersensitive Skin Expert Doctor’s Treatments For Cystic Acne 7 Anti-Aging Tricks And Tips To Get Youthful Skin Like A Teen Get Part Ready In No Time With These Hair And Makeup Hacks!

READ MOREDetails
Proven and Safe Acne Treatment

Dore Aesthetics: Proven and Safe Acne Treatment

Dore Aesthetics is a one-stop solution for men and women who are struggling to restore the lost beauty of their face and body. Utilizing the best technology and industry treatment procedure, Dore Aesthetics has to offer a wide range of services with proven results.--Since in the end, we want to have something that's reliable, and that works. Domains such as clearawayacne.com provide you with answers that will aid both you and your skin, helping you regain your self-esteem back. It's important to see yourself as a person beneath the acne, as you regularly engage in treating it. Acne has now become a major problem which needs to be cured with safe and proven techniques. As there are trained professionals to cure all of your skin related problems, each of the treatment process is according to the best medical standards. So, if you are tired of using cosmetics and supplements to cure your unwanted face acne, Dore Aesthetics surely has to offer result-oriented treatment packages. How does Acne destroy your face skin? Acne is a result of deployed hair follicles which are surrounded by oil, dead skin cells and dirt. As they combine to clog the pores and create pimples over the skin surface, you might also notice redness and dark spots on your face. There are multiple treatment procedures available to cure acne for which you need to get a detailed analysis of your skin surface. Moderate acne such as blackheads can be treated by using simple cosmetics and medications whereas complex types such as cystic need more attention. If you wish to minimize acne blemishes as a sign of aging, how about trying a non-invasive procedure like cryo t-shock facelift in Dubai first? Treatment procedure at Dore Aesthetics By properly searching and implementing the most useful approaches in order to permanently cure acne, Dore Aesthetics offers state of the art services for its customers which deliver proven results. As each procedure is safe and long-lasting, customers do not have to follow any extensive medications or treatments to finish skin acne. Starting with the first step, the revolutionary acne treatment technology introduced by Dore Aesthetics begins with shrinking your oil glands. This can unclog your pores and finish acne bacteria to reach deeper areas of the damaged skin surface. When the bacteria are killed properly, the dead skin cells are removed which cause the inflamed pimples to dry up rapidly. Moreover, it will also permanently eliminate redness and swelling which is caused due to prolonged acne. After all of the pimples are permanently healed, your skin surface will start to gain freshness and smoothness resulting in fewer whiteheads, blackheads and clogged pores. As the whole procedure is medically safe and secure, you surely do not have to worry about any side effects. Quick Results As a whole of the treatment, the procedure is planned at first, each step is supposed to kill acne and restore the sensitivity of your skin. Usually, customers start to notice visible results within the early 3 weeks from the start of the treatment. Moreover, further improvements continue for each session if you properly follow the methods as advised by our experts. Unlike conventional acne treatment methods, our approaches are absolutely painless and cause no scarring or itching in the future. Once the whole of the procedure is complete, you can carry on with your routine activities without any hassle. Summary Dore Aesthetics has to offer proven acne treatment procedures which are by far the best you can have in Singapore. With the support of professional and trained workers, men and women of different skin types can avail amazing treatments without the risk of any side effects. As all of our approaches are result-oriented, you can start to notice visible results within the first 3 weeks of your treatment. So, if you are determined to cure skin acne and restore the lost beauty of your skin, Dore Aesthetics is absolutely the best option to be considered. Read More:  Top 4 Natural Combination For You To Eliminate Blackheads (Infographics) The Selfie Culture: Should We Be Worried? 9 Magical Benefits Of A Vegetarian Diet 6 Imbalances In Body Hampering Weight Loss Efforts Anti Aging Creams – What To Consider Before You Purchase?

READ MOREDetails
Beauty Routine

Bedtime Beauty Routine: Secrets And Tips

Your beauty rest skincare routine is as important as the morning one so let’s learn together which are the secrets behind this daily practice. The list of benefits behind this routine is quite a long one. To begin with, you cleanse away impurities. Throughout the day, your skin accumulates dirt, oil, pollution as well as makeup. Cleansing your skin before bed removes these impurities and, as a consequence prevents clogged pores, breakouts, and dullness. A good beauty rest skincare routine supports skin repair and regeneration. While you sleep, your skin goes into repair mode, working to undo the damage from the day and regenerate new cells. A skincare routine before going to bed provides your skin with the necessary nutrients and hydration to support this process, allowing it to function optimally. Moreover, this can maximize the efficacy of skincare products. Many skincare products, such as serums, treatments, and moisturizers, work best when applied at night. This is because your skin is more receptive to active ingredients while you sleep, allowing them to penetrate deeply and deliver maximum benefits. During your bedtime skincare routine, you can address specific skin concerns. It is the perfect opportunity to target specific skin concerns, such as fine lines, wrinkles, hyperpigmentation, acne, or dryness. By using targeted treatments and products tailored to your skin's needs, you can focus on these concerns more effectively and achieve better results over time. Skincare routines at night boost relaxation and self-care. Any bedtime skincare routine can be a relaxing and comforting ritual that helps you unwind from the stresses of the day. Taking the time to care for your skin can also be a form of self-care, promoting feelings of well-being and enhancing your overall sense of self. Last but not least, this routine can prevent premature aging. If you follow it consistently, you can help prevent premature aging by providing your skin with the necessary hydration, nutrients, and protection it needs to stay healthy and resilient. This can help minimize the appearance of fine lines, wrinkles, and other signs of aging over time. What should NOT be done in a bedtime skincare routine Like in any other beauty routine, there are certain things you should avoid to ensure that your skin remains healthy and rejuvenated. Here is a list of the things you should consider in order to avoid common skincare mistakes in your bedtime routine that can help you ensure that your skin stays healthy, refreshed, and rejuvenated while you sleep. Do not sleep with makeup on: One of the most important things to avoid is going to bed with makeup still on your face. Makeup can clog pores, trap dirt and bacteria, and prevent the skin from breathing properly, leading to breakouts and lack of vividness. Always make sure to thoroughly remove all makeup before going to bed. Never skip cleansing: Even if you do not wear makeup, it is important to cleanse your skin before bedtime to remove impurities, excess oil, and environmental pollutants that have accumulated throughout the day.  Avoid using harsh or abrasive exfoliants: While exfoliation is beneficial for removing dead skin cells and promoting cell turnover, using harsh or abrasive exfoliants can damage the skin's barrier and cause irritation. Always use gentle exfoliants with mild ingredients, and limit exfoliation to 2-3 times per week. Do not apply active ingredients that increase photosensitivity: Some skincare ingredients, such as retinoids and alpha hydroxy acids (AHAs), can increase the skin's sensitivity to sunlight. It is advisable to use these ingredients in your bedtime routine to minimize the risk of sun damage. However, if you do use them at night, be sure to apply sunscreen during the day. Try not to overload the skin with too many products: It is always important to nourish and hydrate the skin before bedtime, however, using too many products can overwhelm the skin and potentially cause irritation or breakouts. Just follow a simple and effective skincare routine with a cleanser, moisturizer, and any targeted treatments or serums that address your specific skin concerns. Avoid products with strong fragrances: Fragrances in skincare products can be irritating, especially for sensitive skin, and may disrupt your sleep. Fragrance-free or lightly scented products are always advisable to minimize the risk of irritation and promote relaxation. My bedtime beauty routine step by step Makeup remover: Remove any makeup with a gentle makeup remover or cleansing oil. Cleanser: Follow up with a cleanser to thoroughly cleanse your skin and remove any remaining impurities. Exfoliator ( only 1-3 times a week): Use a gentle exfoliator to remove dead skin cells and promote cell turnover for a brighter complexion. Toner: Use a toner to rebalance the skin's pH and prepare it for the next steps. Serum: Use a serum containing ingredients like retinol or hyaluronic acid to target specific skin concerns such as fine lines, wrinkles, or hydration. Eye Cream: Gently pat on eye cream to hydrate the delicate skin around the eyes and reduce the appearance of dark circles or any other unwanted marks. Moisturizer: Apply a richer moisturizer or night cream to provide intense hydration and repair the skin overnight. Lip Treatment: Don't forget to apply a nourishing lip balm or treatment to keep your lips hydrated while you sleep. Read Also: Amazing Beauty Tips For Women Of All Ages Is the 10 Step Korean Skincare Routine Worth the Hype? 4 Must Have Ingredients for Homemade Beauty Products (Plus One to Skip)

READ MOREDetails