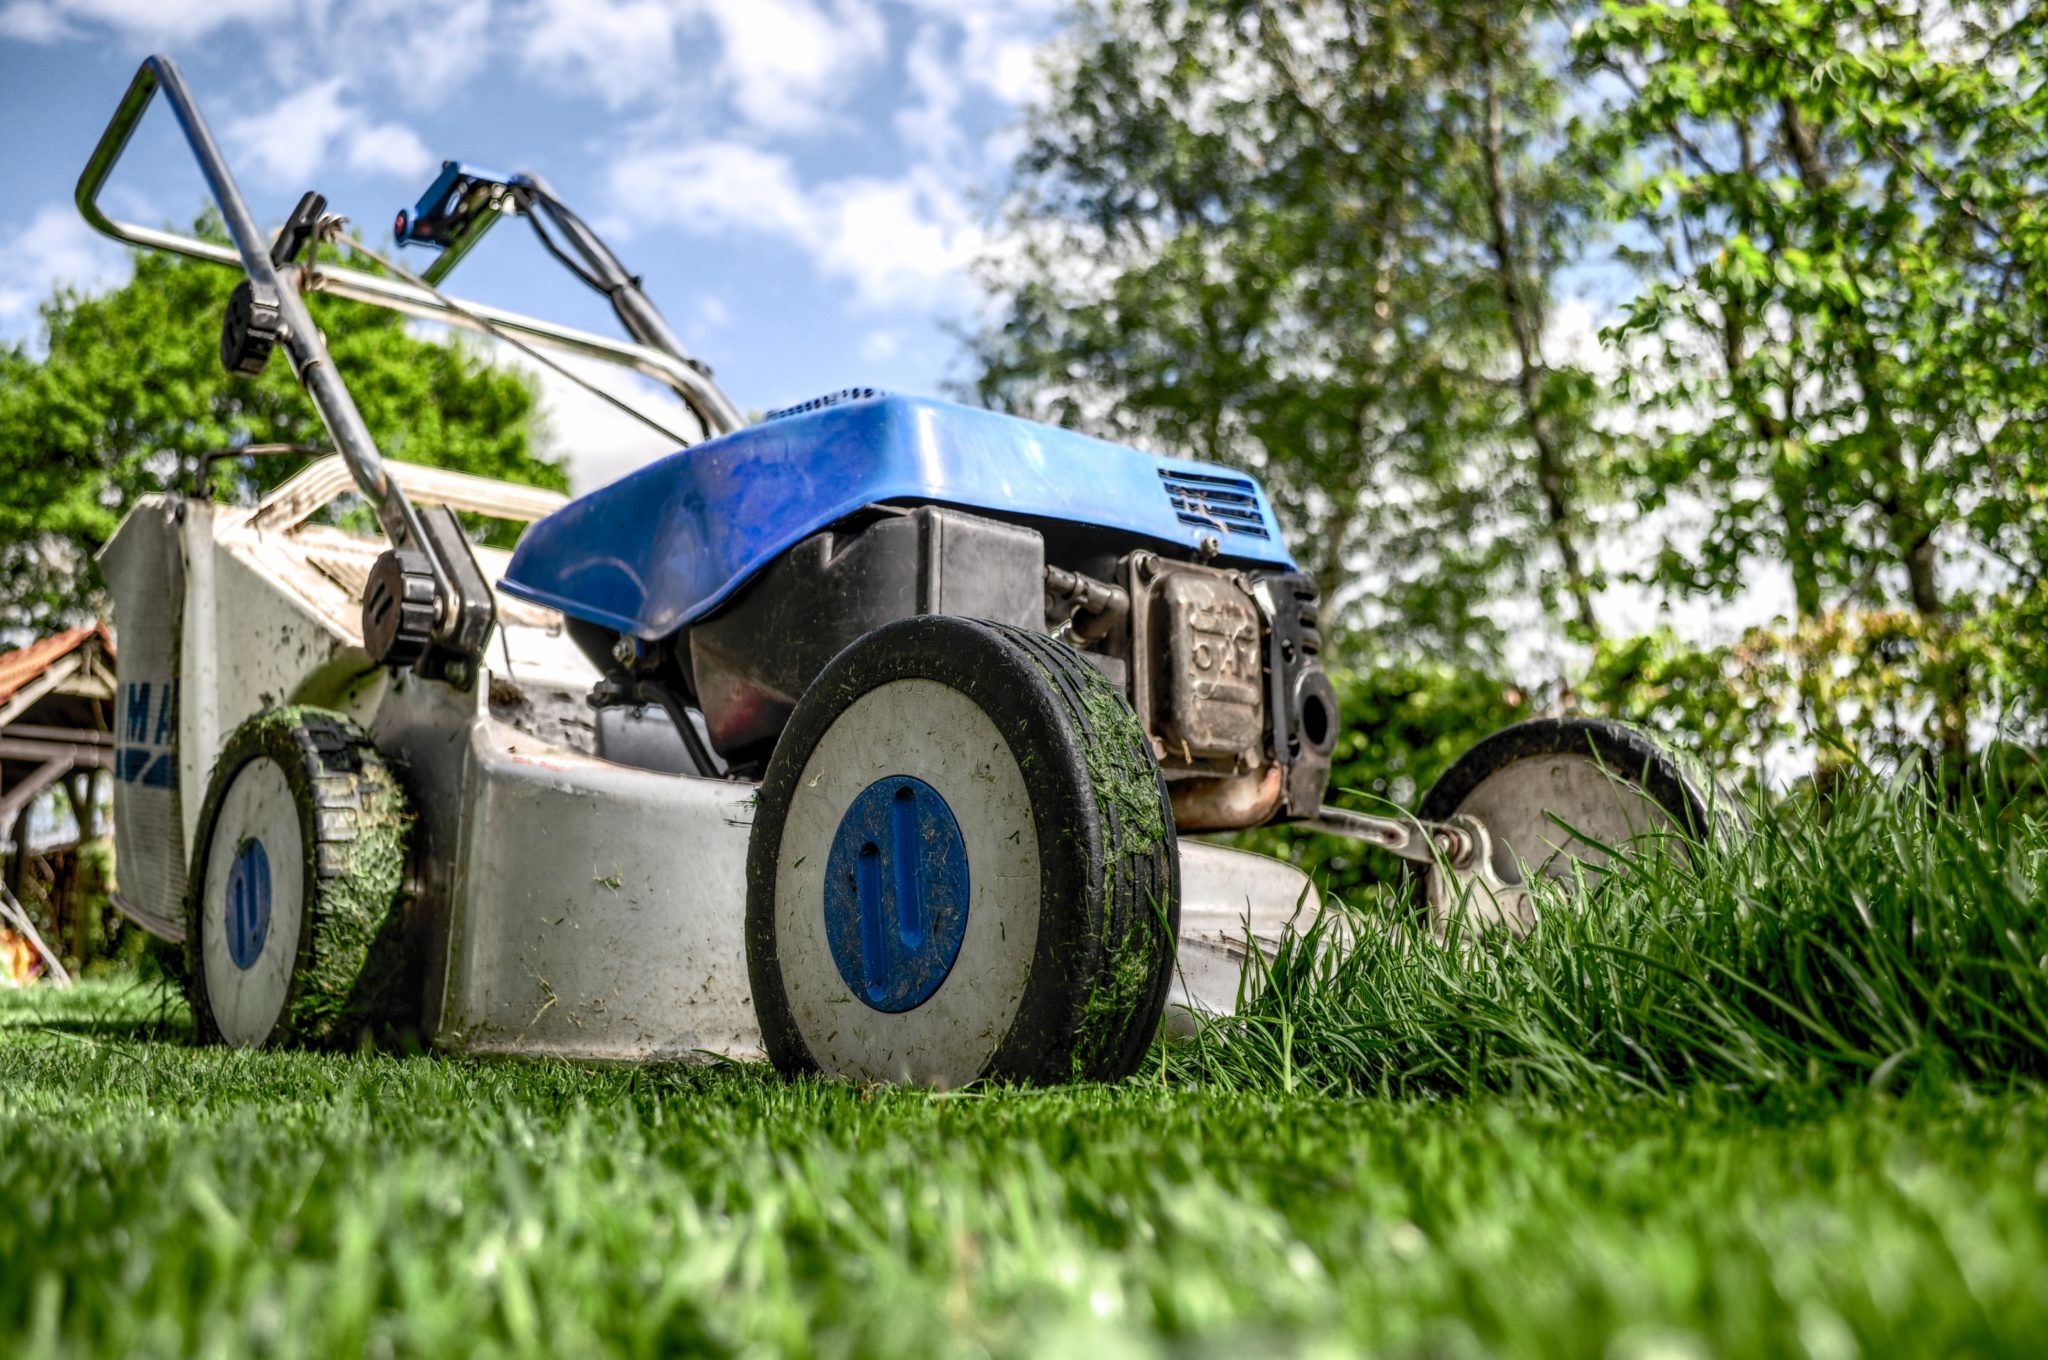
5 Summer Garden Maintenance Tips and Tactics You Have To Know

Published on: 03 August 2018 Last Updated on: 07 August 2021
Garden Maintenance

The summer is a season for critical garden maintenance says the best weed removal experts. Otherwise, your lovely plants, flowers, and trees might suffer from disease or be infested by pests if you don’t perform the much-needed maintenance. But no matter what the summer throws your garden, you can keep up provided you know of some maintenance tasks like the following.

5 Summer Garden Maintenance Tips and Tactics You Have To Know

If you are not confident of pruning the trees and plants yourself, hire experts that can help you do the same. The best garden maintenance tips from Tree Service Riverside focus on understanding the individual personality and nature of every tree in your garden. This is why you need to be different in terms of fertilizer applications, watering schedules, and other areas. Let us look at some of the major tips below-

1. Ensure Having A Good Soil:

You can add organic matter to the soil, but it must be as varied as possible.  For example, you can consider adding manure for nitrogen.

Manure is valuable because its nutrients are ready for consumption by the soil and plants.

You may also want to consider composting, which is the recycling of organic wastes that speed up soil formation.

Finally, you may also want to make use of earthworms in the method called vermicomposting. These organisms can convert manure, green crop residues, and food wastes into usable forms for the plants.

See that the nutrient balance is correct by running a test to check for soil fertility. For this, you can hire a lawn professional to inspect and evaluate if the soil is balanced with nutrients, including potassium, nitrogen, and phosphorus.

2. Remove The Weeds:

Weeds are real survivors, and they cannot just seem to stop annoying you. Be able to fight dirty by getting rid of them. At the very least, remember not to leave any roots behind, so do not yank only the leaves or they will grow back. Grab them lose to the ground and then pull them straight up.

The best time to remove the weeds is after the rain because the ground is still moist.  Just a word of caution though. You should be careful walking around in your wet garden, or else the soil will be compact.  If there is no rain, you can water the garden before pulling the weeds. Finally, remove them while they’re still small.  But if you want to get rid of them effectively, you should consider hiring weed removal experts. Another thing you should be careful to be the weeds and other grass near the garden sheds and make sure they are removed as well.

3. Watering the Garden:

Prevent the effects of the summer heat to your plants and flowers.   At the very least, you should keep the temperature at 90°F by using a combination of weeding, watering, and shading.

Also, one of the golden rules for summer garden maintenance is to keep the soil moist. So if needed, you should water it twice a day.

The best time to water the plants is early in the morning when it can easily infiltrate the soil. Another is the late afternoon especially for soil that looks crusty.

For maximum water absorption, you must water at the plant’s base. You may also want to put a shade, such as a protective screen in your garden. It can prevent the water from escaping due to evaporation and reduce the surrounding temperature by up to 10 degrees.

4. Pruning:

Pruning’s main objective is to get rid of the problem, such as ailing or dead branches.

Always make an angled cut, which must be just above but sloping away from a bud above the point where a leaf is attached to a branch.

Do not cut close to the bud or it will be damaged and eventually will dry out and die.

Also, do not cut too far above a bud because the remaining stub is going to rot away, die, or become an entry point for plant disease.

Tips: Inspect the shrubs and trees for any broken or dead branches. You should also look for branches rubbing together because the wounds from those would just expose more surface area that will require more time to heal versus the clean cuts because they become entry points for disease and pests.  So as soon as you notice any broken, rubbing, or dead branches, prune them.

5. Remove Dead Plants:

Get rid of dead plants regardless of why they died – natural causes, insect damage, or disease. These plants should be eliminated because they can collect pests to spread around your garden to damage other plants.   Use them in your compost pile if they’re still safe to use it.

Taking care of your garden using these simple and easy maintenance tips will help in keeping your plants, flowers, and trees healthy all summer. Remember to prune, water, remove dead plants, ensure the soil is healthy and hire weed removal experts for the perfect summer garden maintenance.

Read Also :

Content Rally wrapped around an online publication where you can publish your own intellectuals. It is a publishing platform designed to make great stories by content creators. This is your era, your place to be online. So come forward share your views, thoughts and ideas via Content Rally.

View all posts

Leave a Reply

Your email address will not be published. Required fields are marked *

Related

Roofing Services

Professional Roofing Services and Different Decorating Styles

It is advisable for people to get in touch with professional roofing companies when they need help with maintenance or repair work. A minimum of two bids will enable you to determine what your budget can accommodate and whose services guarantee value for money. Read also: Close Look At Top 5 Roofing Materials – Pros And Cons Professional Repairs Handymen are available to deal with minor repairs at a reasonable cost but anyone you hire should be licensed, experienced, qualified, and insured. Missing shingles, large repairs that cover significant sections of the roofing system vent replacements, and flashing repairs are among the common repairs that professionals of roof repair in Highland park il handle. Roof Leaks Annual roof checkups are recommended but a roofing problem can occur during any season. Early warning signs of potential problems include dark spots on the ceilings, peeling paint, damp spots next to the fireplace, and visible moisture stains on vent and water heater pipes. Read also: 5 Myths About Roofing Services To Avoid If you notice any signs that you are worried about, especially if you have an old roof or recent extreme weather, hire a professional who can carry out a thorough assessment of the situation. If you have had your roof for several years, it may be time for a replacement. Roof Replacements While the cost of a roof replacement may seem inhibiting, the reality is that this is an investment that you will be able to recover in case you sell your property. Roofing replacements are classified as remodeling projects that actually earn people more than their initial investment. You will also be happy to get a roof replacement when you know that you have a strong and reliable roofing system protecting you and your loved ones. Find out more at perkinspreferredroofing.com. Decorating Styles There are different decorating styles and ideas to choose from for the interior of your home, including bedrooms, living rooms, kitchens, bathrooms, and hallways. There are also ideas for decorating your home’s exterior such as patios and decks. If you have children, consider concepts that will cater to the needs of babies, children, and teenagers. Being inspired to come up with creative designs is a step towards the living space of your dreams. Each decorating style consists of distinct elements. Begin your search for a style with a list of the rooms in the home that are most important to you. If you like the appearance of your friend’s home office or sister’s kitchen, you can borrow ideas from such rooms as you create a space that is perfect for you. Choosing Decorating Techniques Identifying decorating styles that suit you and your lifestyle does not necessarily involve overhauling your home. There are no rigid rules that will confine you and stifle your creativity. You have the option of blending different styles together and have a style that you like according to your preferences. Get familiar with different ways to decorate and kick-start your creativity. Traditional decorating styles are associated with past generations and can be updated with modern looks to create comfortable rooms. There is a country decorating option for everyone whether you want an American or French appearance, there are no limits. Contemporary decorating has evolved from formal and standard design plans into warm and inviting spaces. Read also: Top Expert Tips For A Stunning Condo Interior! Home Decor Is An Art Itself – Things To Know

READ MOREDetails
Mint

Planting & Harvesting Mint

Mint is a wonderful plant that practically cultivates itself. So fast is its growth that it can threaten to spread across and take over your entire yard or garden. One way to battle this is to confine its growth by planting it in a pot or a separate bed. However, once you have this plant, you will be glad, because it has properties that make it fruity and a great addition to tea and foods. As can be seen here, it is also quite useful in health remedies that can aid digestion and relieve headaches. We know you already feel enthralled by this herb and would like to know more. So, why don’t you read on and discover more amazing things about mint… What Mint is All About Mint is an herb that is perennial and has a very wonderful fragrance. Its leaves are toothed and may have tiny pink, white, or purple flowers. Mint has so many variants from crinkled or smooth, to fuzzy or shiny. However, one thing is constant despite what kind of variant it is; all mints have that wonderful fragrance. Hence, whenever you pick up any variant of this great herb and roll it in your fingers, you would get the same smell that will make you either think of sweet teas, candy, or mint juleps. Aside from being a wonderful kitchen companion, this herb is also used as ground covers, garden accents, herbal medicines, and air fresheners. Mints are functional as well as beautiful and can grow either in shades or under the sun.  However, as we already said, this plant is a vigorous spreader; therefore, unless you want to have too much than you need, you have to be very deliberate about planting it. Uses We have already stated several things that mints can be used for, but there are still so many more benefits of this wonderful herb. Below are some of these benefits: Can be used to make mint tea. To do this, simply put the leaves in a cup of hot water and then leave it to sit for some minutes. Make tasty ice cubes with it by freezing the leaves with raspberries and cranberries. Add it to a salad dressing, marinades, or fruit salad.  Use it to relieve headaches by applying It's oil to the temples.  It can also be used to relieve anxiety and stress. Yes, mints have many other health benefits, but though not a practical use, it is also used as a virtue symbol. Planting Mints If you decide to plant mints in your garden or yard, then below are some important things that you have to know: They flourish in light earth which has good drainage. Their original habitats are stream banks, so, the site you plant them should imitate stream bank soils. That is to say, ensure the soil you plant your mints is moist but also well-drained. Variegated mints should not be planted in direct sun as they require a bit of shade. Mints typically grow to become one to two feet tall. If you plant them in a container or pot, then you would need to topdress them with organic or compost fertilizer once in a few months. If you plant mints in your garden, ensure to plant them next to tomatoes or cabbages, this will help contain their spread and prevent them from stealing your crops’ nutrients. Care Mints do not require that much care; however, you should consider the following points when caring for them: If planted outdoor, use light mulch. You can visit https://www.thespruce.com/what-is-mulch-1402413 to read up more on mulch. The light mulch will ensure the soil remains moist and also help the leaves to stay clean. If planted indoors, then ensure you water them often to help the soil stay evenly moist. Mints should be picked and pruned regularly. Like we have stated many times already, these guys are fast spreaders, therefore, you would need a lot of pruning to stop them from taking over everything. This should not worry you since their roots are shallow making it quite easy to drag them out of the soil. The Propagating You do not need to do a lot to propagate mint. The perfect way to go about this is to find the plant which you like and then cut out of it. Ensure the cutting is at least 6 inches and has ample roots attached. Then plant them in the soil horizontally. You can always get a cutting from a gardening friend, so this is nothing to worry about. Harvesting and Storing To learn how to harvest mint is quite easy, it typically does not involve any special skill. You may either pick the leaves individually, or you may use shears to prune the plant and then take off the leaves from the stem you had cut off. Despite the harvesting process being relatively easy, you need to remember a few things when you harvest your mints: Frequent harvesting will keep the plant at its best. The younger leaves have a better flavor than the old ones. You can pluck the leaves whenever you need mints. If you need dry mints, then pluck the leaves before flowering and then save them in an airtight container. You can also store fresh mints that you do not immediately have use for. To do this, put water in a glass and then put the stems inside the water. The mint will stay fresh for 3 to 7 days this way. You may equally put the mints inside a rubber bag and then store them in your refrigerator. This should keep it fresh for at least a week. Conclusion Mint is an herb that would make a very great addition to your garden or yard. But, without proper knowledge about the plant, everything may spiral out of control. Therefore, you must have basic knowledge about planting, caring for, and harvesting this plant before you farm it.  Read Also: How to Maintain a Bright and Beautiful Garden During Winter How to Choose the Right Containers for Your Container Garden Grow these flowering plants in your home garden How To Grow Tomatoes From Seed  

READ MOREDetails
kitchen-2619008_960_720

Installing A Kitchen Tile Splashback – The Basics

Adding wall tiles to a backsplash can be a really simple and effective way to spruce up your kitchen sink area, as well as protecting the surface as well. Here we look at the basics. Home improvements needn't be expensive, all it takes is a little research and time and you can make a significant difference to the house you live in. Choosing tiles for a kitchen splashback can be a really simple and effective way to spruce up your kitchen sink area, as well as protecting the surface as well. For a project like this, you are likely to need little more than a couple of days to complete it, and a minimal amount of money to achieve a great result, depending on the equipment you already have. Before You Start Prepare The Wall Before you start, clear everything out of the way that may obstruct the job and/ or get broken or damaged while you work. You should also check that the wall is good for tiling as well – chances are you will choose porcelain tiles, which are heavier than more traditional ceramic tiles so the walls need to be up to support their weight. If there is any level of condensation you must wait for the wall to completely naturally dry out before you begin tiling. If the drywall you're working with isn't sound, you must repair it before you do any tiling. Plan The Design You'll need to plan your design before you can purchase your equipment or begin the project. Measure how high you want the backsplash to be from the countertop and consider the type of tiles you would like to use. If you are unsure, take a look at sites like Pinterest for inspiration. Get Your Equipment When buying your equipment, especially your wall tiles, try to start with more than you need. With porcelain floor tiles or wall tiles, it is always good to have extras in case some get damaged during the job or even years after and you need a replacement tile that matches. In order to determine how much tile requires you need to measure the length and width of the area, you are putting a backsplash on. Simply multiply the length by the width to get your desired wall tile amount. If you don't know what type of equipment you need for the job, speak to an advisor at the shop or warehouse and they will be able to advise you on the best tools for the job. Read also: Close Look At Top 5 Roofing Materials – Pros And Cons Install Once you have done all the correct preparation, it's time for you to install your backsplash. Safety First The first thing you need to do is make the area you are working in safe. All electrical appliances nearby should be either turned off if they are permanent fixtures, or moved away if they are temporary. Read also: Making Your Office Safer For Workers Clean The Area Using a clean cloth, gently wipe the area with warm water and let it dry naturally. Apply The Adhesive Using the manufacturer's instructions, apply your tile adhesive using a tile trowel. Make sure the adhesive is spread thinly and only apply enough adhesive for the area you are tiling, or it will dry before you have applied all the tiles. Lay The Tiles Place the first tile at the bottom of the backsplash in the middle. Firmly push the tile on to encourage it to settle into the adhesive and use a level to make sure it isn't wonky. Use a spacer or piece of cardboard on each corner of the tile and push them into the adhesive well. Continue to lay the tile's row by row, taking care to remove any adhesive that pushes up through the tile gaps. Ensure you are leaving enough room for grout and checking constantly that the tiles are level. Cut Tiles Away In A Separate Area Depending on the equipment you are using, you need to ensure you follow all safety procedures to ensure you are working safely. Ensure you only score tiles where the scored section won't be showing, and only score tiles when you need to, as the measurements needed may change as the job progresses. Wipe Once all the tiles have been laid you can wipe away any adhesive that has seeped out using a clean, damp cloth. Leave The Tiles To Dry You must leave the tiles to dry according to the time stated by the adhesive manufacturer. Trying to skip this process will result in an uneven backsplash and tiles that will not remain stable. Grout When mixing grout you should be wearing appropriate safety equipment such as gloves, goggles and a mouth mark. Grout the tiles precisely and carefully, taking care to wipe away any excess once it becomes firm. Once the grout has dried, you can then wipe the tiles off completely. Well Done! You should now have a fancy new backsplash to enjoy in your kitchen! Remember, if you take the time to do the job right, you should end up with a well-done backsplash that will look fantastic and last for years to come.

READ MOREDetails