Hummingbird Food Recipe: How To Make Hummingbird Nectar?

by

31 December 2024

Food

Hummingbird Food Recipe

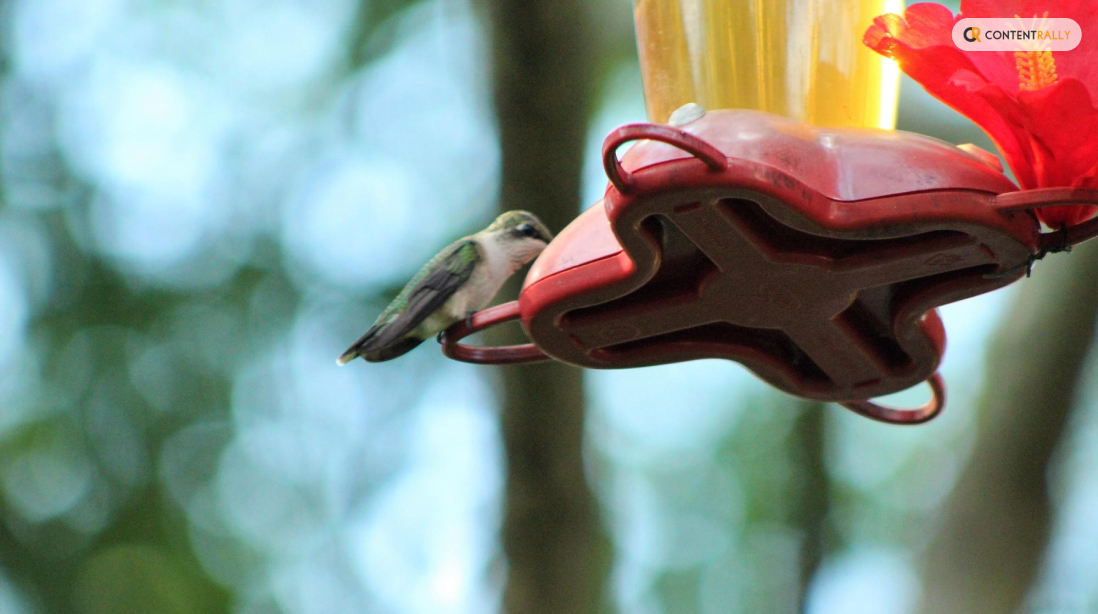
It always feels good to see a hummingbird in your garden. To see more of them in your garden, you can keep hummingbird nectar/food in a jar in your garden.

In fact, with a simple hummingbird food recipe, you can make their lives easier. All you need is a few simple ingredients.

In this article, you will learn how to make hummingbird food with simple ingredients. Apart from that, this article also discusses hummingbird nutrition and the steps you can take to set up your bird feeder.

Finally, you will learn how to attract more hummingbirds to your garden. Hence, to learn more, read on to the end of the article.

Understanding Hummingbird Nutrition
Understanding Hummingbird Nutrition

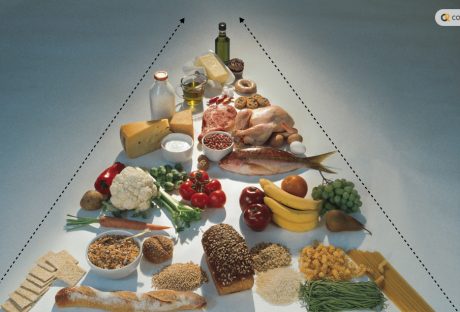
There are a variety of food options a hummingbird needs to meet its nutrition. Although they are one of the smallest birds in the world, they burn a lot of their calories by fluttering their tiny wings. Generally, a hummingbird flutters its wings 90 beats per second to maintain its momentum.

Hence, you can see that hummingbirds need to eat a lot. In fact, to satisfy their daily calorie requirements, these birds even consume half of their body weight. Basically, they feed on bugs and nectar every 10-15 minutes. Also, they visit 1000-2000 flowers per day.

The following are the things that hummingbirds feed on:

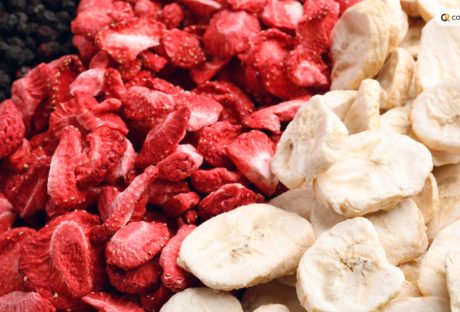
1. Nectar: This is the primary food source of hummingbirds. Basically, it consists of 20% sugar and 80% water. Generally, hummingbirds get their nectar from cardinal flowers, bee balm, salvia, and petunias.

2. Insects: For their protein needs, hummingbirds feed on insects. This is also a source of fat and salt for hummingbirds. In fact, nectar does not provide those nutrients. Basically, hummingbirds hunt insects by finding them from flowers, leaves, or tree bark. Sometimes, they also attack insects midair or pluck them from sticky saps.

3. Spiders: Generally, hummingbirds also feed on spiders for protein. However, they are generally small spiders.

4. Tree Sap: When the amount of nectar is low, hummingbirds drink tree sap from tree bark. Generally, woodpeckers drill wells on tree barks to get tree saps.

Hummingbird Food Recipe

Basically, by offering hummingbird nectar, you can help them with their post-workout meal.

Hence, follow the below hummingbird food recipe to make nectar:

Ingredients

The following are the ingredients you need to make hummingbird nectar:

  1. Filtered Water: 4 Cups
  2. Regular White Sugar: 1 Cup (If possible, use organic sugar for the recipe)

Procedure

Here are the steps you must follow to make hummingbird nectar:

1. Get four cups of water in a saucepan and bring it to a boil.

2. Once the water reaches the boiling point, take the water off the heat. Add sugar to the boiling water.

3. Stir the mixture until the sugar completely dissolves in the water.

4. The nectar is ready. Now, you must let the nectar cool completely.

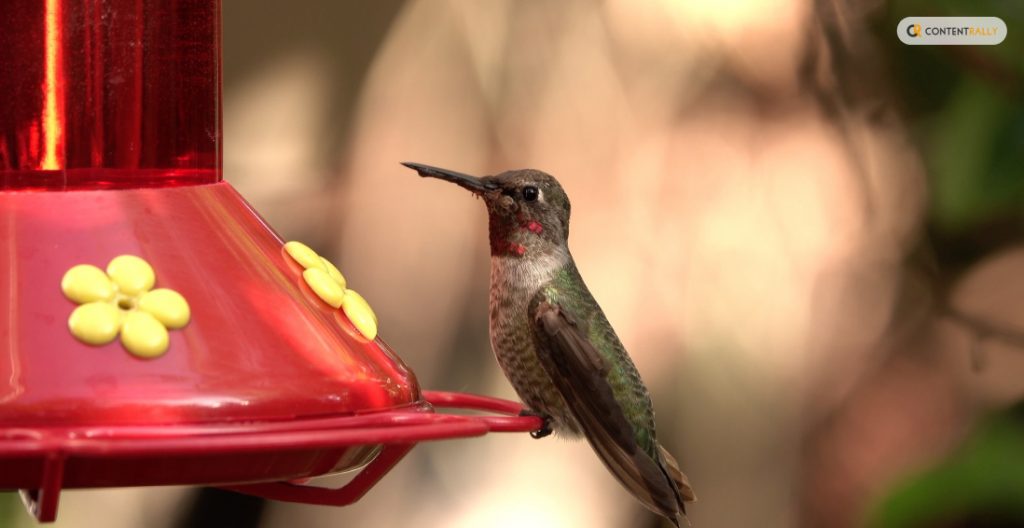
5. Get a hummingbird feeder and place the mixture inside the feeder. Make sure to hang the hummingbird feeder outside (in your garden) to attract hummingbirds.

Essential Factors To Consider

The following are some of the major factors you must consider before you start making nectar with the hummingbird food recipe:

  1. Make sure to change the nectar every four days with a new nectar. This will ensure that the nectar is fresh. Also, remember not to use food coloring in the nectar. Let it be as natural as you can.
  2. Regularly check the bird feeder every time you change the nectar inside it. Look whether there is a gray mold inside the feeder base or not. Also, check whether any ant has crawled inside the feeder to consume sugar water.
  3. If you check any dirt or ants inside the hummingbird feeder, throw the bird food away. Basically, it is not good for the birds to drink dirty nectar. In fact, there is a high chance that the birds will not feed on the nectar anyway.
  4. To clean the feeder, rinse it with warm water. Then, put some bleach into the water inside. This will allow you to clean the feeder with a brush easily.
  5. Once you clean the feeder, rinse it thoroughly with fresh water. Moreover, allow the water to dry.
  6. After that, please fill up the feeder with food and place it outside.

Enhancing The Hummingbird Experience

Enhancing the Hummingbird Experience

Enhancing the hummingbird experience, you can attract more hummingbirds to your garden/balcony/porch.

The following are some of the steps you must follow if you want to enhance the hummingbird experience:

1. Change The Food Regularly

Make sure to change the food every 3-4 days. This is because nectar spoils quite fast, especially when the weather is hot. In fact, if the weather is above 30 degrees Celsius, make sure to change the nectar regularly. Also, make sure to keep the feeder in the shade. This will prevent the sugar from fermenting.

2. Use The Right Amount Of Ingredient

You can make hummingbird nectar with just water and sugar. However, you must ensure the water-to-sugar ratio is 4:1. Then, boil the water and add the sugar. After that, mix them until the mixture is perfect. After that, you must let the mixture cool before you add it to the feeder.

3. Avoid Honey

Generally, honey can ferment fast and becomes a great place for mold to grow quickly. Moreover, they can be sticky and get on the feathers of hummingbirds. Hence, it is better to avoid honey.

4. Add Another Feeder

Although hummingbirds are small and cute, they can be incredibly aggressive and territorial when confronting other hummingbirds. Hence, to avoid conflict among hummingbirds, it is better to add a second feeder if you want to ensure every hummingbird gets the opportunity to have the nectar.

5. Clean The Feeders

Make sure to clean the feeders every week. Moreover, if you have hot weather around, clean the feeders twice every week. While you clean, ensure the vinegar-to-water ratio is 1:4. Also, rinse the feeders well before you refill. Furthermore, while rinsing, do not use dish soap. This is because they can leave harmful residue on the feeders.

Setting Up Your Hummingbird Feeder
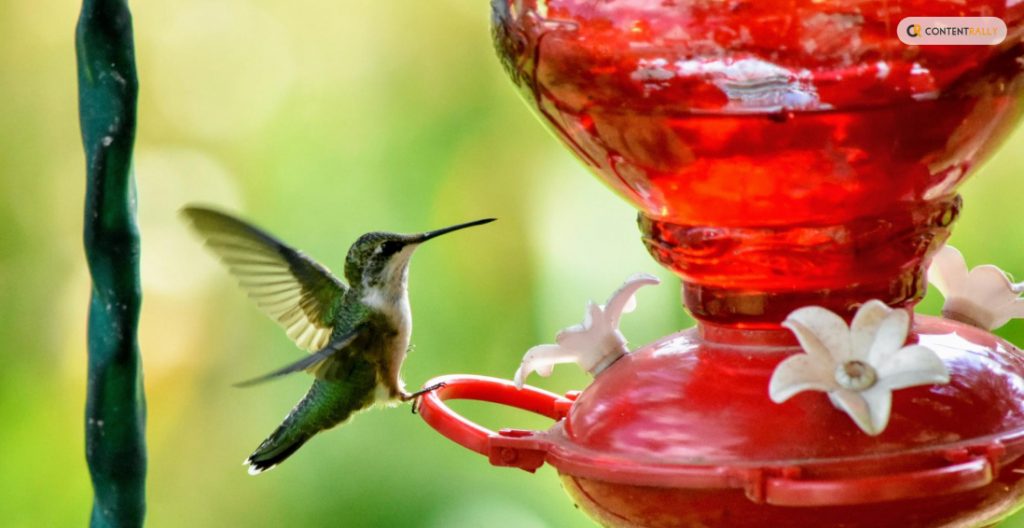
Setting Up Your Hummingbird Feeder

The following are the steps you must take to set up your hummingbird feeder:

  1. Make the nectar by checking the hummingbird food recipe in the previous section.
  2. Hang the feeder in your garden at the start of spring. Generally, hummingbirds migrate through your area in the spring. Also, leave the feeder up after the hummingbirds migrate in the fall.
  3. Hang the feeder in a place where it is visible for hummingbirds to see. Also, make sure to place the feeder in an area where you can have a good look.
  4. Clean the nectar every 3-4 days and clean the feeder thoroughly each time you change the nectar. This way, you can prevent dust and mold from getting into the feeder.
  5. Sugar water is safe and helpful for hummingbirds. Basically, it is quite similar to the natural nectar that hummingbirds find in flowers.
  6. If you want to make your own feeder, use an old spice container, bottle, mason jar, or wine bottle.

Attracting More Hummingbirds
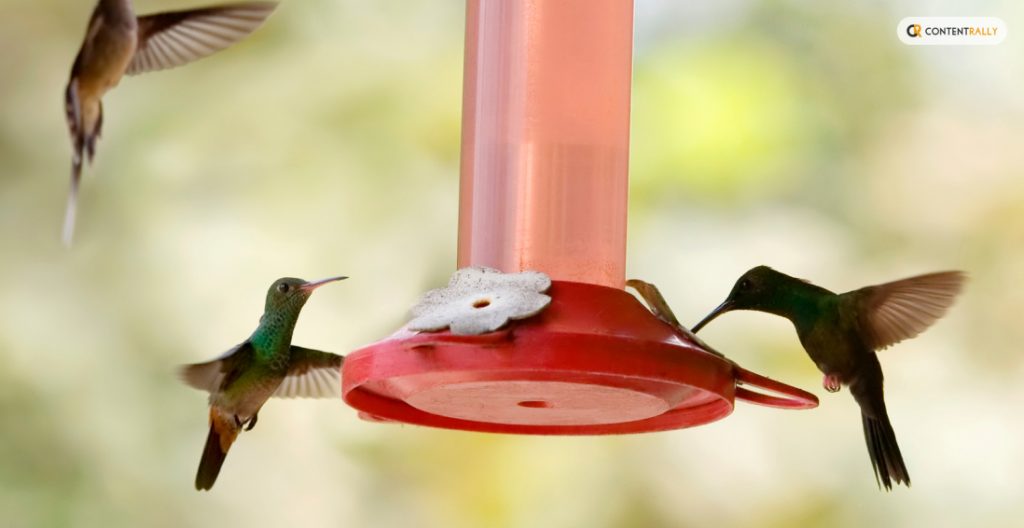
Attracting More Hummingbirds 

Here are some of the major ways you can attract hummingbirds to your garden:

1. Offer Hummingbird Food/Nectar: If you make sugar water and keep it in a feeder in your garden, you can attract many hummingbirds in your area. To make this item, you can see the hummingbird food recipe above.

2. Keep Water: Generally, hummingbirds also like to bathe. Hence, you can keep some water in a pot/jar to allow hummingbirds to access water for bathing and drinking.

3. Perch Area: You can leave small branches and sticks on your trees and plants. This will allow hummingbirds to perch on.

4. Plant Flowers: There is no alternative to pure nectar that flowers have. Hence, this attracts hummingbirds a lot. For instance, you can use hummingbird sage, honeysuckle, bee balm, and more. Also, you can add other types of flowers to your garden.

5. Keep Other Animals Out: If you have a pet cat/dog in your home, keep them inside. This is because they can bother hummingbirds or even end up killing them.

6. Avoid Pesticides: Pesticides are repellants for hummingbirds as well as insects. Hence, make sure not to use them or use them minimally.

Make Your Hummingbird Food Now
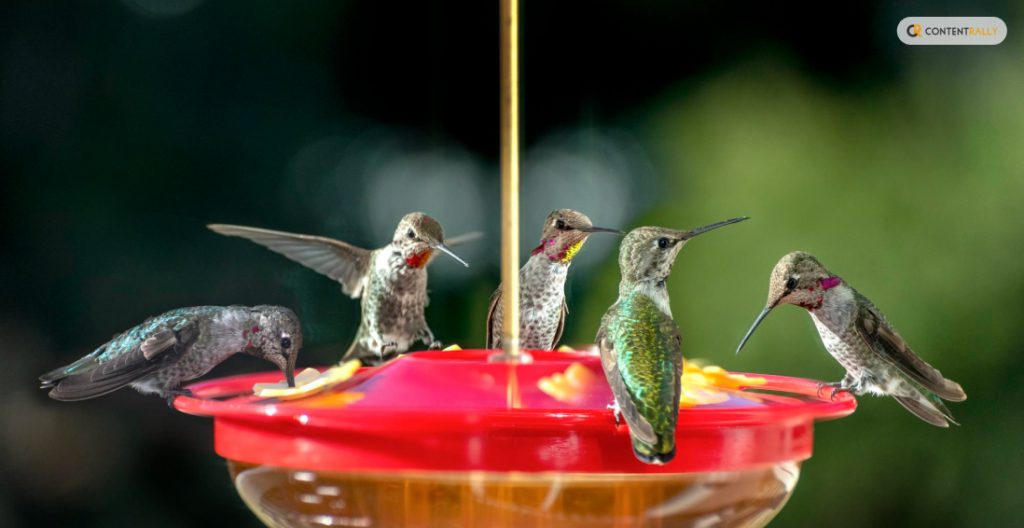
Make Your Hummingbird Food Now

Now, you can make hummingbird nectar with the help of the hummingbird food recipe in the article. However, make sure to change the food every 3-4 days. Also, ensure to clean the jar every time you change the food. This way, you can ensure clean food for hummingbirds.

Do you have more suggestions on how to make hummingbird food? Please share your ideas and opinions in the comments section below.

Additional Resources:

A passionate writer and an avid reader, Soumava is academically inclined and loves writing on topics requiring deep research. Having 3+ years of experience, Soumava also loves writing blogs in other domains, including digital marketing, business, technology, travel, and sports.

View all posts

Leave a Reply

Your email address will not be published. Required fields are marked *

Related

Vietnamese Foods

Why Vietnamese Foods Are the UK’s Favourite Meals

Vietnamese foods are among the best foods in the world. Besides in Vietnam, these foods are also popular in the UK. Vietnamese people professionally prepare these foods. However, you can enjoy these foods in the UK by visiting a reputable Vietnamese restaurant London offers. These foods are more beneficial than other meals. Here are the great reasons why you should include Vietnamese foods in your diet plan. It improves digestion: Rice is very easy to digest. These foods also include other digestible foods such as noodles, fish and chicken meat. A bowl of fresh herbs accompanies every Vietnamese meal. These herbs are essential in the metabolism of food as they relieve indigestion, headache and nausea. Helps in weight loss: These foods have a low content of calories and fat. Vietnamese meals consist of a large portion of fruits, vegetables, and herbs. What you eat profoundly influences your body weight. Are you eating healthily? Regulates blood sugar: Vietnamese foods are naturally gluten-free. Most of these foods are noodles, rice flour, and rice paupers instead of wheat. People with diabetes are advised to consume foods with less sugar. Vietnamese foods are the best in regulating blood sugar as the ingredients are low in sugar content. It strengthens your hair: Most Vietnamese food ingredients are rich in iron and Vitamin C. These nutrients speed up the growth of hair. Iron is also an essential element to strengthen hair. It boosts your immune system and fights fatigue: Each bowl of Vietnamese food consists of loads of minerals and vitamins that help enhance your immune system. They include Vitamin C, B6, B3, magnesium, folate, and iron. In each meal, there is a bowl of vegetable salad containing biotin, copper, zinc, potassium, magnesium, vitamins B3, B6, and biotin. These are essential minerals that fight against fatigue. Keeps you young and beautiful: Stay young naturally by eating healthy foods. Vietnamese foods contain minerals needed by your body to stay young and beautiful. In every Vietnamese meal, there are herbs, spices and vegetables rich in Vitamin A and E. Research have proved that Vitamin A aids in the healing of scars and scrapes and eliminating wrinkles hence leaving you with smooth skin. Vitamin E is also an essential mineral as it fights free radicals that enhance the ageing process. Enhances fertility in both men and women: First, there is little fat used in preparing Vietnamese foods. Secondly, most of the red and green vegetables used in Vietnamese foods contain Vitamin C and E that are essential in boosting sperm count. Broccoli, pumpkin, and squash have B6 and B12 that help in maintaining a healthy reproductive system. Keeps you strong: Rice is the Vietnamese staple food. You will realize that every bowl of Vietnamese food contains rice, noodles, and vegetables. These are great as a source of energy for your body. These are significant health benefits of Vietnamese foods. It is advisable that you take these foods regularly for maximum benefits. You can find these foods in one of the best Vietnamese restaurants in the UK. Read Also: The Top 10 Best Foods To Eat In Early Pregnancy Meals That Matter: The Best Foods And The Ways They Make You Fit

READ MOREDetails
Baking

8 Baking Essentials For The Home Cook

Getting into baking as a home cook can be pretty daunting, especially when faced with a plethora of options and tons of confusing advice. You might just be standing in the store staring at the different products wondering whether you're supposed to buy a mixing bowl or a souffle dish. Believe us; you wouldn't want to end up with drawers full of unuseful stuff. So if you are a newbie looking for some advice for your baking journey, besides taking up some bakery courses, continue to read on and learn about some essentials you need. List of Top 8 Lucrative Baking Equipment For Home Cook 1 - Measuring Cups This one might be a no-brainer, but many people skip the basics when starting with baking. If you're wondering why you can't save some money by just using the same cup to measure everything - well, there are different measuring cups for wet and dry ingredients. Mixing those will make accurate measuring difficult and mess up your whole recipe. For sticky ingredients like honey and peanut butter, you can look into adjustable measuring cups, which are super convenient and prevent product waste. 2 - Spatulas There are varying uses of spatulas when it comes to baking. Whether scraping, stirring, or lathering, you'll find yourself repeatedly reaching for this handy tool. All the options might confuse you, so let's narrow it down to the basics. Ideally, you need spatulas that are: a) flexible and b) heat resistant. Even within those categories, there are many different options you can explore. So if you want to get into more detail, you can find out about the different kinds of spatulas here. As for between wooden and rubber spatulas, we'd recommend rubber. There are specific rubber spatulas that are meant to be heat resistant. So you get the best of both worlds. But if you are looking for more of an eco-friendly option, wooden spatulas are also great. 3 - Baking Pans Pans work as the base on which you start building up your dish, there is no baking without pans, and you can't get away with just getting one and calling it a day. But that doesn't mean you have to start buying every type of pan you can get your hands on. So again, we'll focus on the essentials. Muffin tins are a must and versatile since they can be used to make much more than the usual cupcakes. You can start with a smaller 6-cup pan or go up to 12 if you work with the smaller goodies more often. Loaf tins are also very important to have, and it's a purchase you won't regret. The possibilities are endless, and we recommend going for a non-stick one on the lighter side. 4 - Mixers Mixers are tools that can be a bit heavy on your wallet, but it's definitely worth the price. Many consider stand mixers the best option and have many pros: they're fast, thorough, and all-around convenient. The con? They can't fit into everyone's budget. If a stand mixer doesn't fit your budget, handheld mixers, specifically electric ones, are certainly not a bad choice. They don't hurt your finances and are easy to store as well. While not as fast as stand mixers, they still get the job done fairly quickly. 5 - Kitchen Scales Regarding accuracy, there is no tool better than digital kitchen scales. While you can certainly go for manual ones, the accuracy won't quite compare to digital ones. Measuring weight proves to be much more accurate than measuring volume. Whether your top priority is appearance or taste, accurate measurements are essential for both. It also cuts down a lot of the work you have to put in after you're done baking by decreasing the number of dishes used. If you're an experienced baker, a digital scale is a must since almost all professional bakers use it. 6 - Pastry Brushes Pastry brushes might seem like something you should skip over, but they're an essential item, and you'll regret not getting one. Pastry brushes are best used for tasks that require a more delicate touch, like glazing, coating with melted butter, and greasing pans. They can even be used to clean your dish by brushing off excess coating. They're fairly easy to use and don't make a mess, as the bristle soaks up liquids. 7 - Sifters If you're working with flour and sugar, you need a sifter or a sieve. The fine mesh allows you to sift sugar and flour, which is an important step in making brownies and cakes. Many recipes require your flour to be super fine, and the sifter is the perfect tool for achieving it. Dusting the tops of cakes or similar baked goods with icing sugar also becomes super easy when you have a sieve. Plus, it's very affordable and can last for years. 8 - Rolling Pins Getting a rolling pin seems fairly straightforward, but a fair amount of options are available for different preferences and types of recipes. Rolling pins with no handles and tapered edges are preferred because they can give you super smooth and even dough. These are called french style pins. Pins with handles are great for speed since you have better control over your movements. Going for more than one size will be helpful if you work with a lot of icing. Mini pins help when you need to be more careful and work with an intricate design. When it comes to material, wood is the best way to go since the flour sticks to it, making the process a lot easier. Conclusion So here's our list of baking essentials you need if you're a home cook! We understand how stressful it can be to be faced with so many options and wanting the best while trying to stay within budget. Still, if you stick to the basics, you're already equipped for most recipes. You can add to your tools as the need arises, and that's how you make sure you aren't getting things that will do nothing but take up space. We hope you found this helpful and happy baking! Additionals: Which Edible is Right for You?Garlic Butter Baked Chicken Thighs Recipe

READ MOREDetails
Concentrates into Vape Oil

How to Turn Concentrates into Vape Oil

Who doesn’t like the taste and flavors of vape oil, but what about the cost of vaping? Well, there’s a little secret, the cost of concentrates used to prepare vape oil is nothing as compared to vape oils available in the market, and the best part is that you can easily turn concentrates into vape oil yourself. What are Vape Concentrates? Vape concentrates are vegetable-based and that’s why vape oil is also safe for you to use. Nicotine is added to the vape oils which you buy from the market but it’s not a necessary ingredient. The added benefit of preparing vape oil yourself is that you can keep it totally Nicotine free. Avoiding Nicotine can keep you safe from developing addiction and from the side effects as well. What are the Different Types of Concentrates? Concentrates are of different types but all of those are not that good to be turned into vape oil. Some of the ideas concentrate for making it are: Shatter: Shatter is one of the most popular vape concentrates as it’s high in potency and is also flavor-rich. Moreover, it’s very easy to turn to shatter into vape oil. Crumble: Crumble is also another great option for high-potency vape concentrates. Wax: Wax is a comparatively low-potency concentrate recommended for beginners. Its price is also very low. Budder: Budder is also a low-potency concentrate. It’s an ideal concentrate for those who like to have low potency but still want a greater taste. How to Turn Concentrates into Vape Oil: Things you’ll Need to Turn Concentrates into Vape Oil Things you’ll need are: Your choice concentrate (Shatter, Wax, Budder, Crumble, or BHO) - 1 gram Wax liquidizer of your favorite flavor – 2 ml Microwaveable glass container for mixing the concentrate A syringe for measuring wax liquidizer and for filling the vape pen cartridge Method of Turning Concentrates into Vape Oil So let’s learn the secret formula for turning concentrates into vape oil: Vape oil can be prepared by using a variety of concentrates. The best ones for this purpose are Shatter, Wax, Budder, Crumble, and BHO. So, first of all, decide on the one you’d like to use by comparing their properties. Next, you should choose the flavor of wax liquidizer for preparing your favorite flavor of vape oil. You can get wax liquidizers in almost all the flavors of your choice. Bananas, pineapple, strawberries, and menthol are among a few all-time favorites. Take just one gram of your favorite concentrate and put it in the microwaveable glass container which comes with the wax liquidizer for mixing it with the concentrates. Check terpenes for sale. Now take a syringe to measure wax liquidizer and take only 2 ml of it for mixing in one gram of concentrate. You should now put it in the microwave oven for just 10 seconds and not more than that. After taking it out of the microwave, you need to stir the mixture well for preparing the perfect vape oil. Now it’s time to fill this tasty, self-prepared, and economical vape oil into your vape pen cartridge and enjoy. Is Vape Oil Safe to Use? Vape Oil is a healthy alternative to smoking. If you love the flavors of vape but don’t want to risk your health for this taste, all you need to do is stay away from Nicotine based vapes. You must read the ingredients of vape oil carefully before buying it. And if you’re preparing one yourself using concentrates and wax liquidizers, then it’s the best. In this way, you’ll know each and every ingredient which you’re adding to your vape oil. Even Wax Liquidizers are prepared very thoughtfully and carefully using safe and great-quality ingredients. So there’s no risk in using vape oil if you know what your vape oil is made of. So now if you’re thinking of trying this method to turn concentrates into vape oil yourself, you‘ll find it so much more cost-effective that you won’t believe it. Just with a small quantity of your choice concentrate and wax liquidizer you can fill many cartridges of vape oil that would have cost you 6 to 8 times more if you would have bought them from the market. Read Also: Use Floor Polishing for Keeping Your Flooring Looking New A Guide To Ear Wax Removal From Camden Opticians

READ MOREDetails