Gardening is a delightful hobby that requires patience and perseverance. Everyone can make mistakes while planting, whether you’re a seasoned grower or a novice.
However, with careful planning, you can avoid these common errors. As the spring season approaches, now is the perfect time to start planning your garden and prepare for planting.
Gardening is not only a fun pastime. It also rewards you with fresh, homegrown produce and a fragrant outdoor space to enjoy your meals. Therefore, find a neighborhood nursery, get your favorite plants, and start an amazing journey amidst nature!
While knowing when and how to begin your gardening journey might be challenging, the outcome is worth the effort.
In this article, we shall help you with some major tips to help you on this green journey. Keep reading!
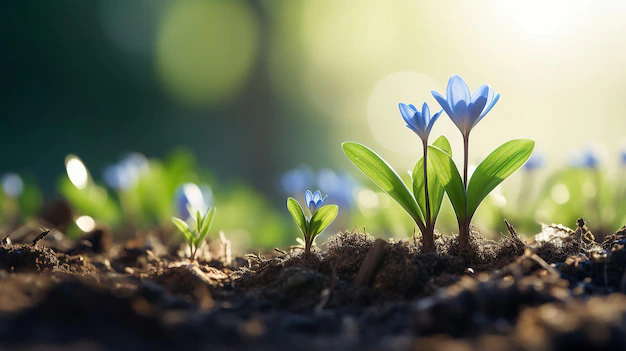
Gardening Tips For Beginners
A relaxing hobby can help you cope better with the stress and disappointments in life; gardening is the best solution. Therefore, gardening can be one of the best ways to channel your time in a positive direction.
When you plant a sapling and watch it grow over time, it helps you connect with the innocent joys of life. It stimulates the nurturing nature within you. Therefore, gardening helps you heal mentally and enhance your well-being.
Given below are some of the most important tips that you will need to follow at the beginning of your gardening endeavors—
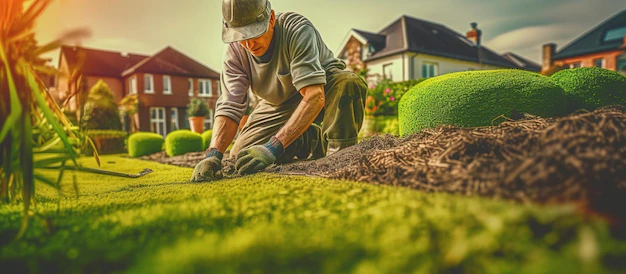
1. Select The Right Spot
To get your vegetable garden off to a good start, selecting the perfect area is crucial.
This spot must receive a minimum of six hours of sunlight each day. Insufficient sunlight can lead to stunted growth and reduced crop yields.
When choosing your garden location, take note of areas that receive the most sunlight. Next, you must try to situate your garden bed near a water source.
Therefore, your plants can easily access the necessary nutrients for healthy development.
By considering these factors, you’ll be on your way to a successful and thriving garden.
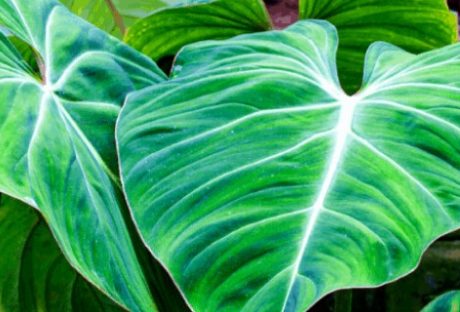
2. Choose The Right Plants
It is often difficult for beginners to understand what plants are right for their garden. There are several factors that affect the type of plant you must consider—
- Weather conditions: To choose the right plants for your garden, consider factors like temperature, humidity, and sunlight at your place. Moreover, the weather conditions also affect the soil type and maintenance requirements.
- Water availability: When selecting plants for your garden, it’s important to consider their water requirements. Moreover, your garden’s drainage ability can also affect the growth of plants.
- Attention and care requirements: Consider attention and care requirements when choosing plants for your garden. Some plants need more maintenance than others.
Therefore, assess the time and effort you are willing to invest and choose accordingly. Knowing the specific care needs of different plants will help them thrive in your garden.
Start with low-maintenance succulents and cacti if you’re new to gardening. These plants need little attention and help you get hooked on the hobby.
These plants store water in their leaves or stems. Therefore, they are perfect for those who regularly forget to water their plants.
Succulents come in different shapes and sizes, while cacti range from small, round shapes to tall, columnar forms.
3. Choose Between Seeds And Saplings
When starting your gardening journey, you must choose seeds or saplings.
Seeds are the most cost-effective option and offer a wider variety of plant choices. However, they require more time and effort to grow. Moreover, seeds will need proper conditions for germination and nurturing.
On the other hand, saplings are pre-grown plants that can be directly planted into your garden.
Saplings are more expensive than seeds. However, they save you time and effort as they are already established and have a higher chance of success.
Therefore, the choice between seeds and saplings depends on your personal preferences, budget, and level of gardening experience.
Related: How To Arrive At The Perfect Choice Of A Potting Bench For Your Gardening
4. Know How To Make Your Soil More Fertile
It is important to enhance the structure of your soil and improve its drainage and moisture-holding capacity.
Therefore, you can improve the health of your soil by using compost, leaf mold, or well-aged manure, which is a great option.
These organic materials act as a sponge and help retain water and nutrients, ultimately benefiting plants’ growth.
However, it is important to avoid using fresh manure. It can harm your plants. Moreover, fresh manure might contain harmful bacteria and pathogens. These pathogens can cause serious diseases, and their high nitrogen content may burn the plants’ tender roots.
Therefore, it is recommended to compost the manure for at least 6 to 12 months before using it on your plants.
This breaks down the harmful bacteria and pathogens and also makes the nutrients in it more available to the plants.
5. Select The Right Pots
If you don’t have enough space for gardening, you might want to try container gardening.
It’s a fantastic way to grow a wide variety of plants, including fruits, vegetables, herbs, flowers, berries, and shrubs.
However, when you opt for container gardening, you must select a pot that’s big enough for your plant to grow in. Moreover, the pot should also have enough room for the roots to spread out and grow comfortably.
Also, it’s highly recommended to use potting soil specifically formulated for plants grown in containers. This soil type has all the nutrients and drainage that potted plants require to thrive.
Additionally, it helps prevent problems such as over and under-watering, which can be common when gardening in containers.
By following these tips, you’ll be able to enjoy the benefits of a thriving container garden, even if you have limited space for traditional gardening.
Happy Gardening!
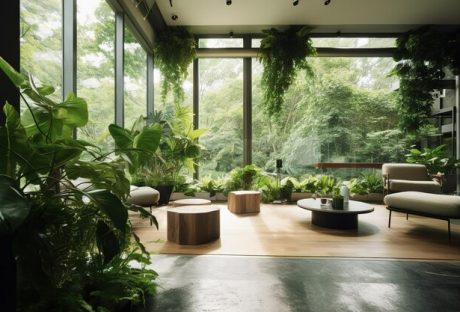
As you look ahead to the future, don’t forget to plan for moments of relaxation and enjoyment in your garden.
Picture yourself sitting in a cozy seating area, surrounded by lush borders and colorful blooms. Imagine the laughter and conversations you’ll share with friends and family over a meal or a cup of tea.
Anticipate the joy of watching birds flock to your feeder and delight in their playful antics. Therefore, with a little planning and effort, your garden will become a haven of beauty and tranquility for the future.
Read Also:
- Does Organic Gardening Improve Soil Quality?
- How To Choose The Right Containers For Your Container Garden
- The Top Four Reasons Why You Could Certainly Benefit From A Garden Shed