Although it doesn’t happen often, the “your IP has been temporarily blocked” warning will keep you from visiting a website. The error could show if you’ve attempted to log in too frequently or if you’ve broken the site’s terms of service by uploading prohibited information, for example.
Therefore, to learn how to prevent this issue from happening again, read this guide post till the end. Here, you will learn ten different ways to fix this issue.
How To Fix The “Your IP Has Been Temporarily Blocked” Issue?
To prevent the “your IP has been temporarily blocked” error from happening again, here are the steps you can take:
1. Just Wait
A website frequently temporarily blocks IP addresses. For instance, if you tried to log in too many times using invalid credentials, you may be barred or banned for 24 hours before being allowed to try again. You can either wait a day or see the website’s terms of service for details now only.
2. Use VPN

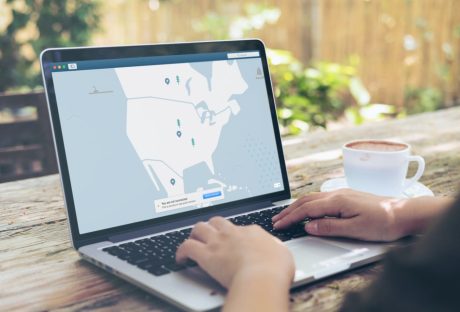
Websites may restrict your IP address as a result of a country ban, as was already indicated. Use a VPN to conceal your IP address in order to get around such a limitation. You will be able to access the website since it will seem as though you are visiting from somewhere else.
Free VPNs are available, however commercial services are more likely to ensure that your IP address is hidden. You will be able to view the website that has blocked your access after you sign up for a VPN. Check out our list of the top 10 VPN service providers if you’re unclear about how to choose a VPN service.
3. Properly Configure Your Network And Mail Servers
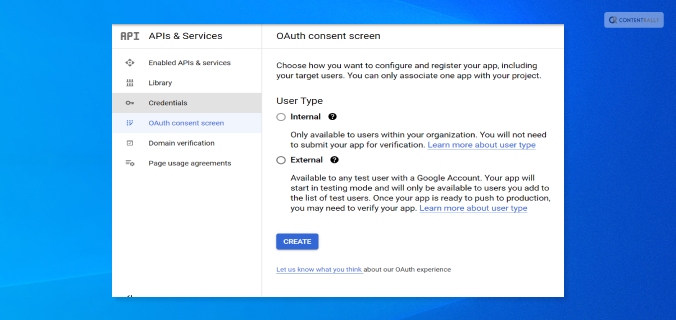
Incorrectly placed letters or digits might potentially be the reason your IP address is blocked. Your network and mail server need to be configured correctly because of this. Contact the blacklist to get your name taken off of it.
4. Connect To A Different Wi-Fi Network
You should also think about joining a fresh Wi-Fi network. A new IP address is generated while joining a Wi-Fi network. This may be a short workaround to enable you to view the website to which access has been limited.
5. Check If They Blacklisted Your IP

Many websites are members of IP address blacklists that are open to the public. These lists are frequently gathered from well-known spammers, and banning the addresses can assist website owners to keep unwanted visitors away and stop spam abuse.
However, it’s possible that one of these blacklists listed your IP address by mistake. The good news here is that you can check your IP Address on a website called WhatIsMyIPAddress.com. If it shows up on their lists after entering your IP address is automatically detected, the website will notify you.
6. Update Your OS
If your computer hasn’t received any updates in a while, malware might infect it and restrict your IP address. You may improve your computer’s usefulness and security by upgrading it.
If you use a Windows computer, here’s what you should know:
- First, go to Settings.
- Here, choose Update & Security.
- Then click on Windows Updates to see whether any updates are available for installation.
If you use a Mac computer, then here’s what you should do:
- First, open System Preferences.
- Then, select the App Store.
- Finally, select Show Updates.
Wait a day after the upgrade is complete before attempting to access the website that has restricted you.
7. Try Detecting Malware

The problem regarding “why your IP has been banned” can stem from various malware that might have entered your system. This error is typically shown when your IP address has been compromised and your system is now transmitting spam, or even launching DoS attacks in the background.
Therefore, you should scan your computer using antivirus software. To get the best internet security, I recommend using premium antivirus software that always runs in the background.
- Here, if you’re using Windows, follow the steps explained below:
- First, click on Start and type “Security“.
- When Windows Security appears in the search results, click on it.
- After selecting Virus & threat protection, do a Quick scan.
8. Change To A New IP Address
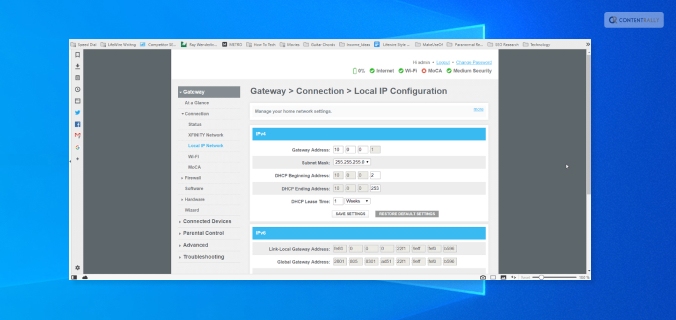
If you want to, you can shift to a new IP address by temporarily changing it using your VPN software. Do this if your IP has been banned.
To do so on a Windows computer, follow the steps below:
- First, open the Control Panel by searching for it on the Search bar from the Start menu.
- Then, click on Network and Internet.
- Here, click on Network Connections.
- Now, you will get a list of all the network adapters you have paired with. Select the one you are using and want to change its IP.
To do so on an Apple computer, follow the steps below:
- Navigate to System Preferences.
- Here, open Network.
- Now, click on Advanced Button.
- Then, click on the TCP/ICP menu.
- Here, you need to add a new TCP/IP configuration. To do so, click on the + sign here.
- Then, select Manual and enter the new IP address.
9. Use Proxy Servers That Are Free
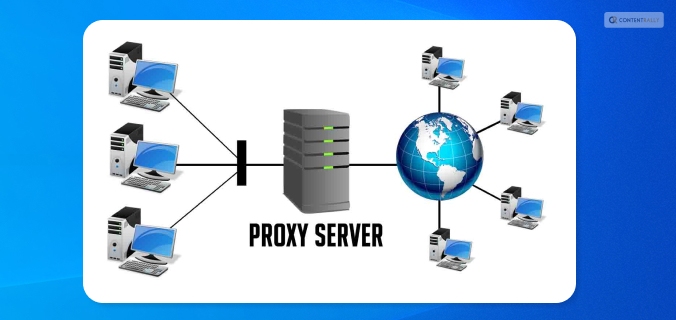
If you don’t want to spend money on a VPN, you can use a free proxy server. A proxy server is a server that stands between an internet user’s request and the website or page they are trying to access. Your IP address is concealed by the proxy, enhancing your privacy and independence.
Keep in mind, though, that a lot of websites and services are aware of proxy servers and will ban the IP addresses of public proxy servers. You will be informed that “the owner of this website has blacklisted your IP address” if they catch you. Remember that you should never browse with proxy servers when providing personal information.
10. Blame The Webmaster
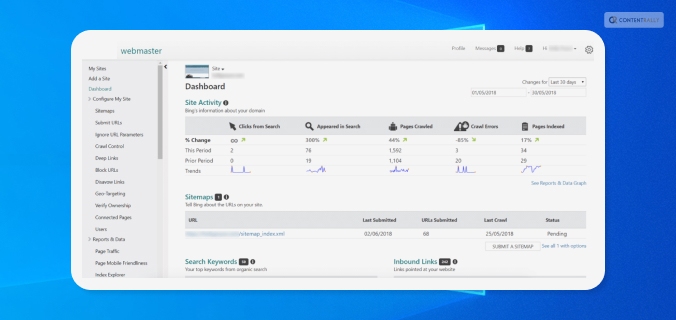
If you searched the terms of service of the website for information on why your IP address was blocked but couldn’t find anything, you may contact the webmaster — particularly if it’s a tiny website that interacts with its users frequently. If your IP address is being blocked, the webmaster can tell you why it’s being restricted and how to fix it.
Frequently Asked Questions (FAQs):
People using the internet have asked various questions similar to “why is my IP address blocked” and “unblock IP address”. Here are my answers to their queries:
Ans: Instagram might have blocked your IP address because they might have blacklisted your IP address. This can happen because you might have posted content that might have violated their terms and conditions. If this is not the case, then you might have a problem with your Internet Service Provider (ISP).
Ans: On Instagram, an IP ban might last anywhere between 24 hours to 48 hours. This depends on the severity of your actions. If it’s pretty severe, then Instagram might block you permanently.
Ans: Sometimes, many of the websites that we visit can contain harmful malicious content in them. If Cloudflare detects this, it can block your IP address from accessing that website.
Unblock Your IP Now!
There are various reasons why you might see the “your IP has been temporarily blocked” error. It can be because your IP has been blocked by the website, or there are various problems with your ISP.
To fix this issue, you can either wait for some time or use VPN software to change your IP. In addition, you can also use free proxy servers, or contact the webmaster if you wish to.
If you have any similar questions regarding this that you would like an answer to, you can reach out to me by commenting down below!
Read Also:
- 5 Tips to Improve Your Internet Privacy
- Will The Internet Become A Commodity?
- Top 7 Torrent Applications with VPN Support


