In modern times, when people are flocking towards cities, the demand for homes has increased like anything. Builders have perfectly met this demand, but with some tricks. The sizes of the homes have gone smaller. Just look at the room sizes of rooms in the cities like Mumbai; these are really very small.
Small room size doesn’t mean that it has to really look small. Every problem comes with a solution, and the expert interior designers and creative people have found the solution to this problem as well. There are so many tips and tricks to create an illusion of larger room sizes.
5 Perfect Ways to Create Size Illusion in Room with Home Accessories
You just need some specific home furnishing accessories suitable as per Indian homes, right paint colors, and furniture to make your small bedroom look large.
1. Mirrors are the ultimate solution to create an illusion

By adding some mirrors to the bare wall in the bedroom, you can make it look bigger. If you want to create depth or height, you can buy an angled mirror. When talking about mirrors in the bedroom, most people find the solution in the mirrored closet doors. But this is not the right trick for every bedroom. If you want to create an illusion of a wider space, you should place the mirror near the window.
Read also:
- Convex Mirror – An Essential Thing For Your Daily Needs
- How Activity Mirrors Add Value to Exercise Place!
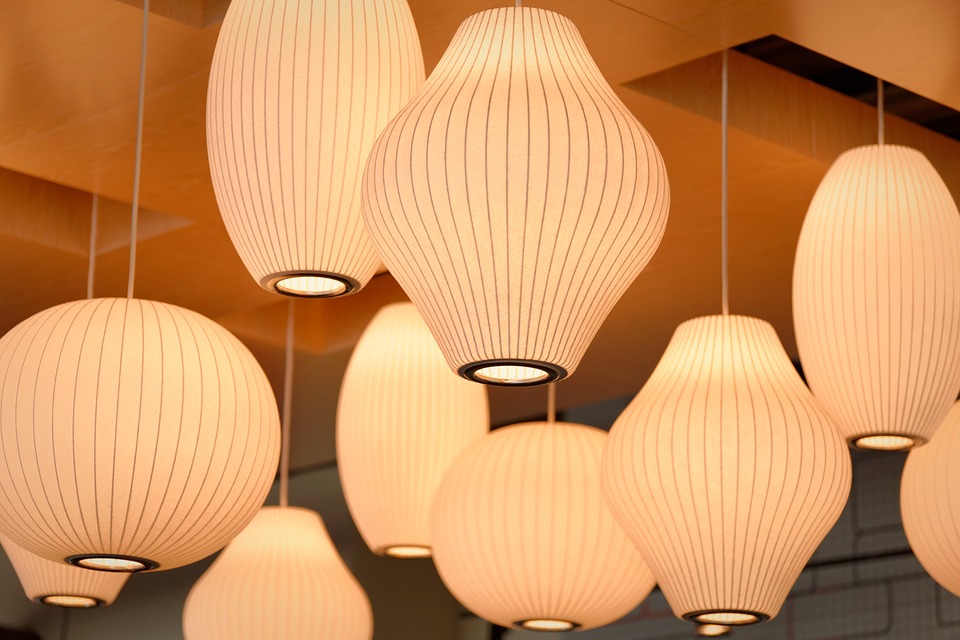
2. Smaller lamps
When buying lighting fixtures or lamps for the bedroom you should not rely only on the single source that hangs in the middle of the ceiling. Instead, you can use a combination of different smaller lamps to draw attention to the room. The best way for this is to place the lamps on the bedside table.
Read also: A Rundown of the Basic Led Lighting
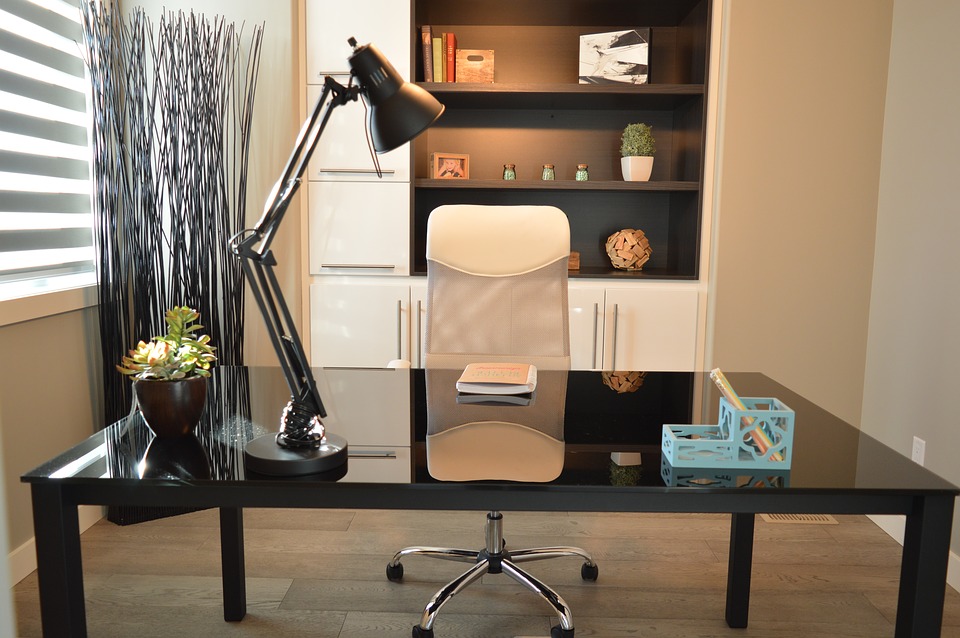
3. Carefully decide the height and color of the curtains
Curtains make in important home decoration and furnishing item. The best way to use curtains that are a few inches above the floor. Drapes that run all the way to the floor disturb the flow of the room and make it look more congested. For the best effect, you can also tie them with designer curtain tiebacks.
Further, the color of the curtains also makes an impact on the size of the room. You should buy light-colored curtains. If nothing matches your style, it is better to avoid using curtains.
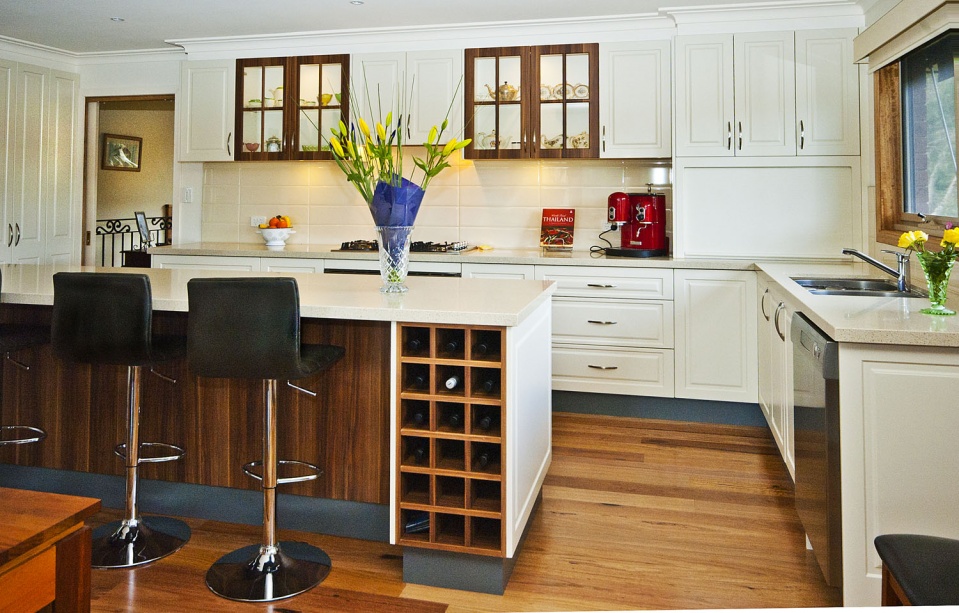
4. Simple Carpets
Today’s homeowners love to buy patterned carpets due to their beautiful designs and themes. But for small rooms, you should avoid rugs or carpets with heavy patterns. If you don’t want completely plain carpets for your living room or bedroom, you can look for the ones with vertical stripes. These help you create an illusion of a longer room.
Though carpets make the room look beautiful, there is no compulsion of using them. Sometimes these can make the room look more cluttered. Instead, you can try for solid continuous flooring to make the room look bigger.
5. Try something bold to divert the attention
Most people suggest bright colors for small spaces, but sometimes the opposite can work wonders. Experiment with some accessories in bold and loud colors to divert the attention from the space to other things. You can either use some different colored furniture or just small cushions in bold and big prints. These are just a few tips to make your small bedroom look larger. Above all the tips, you need to keep your room clutter-free and organized.
Conclusion
No matter how much you spend on online shopping of home accessories, these are useless until your room is clean. So use the tips, opt for the right color coordination, experiment with different home accessories and you are ready to surprise the guests by creating an illusion of a bigger room.