7 Tips to Increase The Value of Your Home

Published on: 04 March 2019 Last Updated on: 31 July 2024
Value of Your Home

Increasing the value of your home is not as difficult as one might initially think. Increasing your home’s value is a smart plan, especially if you plan to sell your home over the short term. In fact, according to real estate experts across the industry, you are two to three times more likely to sell your home if it possesses fresh renovations or improvements.

7 Tips to Increase The Value of Your Home:

1. Remodel Your Kitchen:

Remodel Your Kitchen

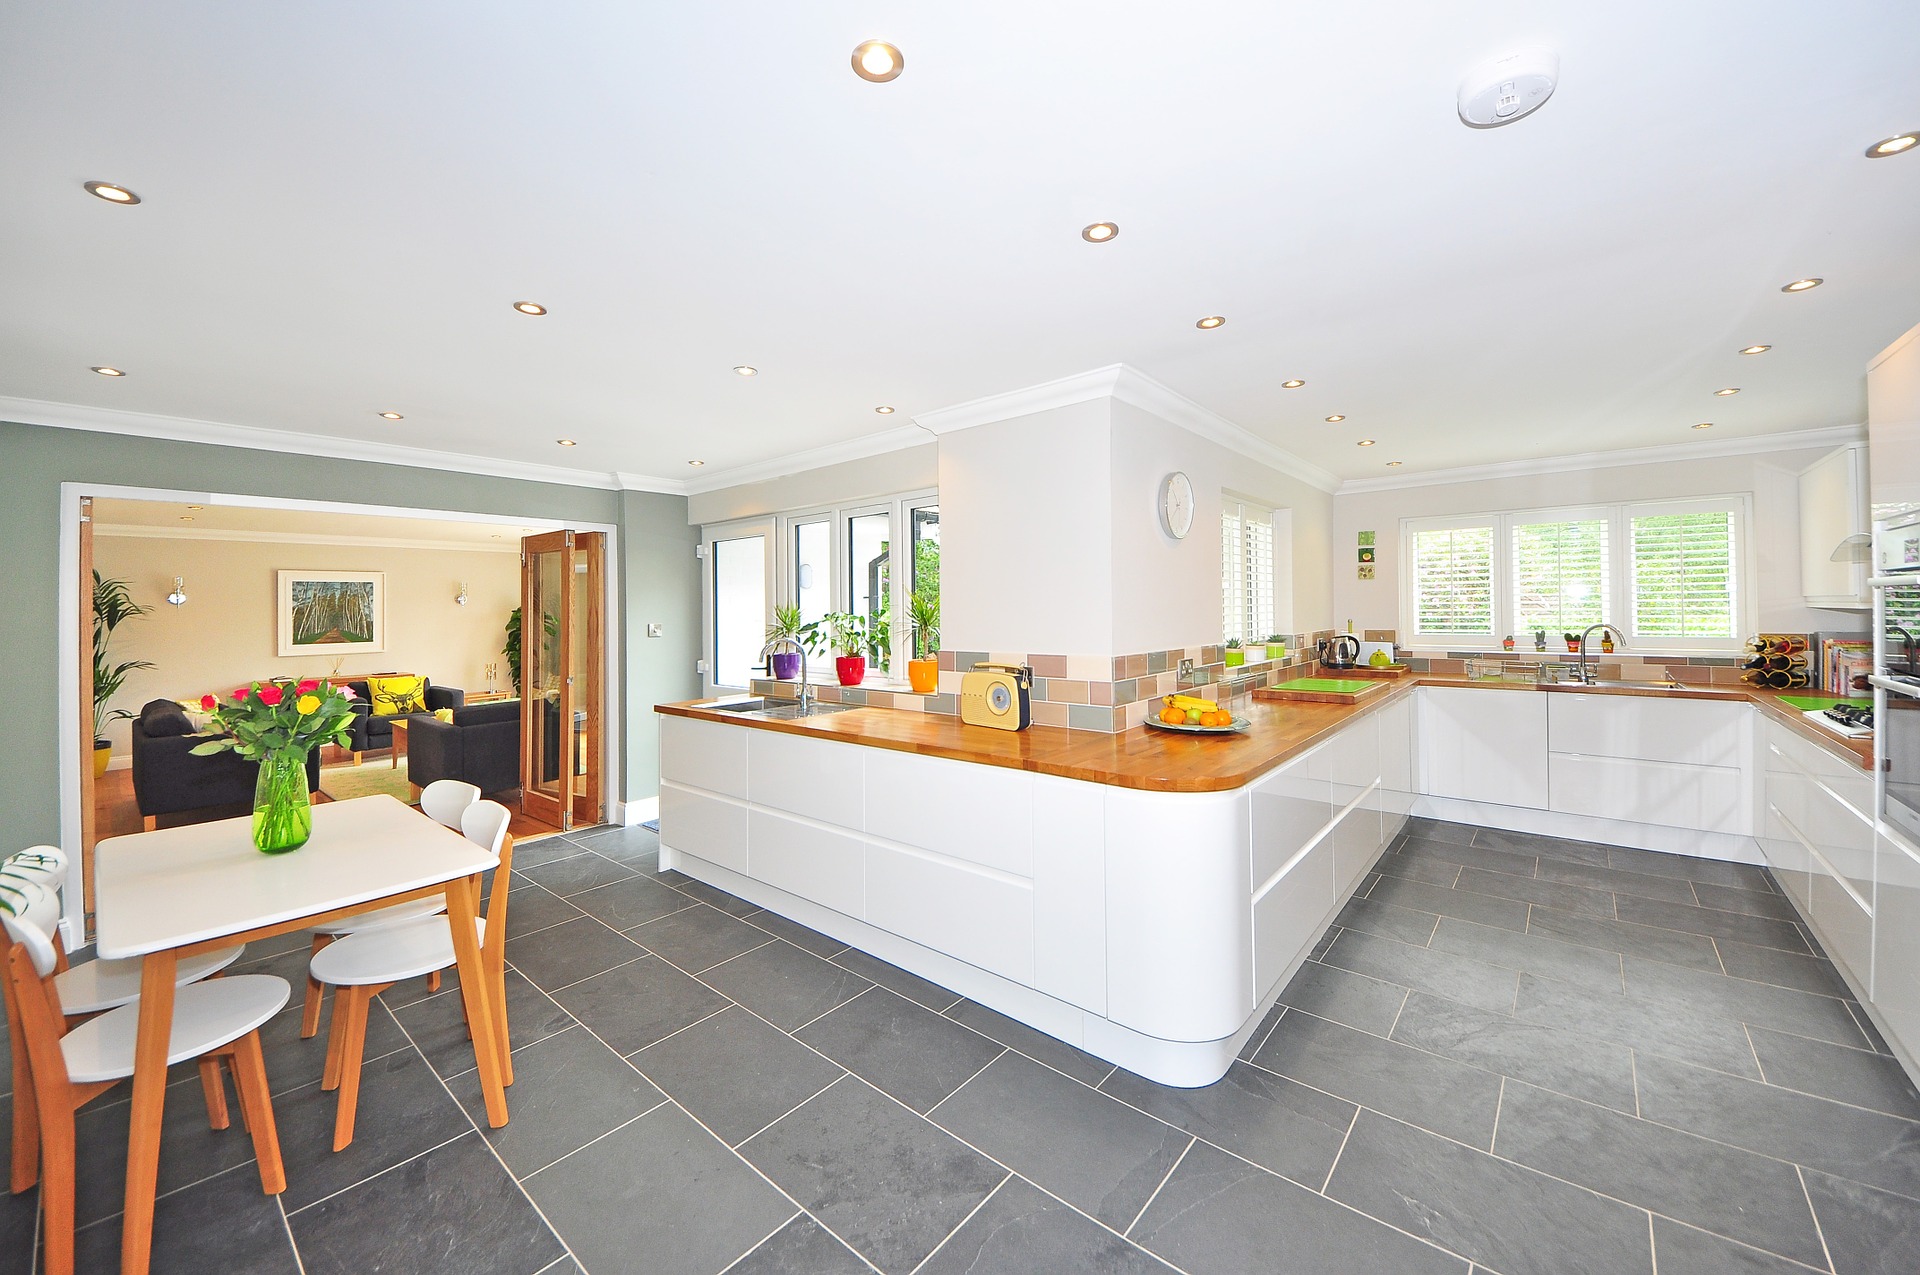
Remodeling your kitchen is one of the more expensive home renovation tasks that you can do to substantially increase the value of your home. This renovation will likely include replacing or refinishing your kitchen cabinetry. You will also need to replace your kitchen countertops, as they are likely to be old and outdated. The flooring is likely going to need to be torn up and replaced as well, especially if even the slightest amount of water damage has occurred. Lastly, you will likely need to replace your appliances such as your stove, microwave, and refrigerator, especially if these items will be included in the sale of your home. A company like Gold Coast Veraniece Construction Corp can do this kitchen renovation job for you very quickly and affordable if you aren’t into a DIY gig.

2. Get Your Attic Cleaned:

Some people don’t even look into their attic for decades. If you plan to increase the value of your home or sell it quickly, then you should get into the attic and thoroughly clean it. Replace any broken floorboards, completely clean out the dust and debris, throw away or sell stored away items that you are not using anymore, and just generally get the attic into a much more presentable state. You would be shocked at just how cluttered some people’s attics can become after decades of letting space fall into neglect.

3. Get Rid of That Popcorn Ceiling Texture:

If you haven’t already heard, the popcorn ceiling texture is officially out of style. Thankfully, this is a job that is not particularly difficult to undertake yourself, however, it could take a bit of time and elbow grease to complete it. If you do the job yourself completely then you could end up saving yourself a fairly large amount of money ranging into the thousands of dollars. Another way to go about getting rid of the textured ceiling is to do a partial DIY renovation. In this case, you would remove the ceiling texture and then let a professional come in and refinish the ceiling. Lastly, you could also just opt to have a contracting company come in and do the entire job for you, however, this option will obviously cost you the most money.

With regard to what you can do to replace a textured ceiling, there are really just two options that are currently in style at the moment. You could go the easiest route and paint over the texture free surface with a color that matches the walls, or possibly even using a color slightly offset from the wall color. The second option is that you can add panels to the ceiling, however, you should be aware that this is the more expensive of the two options. Regardless of what you choose in the end, getting rid of that textured popcorn ceiling is guaranteed to improve the value of your home.

4. Remodel Your Bathrooms:

Bathrooms

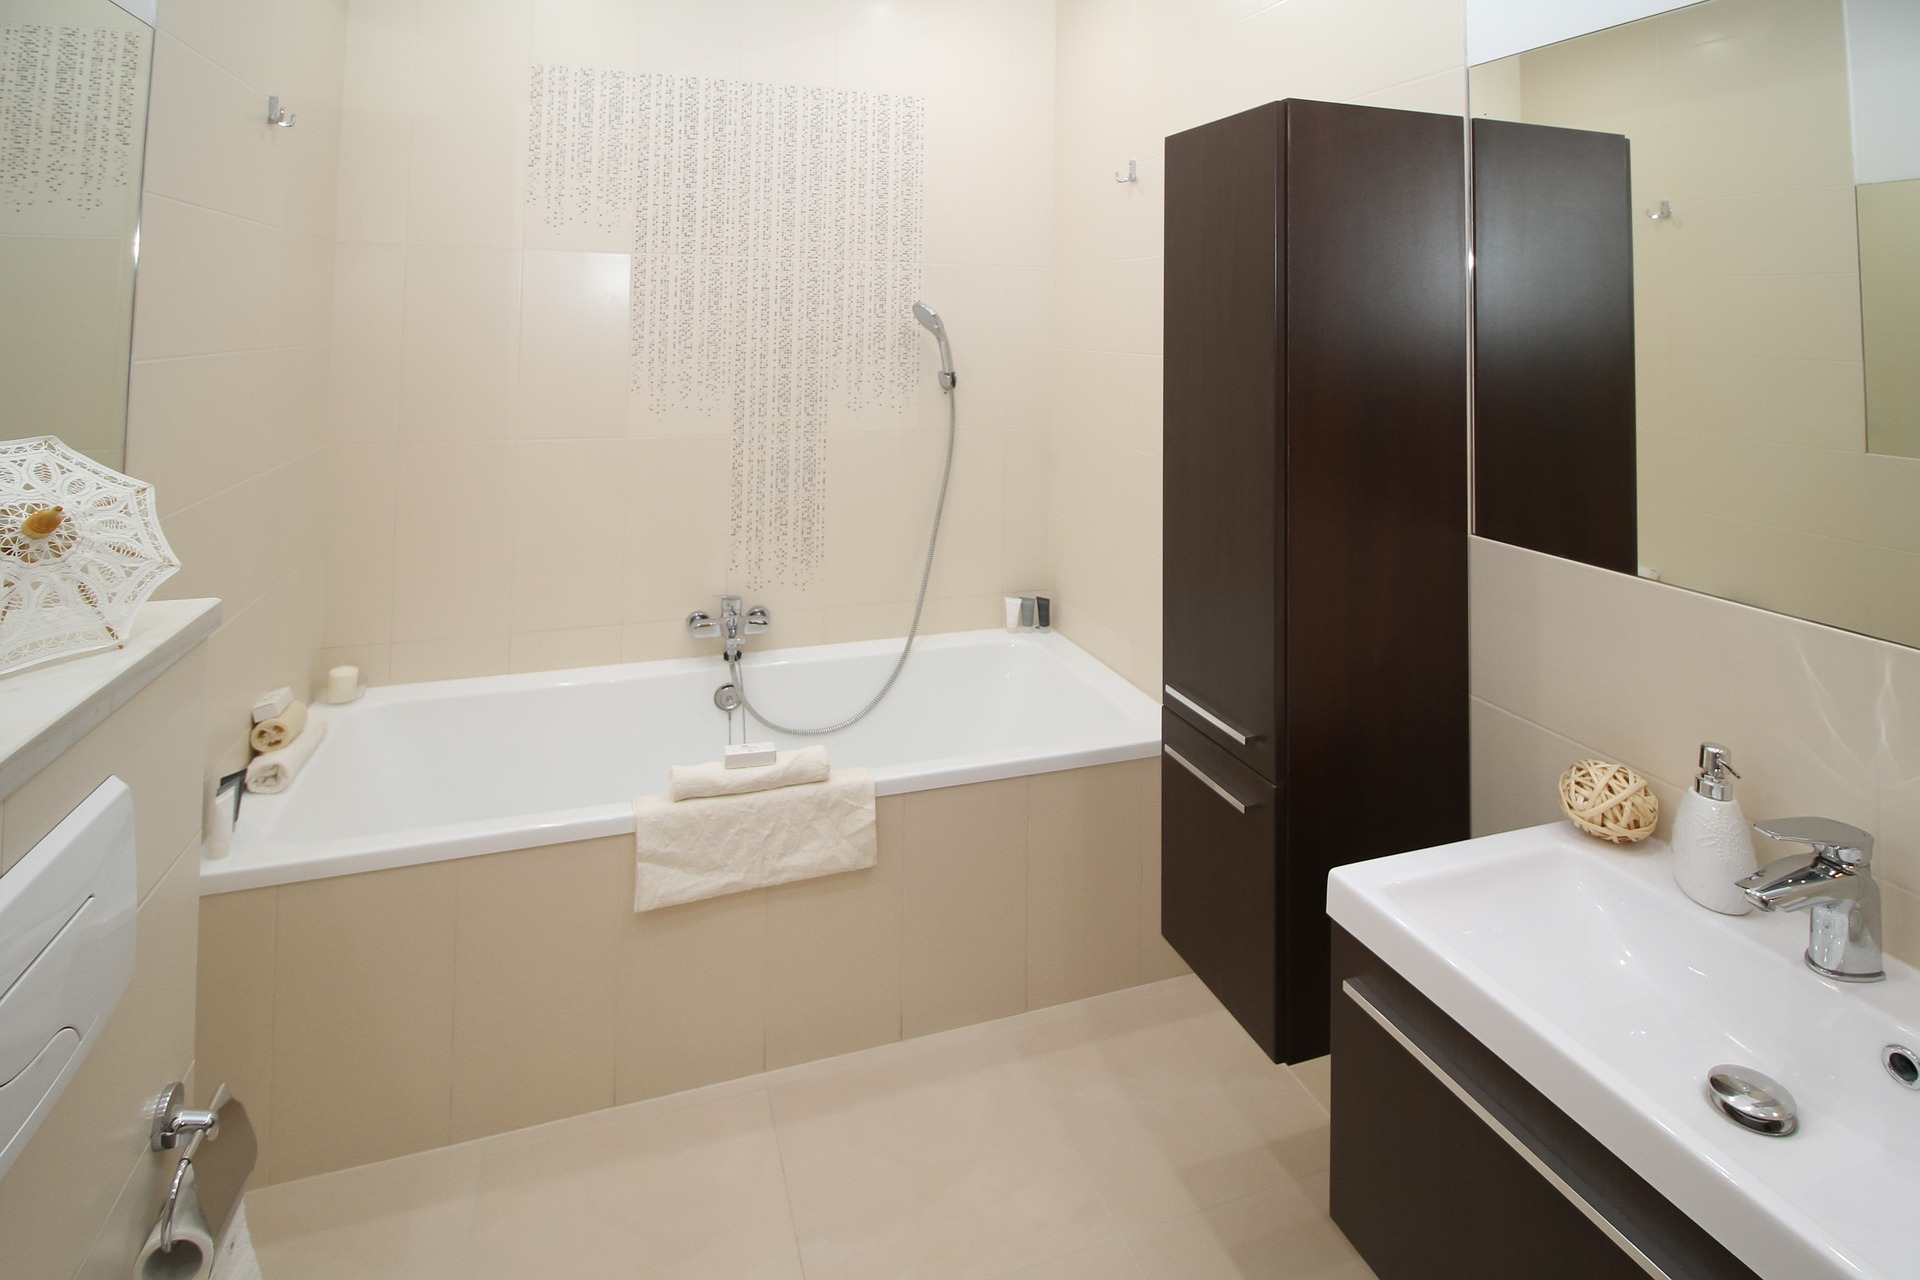
Outside of a full kitchen remodel, remodeling your bathrooms is one of the more expensive home renovation tasks. Thankfully, however, money and effort spent on doing this can substantially increase the value of your home. Bathroom renovation tasks will likely include replacing old toilets, professionally cleaning or replacing shower cabins or bathtubs, refinishing or replacing bathroom cabinetry, and putting a fresh coat of paint on the walls and ceiling.

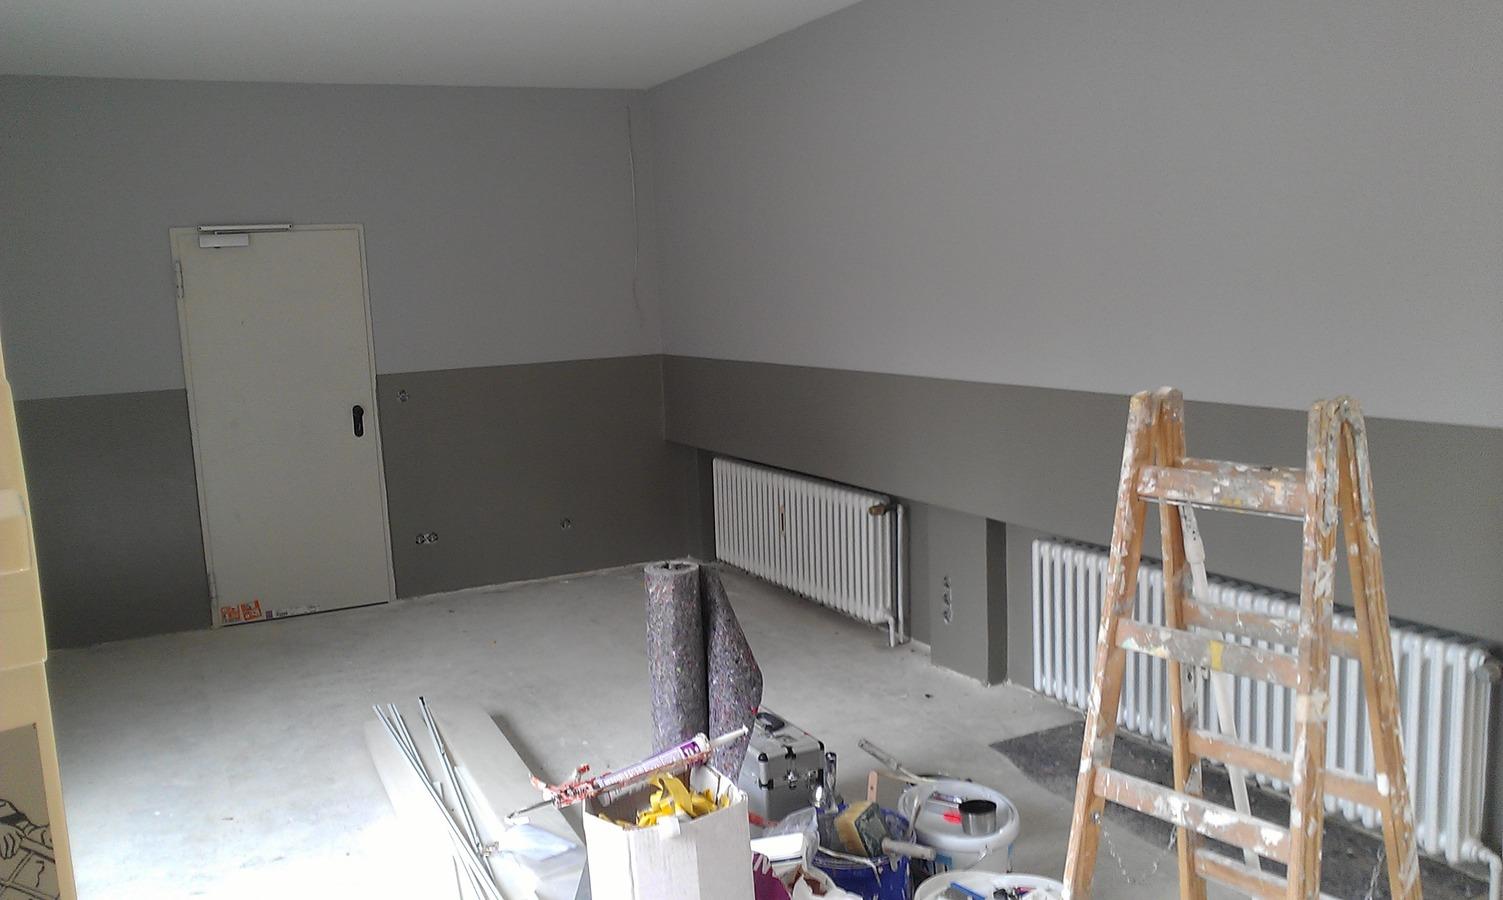
5. Brighten up Your Interior:

Studies have shown that brighter interior living space is much healthier and far better perceived than a dim or dark interior. A great way to increase your home’s value is to replace old light fixtures, add in more energy-efficient bulbs, lighten up your curtains, and possibly even do some repainting that lightens up your living space. All of this is especially important if you are seeking to make your home more attractive to a prospective buyer.

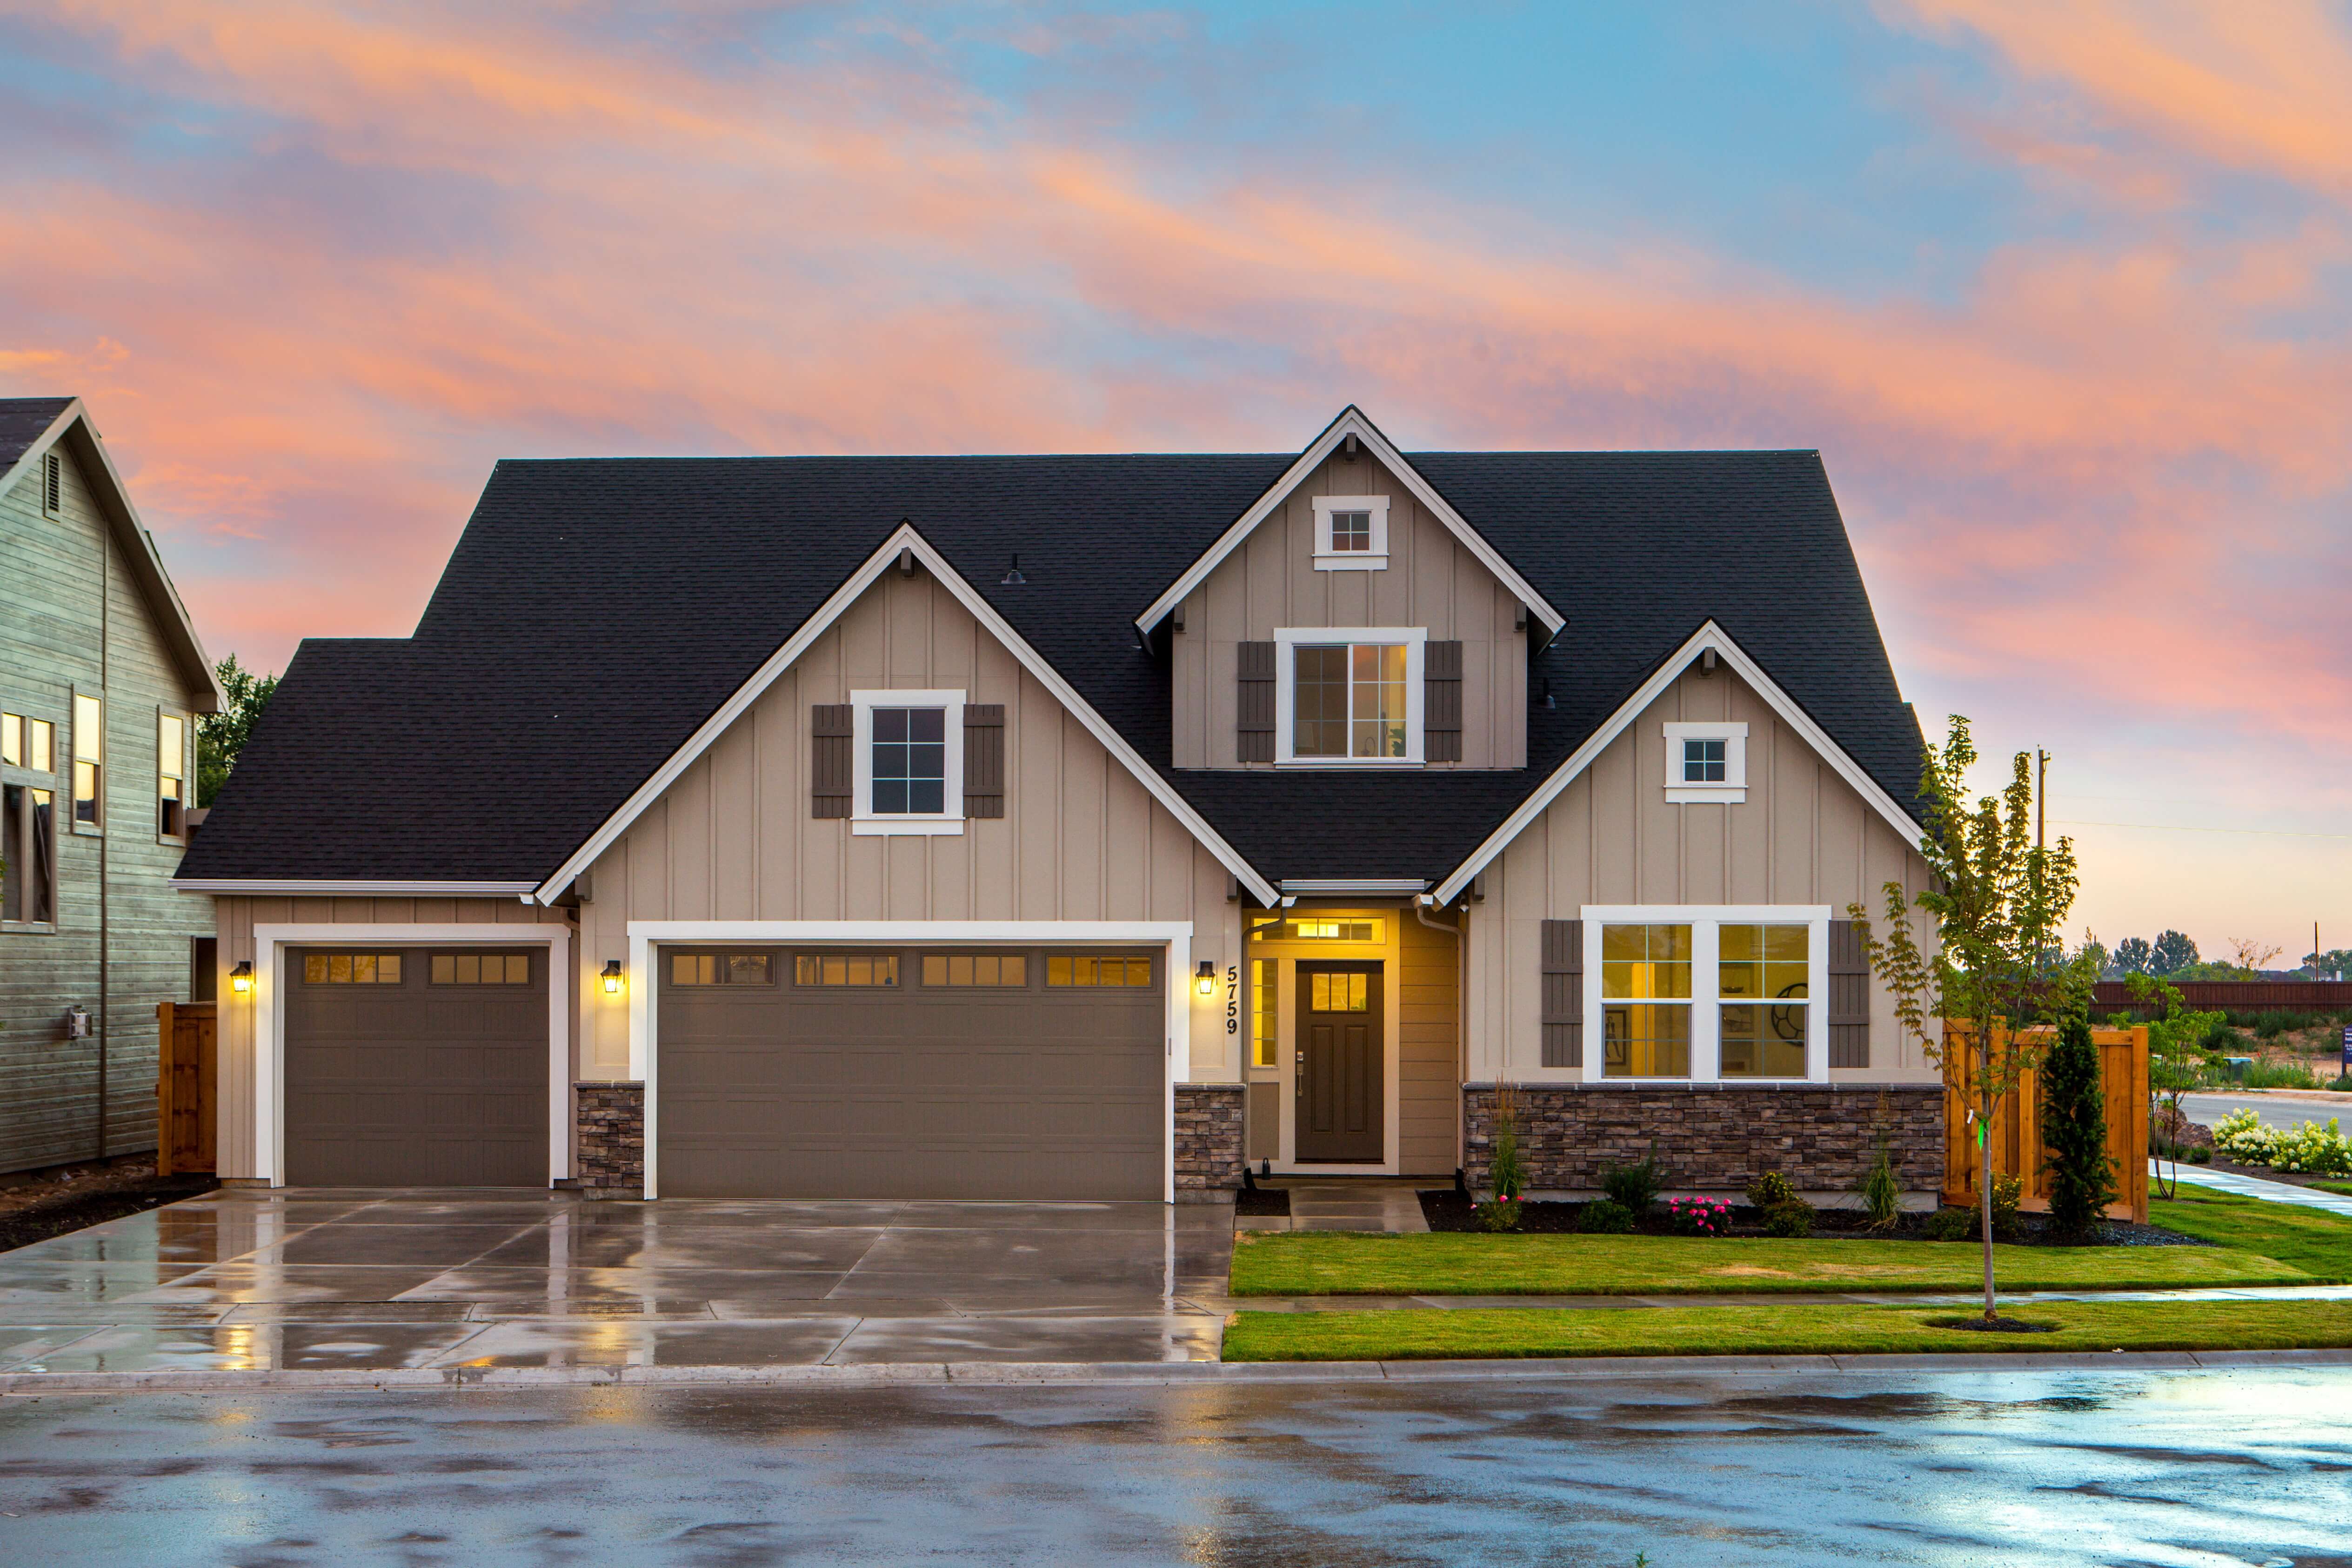
6. Freshen up Your Landscaping:

It doesn’t take much of a break from yard work to cause your landscaping to fall a bit behind the curve. If you plan to sell your house, however, freshening up the landscaping is a great way to not only increase the value of your home but doing this will also more than likely help you sell your home more quickly. Let’s face it, your front and back yards are the first thing a prospective home buyer will see when they enter the property, so it is definitely a first impression builder. You can quickly and affordably freshen up your landscaping by getting rid of the junk or needless yard debris, raking up leaves or trash, and trimming your shrubs, hedges, and trees. It is also a great idea to plant fresh shrubs or flowers, add bark dust or garden pebbles to plain dirt covered areas, and edge your grass line. All of these tasks can be done yourself and will definitely add more equity to your home’s overall value.

7. Fix Any Plumbing Issues:

Plumbing

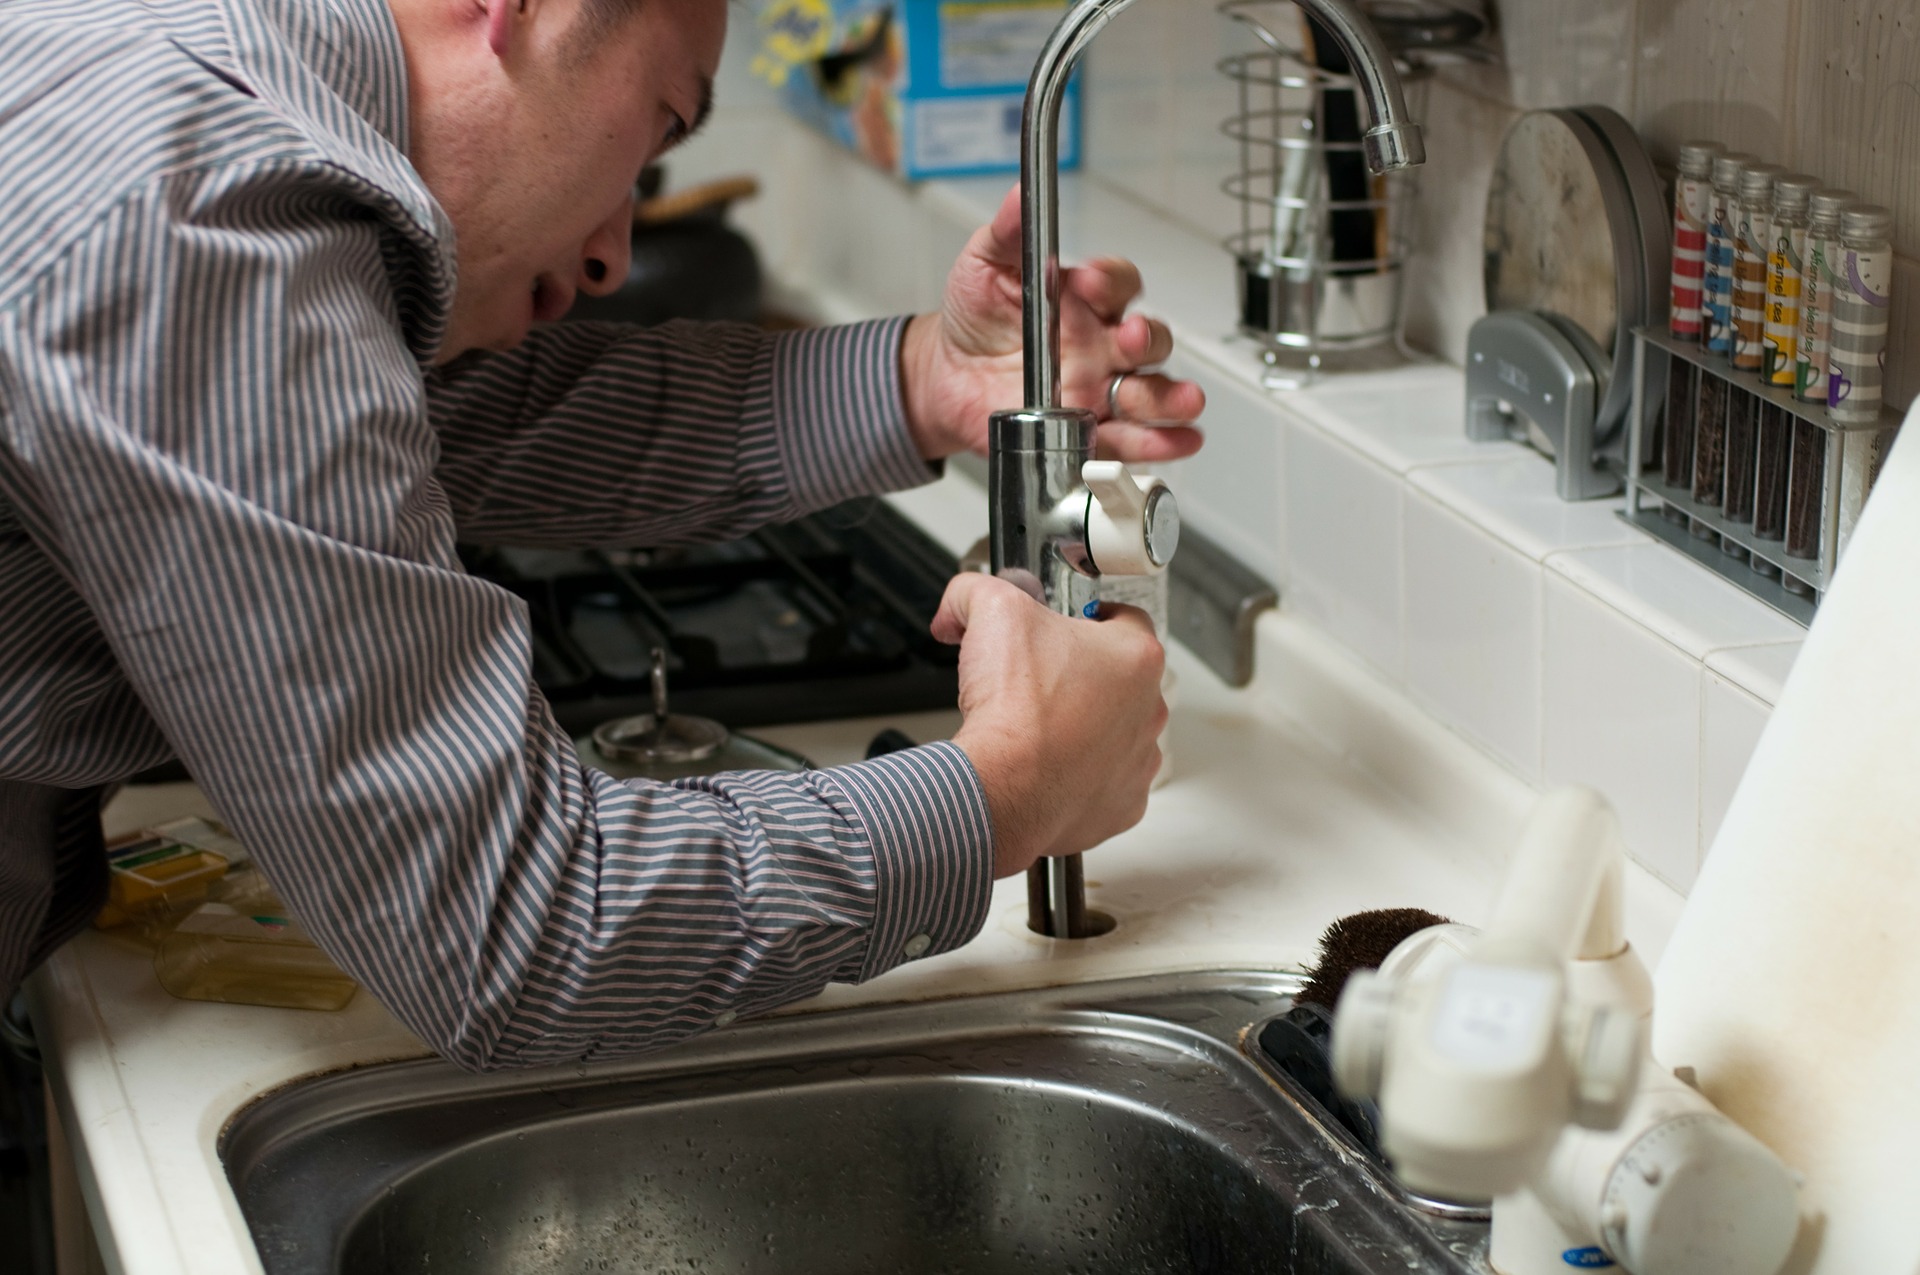
Nearly every home out there is going to accumulate plumbing problems over time. These problems could be a leaking faucet, clogged drain, leaking sink pipe, malfunctioning toilet flush, or even a basement pipe leak. Whatever the problem is, you will need to fix it if you plan to sell your home. A house with perfectly functioning plumbing and zero problems is going to be extremely attractive to any prospective home buyer. Making these repairs will also dramatically increase the value of your home, whereas numerous plumbing problems could do the opposite and sink your home’s value.

Read Also:

Content Rally wrapped around an online publication where you can publish your own intellectuals. It is a publishing platform designed to make great stories by content creators. This is your era, your place to be online. So come forward share your views, thoughts and ideas via Content Rally.

View all posts

Leave a Reply

Your email address will not be published. Required fields are marked *

Related

Modern Flooring Designs

Ideas for Modern Flooring Designs for Home Improvement Plans

It is essential to make the right decisions when coming up with the design for a modern home. On the other hand, it is easy to transform old houses by the type of floor you decide to use. Most people will probably overlook it when planning for their house. The main reason is that homeowners do not know what they can choose for their homes. However, herringbone flooring can alter the floor's architectural design in your house to make them adaptable to your lifestyle. There are various types of materials that a person considers for flooring in buildings. The suitability of each option changes according to the room needs. For example, spaces where people visit a lot, like corridors and living rooms, can have wooden floors as they are resistant to wear. The bedrooms can differ from the rest of the house by using cozy materials for flooring. Ideas for Modern Flooring Designs The design of floors will mostly depend on the appearance that a homeowner wants. It will also depend on the budget for the home improvement plan. Here are some popular types of flooring systems; Wood Modern houses will utilize wooden floors for main rooms. It is an ancient technique that does not go out of style and remains a choice for many. Hardwood floors are durable and stylish. The raw material comes from indigenous trees like oak, maple, and walnut. Maintaining wooden floors is easy as you need to dust the spaces and use a recommended wood cleaner. Avoid exposing the floor to water as it can destroy the material if left wet. However, other artificial ones incorporate acrylic in making the floor resistant to water and moisture. Tiles Ceramic tiles are standard features in houses. It is a versatile material that is available in different colors to suit other preferences. There are different kinds of tiles, and it is crucial to ensure you purchase one to use on floors and not walls. The material is easy to clean and maintain. However,  it makes the house cold compared to other forms of flooring systems. Laundry spaces and the bathroom are ideal rooms for tiling. While there are many brands that you can choose form, few will be able to give you the quality, style, durability, and affordability as Zia’s ceramic tile collection. They have options to suit everyone’s budgets. Depending upon the wall color and the décor of the room, you can mix and match the tiles. Concrete These types of floors have been existing for a long but are still adaptable to new house designs. They are ideal for contemporary houses as one can polish them to get an elegant appearance. Modern building techniques refine concrete to come up with patterns as decorations. Vinyl PVC is the raw material for the Vinyl flooring system. Walking on the floors is much more comfortable than the other forms above. It also aids in keeping the house warm, and it is resistant to the negative impact of moisture on flooring systems. Laminate It uses fiber and plywood to develop a veneer that technicians install together to form the flooring system. Laminate floors have a plastic coat that can resemble wood or concrete. Conclusion Apart from the above types of flooring techniques, there are other options available. They include the use of bamboo and cork in flooring. You can also carpet the space. Read Also: How to Protect Your Wood Flooring in a Busy Household What you must know about wood flooring? How Long Does Vinyl Flooring Last? 7 Advantages of Reflective Epoxy Flooring Use Floor Polishing for Keeping Your Flooring Looking New List of Most Durable Kitchen Flooring Hardwood Timber Flooring: Gives a Classic Look to Your Home  

READ MOREDetails
Using SIP

The Key Benefits of Using SIPs to Build a Home

Construction methods have changed drastically over the years. Fortunately, every new technology developed aims to improve on past processes to ensure that each completed building is not only structurally sound but also provides the best comfort, functionality, aesthetic value, and sustainability. To further ensure that building methods do not result in more significant damage to the environment, more contractors and builders these days opt to use SIP panels. Structural Insulated Panels are typically installed as walls, flooring, and roofing for residential homes, commercial buildings, and public projects such as schools and community halls. There are many benefits to using SIP panels. These are: Superior thermal insulation: Insulation is key to ensuring that a building or home does not waste energy used in cooling and heating. One of the key advantages of using SIP panels over traditional building methods is the excellent insulation they provide. The solid foam core inside each SIP panel is responsible for even insulation, thus preventing cold spots and reducing HVAC system energy consumption. Additional roof space: When you use SIPs instead of roof trusses, the additional space created is ideal for converting into another living area such as an attic, or an extra room. Added floor space: SIPs houses have more internal floor space than traditional wooden frame houses. If you compare two houses with similar dimensions, the one built using SIPs takes up smaller sections of the wall, and there is extra floor space in most areas around the house. Sustainable and environment-friendly: Most of the wood used to produce SIPs come from plantations and not forests. Using wood from plantations ensures that production remains sustainable and is better for the environment. Some manufacturers also fabricate SIPs from a combination of recycled material and farmed wood. It is also notable that even the foam insulation core inside a SIP panel does not contain any CFC or other harmful chemicals. Faster construction: Constructing a home using SIPs is approximately three times faster than traditional construction methods. Since you won’t be working with wet cement or laying down concrete blocks and bricks, the contractor can easily calculate how long it will take to complete an entire project. Versatility: Architects can use CAD software to design using SIPs and create a variety of applications whether it is residential or commercial. SIPs are also customisable to meet specific building requirements concerning structural strength. Compared with wooden framework buildings, SIPs buildings appear more robust and stable. The rigid surface also allows for hanging indoor fixtures such as kitchen cabinetry without requiring additional fixings. Conclusion: Building with SIPs is a trend that is only bound to increase in popularity as more people are becoming increasingly conscious about saving the environment and saving money at the same time. The benefits outlined above are only a few of the reasons why SIP panels should be considered for every construction. Although traditional building methods are still popular today, you can easily combine SIPs with conventional construction and start enjoying the additional benefits of a well-insulated and structurally sound home. Read Also: Interiors To Reduce The Heat Build-Up In Your Homes Five Ways To Improve The Air Quality Inside Your Home

READ MOREDetails
how to install faucets

How To Install Faucets And Sinks

Installing a new sink is an uncomplicated and quick task. The process is relatively easy, and you can do the installation part by yourself with a bit of experience. Then how to install faucets? Though some complicated kitchen faucets require professional installation, many of the kitchen fixtures can be installed easily.  Here is a guide on how to install faucets and sinks.  Materials Needed   In order to install the kitchen faucet and sink set, you will need the following list of things: a sink, a faucet or tap, a basin wrench, a strainer set, pump pliers, a screwdriver, a crescent wrench, a spatula, plumber's putty, silicone sealant, a bucket, a flashlight, and a set of towels.  How to install faucets, and this reason is nearby if you wish to enlarge the opening within the countertop. It is also necessary to know how to clean bathroom sinks to maintain hygiene.  Step By Step Guide To Install Faucets And Sinks If you are looking for durable, sturdy, and premium quality faucets, it is best to choose Oltsw taps.  Here, we have mentioned the steps to know how to install faucets and sinks.  Step 1: Measure and mark the layout of the kitchen’s sink Place the counter's back edge in the center of the sink within its cabinet. If the sink contains a template, align it along the mark on the counter. This is the first step of how to install faucets. Place the back edge one and a half inches parallel to the counter. Trace around it; proceed to the subsequent degree. If there is no template, use 2-inch tape to stipulate the sink location. Mark the middle of the sink on its back edge. Lay the sink inverted on the counter. Align the mark on the sink and the one on the counter together.  Step 2: Mark the cut lines on the counter The cut line marking is the second phase of how to install faucets. The employing a straightedge to attach the marks, you will find yourself with an oblong outline on the counter of the sink's hole. To approximate the radius of the corner of the sink, round off the corners by hand. Take a slightly wider bit than the jigsaw blade (½-inch bit is typically enough). Then, at each junction of the cut-out lines, make sure to drill a hole inside the radius.  Step 3: Use a jigsaw to cut the sink opening Place a jigsaw blade into a front hole and cut along the marked line to the back hole. Repeat on the opposite side. Lay a scrap of wood some inches longer than the cut-out across the sink area. Screw through the piece and into the cut-out waste to stop it from binding the saw blade or falling. Cut along the cut lines marked at the front and back and remove the cut-out piece. Make sure that the fit of the sink in the countertop is set. If it is necessary, trim the opening with the jigsaw.  Step 4: Install the kitchen faucet Set the sink the wrong way up on a padded sawhorse or counter. Then, feed the tap's supply tubing and tailpiece through the gasket, which helps seal the faucet to the sink. Screw the washers and mount them on the lower side sink deck. This is the pre-final step of how to install faucets. Just make sure that the tap can swing for a whole area across the sink deck before tightening mounting nuts.  Step 5: Attach The Strainer Over Applied Putty Put the sink up, apply a thick roll of the plumber putty under the strainer edge, and push it up through the sink's drain hole. Slip the housing (if your strainer has one), gasket, and washer onto the filter and against the lower side of the sink. Dab the pipe-joint compound and expose the opening threads.  Thread the locknut onto the strainer by hand, then tighten it with pliers while holding the filter in situ. Fit the gasket onto the tailpiece of the sink drain and attach it to the strainer through its slip nut. Tighten the nut using a hand while holding the filter.  Step 6: Set the sink and connect the water supply Remove the tape, and pull it toward the center of the hole. With the sink still, the wrong way up, press a bead of silicone tapping around the lower side of the sink's brim. Turn the sink upright and set it on the hole of the countertop.  Make sure that the front of the sink is parallel with the front fringe of the countertop. Adjust it, if necessary. Next, use the corn-head supply tubes or the braided stainless-steel hoses to connect the tap and shut off the valves. Now, attach the required sprayer hose to the faucet's threaded tailpiece.  Step 7: Connect The Drain Pipes Assemble the trap adapter on top of the sink-drain tailpiece. Cut and dry-fit the length of the PVC pipe and attach the trap adapter to the trap and the drain elbow to the waste line. Then slide the web on the tailpiece to finely tune the length and alignment of the pipe.  Take the drain pieces apart. Clean the cut ends with a utility knife. Use a PVC primer to coat it and its mating pieces. Let it dry and hold for 30 seconds. Now you are finishing the process of how to install faucets. Conclusion The essential features of kitchens and bathrooms are the sink and faucets. The sink and faucets need to be installed properly to avoid any damage and issues later on. Taking this into account, we have mentioned how to install faucets with significant steps to be followed while installing sinks and kitchen faucets. Additional reading: Small Kitchen Storage Ideas Know About The Type Of Kitchens According To Different Size Different Types of Conversions to Make the Most of Spare space  

READ MOREDetails