Sunflowers are not only beautiful and cheerful, but they also produce delicious and nutritious seeds that you can enjoy as a snack or use in various recipes. Harvesting sunflower seeds is a fun and easy activity that you can do with your whole family. It is also a great way to teach your kids about nature, gardening, and healthy eating.
In this article, I will show you how to harvest sunflower seeds in a few simple steps, as well as some tips and tricks to make the most of your sunflower harvest. If you enjoyed reading my blog on harvesting lettuce, you will enjoy reading this one!
So, if that is what you are interested in knowing, I have you covered! Keep reading this blog till the end to learn more…
How to Grow Sunflower Seeds: A Simple and Rewarding Gardening Project?
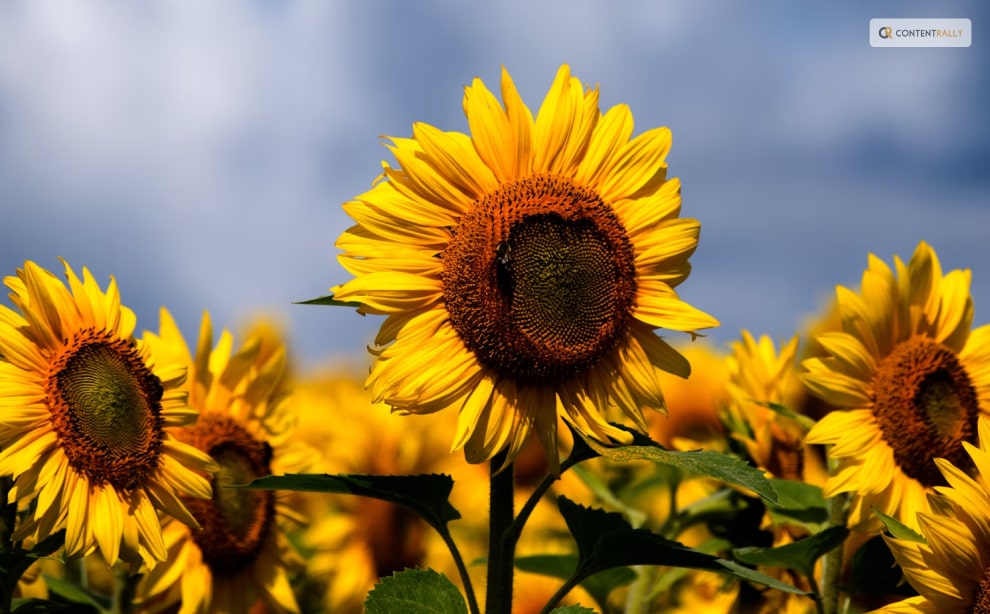
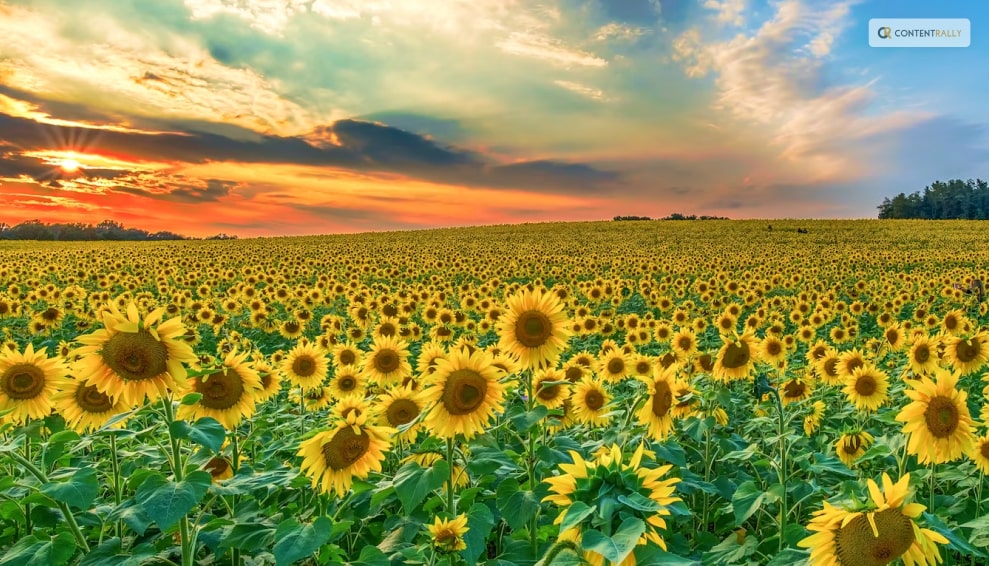
Sunflowers are one of the most iconic and cheerful flowers in the world. They are also one of the easiest and most rewarding plants to grow from seeds.
Sunflowers can brighten up your garden, attract pollinators, provide shade, and produce edible seeds that you can harvest and enjoy.
In this part of the article, I will show you how to grow sunflower seeds in a few simple steps, as well as some tips and tricks to make the most of your sunflower growing experience.
How to Choose Sunflower Seeds?
The first step to growing sunflower seeds is to choose the right seeds for your garden. Sunflowers come in a wide range of sizes, colors, shapes, and types. Some of the most common types of sunflowers are:
Giant sunflowers
These are the tallest and largest sunflowers, reaching up to 15 feet in height and 12 inches in diameter. They produce huge and heavy flower heads that are filled with large and plump seeds. They are ideal for creating a dramatic and impressive display in your garden, as well as for harvesting large quantities of seeds. Some examples of giant sunflowers are Mammoth, Titan, and Kong.
Dwarf sunflowers
These are the smallest and shortest sunflowers, growing up to 3 feet in height and 6 inches in diameter. They produce smaller and lighter flower heads that are easier to manage and maintain. They are ideal for growing in containers, pots, or small spaces, as well as for adding a splash of color and charm to your garden. Some examples of dwarf sunflowers are Teddy Bear, Sunny Smile, and Little Becka.
Colored sunflowers
These are the most diverse and colorful sunflowers, ranging from yellow, orange, red, pink, purple, brown, and even green. They produce medium-sized flower heads that are attractive and eye-catching. They are ideal for creating a vibrant and varied display in your garden, as well as for cutting and arranging in bouquets or vases. Some examples of colored sunflowers are Autumn Beauty, Moulin Rouge, and Lemon Queen.
Things to Consider While Choosing Sunflower Seed
When choosing sunflower seeds, there are several things that you need to keep in mind. For instance, you should also consider the following factors:
Climate and season of your area
Sunflowers are warm-season plants that need full sun and warm temperatures to grow and bloom. They are best planted in late spring or early summer, after the last frost, when the soil is warm and moist. If you live in a cold or frost-prone area, you can start your seeds indoors and transplant them outdoors when the weather is favorable.
Soil and water conditions of your garden
Sunflowers are adaptable and tolerant plants that can grow in most types of soil, as long as they are well-drained and fertile. They prefer slightly acidic to neutral soil with a pH of 6.0 to 7.5. They also need regular watering, especially during the germination and flowering stages. However, they can withstand some drought and dryness once they are established.
Space and support available in your garden
Sunflowers are large and sturdy plants that need ample space and support to grow and thrive. They should be planted at least 2 to 3 feet apart from each other and from other plants, to avoid overcrowding and competition. They should also be staked or tied to a fence, a trellis, or a pole, to prevent them from bending or breaking under their own weight.
How to Plant Sunflower Seeds?
Once you have chosen your sunflower seeds, you can proceed to the next step. Planting sunflower seeds is a simple process that involves preparing, sowing, and caring for the seeds. Here is how to do it:
Prepare the Soil
Prepare the soil by loosening it with a fork or a spade. Ensure that you remove debris, weeds, or rocks. You can also enrich your soil by adding some compost, manure, or fertilizer, to boost its fertility and drainage. Make sure the soil is moist but not soggy, and has a temperature of at least 50°F.
Sow the Seeds
Sow the seeds by making holes or furrows in the soil, about 1 to 2 inches deep and 2 to 3 feet apart. You can use a ruler, a stick, or your finger to make the holes or furrows. Drop one or two seeds in each hole or furrow, and cover them lightly with soil. You can also sprinkle some water over the seeds to help them settle in the soil.
Nurture
Care for the seeds by watering them regularly, but not excessively, to keep the soil moist but not wet. You can also mulch the soil with straw, grass clippings, or leaves, to retain moisture and prevent weeds. You should also protect the seeds from birds, squirrels, or other animals, by covering them with a net, a cage, or a cloche. You should also thin the seedlings when they are about 4 to 6 inches tall, by removing the weaker or smaller ones, and leaving only the strongest and healthiest ones.
How to Grow Sunflower Seeds?
After planting your sunflower seeds, you can watch them grow and enjoy their beauty and bounty. Growing sunflower seeds is a rewarding and satisfying experience that requires minimal maintenance and care. Here are some tips and tricks to grow sunflower seeds successfully:
Water
Water your sunflowers regularly, but not excessively, to keep the soil moist but not wet. Sunflowers need about 1 to 2 inches of water per week, depending on the weather and the soil conditions. You can use a hose, a sprinkler, or a drip irrigation system to water your sunflowers. You should water them in the morning or evening, and avoid wetting the leaves or the flower heads, to prevent fungal diseases.
Fertilizer
Fertilize your sunflowers occasionally, but not excessively, to boost their growth and flowering. Sunflowers need a balanced fertilizer that contains nitrogen, phosphorus, and potassium, such as a 10-10-10 or a 20-20-20 formula. You can apply the fertilizer once or twice during the growing season, following the instructions on the label. You should avoid over-fertilizing your sunflowers, as this can cause them to grow too tall and weak, and make them prone to pests and diseases.
Pruning
Prune your sunflowers occasionally, but not excessively, to improve their shape and health. Sunflowers do not need much pruning, as they are naturally self-pruning and self-cleaning. However, you can prune them to remove any dead, damaged, or diseased leaves, stems, or flowers, to prevent infection and improve air circulation. You can also prune them to control their height and spread, by pinching or cutting off the tips of the main stem or the side branches.
You should use clean and sharp scissors or pruners to prune your sunflowers and do it in the morning or evening when the plants are less stressed.
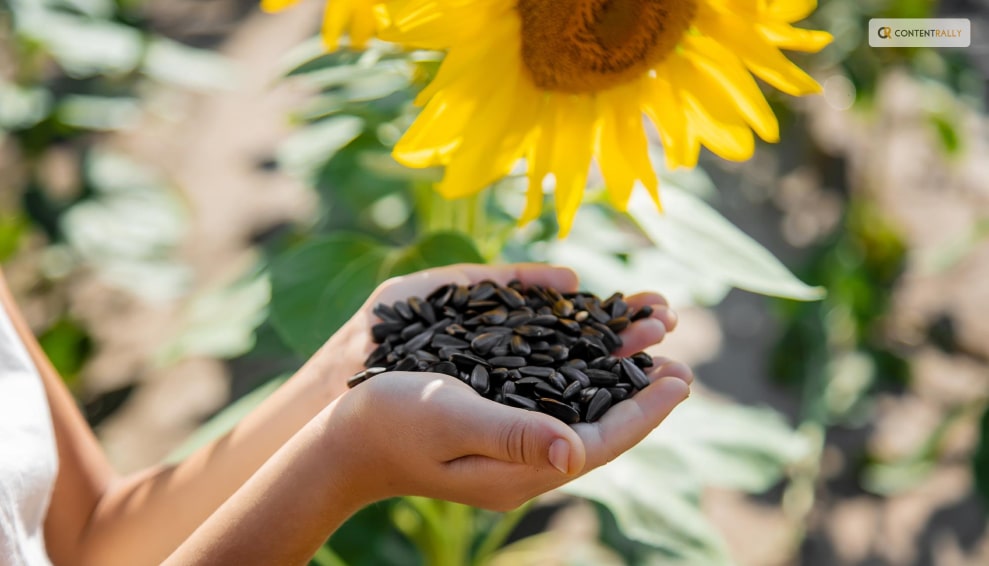
When to Harvest Sunflower Seeds?
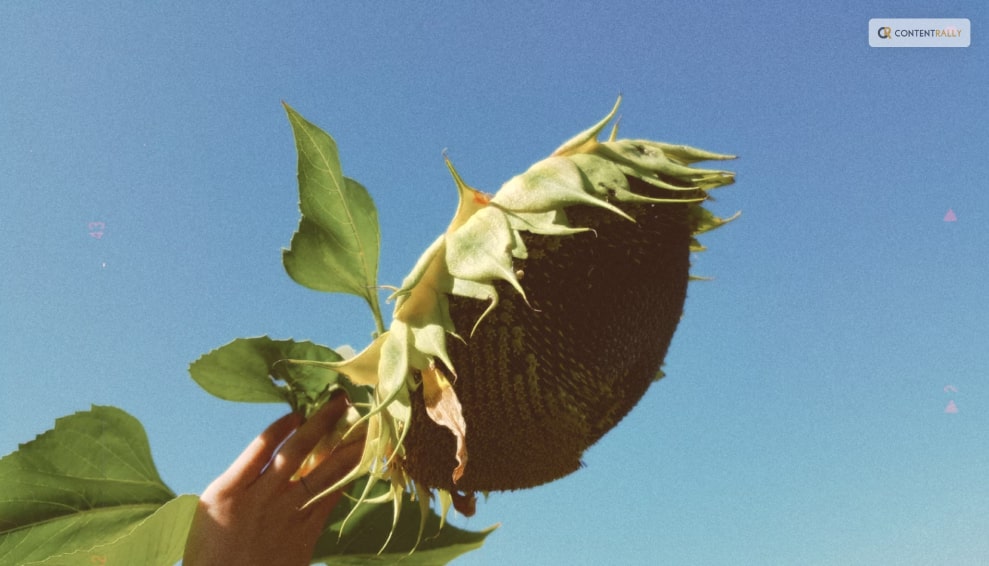
The first step to harvesting sunflower seeds is to know when they are ready. Sunflowers typically bloom in the summer and their seeds mature in late summer or early fall. You can tell when your sunflowers are ready to harvest by looking at their appearance and feel. Here are some signs that your sunflowers are ready to harvest:
- Petals have fallen off or turned brown.
- The back of the flower head has turned yellow or brown.
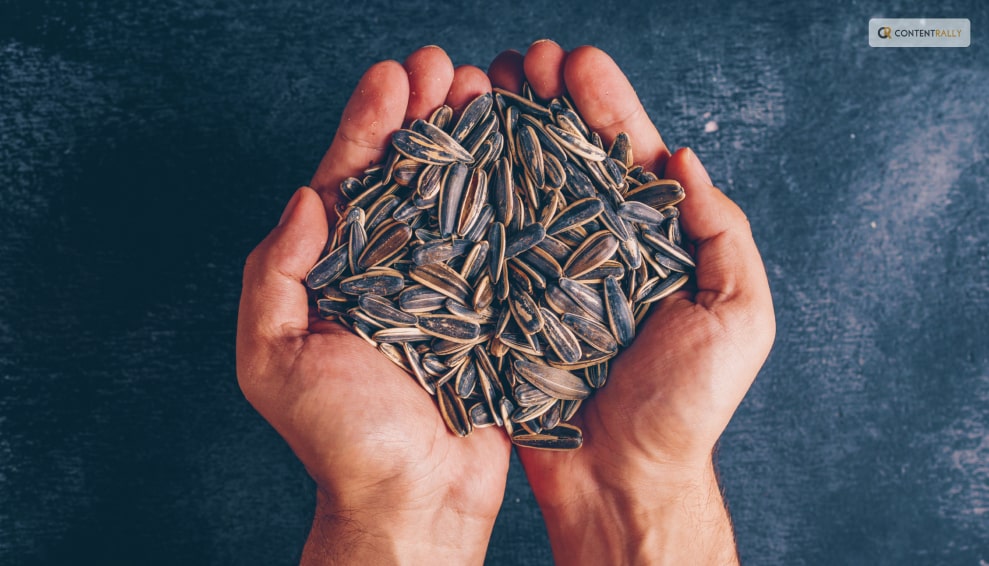
- Seeds have developed black and white stripes.
- The seeds are plump and firm to the touch.
If you are not sure if your sunflowers are ready to harvest, you can do a simple test by rubbing your thumb over the seeds. If they come off easily, they are ready to harvest. If they are still attached to the flower head, they need more time to ripen.
How to Harvest Sunflower Seeds?
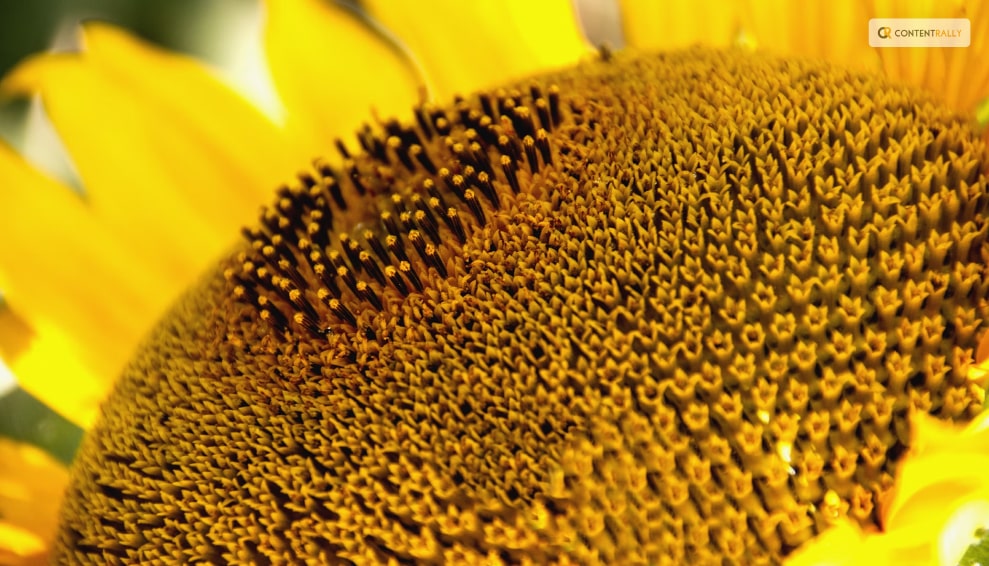
Once you have determined that your sunflowers are ready to harvest, you can proceed to the next step. Harvesting sunflower seeds is a simple process that involves cutting, drying, and storing the seeds. Here is how to do it:
- Cut the flower heads from the stems using a sharp knife or scissors. Leave about 12 inches of stem attached to the flower head for easier handling.
- Place the flower heads in a dry and well-ventilated area, such as a garage, shed, or porch. You can hang them upside down or lay them flat on a screen or rack. Make sure they are not touching each other to prevent mold and rot.
- Let the flower heads dry for about two weeks or until the seeds are completely dry and hard. You can check the dryness by biting or cracking a seed. If it is crunchy and not moist, it is dry enough.
- Remove the seeds from the flower heads by rubbing them gently with your hands or a soft brush. You can also use a fork or a spoon to scrape them off. Discard any debris, such as petals, leaves, or insects.
- Store the seeds in an airtight container, such as a glass jar, a plastic bag, or a metal tin. Label the container with the date and the variety of sunflower. Keep the container in a cool and dark place, such as a pantry, a cupboard, or a basement.
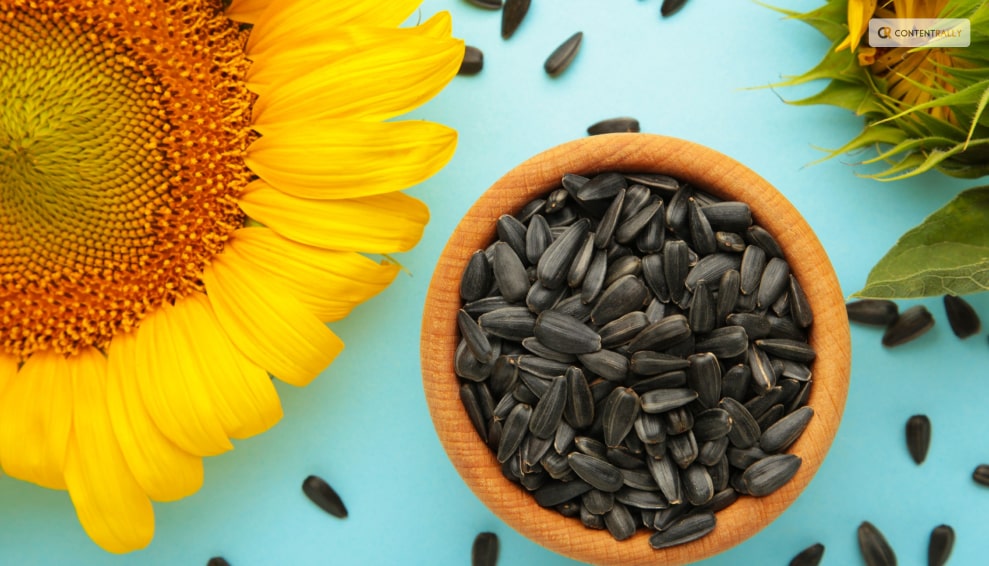
How to Enjoy Sunflower Seeds?
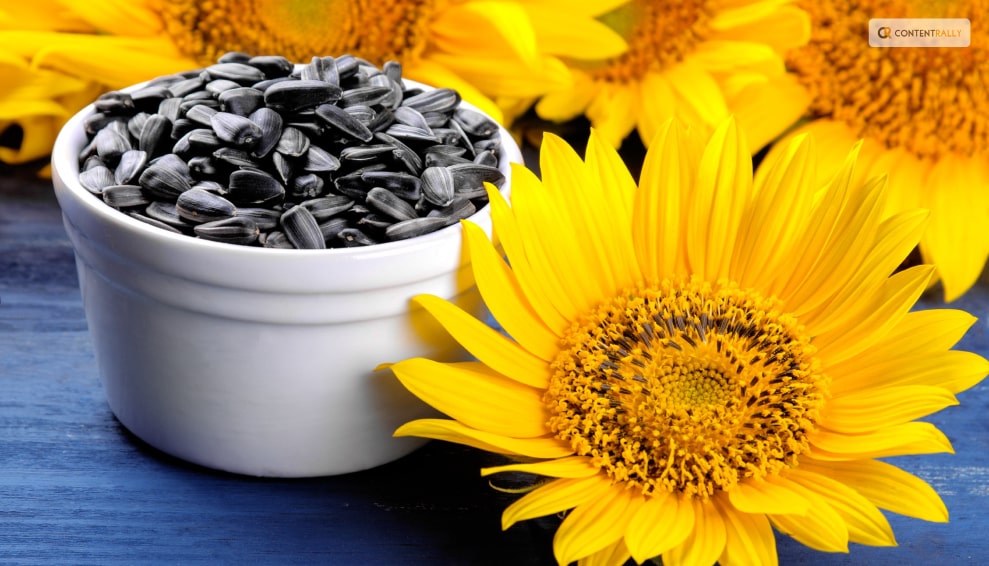
Now that you have harvested your sunflower seeds, you can enjoy them in various ways. You can eat them raw or roasted, salted or unsalted, shelled or unshelled. You can also use them in salads, soups, breads, muffins, granola, trail mix, pesto, butter, and more.
Sunflower seeds are rich in protein, fiber, healthy fats, vitamins, minerals, and antioxidants. They can help manage high cholesterol, blood pressure, and inflammation and boost your immune system, brain function, and mood. Here are some tips and tricks to enjoy your sunflower seeds:
Roast
To roast your sunflower seeds, spread them in a single layer on a baking sheet and bake them in a preheated oven at 300°F for about 15 to 20 minutes, stirring occasionally, until golden and crisp. You can season them with salt, pepper, garlic, onion, paprika, cumin, or any other spices you like.
Shell
To shell your sunflower seeds, you can use your teeth, your fingers, or a nutcracker. You can also soak them in water for a few hours to make them easier to shell. To remove the shells, you can blow them away with a fan, a hair dryer, or your mouth, or you can shake them in a colander or a sieve.
Sunflower Seed Butter
To make sunflower seed butter, you need to blend the shelled and roasted sunflower seeds in a blender until it turns smooth and creamy. You can add a little oil, honey, salt, or vanilla to enhance the flavor and texture. You can use sunflower seed butter as a spread for toast, crackers, or fruit, or as a dip for pretzels, celery, or carrots.
Pesto
To make sunflower seed pesto, blend roasted and shelled sunflower seeds with fresh basil, garlic, olive oil, lemon juice, salt, and pepper in a food processor or a blender until smooth and thick. You can use sunflower seed pesto as a sauce for pasta, pizza, or sandwiches, or as a dressing for salads or roasted vegetables.
Wrapping It Up!
Harvesting sunflower seeds is a fun and easy activity that you can do with your whole family. It is also a great way to enjoy the beauty and bounty of nature, as well as the health benefits of sunflower seeds. By following the steps and tips in this article, you know how to harvest sunflower seeds in a few simple steps, as well as enjoy them in various ways. I hope you found this article helpful and informative.
If there are any other queries related to the same, please feel free to let me know. All that yo need to do is scroll down till you reach the bottom of the page. Then leave your comments and suggestions in the box below. And I will be ether to answer them all for you!
Learn More About: