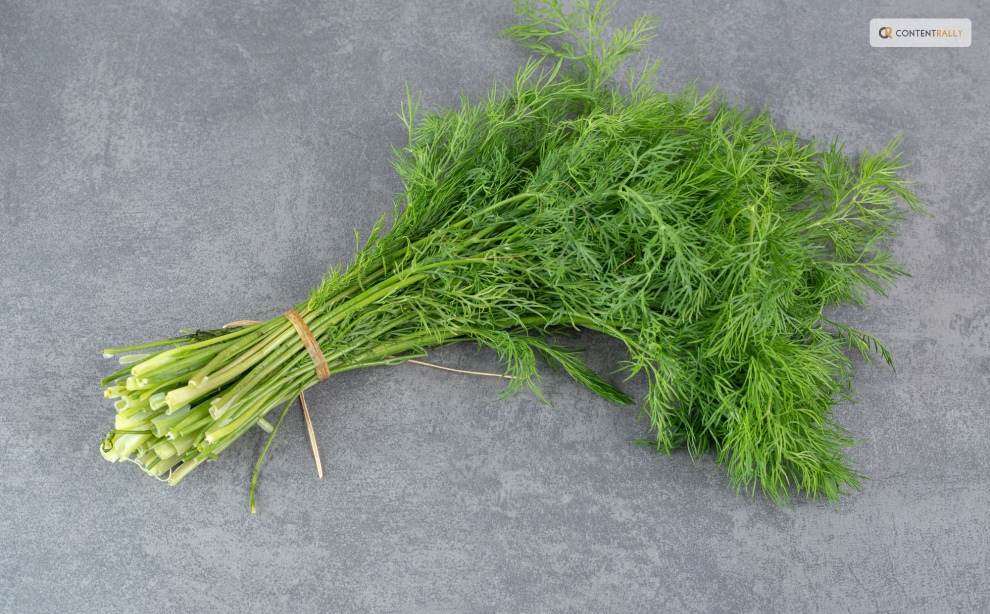
How to Harvest and Preserve Dill for Year-Round Use?

Published on: 12 March 2024 Last Updated on: 05 September 2024
how to harvest dill

The tender, fern-like leaves of dill almost beg to be touched. If you want to cook them, trim the fresh dill foliage and gather the seeds for pickling. Or you can chop the feathery leaves and yellow umbels for attractive bouquets of homegrown flowers.

In addition, black swallowtail caterpillars love to feed on it. Its tiny yellow blooms are great at drawing in a wide range of pollinators. Dill grows as an annual for summer harvests in USDA Hardiness Zones 2–8. In other parts, it may self-seed and is hardy in the winter in Zones 9–11.

Here is everything you need to know about how to harvest dill. Keep reading for a comprehensive guide.

How to Harvest Dill?
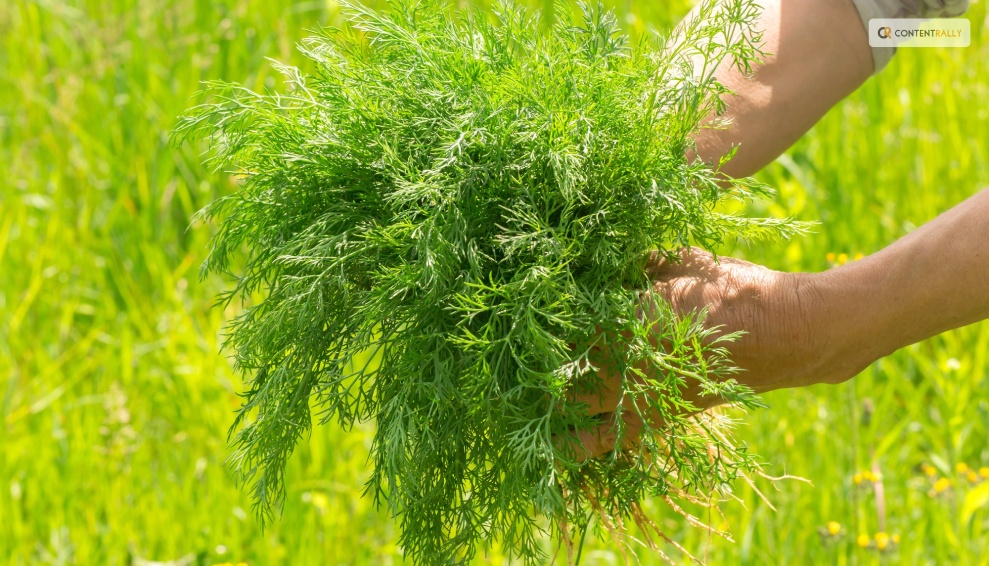
Harvesting Dill

Fresh dill clips easily, but it soon starts to droop. Sounds familiar to Cilantro, right? Its flower umbels may look lovely in a mixed bouquet, but after a few hours, don’t be shocked if they start to wilt. When harvesting dill for recipes, use it as soon as possible because its flavor starts to fade after a few days.

Cut off the flower stalks of dill after the yellow blooms have faded but before the seeds start to ripen and come away from the umbel. Cover the entire flower head with a small paper bag that has a few tiny holes for ventilation.

Hang the plant upside down in a cool, dry place. Watch for the seeds to fall and collect them in the bag’s bottom. The seeds should be kept in a cool, dry, and dark area in an airtight glass container.

When and How to Plant Dill?
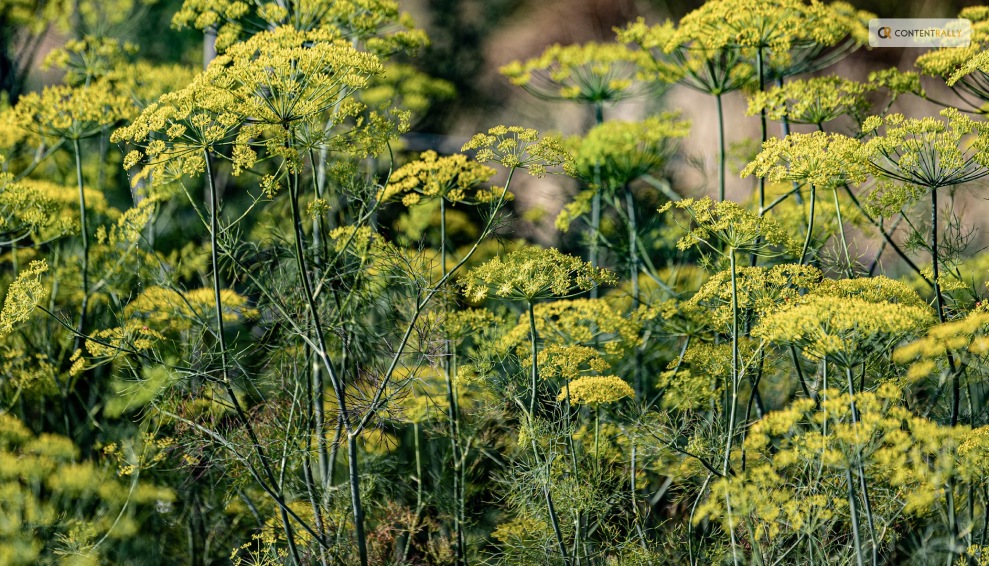
When and How to Plant Dill

Dill grows best outside and is simple to start from seed. Plant the seeds directly into the ground, 1/4 inch deep and spaced 1 to 2 inches apart, in the springtime following the last frost. If you want the dill plants to be able to self-sow, plant the seeds in tufts so the seeds can fall and sprout the following year.

Or you can plant them in rows spaced about 6 inches apart. You might want to think about succession planting if you want a reliable supply of dill. During the growing season, start by planting a small number of seeds from the packet at a time and then a few more every week.

Typically, seeds take 7 to 14 days to germinate. Also, dill can be grown from transplants grown in nurseries planted in the ground or in containers in spring. You can plant dill outside a few weeks before the last predicted spring frost because it can withstand light frost.

To achieve lush growth and stop crowded seedlings from producing seed heads, which stops the production of foliage, thinning is essential. Every 12 to 24 inches, reduce the number of seedlings to just the strongest one once they reach 3 or 4 inches in height.

As they get bigger, some start to flop. Plants can be kept upright by placing a stake or a sturdy twig in the ground close to the plant’s base. To loosely secure the plant to the stake, use garden twine.

You can start the dill seeds indoors four to six weeks prior to the last frost. And you can move the seedlings to the ground once the risk of frost has passed. Transplanting mature dill does not work well, so plant your seedlings where they will be able to grow and thrive.

Where To Plant Dill?
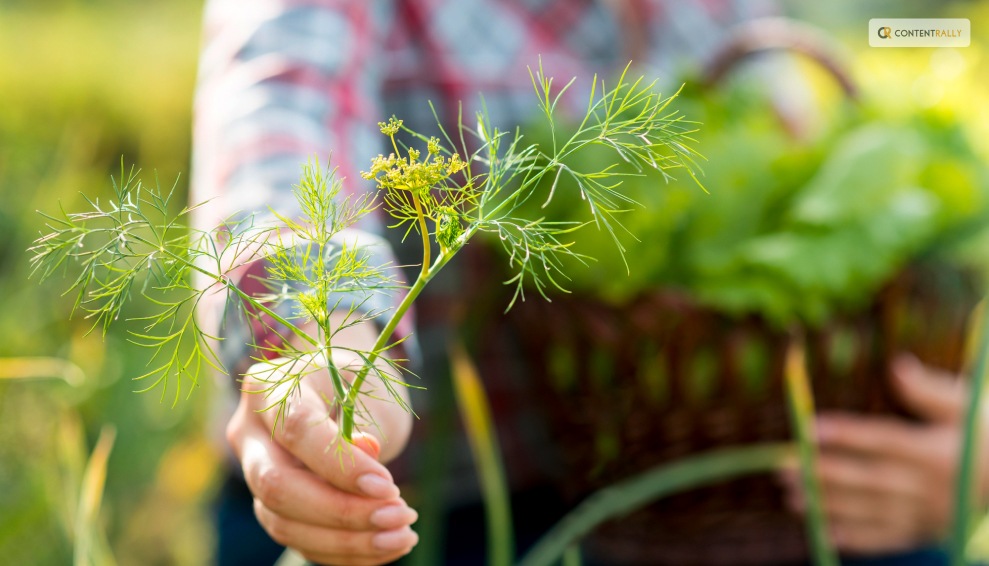
Where To Plant Dill

Dill should be planted in a spot with well-drained soil and at least 6 to 8 hours of daily full, direct sunlight. Particularly for cottage gardens, the delicate foliage gives garden beds and borders textural interest. Choose a location for your dill that will shield it from the wind if possible.

Just like spinach, high winds can easily damage its stalks if you do not stake the dill. You can plant dill’s fragrant foliage in perennial garden container plantings. Or you can plant them alongside other herbs or vegetables in a traditional kitchen garden.

In an edible garden, cruciferous vegetables such as Brussels sprouts, collard greens, broccoli, and cabbage are good companion plants for dill. Dill draws beneficial insects like ladybugs and bees and drives away common brassica pests like loopers and cabbage worms.

But avoid planting dill close to carrots. Carrots can be stunted by dill, and because they are closely related, dill can cross-pollinate with carrots to produce inferior hybrid plants. Planting dill close to tomatoes is also not recommended.

Mature dill will probably stunt your tomatoes’ growth, even though some studies have indicated that tomatoes and dill can be beneficial companions when they are young.

How to Propagate Dill?
How to Propagate Dill

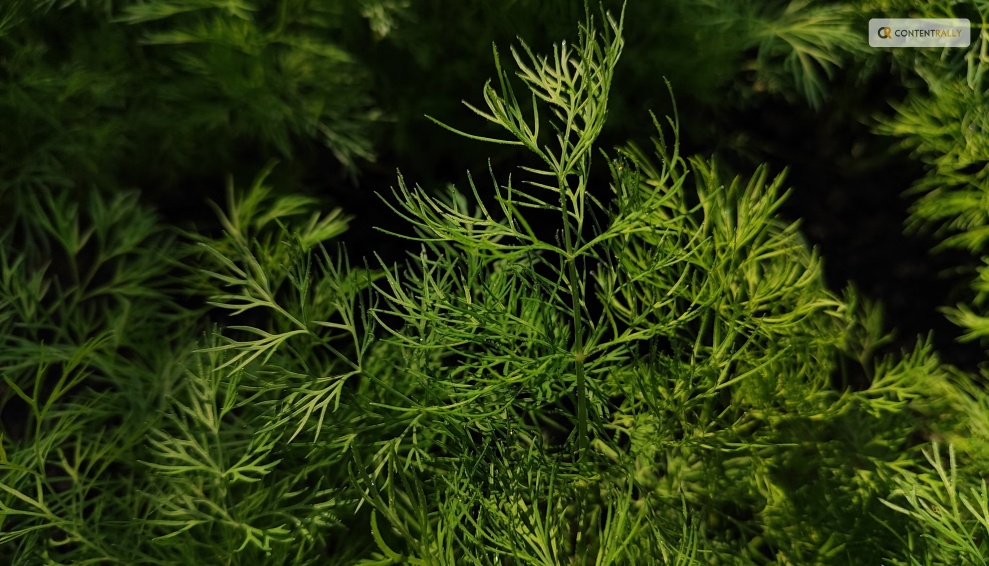
Seed is the most effective method of dill propagation. Cuttings can also propagate Dill, though this isn’t as dependable.

Seed: Direct sow the dill seeds in early spring at a depth of 1/4 inch in a prepared garden bed. Dill does not tolerate transplanting well. Thin the seedlings so they are 12–24 inches apart when they are 3–4 inches tall.

Cuttings: Using shears or scissors, cut off the stem with at least 3 to 4 inches of new growth to take a dill cutting. Place the cutting in a water-filled container, making sure to remove any leaves below the water’s surface, and allow the roots to grow for two to three weeks.

Fertilizer and rooting hormones are not required. Plant the dill in a container or on the ground once the roots are 2 to 3 inches long.

Is Dill a Type of Weed?

No, I am not talking about WEED weed (read: marijuana). Although dill isn’t technically a weed, some individuals and spice companies call the plant dill weed, possibly due to its feathery leaves. Dill weed is a dried or fresh foliage plant. Flower umbels are yellow and used to make dill seeds.

How Should Dill Be Stored for Optimal Quality?
How Should Dill Be Stored for Optimal Quality

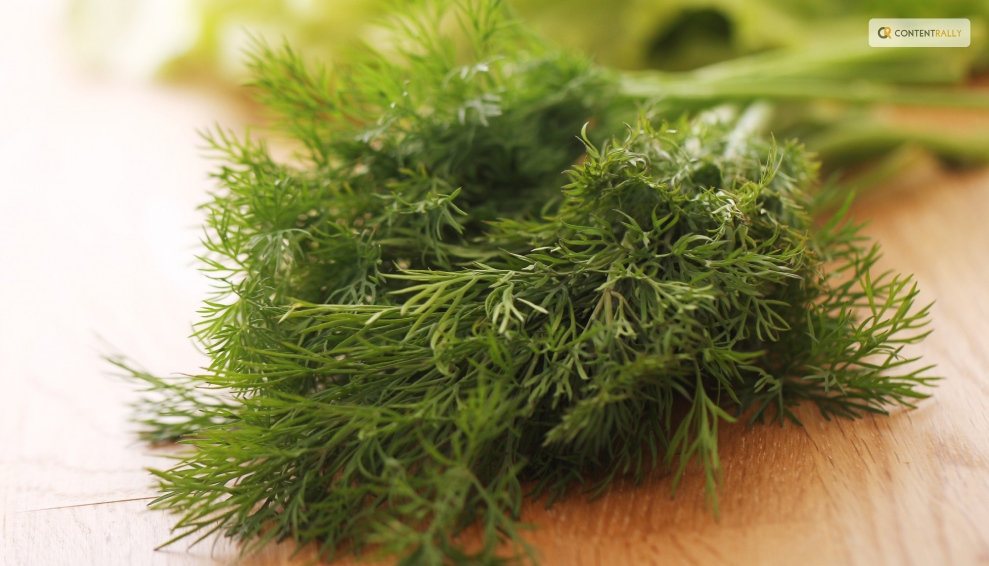
You can keep fresh dill in the fridge by wrapping its leaves in a moist paper towel. Or you can tuck its stems into a container of water. Fresh dill can be frozen by submerging it in water in ice cube trays. Place the cubes in cooked dishes that have enough moisture to withstand them.

Dill seeds and leaves can also be easily dried for later use, though the flavor is a lot more muted.

Water and Soil

Sow dill in soil that is moist but well-drained. If there is a lot of clay in your soil, add organic matter to the top few inches to aid in drainage. If you have trouble with poor soil drainage, plant this herb in raised beds or containers. Growing dill requires proper irrigation.

As the seeds germinate, keep the soil evenly moist. Dill plants require one to two inches of rain or extra water each week once they begin to grow.

Humidity and Temperature

Dill tolerates temperatures as low as 25ºF, but 70ºF is the ideal temperature for it. Dill often bolts, sending up flower stalks to set seeds when temperatures rise. This annual herb dies after it flowers and produces seeds. Get rid of the flowers to prolong the plant’s growing season.

Apply Fertilizer

While most herbs, including dill, don’t require extra fertilizer, you can give them once or twice during the growing season by applying a balanced 10-10-10 fertilizer. When planting, either mix a liquid fertilizer with water or etch a time-release fertilizer into the soil.

Refer to the product label for instructions on how much to use.

Trimming

Dill should be pruned early in the growing season to prevent limb bending. Cut off the top leaves of the plant to promote more growth of the lower leaves. Food preparation and cooking can be done with anything that has been pruned.

Repotting and Potting

You can grow dill in pots on a sunny balcony or deck, even if you don’t have an outdoor garden. Due to the deep taproot that dill plants have, choose a container that is at least 12 inches deep. Because clay and terracotta pots don’t retain as much moisture as plastic or glazed ceramic pots.

They are ideal for growing dill. Make sure the container you select has good drainage and is big enough to allow you to space your plants 12 to 24 inches apart. It is best to start over in a new, larger container. Especially if your dill plant outgrows its current one because it does not take well to transplant.

If the temperature where you are planting is not too high, you can keep planting seeds into the summer.

Types of Dill
Types of Dill

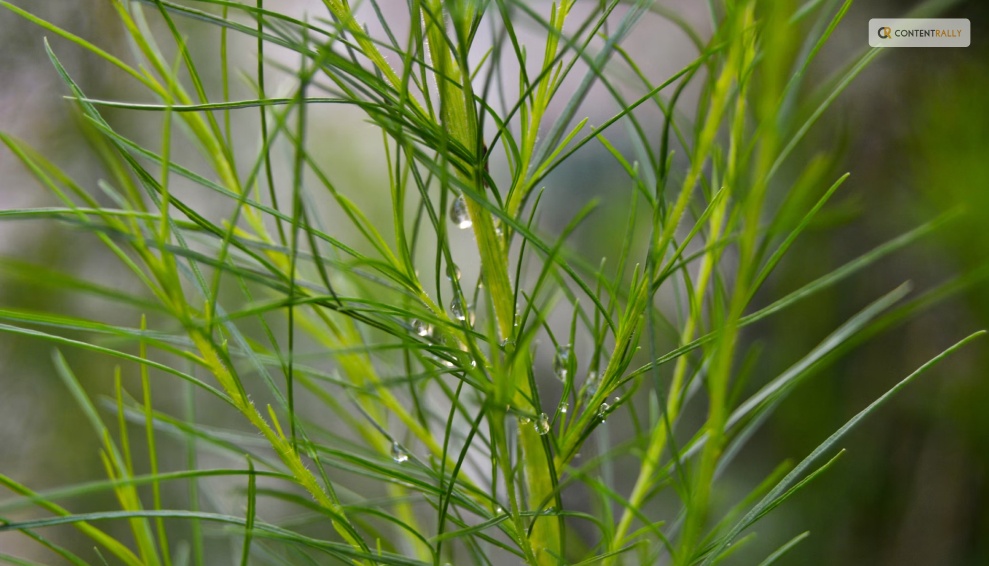
Dills can be of many types with each of their distinct looks and flavors. Here are the three different types of dill you can grow in your kitchen or backyard.

Long Island Mammoth

Also known as Long Island Mammoth this one is an old-time favorite. Its fern-like leaves can be dried and stored for a long time, or they can be harvested fresh. It produces big clusters of yellow flowers with flat tops. They turn into brown seed heads, and they can reach a height of five feet.

Fernleaf

Grown to a height of only 18 inches, Anethum graveolens, or Fernleaf, is a highly productive dwarf variety. It works well in container gardens or small in-ground beds. Its feathery, delicate foliage has a great flavor of dill. From midsummer into fall, it blossoms.

Bouquet

The ‘Bouquet’ cultivar produces plants up to thirty inches tall with fine bluish-green foliage. The enormous, six-inch-diameter yellow flower heads are ideal for drying, creating an enduring arrangement. Or you could chop them for fresh floral arrangements.

How to Keep New Dill Fresh?
How to Keep New Dill Fresh

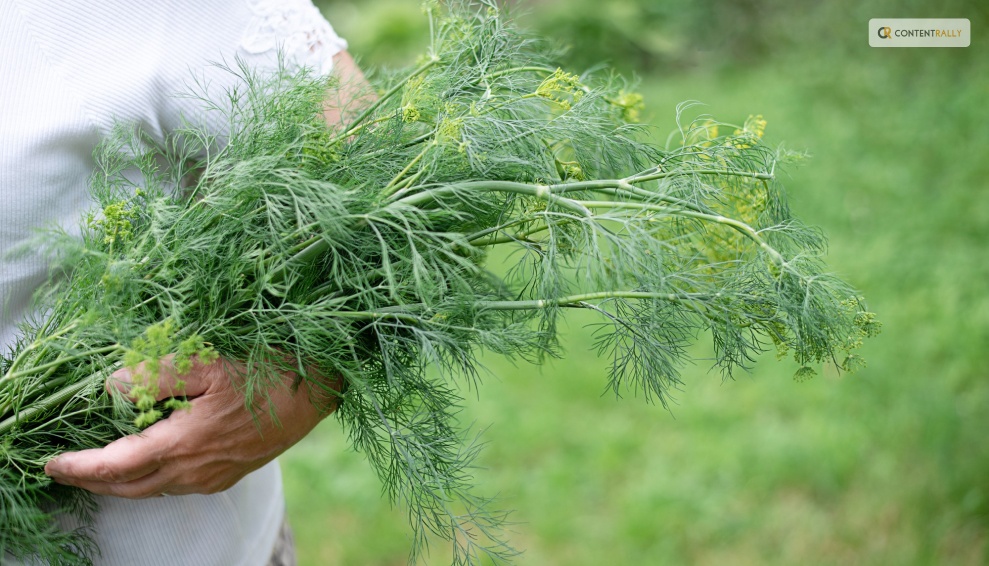
Dill weed quickly wilts after harvesting and gradually loses its distinctive flavor and aroma. If you know how to store your freshly harvested dill, this shouldn’t be a problem. Here are two straightforward techniques that you can use:

Put It in the Crisper Drawer of the Refrigerator

Loosely wrap the recently cut and cleaned leaves in damp kitchen towels before putting them in a container or sealed bag. Put the container in the crisper drawer of the refrigerator, which has a lower humidity than the other sections of the appliance.

Utilize the herbs before they begin to wilt and dry out, which should happen in a few days.

Put It in Water

To make this method function, when harvesting the herb, you must cut off the entire stem. After gathering the stems, put them in a glass of water and seal the opening with a plastic bag. Every day, change the water. Unlike potatoes, dill leaves can remain fresh for up to a week when stored in this manner.

How to Freeze Fresh Dill?
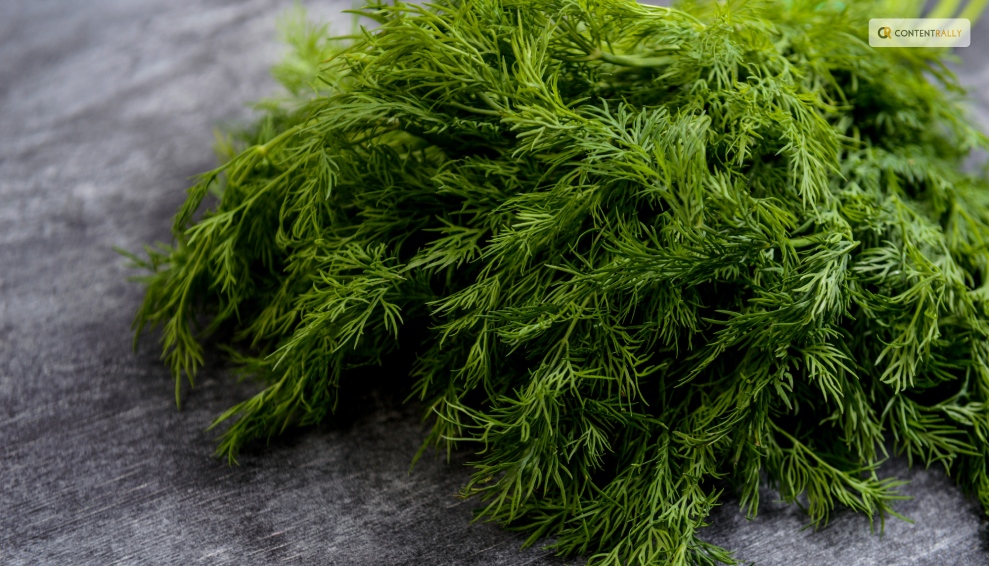
How to Freeze Fresh Dill

Freezing is the best way to preserve extra dill for later use if you’ve harvested more than you can use at once or in a few days. Dill freezes most effectively when chopped into smaller pieces and added to ice cube trays with just enough water to cover the freshly minced dill.

This allows the herbs to be kept for four months or longer. This will ensure you always have dill on hand for when a recipe calls for it.

How to Dry Fresh Dill?
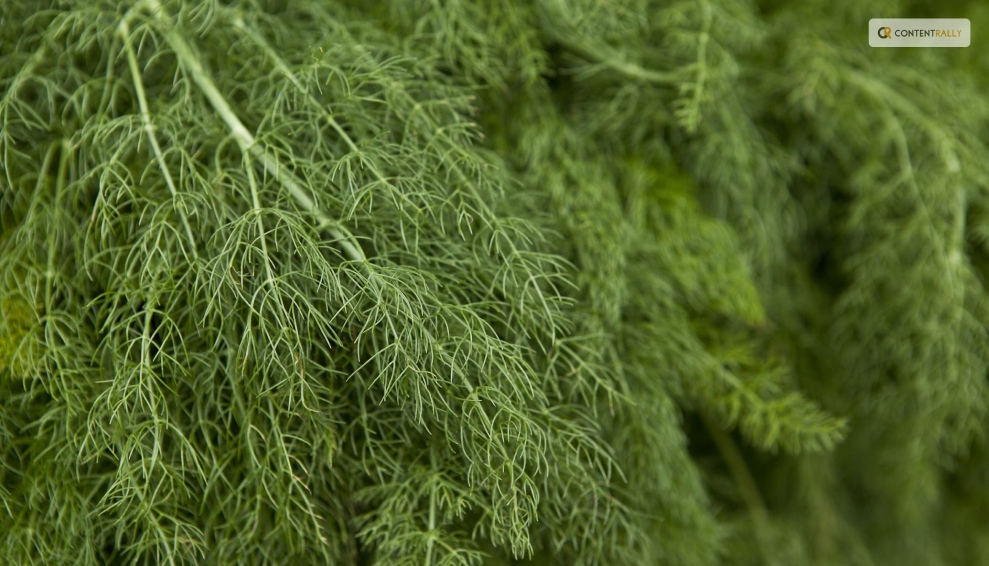
How to Dry Fresh Dill

Dried fresh dill is a popular method if you’re searching for another way to store dill for a long time. The herb has many uses, even though it won’t have as much flavor as when it’s fresh or frozen. All year long, you can use it as a herb in cooked dishes or to make tea.

Stick to hang-drying if you don’t want much of the flavor to be lost. This is a very easy method to use. All you must do is gather a few dill leaves and then bind them with a string. Later, place them in an area with adequate ventilation upside down.

 Place them in an airtight container once they’re crumbling and dry. Even though fresh dill is always preferable, make sure to save some for later use. Particularly if you don’t have a year-round indoor herb and spice garden.

Wrapping Up

Growing dill is a great way to add flavor to fish and seafood dishes. A little goes a long way because fresh dill leaves have a strong licorice flavor. It is best that you add dill toward the end of cooking, in salads, or as a garnish for soups. Because once cooked, it tends to lose its flavor.

If you have thoughts to share or questions to ask about how to harvest dill, please leave a comment below. We would love to hear from you!

Read Also:

Ankita Tripathy loves to write about food and the Hallyu Wave in particular. During her free time, she enjoys looking at the sky or reading books while sipping a cup of hot coffee. Her favourite niches are food, music, lifestyle, travel, and Korean Pop music and drama.

View all posts

Leave a Reply

Your email address will not be published. Required fields are marked *

All Comments

Wow, this article is pleasant, my sister is analyzing such things, therefore I am going to let know her.

Related

Potting Bench

How To Arrive At The Perfect Choice Of A Potting Bench For Your Gardening?

A potting bench provides a good-sized work surface and a designated place to keep your tools and supplies organized. It is a must-have staple if you take gardening seriously. It saves your back from stooping over low work surfaces and can double as an outdoor bar. There are tons of potting benches out there. So how do you pick one that is perfect for your needs? Keep reading, and you will find out in a bit. How To Arrive At The Perfect Choice Of A Potting Bench For Your Gardening: Height: One of the advantages that potting benches offer is the ability to work without bending over. This means that the height of the ideal potting bench should be something around that of an average kitchen sink or counter. This can be something in the range of 36 inches. That said you may prefer a slightly higher or lower potting bench depending on your height, age, and level of fitness. Just make sure that the height of the potting bench you choose is perfect for your needs. Your best bet might be to opt for any of the garden potting table for sale that comes with adjustable height mechanisms. Material: The material of your potting bench should be dependent on where you intend to keep it: indoors or outdoors. If it is going to be outdoors, the chances are that it will get exposed to atmospheric elements and will naturally become dirty and wet. A potting bench kept indoors will be less exposed in this regard and will not get so wet or dirty. Regardless of where you intend to keep it, your potting bench must be durable if it is going to be of any use to you. Immaterial of the Type of potting table you choose – wood, metal, recycled plastic or vinyl -- ensure that the material will be sturdy enough to withstand the weight of the pots and the onslaught of the elements. Surface: Whenever you want to pick a garden potting table for sale, there are some questions you should ask yourself. What are your gardening needs? How much room do you need for the pots you use? The answer to these questions will direct you on the lookout for a perfect potting bench. If you do not need too many pots, you should settle for those potting benches that are about the size of a large table or a kitchen counter. But if that does not work for you could, just get a garage workbench and customize it. Storage & Functional Features: Your potting bench can also serve other needs. It could be used as a bar or for storage. Therefore ensure that you look out for these features when you are looking for a potting bench. You will need a bench with shelves, drawers, and built-in troughs. This is because you will need some extra space for storing gardening equipment and a trough for holding extra soil. Gardening is fun when you have the right equipment and tools. With the hordes of retails stores, how do you get genuine equipment without stress? Garden Suppliers marry quality products with prompt, effortless delivery. Get your premium gardening equipment with ease, anytime. Read Also: How To Maintain Your Garden Railings? Does Organic Gardening Improve Soil Quality? How To Choose The Right Containers For Your Container Garden The Top Four Reasons Why You Could Certainly Benefit From A Garden Shed Featured image: thisoldhouse.com

READ MOREDetails
Rubbish Disposal

The Importance Of Proper Rubbish Disposal In Sydney

Rubbish disposal is a crucial issue to address. Its proper implementation can control pollution, conserve natural resources and prevent diseases. There are several different methods of waste disposal, including incineration and landfill. However, each method has its own drawbacks. For example, incineration releases harmful greenhouse gases into the environment. What Are The Importance Of Proper Rubbish Disposal? Rubbish disposal often causes unbelieving harm to nature. So for keeping the city safe for any living beings. Every industry should maintain proper guidelines for rubbish disposal. Hazardous Materials Hazardous waste is any material that, when improperly managed, could pose a threat to human health or the environment. It can take the form of solids, liquids, or sludges. Hazardous waste is usually produced from industrial manufacturing processes but may also come from other sources. Some hazardous rubbish disposal is toxic, flammable, or explosive. Others are reactive or corrosive. Products such as paints, oils, batteries, pesticides, and cleaners can be dangerous when disposed of wrongly. They can leak, explode, irritate the skin or lungs, cause fires, poison the water supply, and pollute the air. This is why it is important to make sure these items end up disposed of properly. You can visit https://www.ridly.com.au/ for more information. Some leftover products that are flammable, explosive, or toxic may be classified as household hazardous waste (HHW). Many communities have year-round HHW collection programs to reduce the risk of exposure to these chemicals. The materials must be separated from non-hazardous wastes and placed in specialized landfills designed for these hazardous substances. This is to protect garbage collection workers and the surrounding community from exposure to hazardous waste. In most cases, contaminated HHW is unrecyclable. Health Hazards When it comes to rubbish disposal, there are several health hazards that can be associated with the waste. These include infections, respiratory problems, neurological disorders, and cancers. Symptoms of exposure to hazardous waste can range from a mild headache, dizziness, or stomach discomfort to unconsciousness and death. Although most symptoms are short-term and won’t last, it is important to take precautions to prevent these conditions from occurring. There are many different types of waste that may be a health hazard, including pharmaceuticals, medical equipment, radioactive materials, and household chemicals. All of these should be collected separately and safely. A comprehensive review of the literature on health effects from residential exposure to waste sites reported that the evidence is limited for cancers and overall congenital anomalies. The evidence to conclude different exposure in the oil industry releasing high concentrations of hydrogen sulfide waste in highly crowded illegal dumping sites. These illegal dumpings are often associated with general acute symptoms such as lung diseases, skin and digestive system complaints, and neurological symptoms. Hazardous waste is a complex mixture of contaminants that can have several effects on human health, depending on the type and level of exposure. This is particularly true for air pollutants and pesticides that can cause respiratory diseases or other health problems, such as cancer, heart disease, and neurological disorders. You can visit this site to learn more about neurological disorders. It is therefore important to understand the health hazard associated with particular kinds of rubbish disposal, as this will help you choose the best way to dispose of it. It is also a good idea to follow the recommendations of your local government and/or environmental agency, as these can help you determine whether it is safe to dispose of certain types of rubbish in your area. Environmental Hazards Household waste is a major source of pollution because it contains harmful chemicals, toxic substances, and pollutants that can be leached into waterways. This can lead to health problems for residents of areas where garbage is disposed of in open drains. In addition, waste that is buried in landfills can produce methane gas which has been linked to climate change. Landfills also attract vermin and cause litter. It can also harm the health of waste collection workers, who exposed to hazardous materials found in the rubbish they collect. This leads to accidents and musculoskeletal disorders. The health hazards associated with rubbish disposal can be reduced through better recycling practices and the use of alternative waste management methods. This will not only help protect the environment but will reduce the amount of waste that needs to be thrown away in the first place. People who handle hazardous waste may become infected with hepatitis B or hepatitis C and other diseases that are transmitted through contact with contaminated waste. These diseases can be fatal if they are not treated properly. Another hazard is the release of nitric oxide and nitrogen dioxide gas into the atmosphere. These gases are dangerous for human health and can affect plants, animals, water, and air quality. Moreover, the emissions of these gases can be a source of respiratory infections and bronchitis for people who live near rubbish dumps or landfills that are leaking these gases into the atmosphere. Poor waste management, ranging from non-existing collection systems to ineffective disposal, has significant impacts on air, water, and soil pollution. This can lead to serious environmental problems, such as air and water contamination, disease outbreaks, and the loss of biodiversity and habitats. Recycling Recycling is the process of breaking down waste into reusable materials, such as metals and plastics, which can then be used to manufacture new products. It saves natural resources, energy, and water while reducing pollution. It reduces the amount of rubbish sent to landfill sites. It also prevents waste from going into incineration plants, which release a lot of harmful air and greenhouse gases. Recyclable materials include paper, glass, metals, plastics, textiles, and tires. These are often collected from homes or businesses and then delivered to a recycling facility, where they're sorted, cleaned, and reprocessed into new raw materials for making products. Most recycling facilities are designed to sort through the recyclables using various technology. These processes include rotating trommels that filter out unwanted materials, vacuums, and magnets. But some rubbish disposal, such as polystyrene and contaminated materials, cannot be recycled. Some recycling plants also accept biodegradable waste, which can be made into compost. But this is a complex process because it's hard to determine the chemical makeup of organic materials. The best way to make sure your rubbish disposal goes to a good place is to practice good recycling habits. You can do this by separating your waste into bins, containers, or bags that are labeled for recycling and disposing of them according to the proper guidelines. If you're unsure about what goes where check with your local government. They should have a list of what they accept and may even have a searchable database. You can also call a recycling company and ask them to pick up your waste. They'll be happy to take your trash off your hands for you, but they might charge a fee. Most cities and towns have a list of what they accept for recycling, which you can use to learn what can go in your green or blue bins. However, certain items are not accepted because they can get tangled in machinery or because they are too contaminated to be processed. Bottomline: Create A Better Green World!!!! Practicing good recycling habits is not hard and can be beneficial to the environment and our communities. There are many ways to make the recycling process more efficient and reduce the amount of waste that goes into landfills. Rubbish needs to be disposed of in the best and safest method in order to ensure the health of humans, animals, and the planet.  Read Also: How Do Iot Devices Improve Warehouse Management? Who Is An Intrapreneur? Definition, Characteristics, Pros/Cons, More The Ultimate Commercial Cleaning Checklist: Everything You For A Spotless Workspace

READ MOREDetails
how to harvest basil

Everything You Need To Know About Harvesting Basil!

Basil is one of the most popular and versatile herbs you can grow in your garden or indoors. It has a fresh and aromatic flavor that can enhance any dish, from salads and soups to pizzas and pastas. Basil is also rich in vitamins, minerals, and antioxidants just like cilantro. It can benefit your health and well-being. But how do you harvest basil properly so that it keeps growing and producing more leaves?   If these are some of the things you want to know, I have you covered! In this article, I will answer all these questions and more and give you everything you need to know about harvesting basil! So, keep on reading this blog till the end to learn more…  How to Harvest Basil Leaves? The first thing you need to know about harvesting basil is when to do it. The best time to harvest basil leaves is in the morning when the plant is still fresh and moist. Avoid harvesting basil in the afternoon or evening when the plant is dry and wilted. Also, avoid harvesting basil when it is raining or wet, as this can cause the leaves to rot or mold. Steps to Harvest Basil Leaves To harvest basil leaves, you will need a pair of scissors or a sharp knife and a basket or a bowl to collect the leaves. You can also use your fingers to pinch off the leaves, but be careful not to damage the stem or the plant. Here are the steps to follow: Start from the top of the plant, and look for the stems with leaf clusters. These are called the terminal buds, and they are where the basil flowers will grow. You want to remove these buds, as they will make the plant stop producing new leaves and focus on flowering and seeding. This will reduce the flavor and quality of the basil leaves. Cut or pinch off the stem just below the terminal bud, leaving about a quarter of an inch of stem above the next pair of leaves. This will encourage the plant to grow two new stems from the leaf nodes and produce more leaves. You can also cut or pinch off any other stems that are too long or leggy and leave about four to six pairs of leaves on each stem. Repeat this process for all the stems that have terminal buds, and collect the leaves in your basket or bowl. You can also harvest some of the lower leaves but leave enough leaves on the plant to allow it to photosynthesize and grow. You should not harvest more than a third of the plant at a time, as this can stress the plant and reduce its growth and health. After harvesting, rinse the leaves with water and pat them dry with a paper towel. You can use them fresh or store them for later use. How to Harvest Basil So It Keeps Growing One of the benefits of harvesting basil is that it stimulates the plant to grow more leaves and branches and prevents it from flowering and seeding. However, you need to harvest basil regularly and correctly, so that it keeps growing and producing more leaves. Here are some tips to follow. For instance, you must harvest basil: At least once every two weeks, or more often if you see the terminal buds forming. This will keep the plant bushy and compact and prevent it from becoming woody and bitter. From different parts of the plant, and not always from the same spot. This will ensure that the plant grows evenly and does not become lopsided or uneven. Before it flowers. This is because the flowers will reduce the flavor and quality of the leaves. If you see any flowers forming, remove them as soon as possible. You can also pinch off the flowers and use them as edible garnishes or decorations, as they have a mild and sweet flavor. Before the frost, as the cold weather will kill the plant. You can either harvest the whole plant and store it for later use, or bring it indoors and keep it in a sunny and warm spot. You can also propagate the plant by taking cuttings and rooting them in water or soil and grow new plants for the next season. How to Harvest Basil Without Killing The Plant? Harvesting basil is different from harvesting lettuce or other plants. The process is good for the plant and you, as you can enjoy the fresh and aromatic leaves in your dishes. However, you need to be careful not to harvest too much or too often, as this can harm and kill the plant. Here are some dos and don'ts of harvesting basil without killing it: Do harvest basil from the top of the plant, not the bottom or the middle. This will allow the plant to grow stems and leaves from the lower nodes and maintain its shape and structure. Don't harvest basil from the main stem or cut it too close to the ground. This will damage the plant and prevent it from growing new stems and leaves. Leave at least four to six pairs of leaves on each stem and about an inch of stem above the ground. Do harvest basil gently and carefully, and not roughly or forcefully. This will avoid injuring the plant and exposing it to diseases or pests. Use a sharp and clean tool, such as scissors or a knife, and make clean and smooth cuts. You can also use your fingers to pinch off the leaves but be gentle and precise. Don't harvest basil when it is stressed or unhealthy, such as when it is wilting, yellowing, or diseased. This will weaken the plant and make it more susceptible to further damage. Wait until the plant recovers and looks healthy and green before harvesting. You can also water and fertilize the plant to help it grow and thrive. Do harvest basil when it is young and tender, not old and tough. This will ensure the leaves are fresh, flavorful, and not bitter or woody. Harvest basil when the leaves are about two to three inches long before they curl or turn brown. How to Pick Basil Leaves? Picking basil leaves is another way to harvest and use the leaves in your dishes. You can pick basil leaves with your fingers or with a pair of tweezers, depending on your preference and convenience. Here are some tips on how to pick basil leaves. For instance, you can pick it: From the top of the plant, not the bottom or the middle. This will allow the plant to grow stems and leaves from the lower nodes and maintain its shape and structure. From the stems that have terminal buds, not from those that have none. This will prevent the plant from flowering and seeding and producing more leaves. You can also pick some of the lower leaves but leave enough leaves on the plant to allow it to photosynthesize and grow. Gently and carefully, and not roughly or forcefully. This will avoid injuring the plant and exposing it to diseases or pests. Use your fingers to pinch off the leaves or a pair of tweezers to pluck them off. Be gentle and precise, and do not pull or tug on the leaves or the stems. When they are young and tender and not when they are old and tough, this will ensure the leaves are fresh, flavorful, and not bitter or woody. Pick basil when the leaves are about two to three inches long before they curl or turn brown. How to Store Basil Leaves? Storing basil leaves is a great way to preserve and enjoy them for later use. You can store basil leaves in different ways, depending on how long you want to keep them and how you want to use them. Here are some of the best ways to store basil leaves: Refrigerate Them You can refrigerate basil leaves for up to a week, by wrapping them in a damp paper towel and placing them in a resealable plastic bag or an airtight container. This will keep them moist and fresh, and prevent them from wilting or drying out. However, you should not wash them. Freeze Them You can freeze basil leaves for up to six months, by blanching them in boiling water for a few seconds, and then plunging them in ice water to stop the cooking process. This will preserve their color and flavor, and prevent them from browning or oxidizing. Then, pat them dry with a paper towel, and place them in a resealable plastic bag or an airtight container. You can also chop them and mix them with some olive oil, and freeze them in ice cube trays. This will make it easier to use them in soups, sauces, or dressings. Dry Them You can dry basil leaves for up to a year, by hanging them upside down in a warm and dry place, such as a closet or a pantry. This will dehydrate them and concentrate their flavor, and make them last longer. However, you should avoid drying them in direct sunlight, as this can bleach them and reduce their quality. You can also dry them in an oven or a microwave, but be careful not to burn them or overcook them. Once they are dry, you can store them in a glass jar or a spice container, and crush them or grind them before using them. Make Pesto You can make pesto with basil leaves, by blending them with some garlic, pine nuts, parmesan cheese, and olive oil. This will create a delicious and versatile sauce that you can use for pasta, sandwiches, salads, or dips. You can store pesto in the refrigerator for up to a week, or in the freezer for up to six months. You can also customize pesto by adding other herbs, nuts, cheeses, or spices, according to your taste and preference. How to Cut Basil? Cutting basil is a simple and easy way to harvest and use the leaves in your dishes. You can cut basil with scissors, a knife, or your fingers, depending on your preference and convenience. Here are some tips on how to cut basil: Wash and dry the basil leaves before cutting them to remove any dirt or insects. You can rinse them under running water or soak them in a water bowl with a few drops of vinegar. Then, pat them dry with a paper towel or spin them in a salad spinner. Cut the basil leaves just before using them, to preserve their flavor and aroma. If you cut them too early, they will lose their freshness and wilt. You can also bruise or damage the leaves if you cut them too roughly or with a dull tool. Cut the basil leaves according to the size and shape that you need for your recipe. You can either leave them whole or chop them finely or coarsely. You can also cut them into ribbons or strips, by stacking several leaves together, rolling them up, and slicing them thinly. This is called the chiffonade technique, and it creates a beautiful and elegant garnish. Cut the basil leaves with a sharp and clean tool, such as scissors or a knife, and not with a blender or a food processor. This will avoid bruising or crushing the leaves and releasing their oils and juices. You can also use your fingers to tear or pinch off the leaves but be gentle and careful. How to Use Basil Leaves? Using basil leaves is a fun and easy way to add flavor and aroma to your dishes. You can use basil leaves in different ways, depending on your mood and occasion. Here are some of the best ways to use basil leaves: Fresh You can use fresh basil leaves to garnish and enhance your dishes, such as salads, soups, pizzas, and pastas. Also you can use fresh basil leaves to make salads, such as caprese salad with tomatoes, mozzarella cheese, and basil, or Greek salad with cucumbers, feta cheese, and basil. You can also use fresh basil leaves to make drinks, such as lemonade, tea, or cocktails, with basil, lemon, sugar, and water. Cooked You can use cooked basil leaves to flavor and season your dishes, such as sauces, stews, curries, and casseroles. Also you can use cooked basil leaves to make dishes, such as tomato sauce with basil, garlic, and onion, or chicken with basil, cream, and mushrooms. You can also use cooked basil leaves to make breads, such as focaccia with basil, olive oil, and salt, or muffins with basil, cheese, and eggs. Preserved You can use preserved basil leaves to store and enjoy them for later use, such as freezing, drying, or making pesto. Also you can use preserved basil leaves to make dishes, such as pesto pasta with basil, garlic, pine nuts, and parmesan cheese, or roasted vegetables with basil, olive oil, and salt. You can also use preserved basil leaves to make snacks, such as crackers with basil, cheese, and honey, or popcorn with basil, butter, and salt. Wrapping It Up! Basil is a wonderful herb that you can grow and harvest in your garden or indoors. It has a fresh and aromatic flavor that can enhance any dish, and a rich and nutritious profile that can benefit your health and well-being. By following the tips and tricks in this article, you can learn how to harvest basil properly, so that it keeps growing and producing more leaves, how to cut basil, pick basil leaves, and store them for later use, and how to use basil leaves in different and delicious ways. Read Also: Some Facts You Need to Know About Rainwater Harvesting Asparagus 101: When, How, And How Often To Harvest? Exploring Ideas For A Biophilic Home Design

READ MOREDetails