Everyone has been listening to the benefits of using a gluten-free diet.
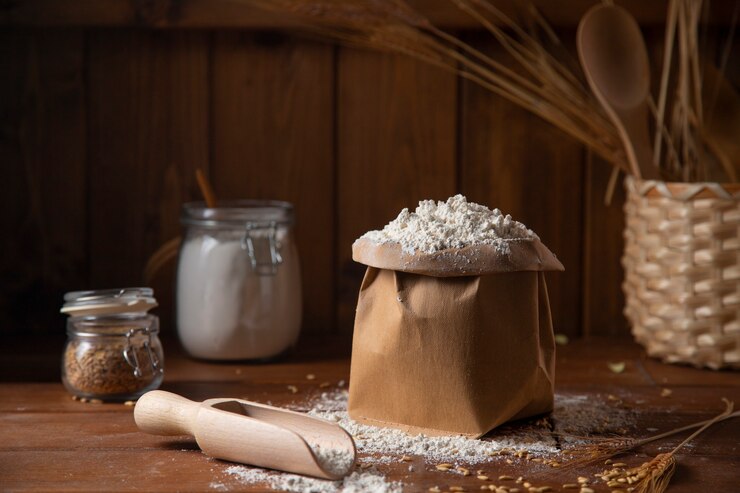
But no one knows the exact impact of gluten-free food on the body. As you know, flour is the basic component of our diets, and no one can avoid this fact. But you can also find gluten-free flour in the market.
People use gluten-free flour for many reasons. This helps improve health, but you need to know facts about it.
The following blog will discuss why you should use gluten-free flour.
Let’s start with a better understanding.
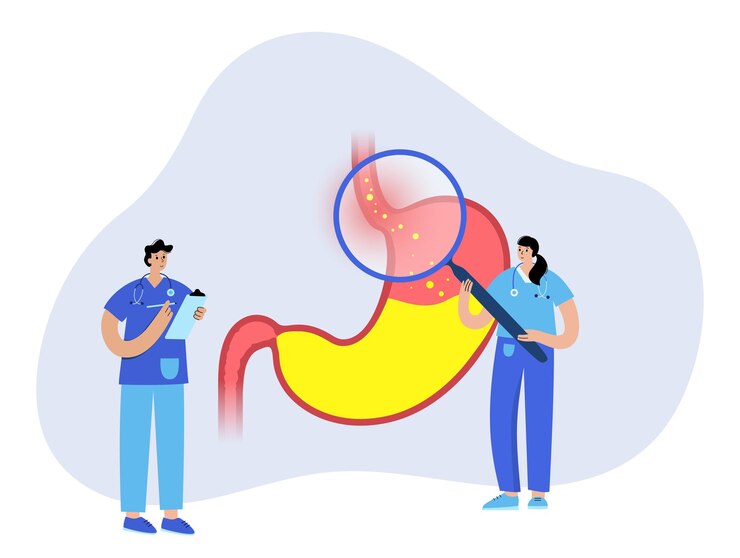
Improved Digestive System
Many people use wheat, barley, and rye which contain a sufficient amount of gluten. Everyone uses wheat globally, but they don’t know they’re consuming gluten unintentionally. But you have other options in flour. You can also use millets like bajra and ragi as a gluten-free flour. Such flour adds an awesome taste to your diet.
On the other hand, gluten-free flour improves the digestive system. Because it is easy to digest and doesn’t overburden the stomach, if you have a stomach problem, you should focus on your diet and try to use McKenzie’s tapioca flour.
Prevent Allergies
Gluten is a protein found in daily diet. However, many people have allergic reactions to this gluten which is why they seek a proper food allergy treatment. But people can’t understand things easily. You may have a gluten problem, but you never bother. Whether you have any allergies or not, you should use a gluten-free diet.
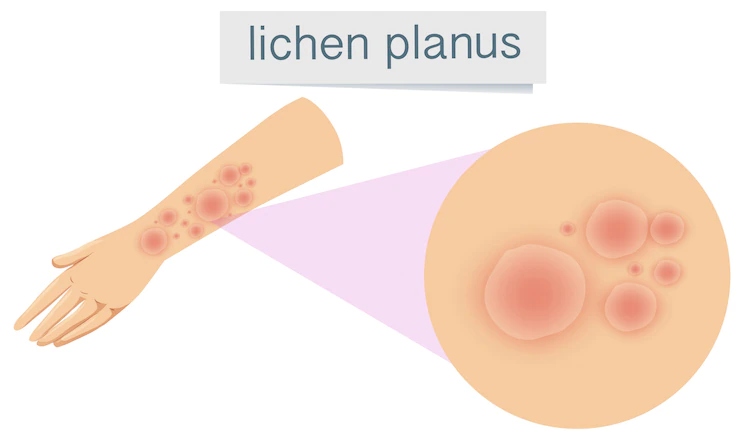
Flour is basic food everyone uses, and if you add gluten-free flour to your diet, you can avoid allergies. As you know, if you have an allergy, you have to bear a difficult situation. So, you need to use a gluten-free diet as a safe side. But it isn’t necessary to use gluten-free flour; you can use other things. But you can make little changes to some extent.
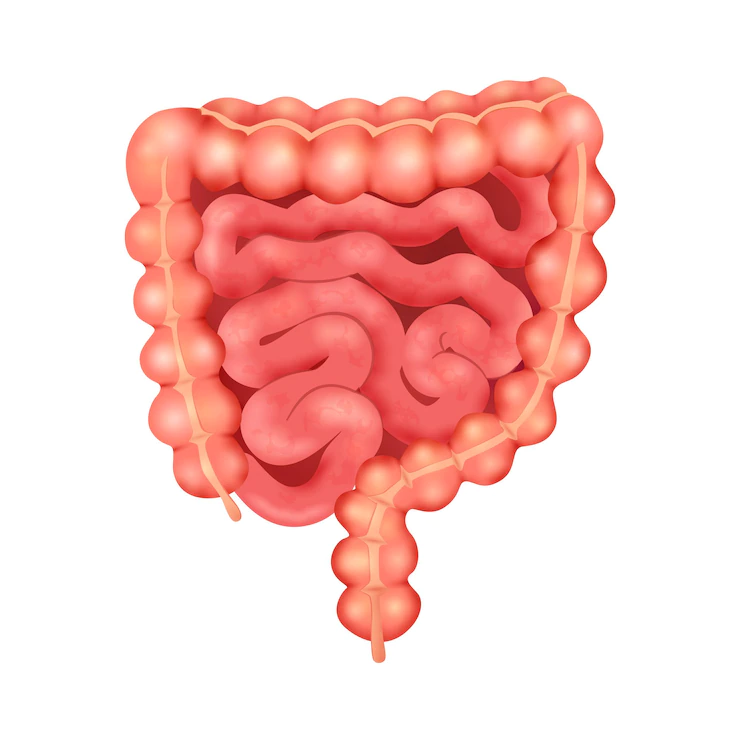
Avoid Chronic Gastrointestinal Disorder
Everyone is facing inflammation problems which are not good in the long run. This inflammation can destroy your health. Gluten is one of the factors of that inflammation. You must revise your diet if you frequently get irritable bowel syndrome.
If you’re consuming food containing an excess amount of gluten, you should reduce it. Otherwise, you won’t cure the disease.
Gastric problems are due to a gluten diet. To protect your intestines, you better opt for gluten-free flour.
Improve Immune System
The immune system plays a vital role in overall health. Many people use different supplements to boost their immune system but don’t think about their diets. They consume things irrationally and use different medicines to overcome those consequences.

A general saying is that the cure is better than treatment, and everyone should follow this general rule. If you change your diet, you can improve your immune system. Gluten-containing diets harm the immune system in many ways. But you can boost and improve it by eliminating gluten from your diet.
| To summarize, if you want a healthy lifestyle, you better choose gluten-free flour. You also need to improvise and revise your diet overall. |
Additionals: