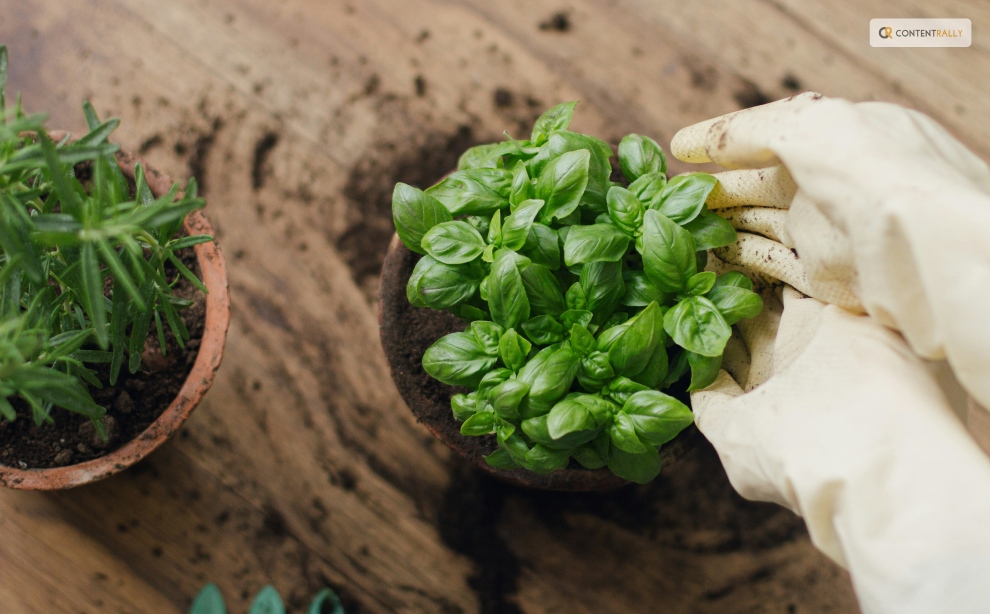
Everything You Need To Know About Harvesting Basil!

how to harvest basil

Basil is one of the most popular and versatile herbs you can grow in your garden or indoors. It has a fresh and aromatic flavor that can enhance any dish, from salads and soups to pizzas and pastas. Basil is also rich in vitamins, minerals, and antioxidants just like cilantro. It can benefit your health and well-being. But how do you harvest basil properly so that it keeps growing and producing more leaves?  

If these are some of the things you want to know, I have you covered! In this article, I will answer all these questions and more and give you everything you need to know about harvesting basil! So, keep on reading this blog till the end to learn more… 

How to Harvest Basil Leaves?
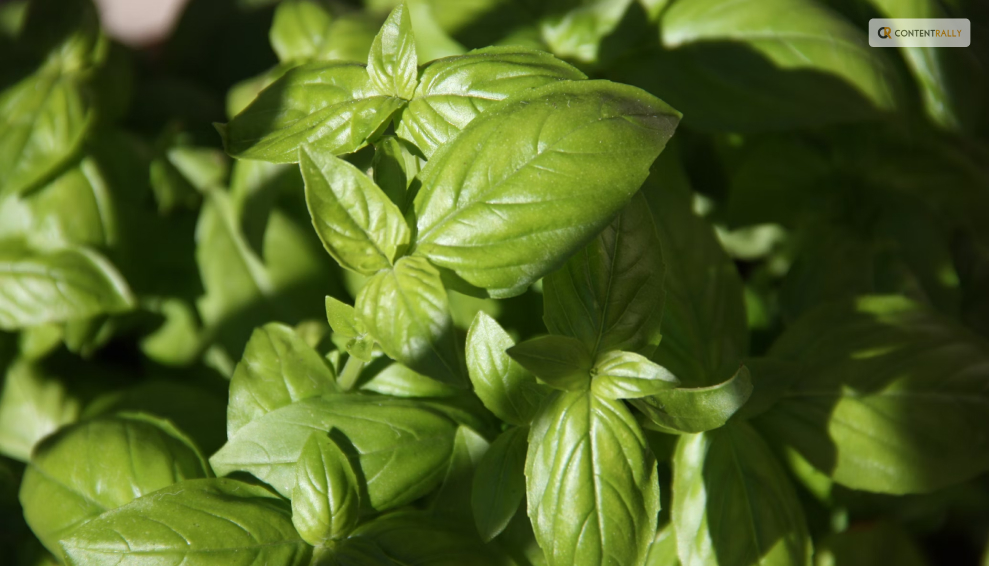
How to Harvest Basil Leaves

The first thing you need to know about harvesting basil is when to do it. The best time to harvest basil leaves is in the morning when the plant is still fresh and moist. Avoid harvesting basil in the afternoon or evening when the plant is dry and wilted. Also, avoid harvesting basil when it is raining or wet, as this can cause the leaves to rot or mold.

Steps to Harvest Basil Leaves
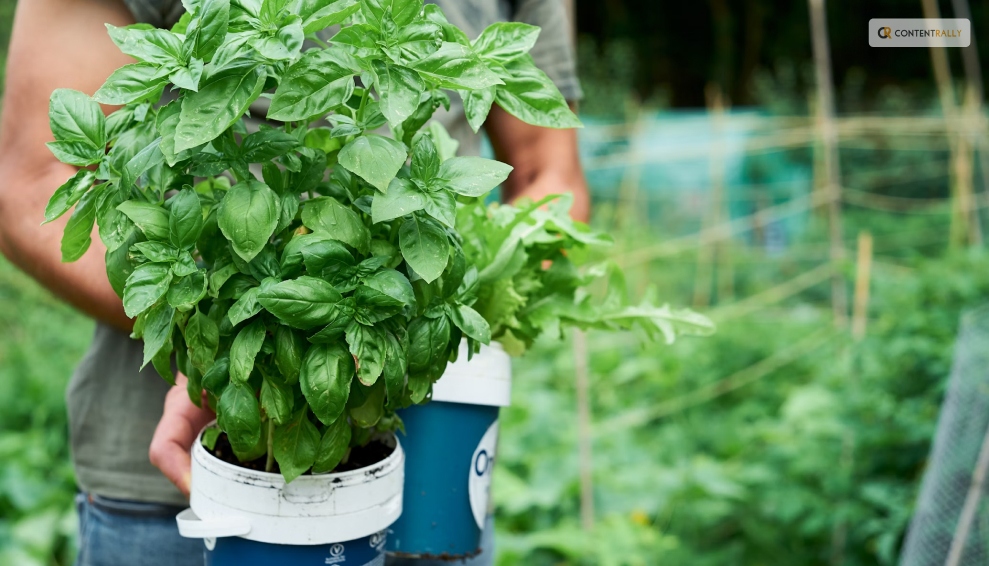
Steps to Harvest Basil Leaves

To harvest basil leaves, you will need a pair of scissors or a sharp knife and a basket or a bowl to collect the leaves. You can also use your fingers to pinch off the leaves, but be careful not to damage the stem or the plant. Here are the steps to follow:

  • Start from the top of the plant, and look for the stems with leaf clusters. These are called the terminal buds, and they are where the basil flowers will grow. You want to remove these buds, as they will make the plant stop producing new leaves and focus on flowering and seeding. This will reduce the flavor and quality of the basil leaves.
  • Cut or pinch off the stem just below the terminal bud, leaving about a quarter of an inch of stem above the next pair of leaves. This will encourage the plant to grow two new stems from the leaf nodes and produce more leaves. You can also cut or pinch off any other stems that are too long or leggy and leave about four to six pairs of leaves on each stem.
  • Repeat this process for all the stems that have terminal buds, and collect the leaves in your basket or bowl. You can also harvest some of the lower leaves but leave enough leaves on the plant to allow it to photosynthesize and grow. You should not harvest more than a third of the plant at a time, as this can stress the plant and reduce its growth and health.
  • After harvesting, rinse the leaves with water and pat them dry with a paper towel. You can use them fresh or store them for later use.

How to Harvest Basil So It Keeps Growing
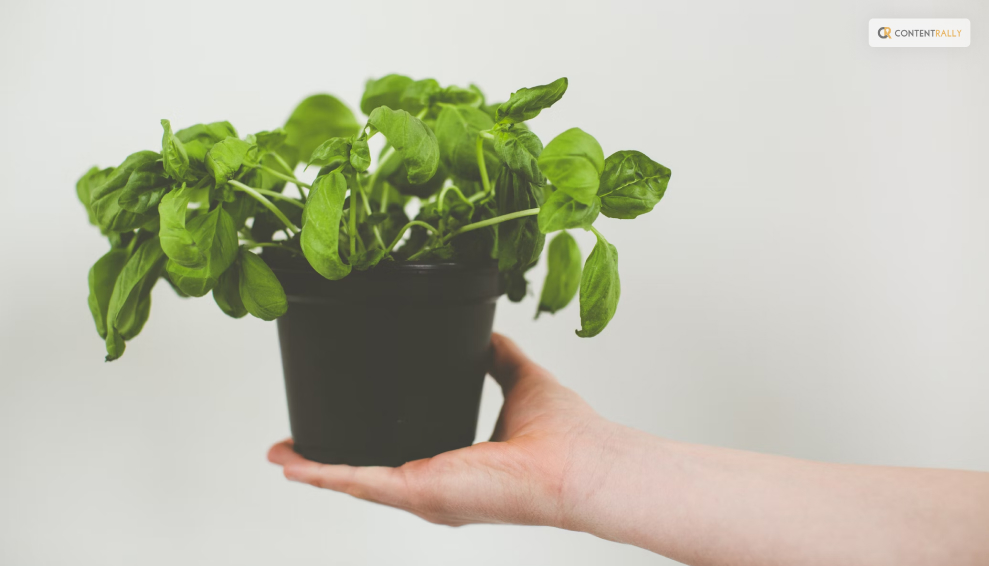
How to Harvest Basil So It Keeps Growing

One of the benefits of harvesting basil is that it stimulates the plant to grow more leaves and branches and prevents it from flowering and seeding.

However, you need to harvest basil regularly and correctly, so that it keeps growing and producing more leaves.

Here are some tips to follow. For instance, you must harvest basil:

  • At least once every two weeks, or more often if you see the terminal buds forming. This will keep the plant bushy and compact and prevent it from becoming woody and bitter.
  • From different parts of the plant, and not always from the same spot. This will ensure that the plant grows evenly and does not become lopsided or uneven.
  • Before it flowers. This is because the flowers will reduce the flavor and quality of the leaves. If you see any flowers forming, remove them as soon as possible. You can also pinch off the flowers and use them as edible garnishes or decorations, as they have a mild and sweet flavor.
  • Before the frost, as the cold weather will kill the plant. You can either harvest the whole plant and store it for later use, or bring it indoors and keep it in a sunny and warm spot. You can also propagate the plant by taking cuttings and rooting them in water or soil and grow new plants for the next season.

How to Harvest Basil Without Killing The Plant?
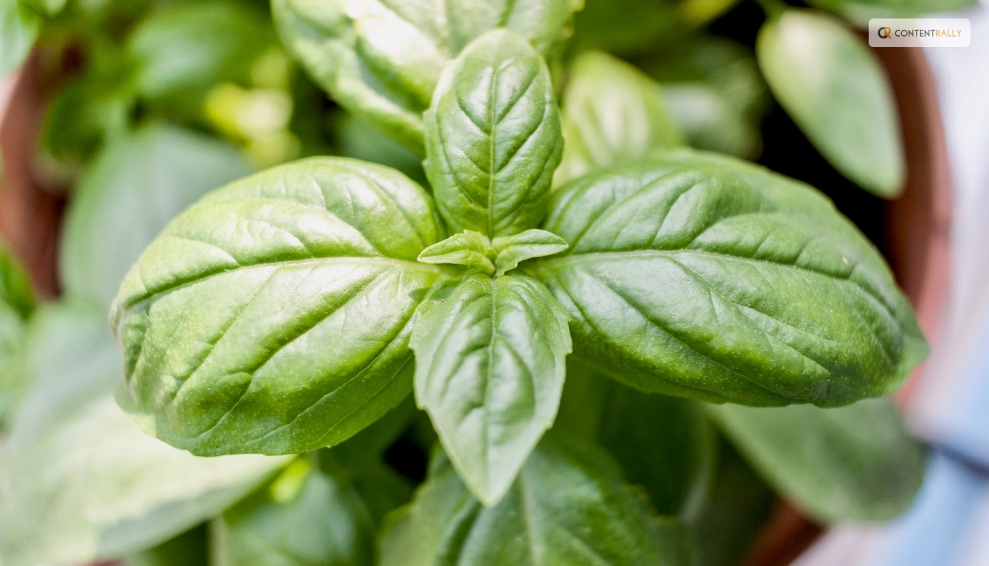
How to Harvest Basil Without Killing the Plant

Harvesting basil is different from harvesting lettuce or other plants. The process is good for the plant and you, as you can enjoy the fresh and aromatic leaves in your dishes.

However, you need to be careful not to harvest too much or too often, as this can harm and kill the plant.

Here are some dos and don’ts of harvesting basil without killing it:

  • Do harvest basil from the top of the plant, not the bottom or the middle. This will allow the plant to grow stems and leaves from the lower nodes and maintain its shape and structure.
  • Don’t harvest basil from the main stem or cut it too close to the ground. This will damage the plant and prevent it from growing new stems and leaves. Leave at least four to six pairs of leaves on each stem and about an inch of stem above the ground.
  • Do harvest basil gently and carefully, and not roughly or forcefully. This will avoid injuring the plant and exposing it to diseases or pests. Use a sharp and clean tool, such as scissors or a knife, and make clean and smooth cuts. You can also use your fingers to pinch off the leaves but be gentle and precise.
  • Don’t harvest basil when it is stressed or unhealthy, such as when it is wilting, yellowing, or diseased. This will weaken the plant and make it more susceptible to further damage. Wait until the plant recovers and looks healthy and green before harvesting. You can also water and fertilize the plant to help it grow and thrive.
  • Do harvest basil when it is young and tender, not old and tough. This will ensure the leaves are fresh, flavorful, and not bitter or woody. Harvest basil when the leaves are about two to three inches long before they curl or turn brown.

How to Pick Basil Leaves?
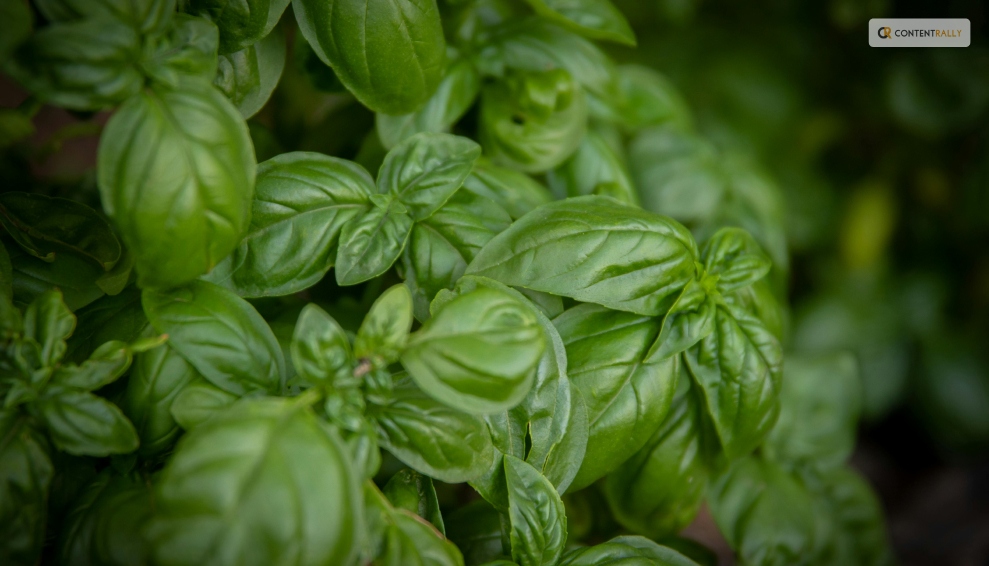
How to Pick Basil Leaves

Picking basil leaves is another way to harvest and use the leaves in your dishes. You can pick basil leaves with your fingers or with a pair of tweezers, depending on your preference and convenience. Here are some tips on how to pick basil leaves. For instance, you can pick it:

  • From the top of the plant, not the bottom or the middle. This will allow the plant to grow stems and leaves from the lower nodes and maintain its shape and structure.
  • From the stems that have terminal buds, not from those that have none. This will prevent the plant from flowering and seeding and producing more leaves. You can also pick some of the lower leaves but leave enough leaves on the plant to allow it to photosynthesize and grow.
  • Gently and carefully, and not roughly or forcefully. This will avoid injuring the plant and exposing it to diseases or pests. Use your fingers to pinch off the leaves or a pair of tweezers to pluck them off. Be gentle and precise, and do not pull or tug on the leaves or the stems.
  • When they are young and tender and not when they are old and tough, this will ensure the leaves are fresh, flavorful, and not bitter or woody. Pick basil when the leaves are about two to three inches long before they curl or turn brown.

How to Store Basil Leaves?
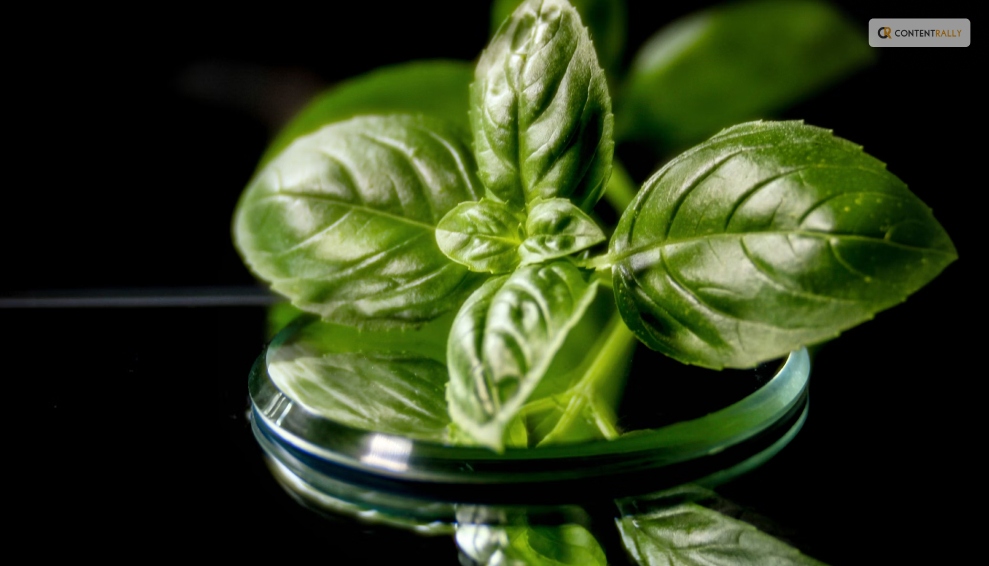
How to Store Basil Leaves

Storing basil leaves is a great way to preserve and enjoy them for later use. You can store basil leaves in different ways, depending on how long you want to keep them and how you want to use them. Here are some of the best ways to store basil leaves:

Refrigerate Them

You can refrigerate basil leaves for up to a week, by wrapping them in a damp paper towel and placing them in a resealable plastic bag or an airtight container. This will keep them moist and fresh, and prevent them from wilting or drying out. However, you should not wash them.

Freeze Them

You can freeze basil leaves for up to six months, by blanching them in boiling water for a few seconds, and then plunging them in ice water to stop the cooking process. This will preserve their color and flavor, and prevent them from browning or oxidizing. Then, pat them dry with a paper towel, and place them in a resealable plastic bag or an airtight container. You can also chop them and mix them with some olive oil, and freeze them in ice cube trays. This will make it easier to use them in soups, sauces, or dressings.

Dry Them

You can dry basil leaves for up to a year, by hanging them upside down in a warm and dry place, such as a closet or a pantry. This will dehydrate them and concentrate their flavor, and make them last longer. However, you should avoid drying them in direct sunlight, as this can bleach them and reduce their quality. You can also dry them in an oven or a microwave, but be careful not to burn them or overcook them. Once they are dry, you can store them in a glass jar or a spice container, and crush them or grind them before using them.

Make Pesto

You can make pesto with basil leaves, by blending them with some garlic, pine nuts, parmesan cheese, and olive oil. This will create a delicious and versatile sauce that you can use for pasta, sandwiches, salads, or dips. You can store pesto in the refrigerator for up to a week, or in the freezer for up to six months. You can also customize pesto by adding other herbs, nuts, cheeses, or spices, according to your taste and preference.

How to Cut Basil?
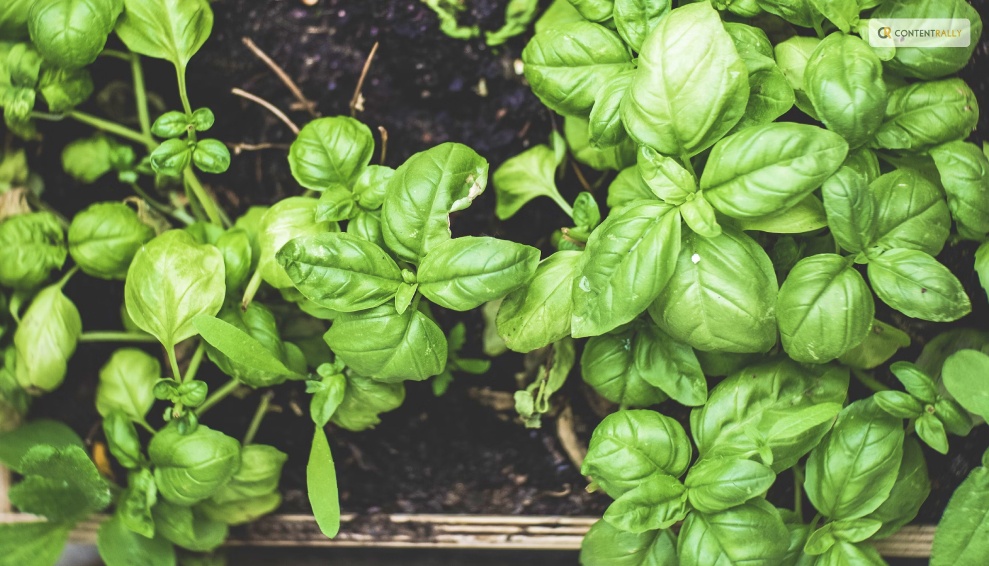
How to Cut Basil

Cutting basil is a simple and easy way to harvest and use the leaves in your dishes. You can cut basil with scissors, a knife, or your fingers, depending on your preference and convenience.

Here are some tips on how to cut basil:

  • Wash and dry the basil leaves before cutting them to remove any dirt or insects. You can rinse them under running water or soak them in a water bowl with a few drops of vinegar. Then, pat them dry with a paper towel or spin them in a salad spinner.
  • Cut the basil leaves just before using them, to preserve their flavor and aroma. If you cut them too early, they will lose their freshness and wilt. You can also bruise or damage the leaves if you cut them too roughly or with a dull tool.
  • Cut the basil leaves according to the size and shape that you need for your recipe. You can either leave them whole or chop them finely or coarsely. You can also cut them into ribbons or strips, by stacking several leaves together, rolling them up, and slicing them thinly. This is called the chiffonade technique, and it creates a beautiful and elegant garnish.
  • Cut the basil leaves with a sharp and clean tool, such as scissors or a knife, and not with a blender or a food processor. This will avoid bruising or crushing the leaves and releasing their oils and juices. You can also use your fingers to tear or pinch off the leaves but be gentle and careful.

How to Use Basil Leaves?
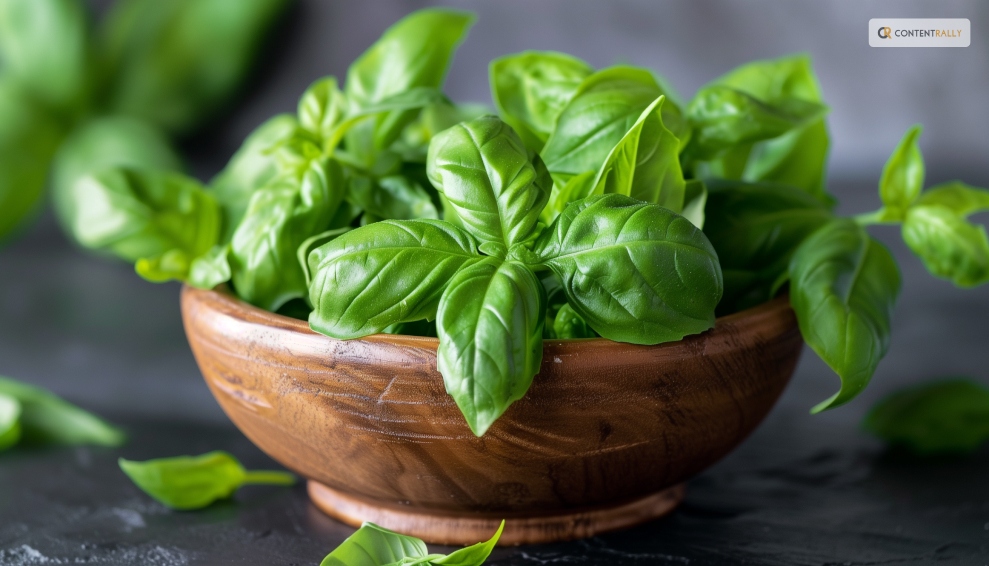
How to Use Basil Leaves

Using basil leaves is a fun and easy way to add flavor and aroma to your dishes. You can use basil leaves in different ways, depending on your mood and occasion. Here are some of the best ways to use basil leaves:

Fresh

You can use fresh basil leaves to garnish and enhance your dishes, such as salads, soups, pizzas, and pastas. Also you can use fresh basil leaves to make salads, such as caprese salad with tomatoes, mozzarella cheese, and basil, or Greek salad with cucumbers, feta cheese, and basil. You can also use fresh basil leaves to make drinks, such as lemonade, tea, or cocktails, with basil, lemon, sugar, and water.

Cooked

You can use cooked basil leaves to flavor and season your dishes, such as sauces, stews, curries, and casseroles. Also you can use cooked basil leaves to make dishes, such as tomato sauce with basil, garlic, and onion, or chicken with basil, cream, and mushrooms. You can also use cooked basil leaves to make breads, such as focaccia with basil, olive oil, and salt, or muffins with basil, cheese, and eggs.

Preserved

You can use preserved basil leaves to store and enjoy them for later use, such as freezing, drying, or making pesto. Also you can use preserved basil leaves to make dishes, such as pesto pasta with basil, garlic, pine nuts, and parmesan cheese, or roasted vegetables with basil, olive oil, and salt. You can also use preserved basil leaves to make snacks, such as crackers with basil, cheese, and honey, or popcorn with basil, butter, and salt.

Wrapping It Up!

Basil is a wonderful herb that you can grow and harvest in your garden or indoors. It has a fresh and aromatic flavor that can enhance any dish, and a rich and nutritious profile that can benefit your health and well-being. By following the tips and tricks in this article, you can learn how to harvest basil properly, so that it keeps growing and producing more leaves, how to cut basil, pick basil leaves, and store them for later use, and how to use basil leaves in different and delicious ways.

Read Also:

Ankita Tripathy loves to write about food and the Hallyu Wave in particular. During her free time, she enjoys looking at the sky or reading books while sipping a cup of hot coffee. Her favourite niches are food, music, lifestyle, travel, and Korean Pop music and drama.

View all posts

Leave a Reply

Your email address will not be published. Required fields are marked *

Related

Artificial Grasses

Best Games To Play On Artificial Grasses

The best part of summer is finally getting to spend time with your family. Lawn games are a perfect way to bond and stay in shape at the same time. And playing on artificial grasses makes it even more fun, as you don’t have to worry about damaging it. More and more people are deciding to use artificial grasses for back gardens. You might ask - why? Well, apart from the fact that it is durable, it is also very cheap and requires low maintenance (mainly because you don’t have to mow it). Because of these reasons, people are slowly changing from natural grass to fake one - they don’t have to care for it, they can just leave it be. Want to know what are the best games in which you can play on an artificial lawn? If you do, you just have to keep reading. Best Games To Play On Artificial Grasses: 1. Cornhole: Cornhole is one of the most popular lawn games - its popularity has been growing mainly in the last few years. In this game, two teams stand across from each other, trying to toss small bags into holes that are on the planks in front of them. You can either make the set by yourself, or you can buy one is a local shopping center. Artificial grasses is perfect for this game, as the surface on which you are playing must be flat. It makes the game fair, as no team has an advantage over another. Another thing is that you can play this game even after heavy rain as artificial grasses dries very quickly, in contrast to natural grass that gets too sloppy for it. Cornhole is a game that everyone can enjoy, no matter the age or physical condition - you don’t need to be an athlete to have fun. With almost no risk of injury, it’s a safe and enjoyable game. 2. Water Balloon Fight: A water balloon fight is an ideal game to play during the summer when the days are hot. Furthermore, artificial grasses is a perfect surface for playing it. Firstly, if you have kids, you can make sure that they don’t get hurt by adding extra cushions beneath the lawn. Also, cleaning empty balloons is an easier task if you have artificial turf. Another thing is that thanks to the lawn’s drainage system, the grass won’t get soggy or slippery as the water will be quickly removed from it. Lastly, since you don’t water your lawn, you don’t have to worry about it getting too much water - it will be removed anyways. 3. Bocce Ball: Even though this game is more than a thousand years old, it has been gaining popularity again in the last few years. And lawn made out of artificial grasses is one of the best places to play it. Especially since for a game to be fair, there needs to be a flat surface - the height of the grass and the slope of the lawn can have an impact on the motion of the ball. Since artificial grasses is very durable, it won’t allow any dips or holes to appear. Since it’s a simple game, you can easily play it with your children. You can buy a bocce ball set at any shopping centre, and if you’re looking for something more professional, you can try installing a bocce ball court in your backyard, so that you can play whenever you want. 4. Football: Football is a big part of the culture in many countries. Families gather together to cheer on their favourite teams. It’s also a sport that people of any age can enjoy - it’s not unusual to play it on family parties. If your family loves to play friendly football matches against each other, you should think about installing an artificial lawn. Natural grass can very easily get damaged if the game gets too intense, contrary to fake grass which is very durable. There’s also a smaller chance of you getting hurt if you play on the artificial lawn, as you can install a turf padding underneath. Interestingly, football teams were among the first people to embrace fake grass. 5. Ring Toss Games: Ring toss games are an excellent option for those who want to play a fun game that doesn’t require any major skills. When you play it on the artificial lawn, you don’t have to worry about causing damage to it. Remember, however, that when buying the game, you should buy one that doesn’t require you to insert a metal stake into the ground. You can also build it by yourself. All you need is a couple of wood boards that will support the stake. Drill or hammer the stake into the board and voilà - you’re all set to play. Conclusion: The artificial lawn is a perfect place to play many games, mainly because it’s very hard to damage it. It doesn’t matter what kind of game it is that you’re playing - the most important thing is that you have fun doing so and spend some quality time with your family by making them join you in it. Have fun! Read Also: Edmonton Landscape Maintenance Tips 7 Secrets To Keeping Your Lawn Tidy And Green 4 Essential Tools Needed To Maintain Your Garden In The Winter

READ MOREDetails
kitchen-2619008_960_720

Installing A Kitchen Tile Splashback – The Basics

Adding wall tiles to a backsplash can be a really simple and effective way to spruce up your kitchen sink area, as well as protecting the surface as well. Here we look at the basics. Home improvements needn't be expensive, all it takes is a little research and time and you can make a significant difference to the house you live in. Choosing tiles for a kitchen splashback can be a really simple and effective way to spruce up your kitchen sink area, as well as protecting the surface as well. For a project like this, you are likely to need little more than a couple of days to complete it, and a minimal amount of money to achieve a great result, depending on the equipment you already have. Before You Start Prepare The Wall Before you start, clear everything out of the way that may obstruct the job and/ or get broken or damaged while you work. You should also check that the wall is good for tiling as well – chances are you will choose porcelain tiles, which are heavier than more traditional ceramic tiles so the walls need to be up to support their weight. If there is any level of condensation you must wait for the wall to completely naturally dry out before you begin tiling. If the drywall you're working with isn't sound, you must repair it before you do any tiling. Plan The Design You'll need to plan your design before you can purchase your equipment or begin the project. Measure how high you want the backsplash to be from the countertop and consider the type of tiles you would like to use. If you are unsure, take a look at sites like Pinterest for inspiration. Get Your Equipment When buying your equipment, especially your wall tiles, try to start with more than you need. With porcelain floor tiles or wall tiles, it is always good to have extras in case some get damaged during the job or even years after and you need a replacement tile that matches. In order to determine how much tile requires you need to measure the length and width of the area, you are putting a backsplash on. Simply multiply the length by the width to get your desired wall tile amount. If you don't know what type of equipment you need for the job, speak to an advisor at the shop or warehouse and they will be able to advise you on the best tools for the job. Read also: Close Look At Top 5 Roofing Materials – Pros And Cons Install Once you have done all the correct preparation, it's time for you to install your backsplash. Safety First The first thing you need to do is make the area you are working in safe. All electrical appliances nearby should be either turned off if they are permanent fixtures, or moved away if they are temporary. Read also: Making Your Office Safer For Workers Clean The Area Using a clean cloth, gently wipe the area with warm water and let it dry naturally. Apply The Adhesive Using the manufacturer's instructions, apply your tile adhesive using a tile trowel. Make sure the adhesive is spread thinly and only apply enough adhesive for the area you are tiling, or it will dry before you have applied all the tiles. Lay The Tiles Place the first tile at the bottom of the backsplash in the middle. Firmly push the tile on to encourage it to settle into the adhesive and use a level to make sure it isn't wonky. Use a spacer or piece of cardboard on each corner of the tile and push them into the adhesive well. Continue to lay the tile's row by row, taking care to remove any adhesive that pushes up through the tile gaps. Ensure you are leaving enough room for grout and checking constantly that the tiles are level. Cut Tiles Away In A Separate Area Depending on the equipment you are using, you need to ensure you follow all safety procedures to ensure you are working safely. Ensure you only score tiles where the scored section won't be showing, and only score tiles when you need to, as the measurements needed may change as the job progresses. Wipe Once all the tiles have been laid you can wipe away any adhesive that has seeped out using a clean, damp cloth. Leave The Tiles To Dry You must leave the tiles to dry according to the time stated by the adhesive manufacturer. Trying to skip this process will result in an uneven backsplash and tiles that will not remain stable. Grout When mixing grout you should be wearing appropriate safety equipment such as gloves, goggles and a mouth mark. Grout the tiles precisely and carefully, taking care to wipe away any excess once it becomes firm. Once the grout has dried, you can then wipe the tiles off completely. Well Done! You should now have a fancy new backsplash to enjoy in your kitchen! Remember, if you take the time to do the job right, you should end up with a well-done backsplash that will look fantastic and last for years to come.

READ MOREDetails
your lawn

How To Prepare Your Lawn For Fall

With fall's arrival, you might think your yard work just shifts over to raking leaves. The sun isn't shining as hard, and your lawn isn't getting dry as quickly or growing as fast as it was in the summer. But if you want a healthy lawn to greet you when the snow melts and the ice thaws, there are plenty of things you can do now to give your yard the care it needs to survive cooler weather ahead. 5 Tips To Prepare Your Lawn For Fall Season You are investing your whole year to maintain the look of your lawn. But after the fall, you start to face more challenges to bringing that look again. Hence proper care and the right strategies are making your work simple. Here are the five tips for preparing your lawn for the fall season. 1. Reseed Late In The Growing Season If your lawn looks thin and brown or has dead patches, the time to reseed is in the late summer/early fall. It always is better to cover all the empty patchy areas of your lawn. Hence after the fall, you will not get enough time to clever up these patchy areas. Whether you're seeding a small patch or a whole yard, the cooler, damper weather of this time of year will promote successful growth, eliminate bare patches, and deter the growth of weeds. Consider Reading: 5 Essential Tips to Designing a Beautiful Front Yard Garden 2. Water And Fertilize Despite less sun and breezier, cooler days, your lawn still needs to be watered. Watering in the fall helps your lawn recover from summer and gain strength for the winter ahead, and while you can reduce your lawn watering, you shouldn't stop watering completely until the ground freezes. To make it easier, many Toronto homeowners install sprinkler systems that automatically water whenever they choose. Having lawn sprinklers in Toronto set according to your specific needs is an easy way to keep your grass watered and ensure your lawn is never too wet or dry. 3. Provide More Nutritions Fertilizing in the fall can also help provide energy and nutrients for the roots of your lawn grass. Fertilizing should be done about three weeks before the last mowing of the season. Roots are the most important part of the plant. After mowing, you can see the roots and provide more nutrition to boost plant growth. If you do fertilize, keep in mind that watering is a must for the fertilizer to work. The water helps the fertilizer dissolve and soak into the ground where it's needed. 4. Rake Your Leaves Make sure you're raking and removing all of those dead leaves that fall before the snow flies. If you don't, those pretty leaves will turn into a thick layer of wet leaves that can smother your grass and deprive it of sunlight, which will get in the way of the healthy growth you want. Plus, it's much easier to deal with dry leaves of your lawn during fall than wet, soggy leaves in the spring. Not only before the fall but every time raking, your garden’s dry leaves also look cleaner. 5. Cut The Grass Short With the cooler temperatures setting in, growth will begin to slow down, and your lawn will be preparing for dormancy throughout the winter. It's essential to continue the mowing process of your lawn during this time. You will want to cut your grassv shorter than usual during this time of year. Gradually lower the length of the mower until you reach the size of 1-1/2 or 2-inches. This will reduce the chances of snow mold forming in colder climates, and tall grass blades fall flat and smother the new grass next spring. Conclusion: Taking time to prepare your lawn for the harsh elements of winter can reduce the amount of time and effort you have to put into nurturing your lawn back to health come springtime. After strictly following these five tips, you can quickly minimize the challenges for the fall session and enjoy the green view again after fall. And in addition, these five tips are also boosting up the fertility rate of your lawn.  Read Also: The Top Four Reasons Why You Could Certainly Benefit from a Garden Shed How to Maintain Your Garden Railings? The Best Riding Lawnmowers: These Lawnmowers are for You

READ MOREDetails